

Halloween is approaching very soon, and it is THE time of year to try a manicure that makes its small effect. From ghost nails to hypnotic nails, passing through the black chat version scratched, here are our best ideas of Halloween art nail, to be made with brush or in seconds with stickers.
Which colors do you choose for Halloween nails?
As every year, this is the big debate. Between the must-sees that fly at every stroke and the most surprising hues, what do we choose?
Black, orange and red blood: the colors are essential
What would Halloween be without the great classics?
We're gonna bet on Licorice, an intense black and ultra glossy varnish, the must have for a Gothic effect And a dark manicure. And for more inspirations about dark varnish hues, check out our dedicated article Here.
We're burning up for Red Cherry, THE cherry red varnish Perfect slams.
We're gonna fall for the manicure orange incandescent and magnetic as the blaze with varnish Sunset.


Violet, white, green: Spooky hues
For a more atmosphere switchy you can count on this trio winning the spooky season :
Fizz : nail polish purple with magenta reflections, as intoxicating as it is so enchanting.
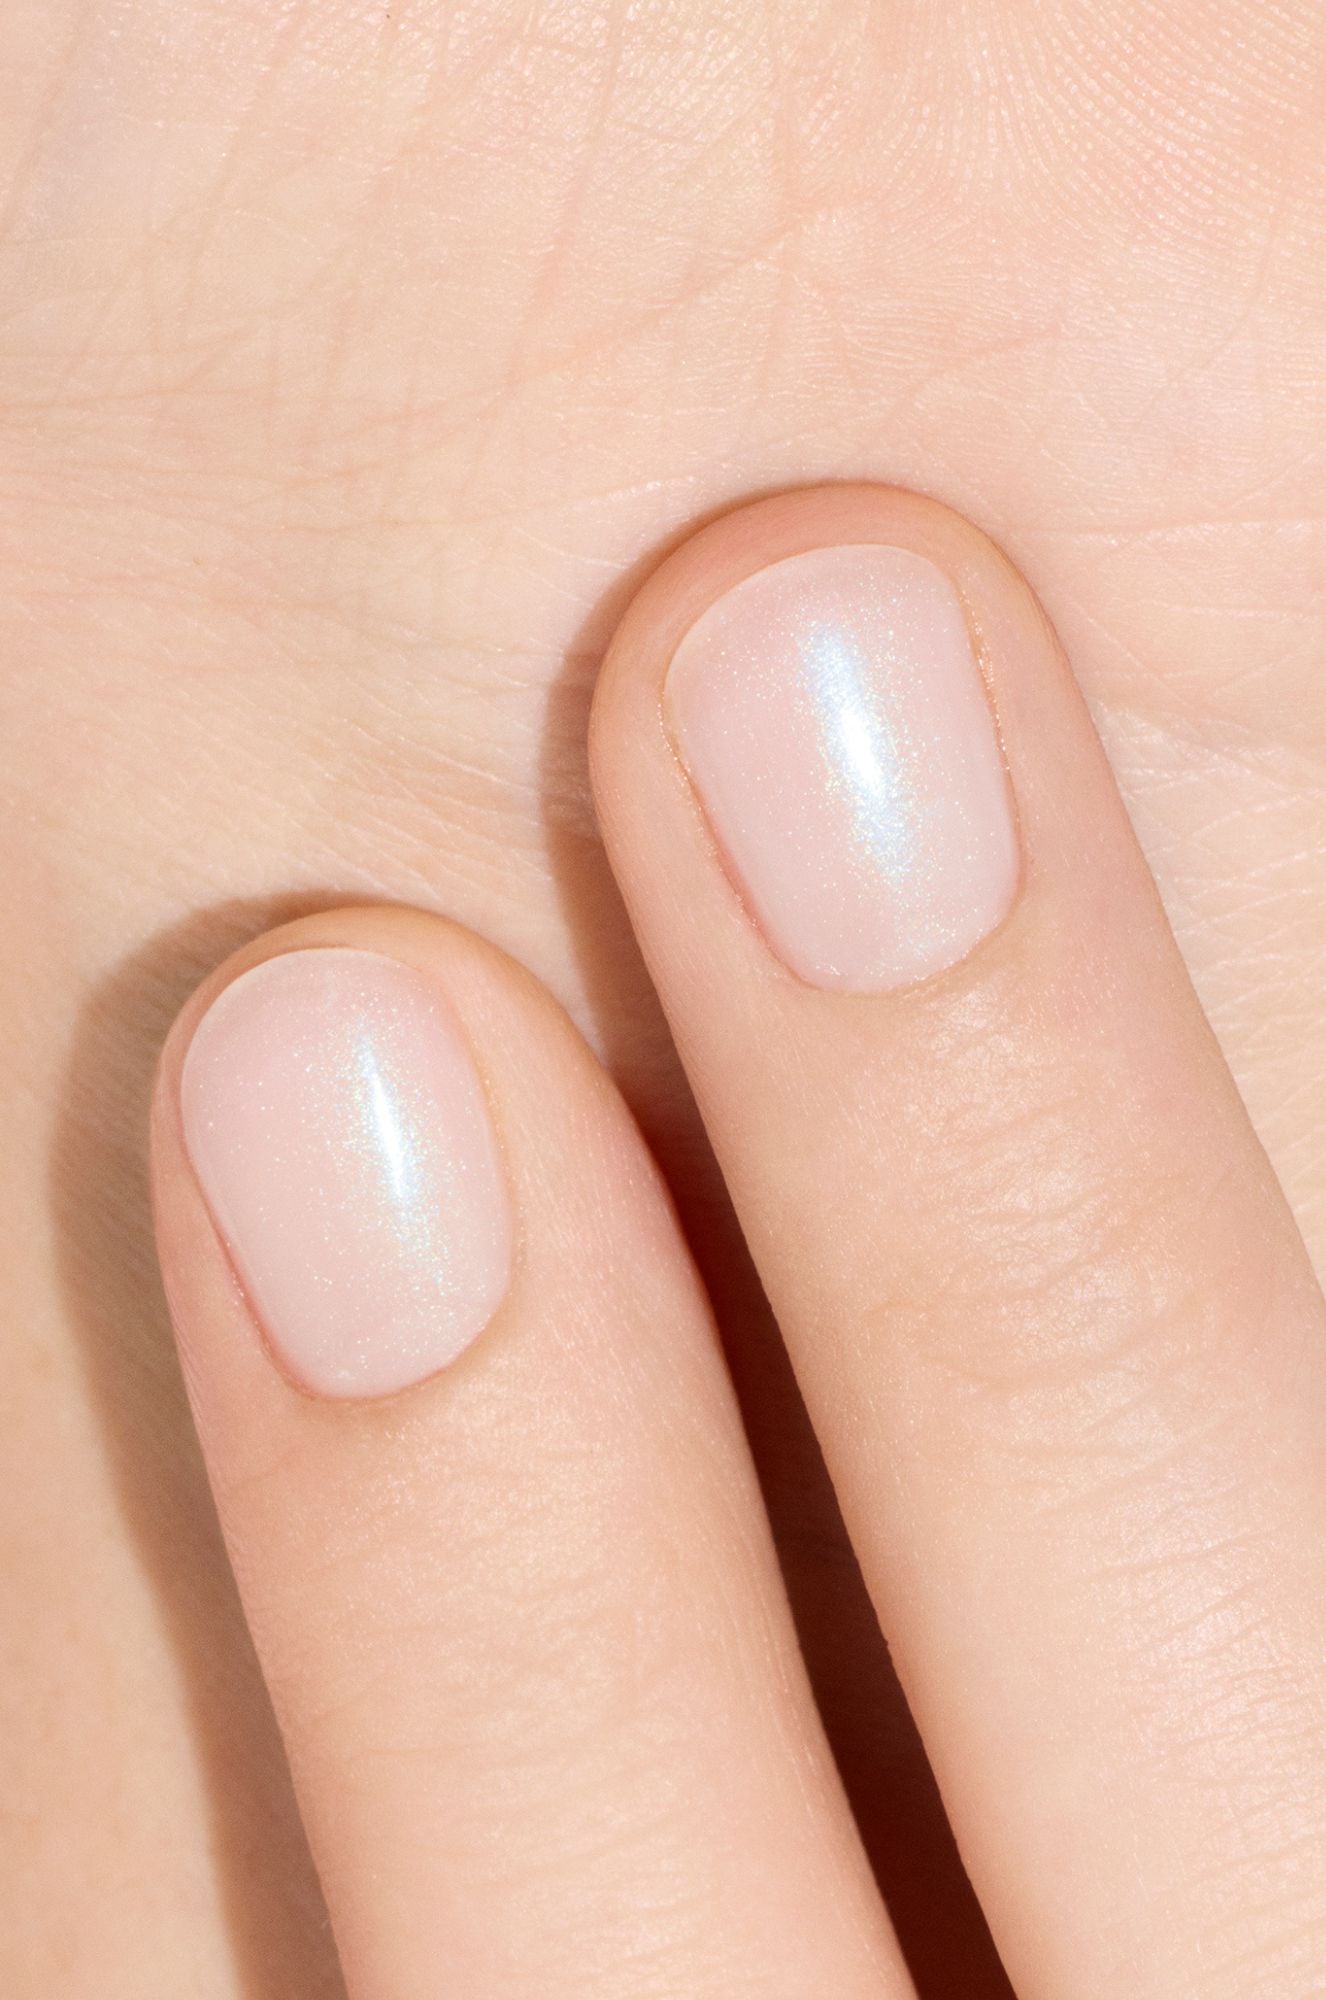
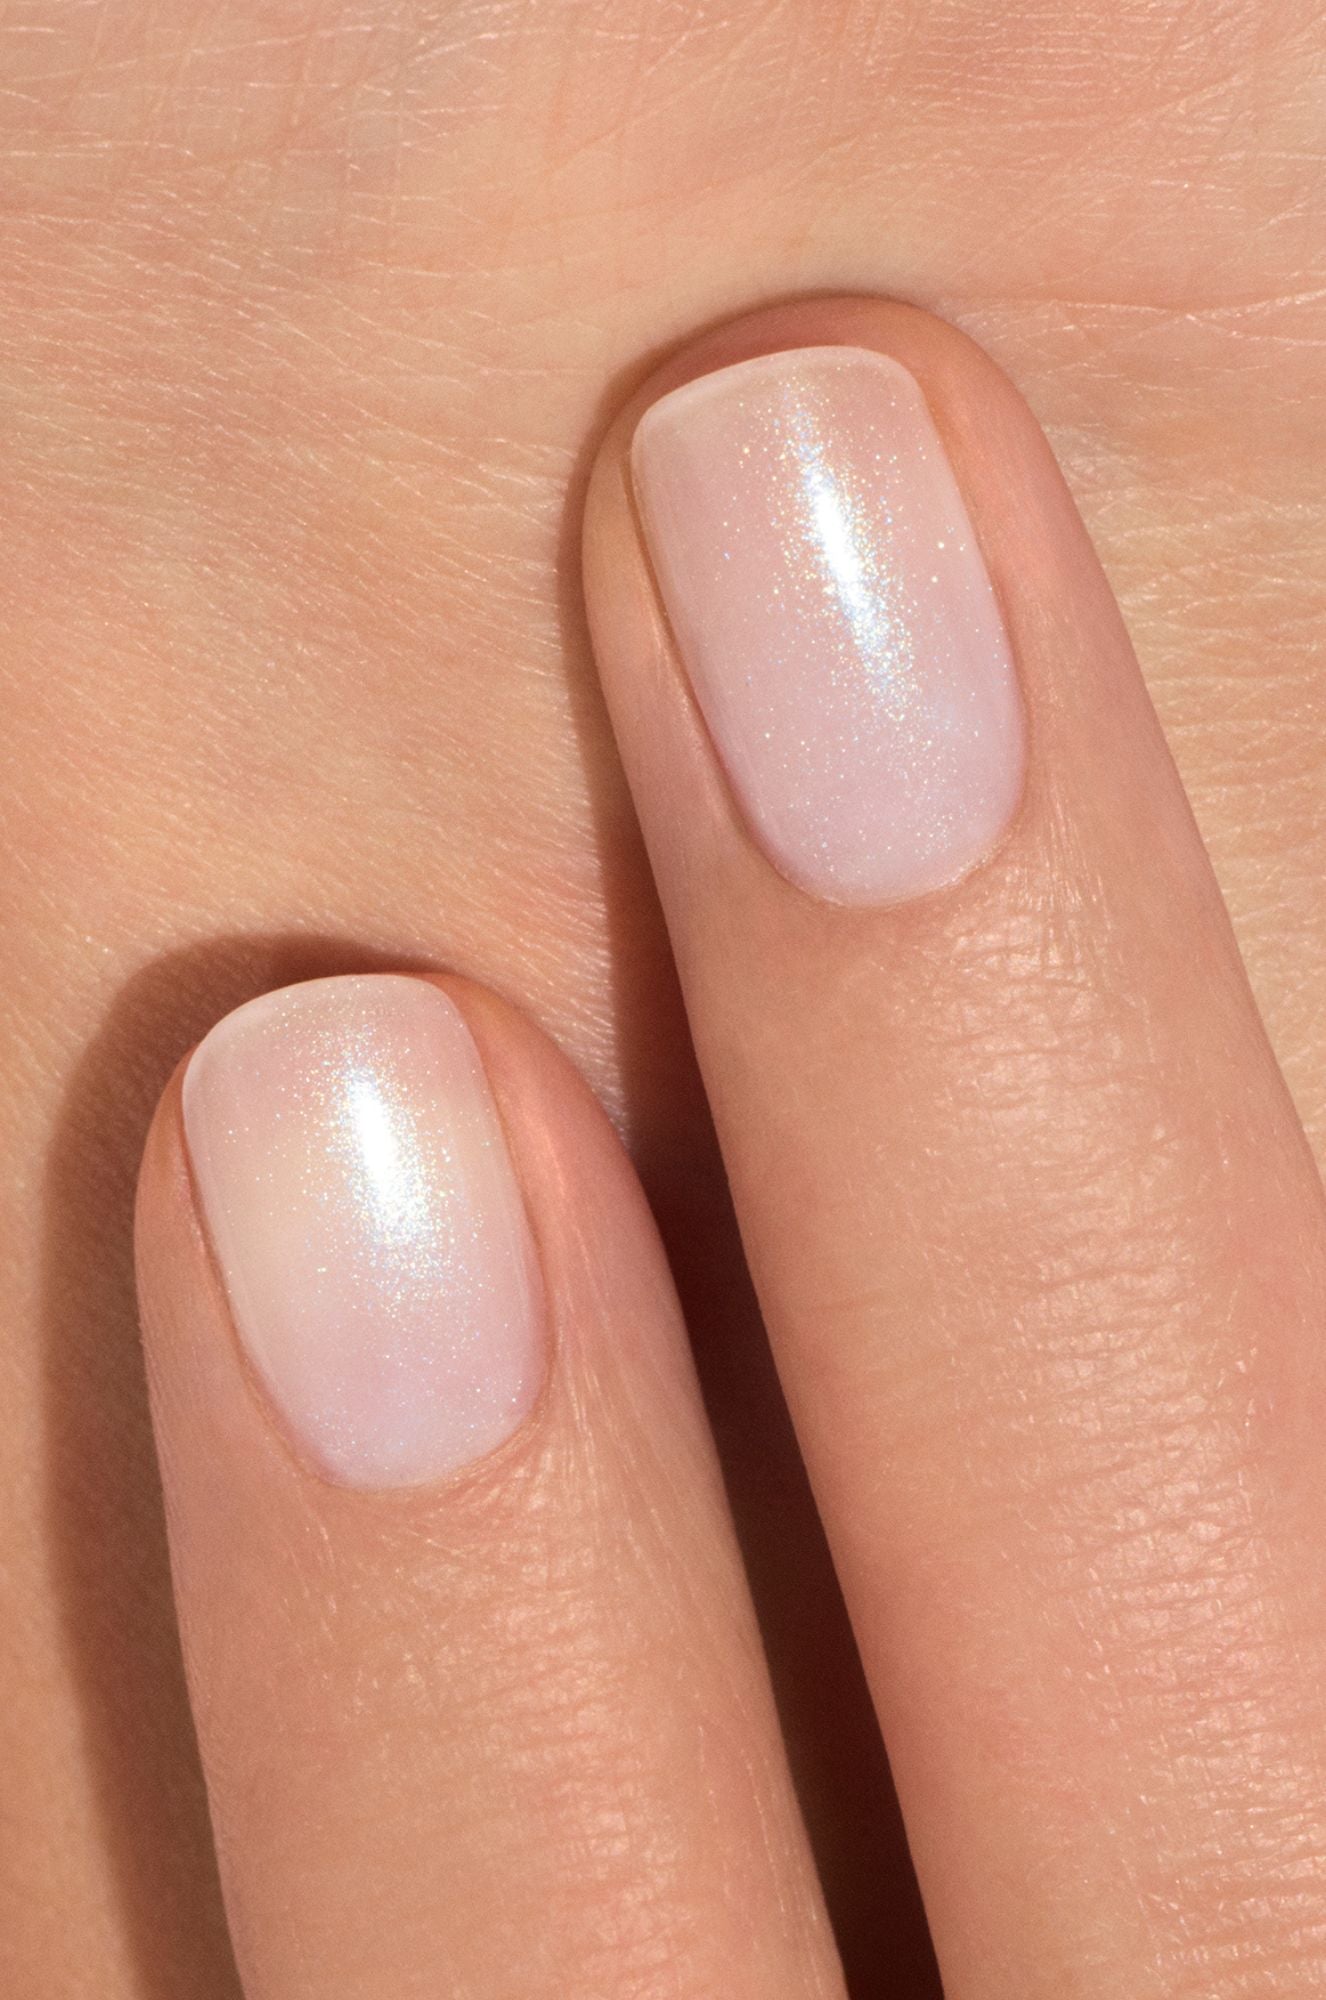
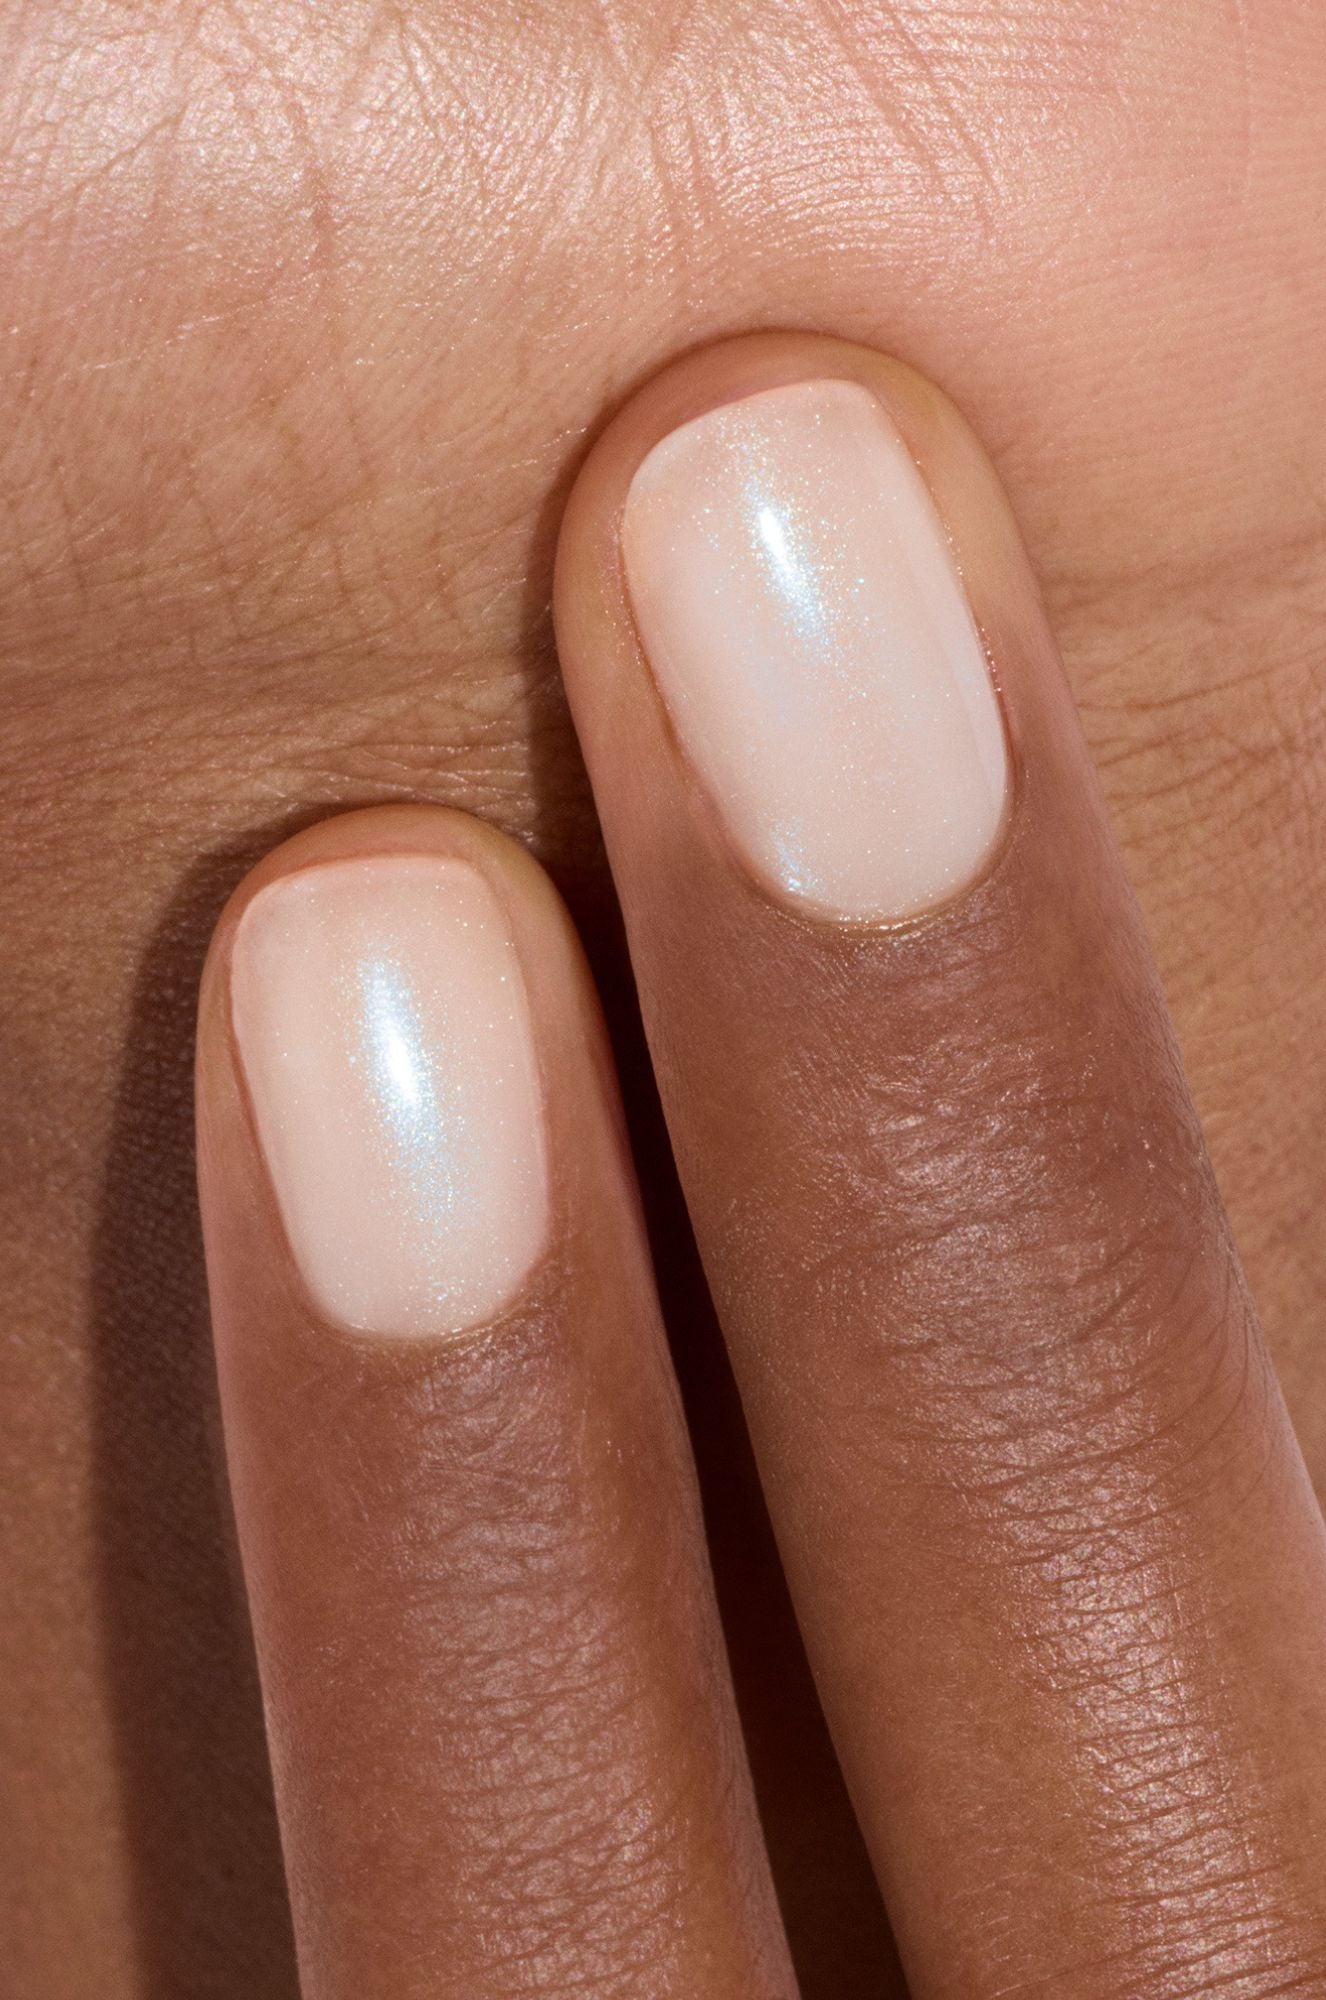
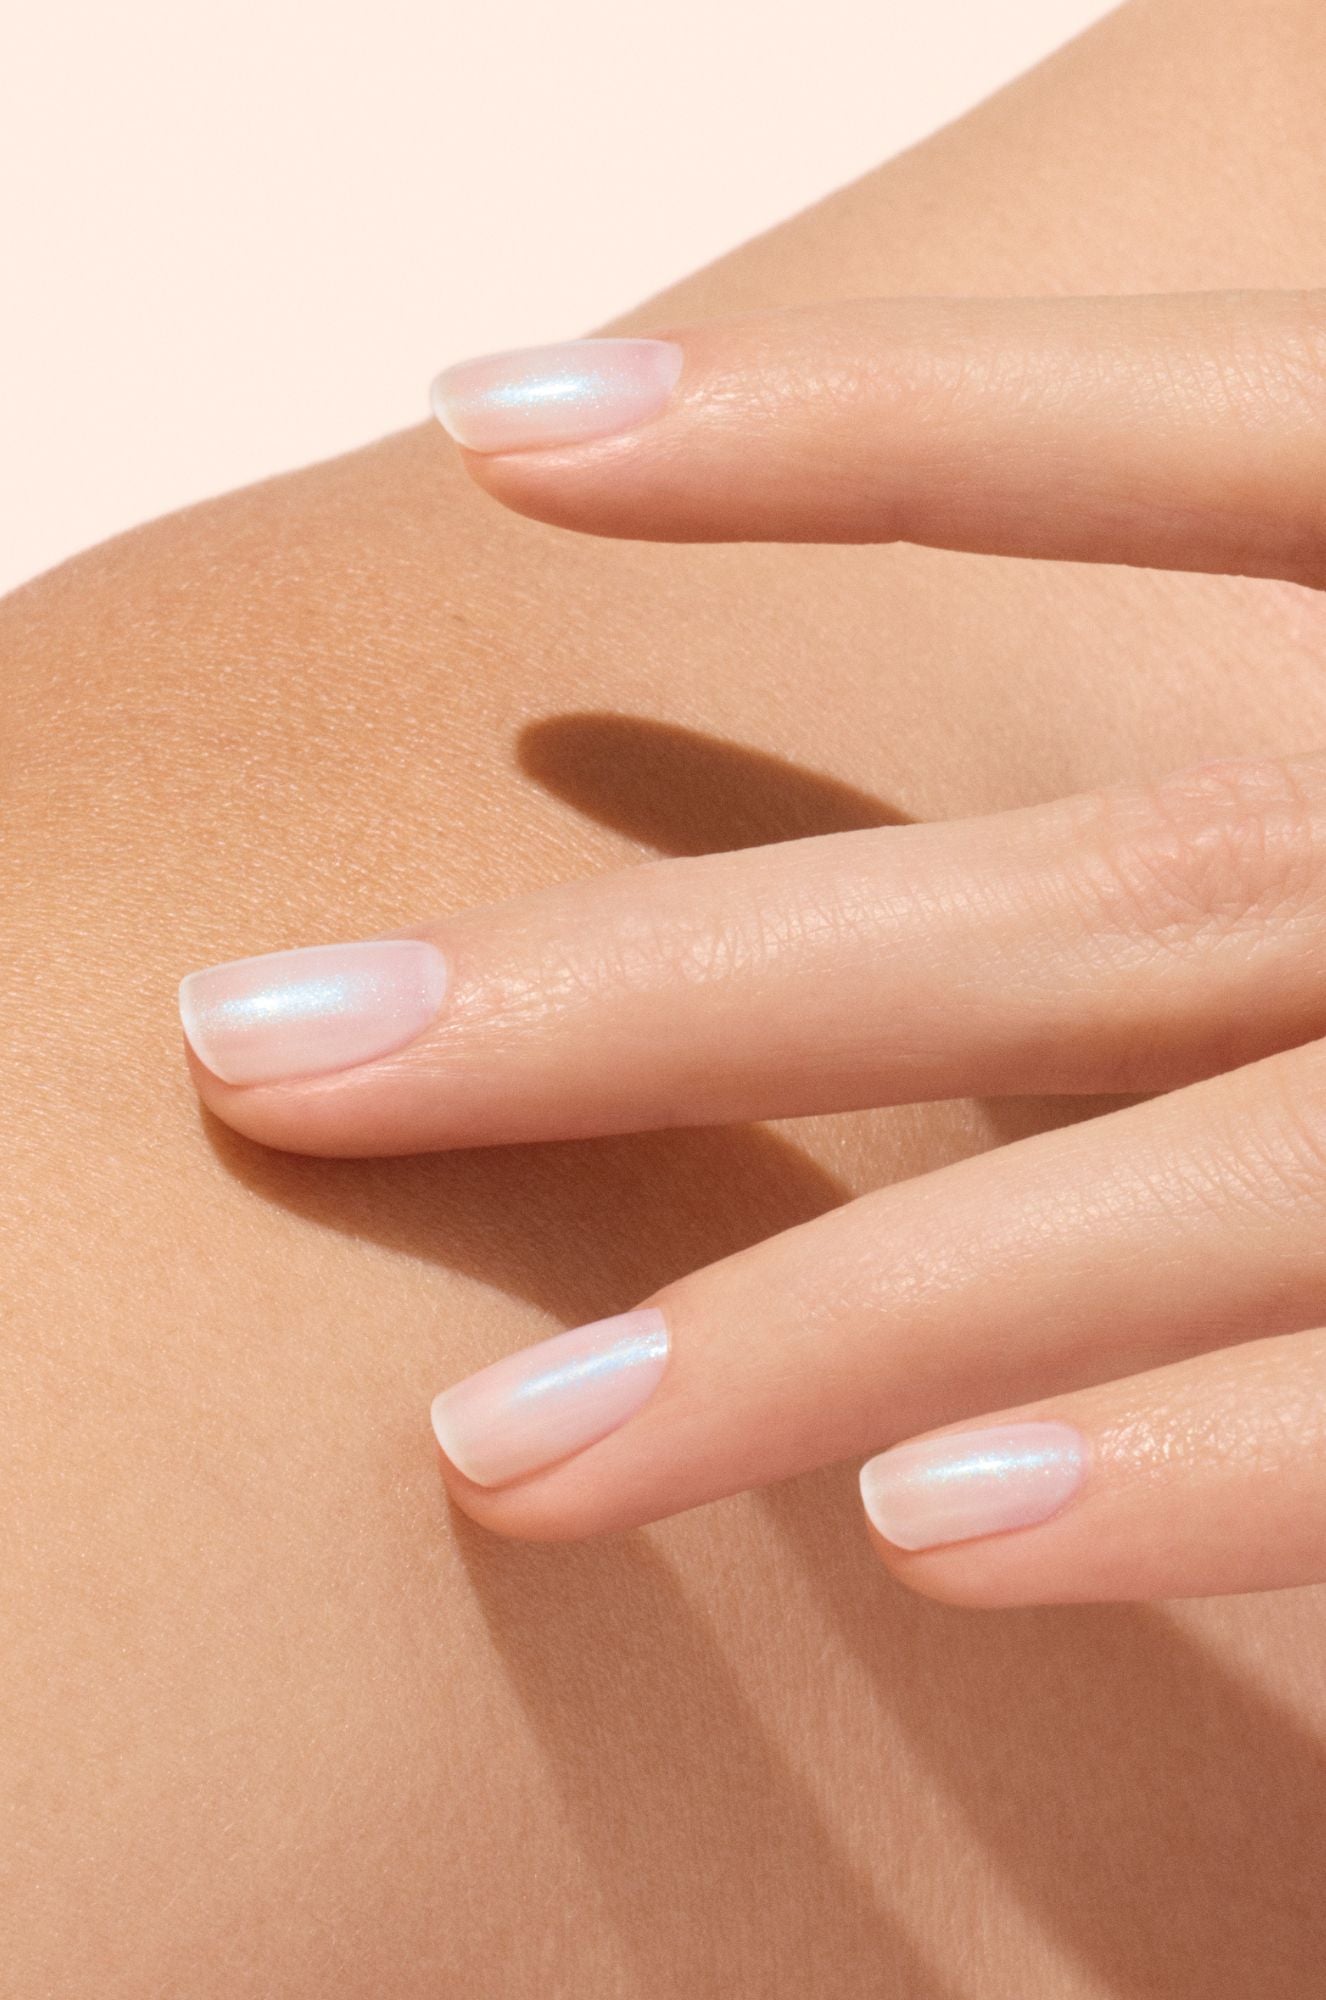
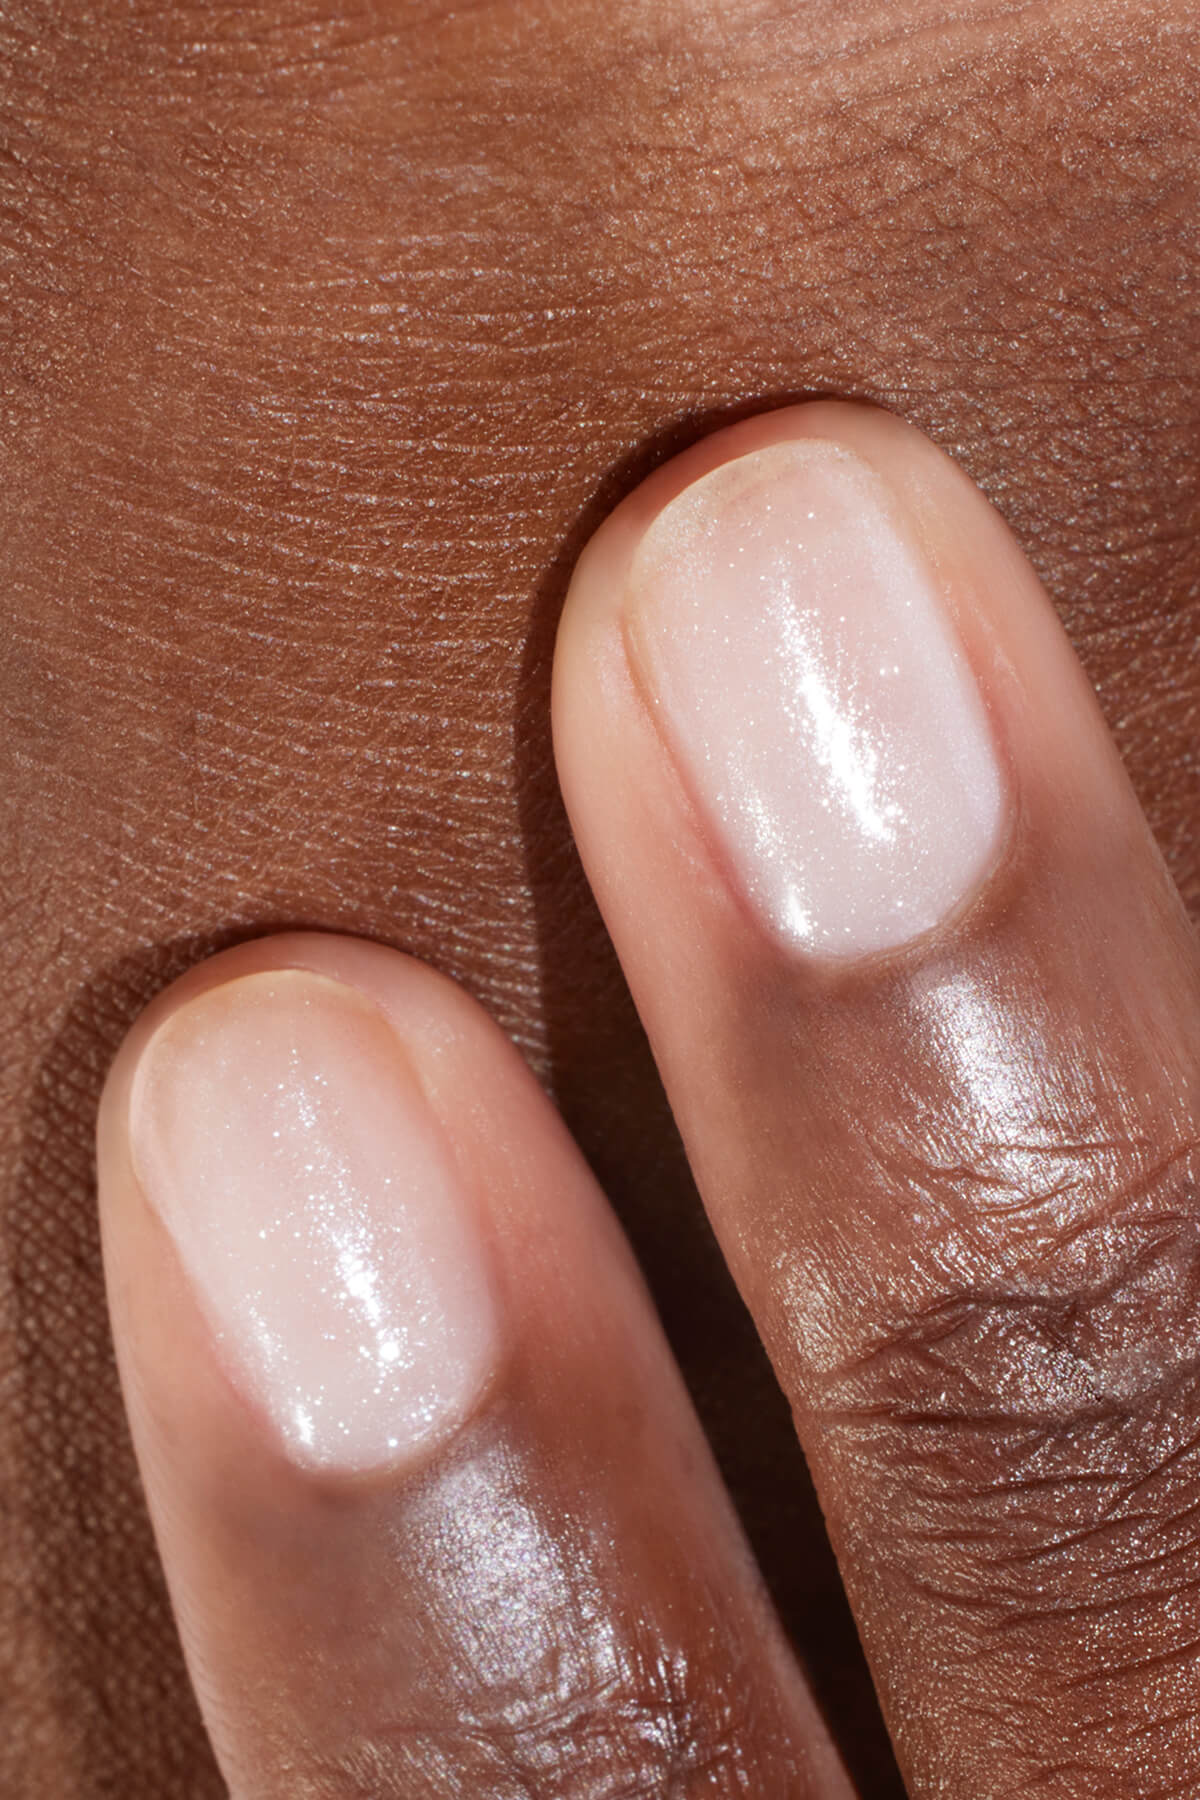
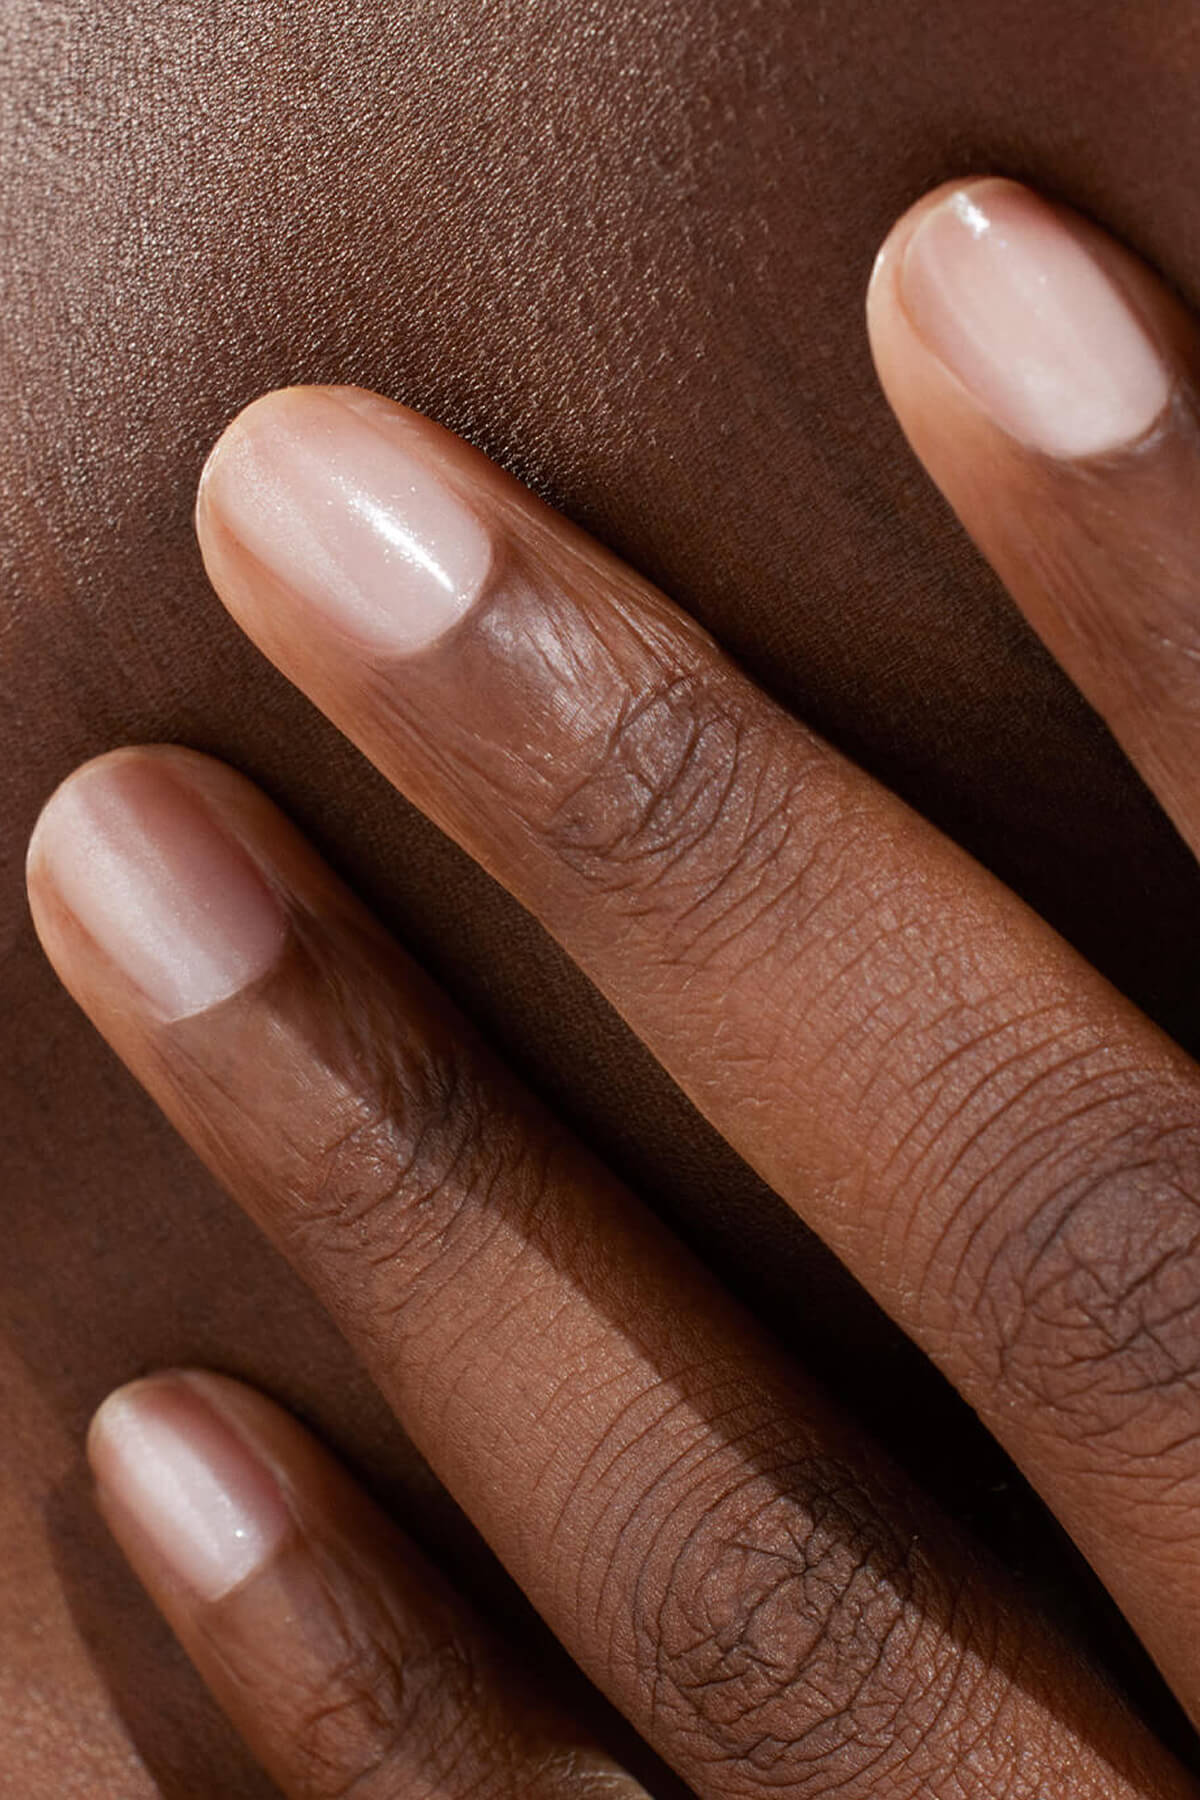
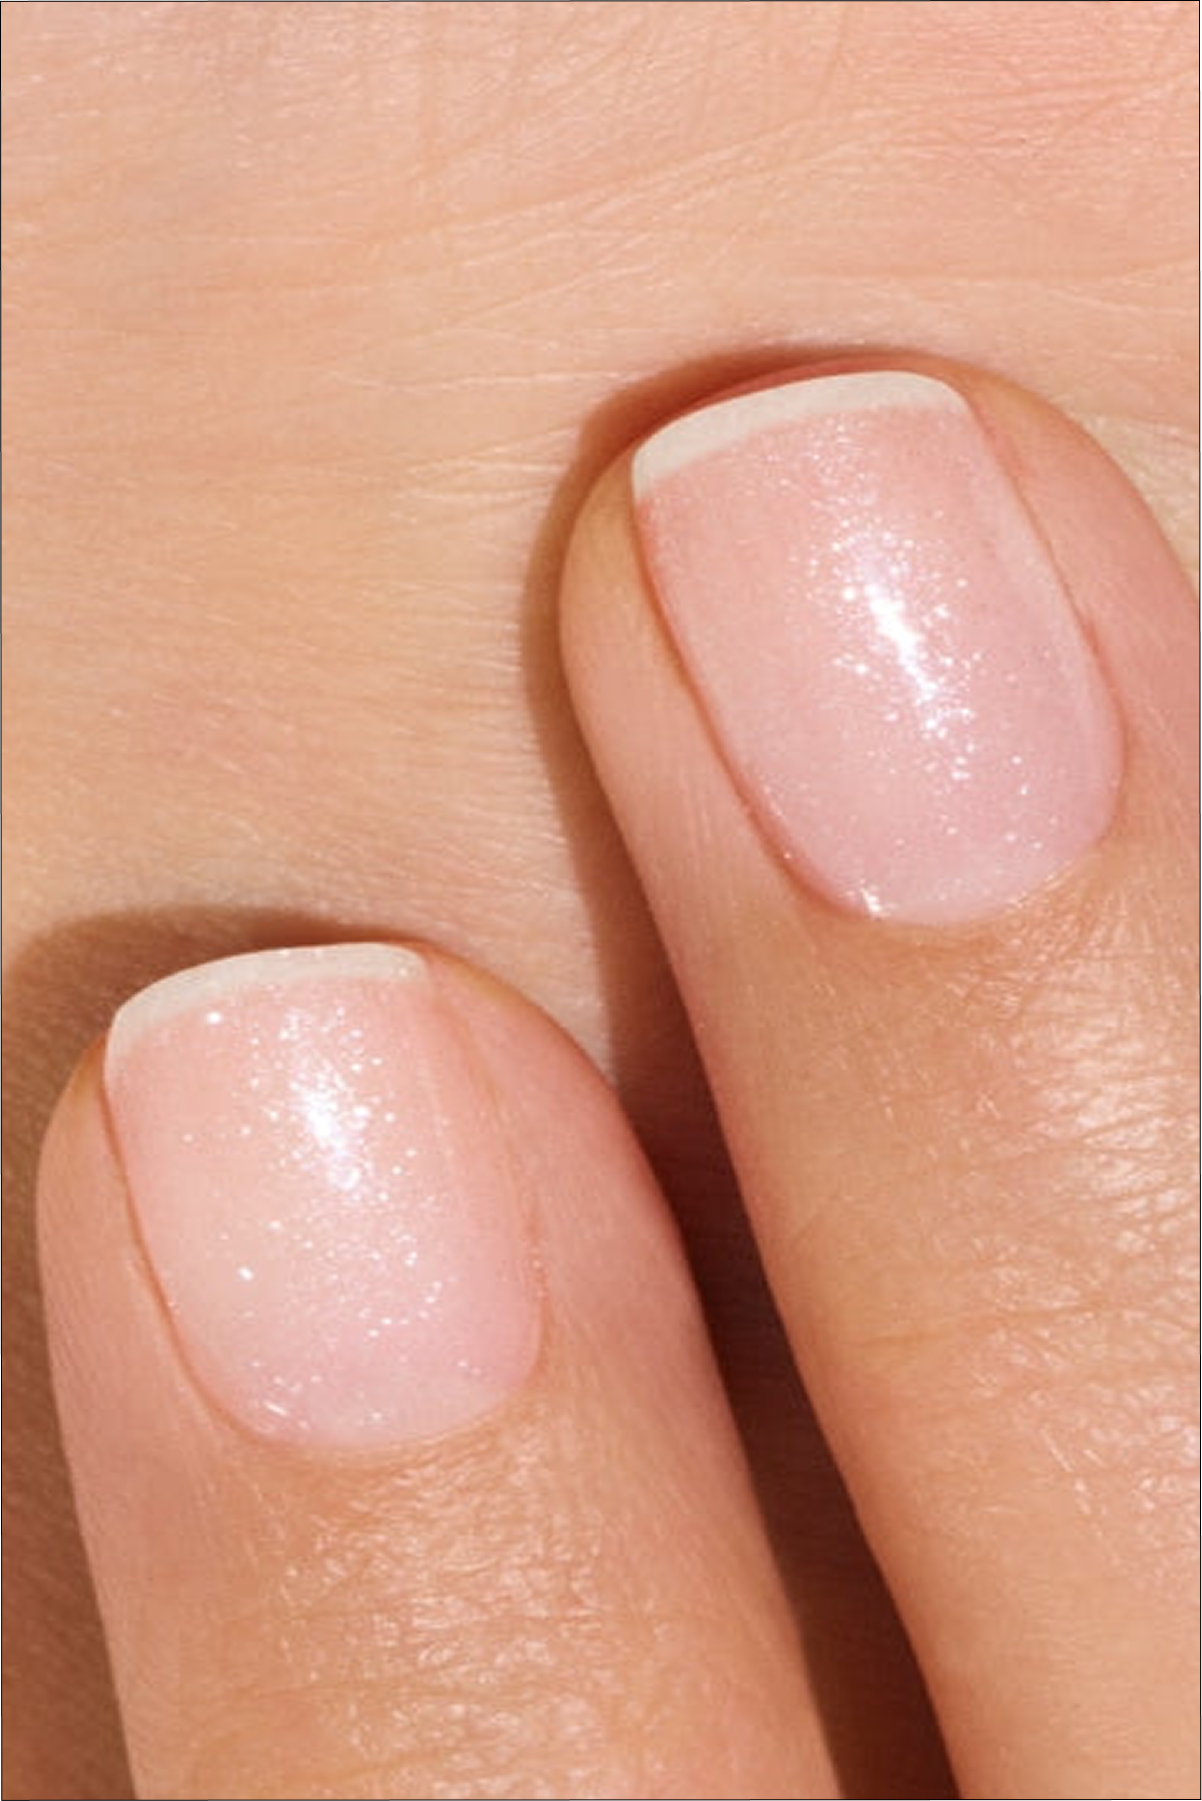
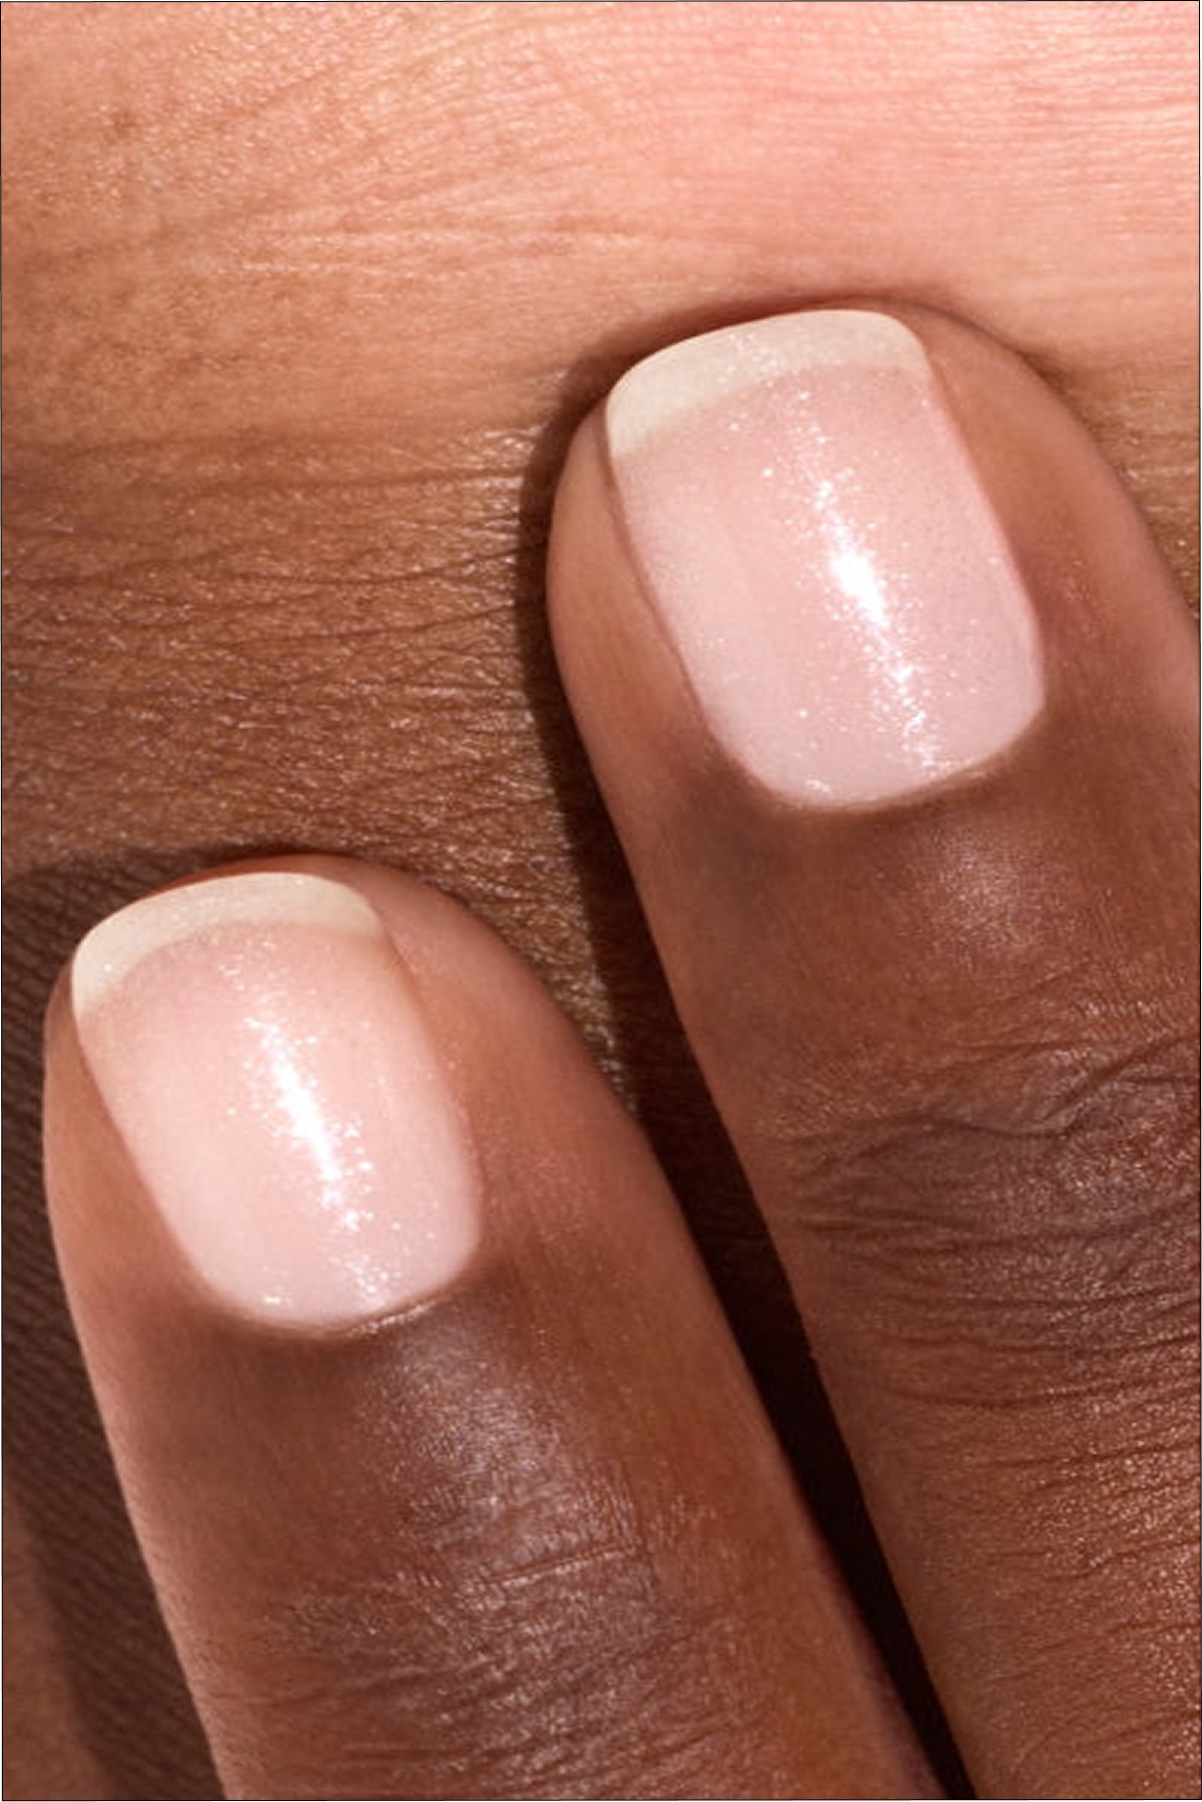
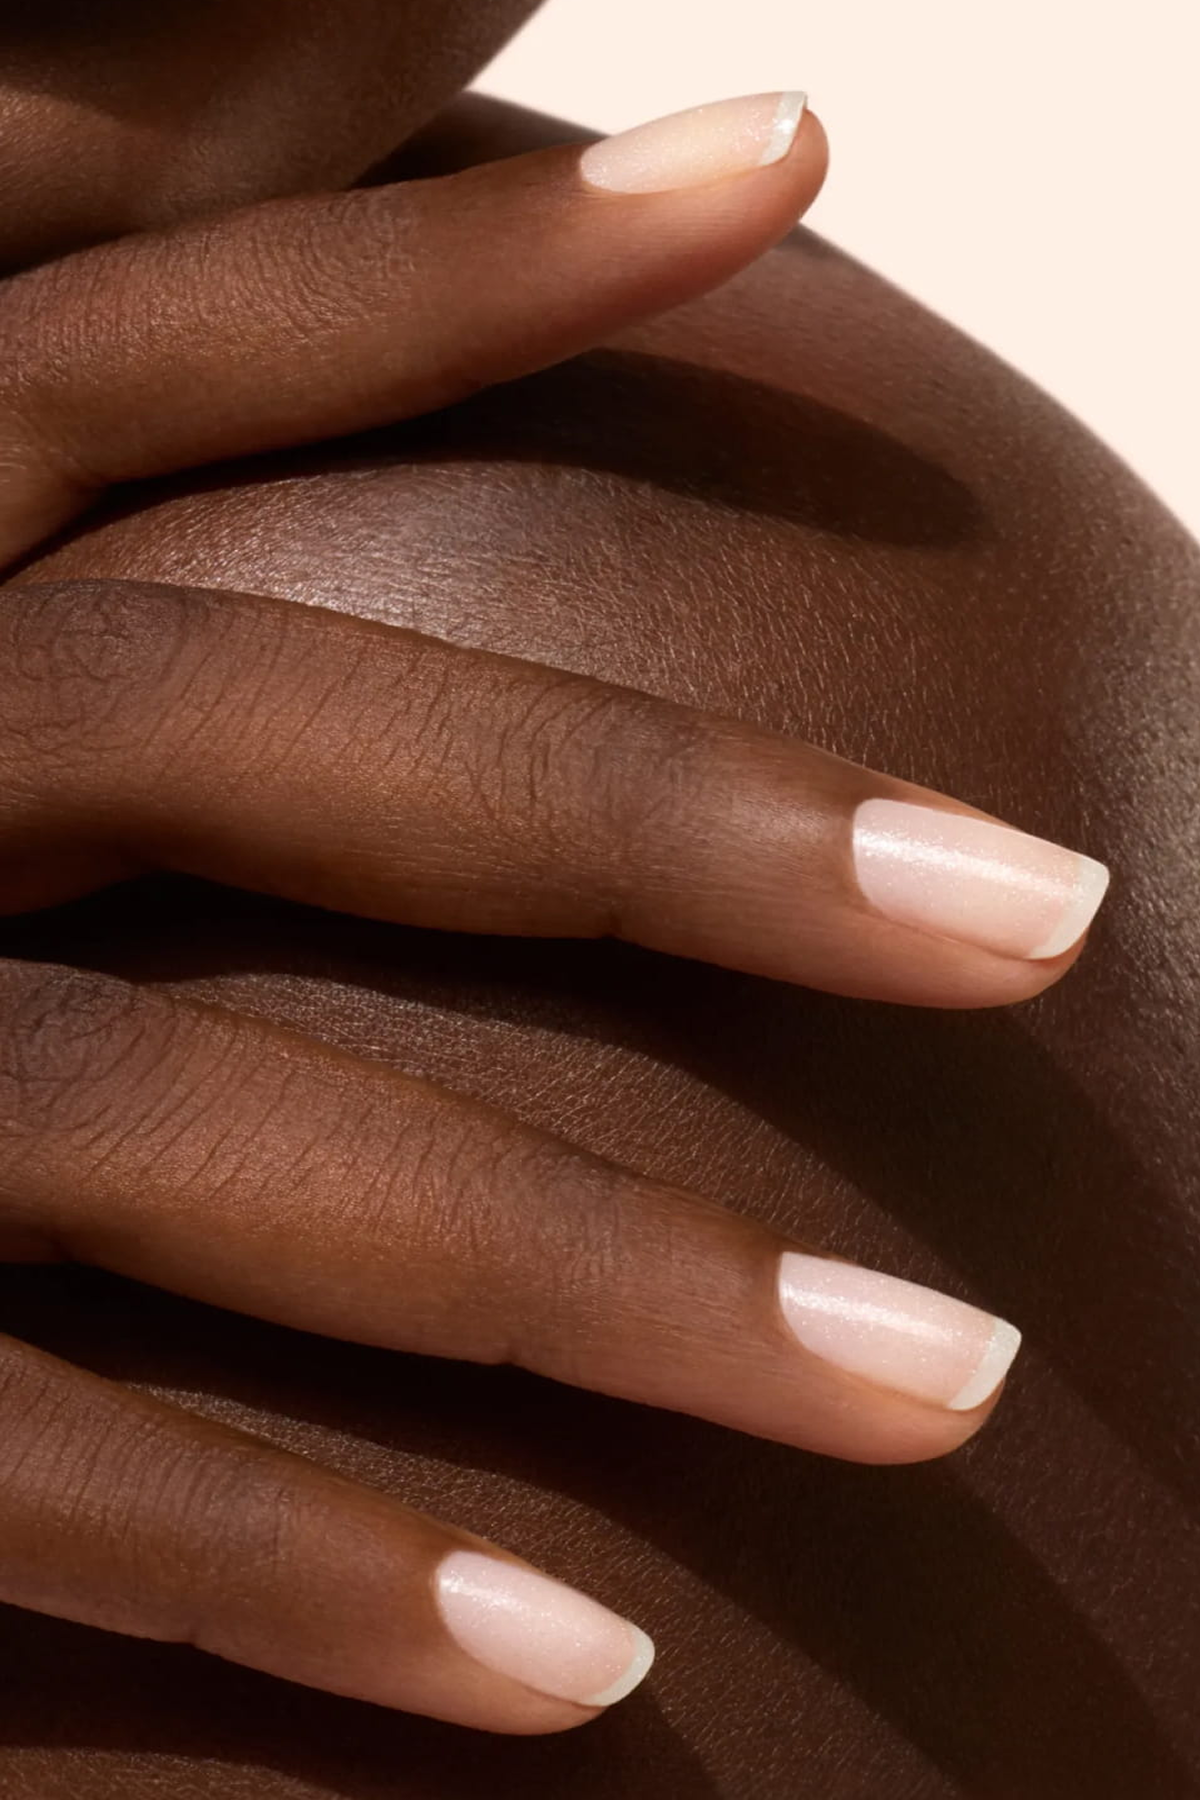
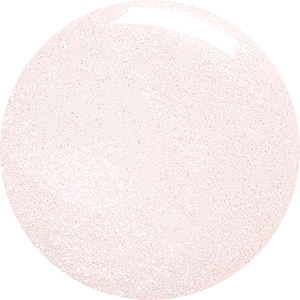
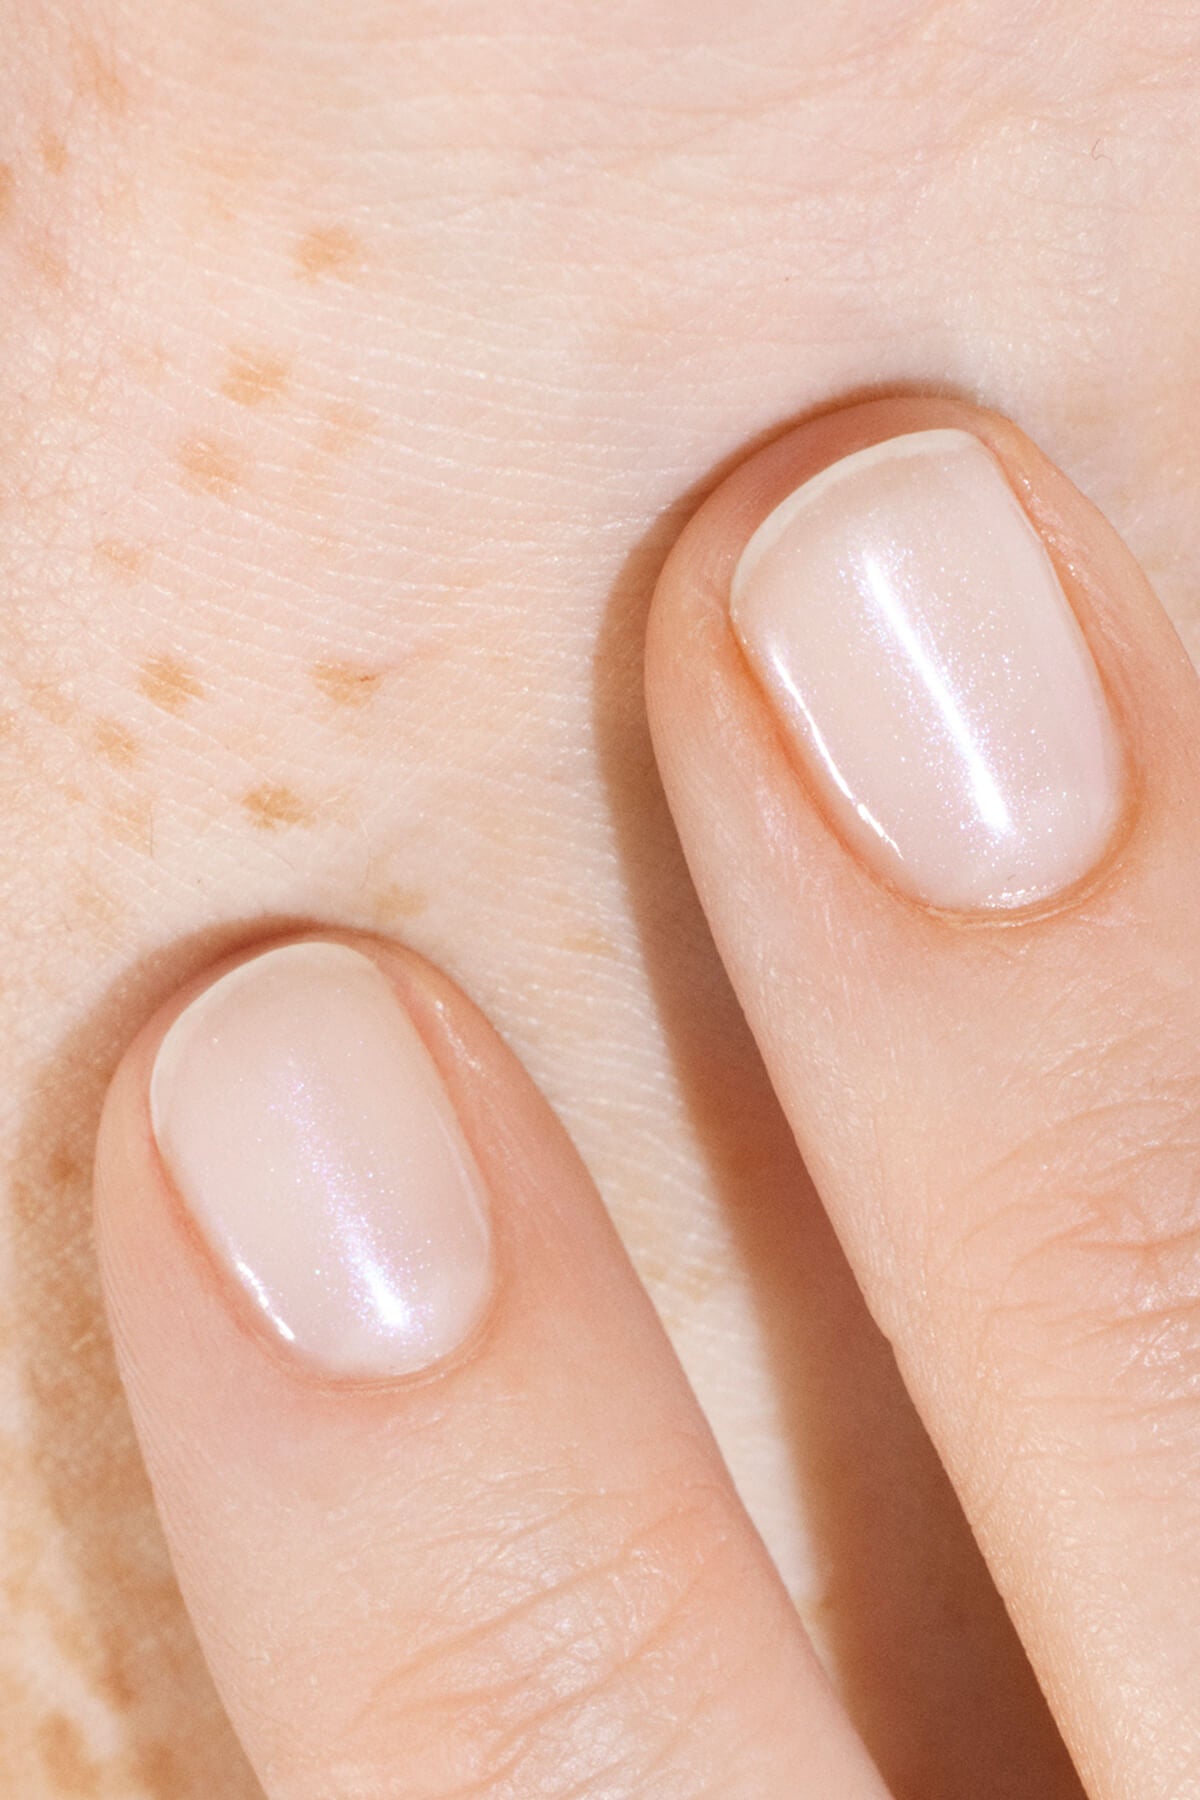
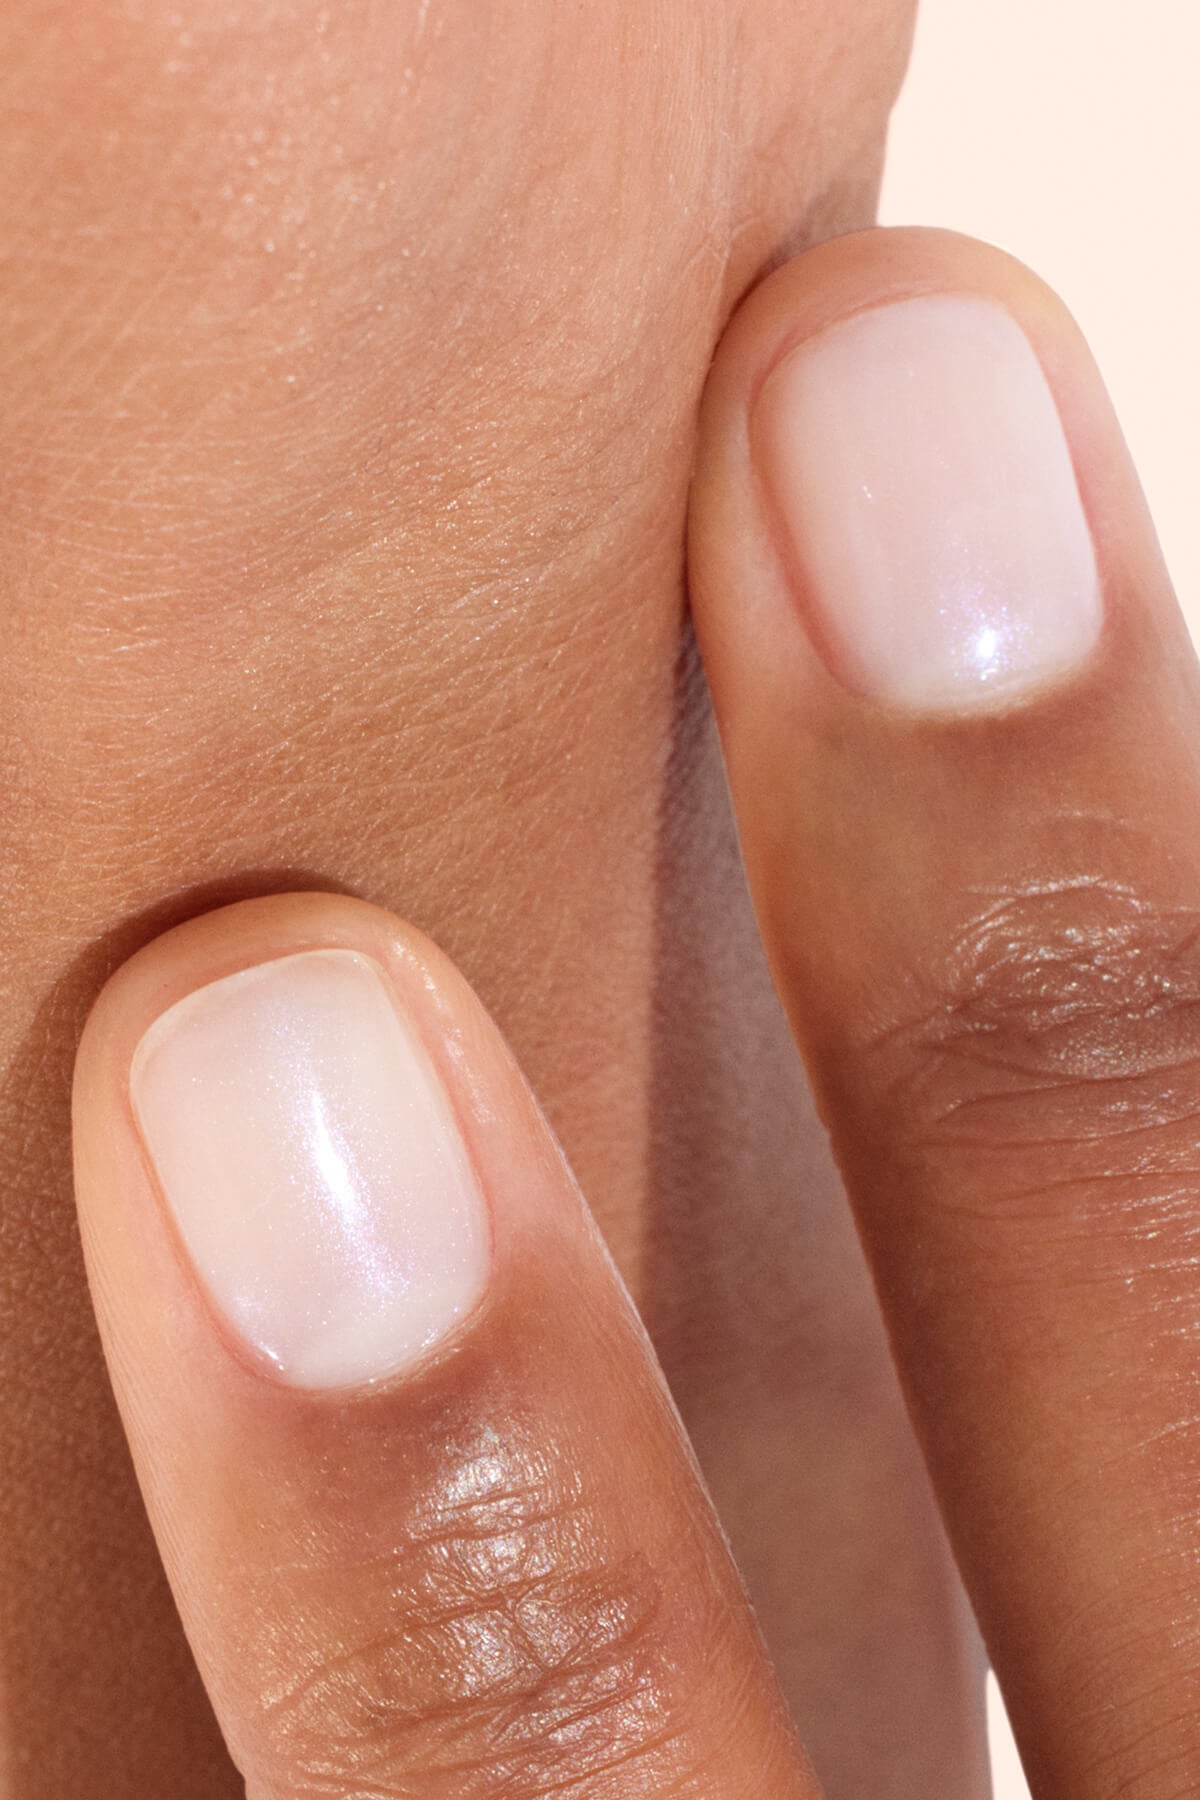
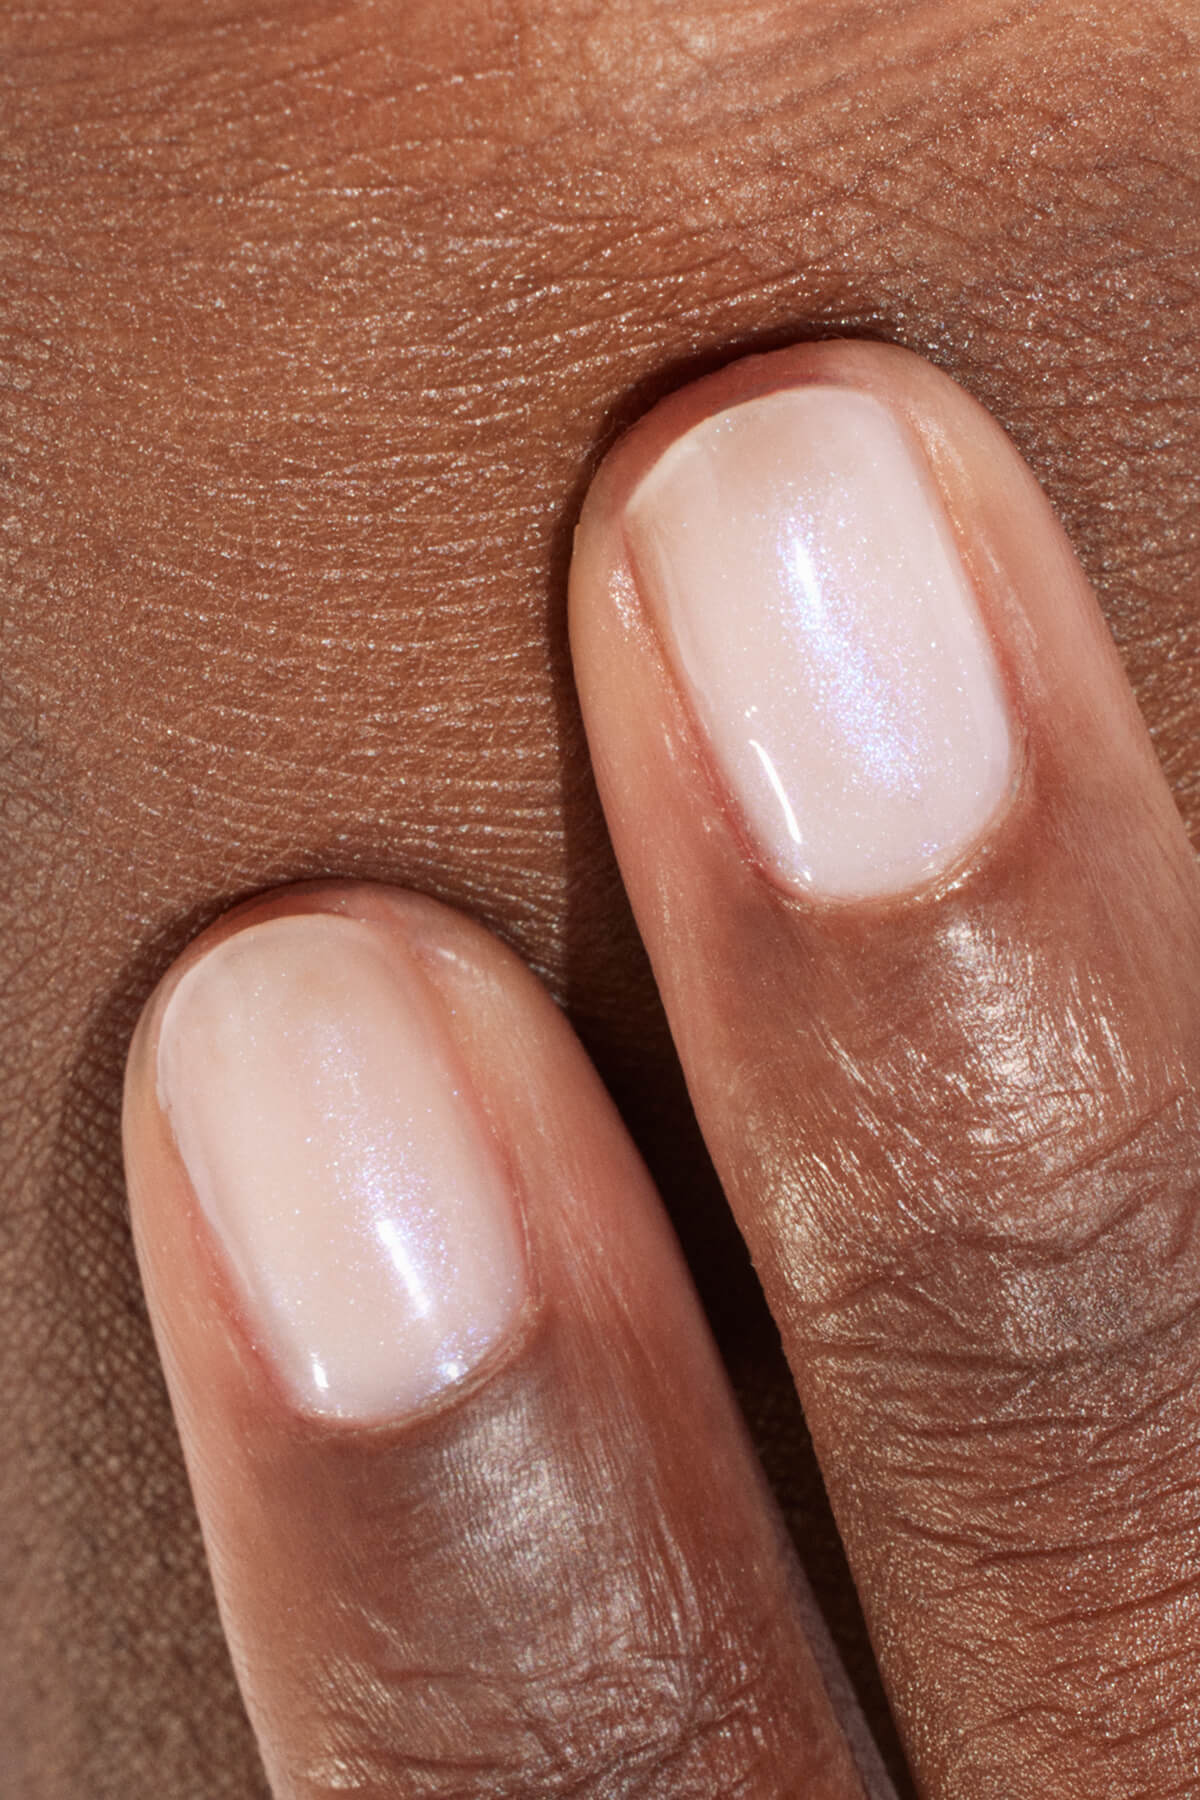
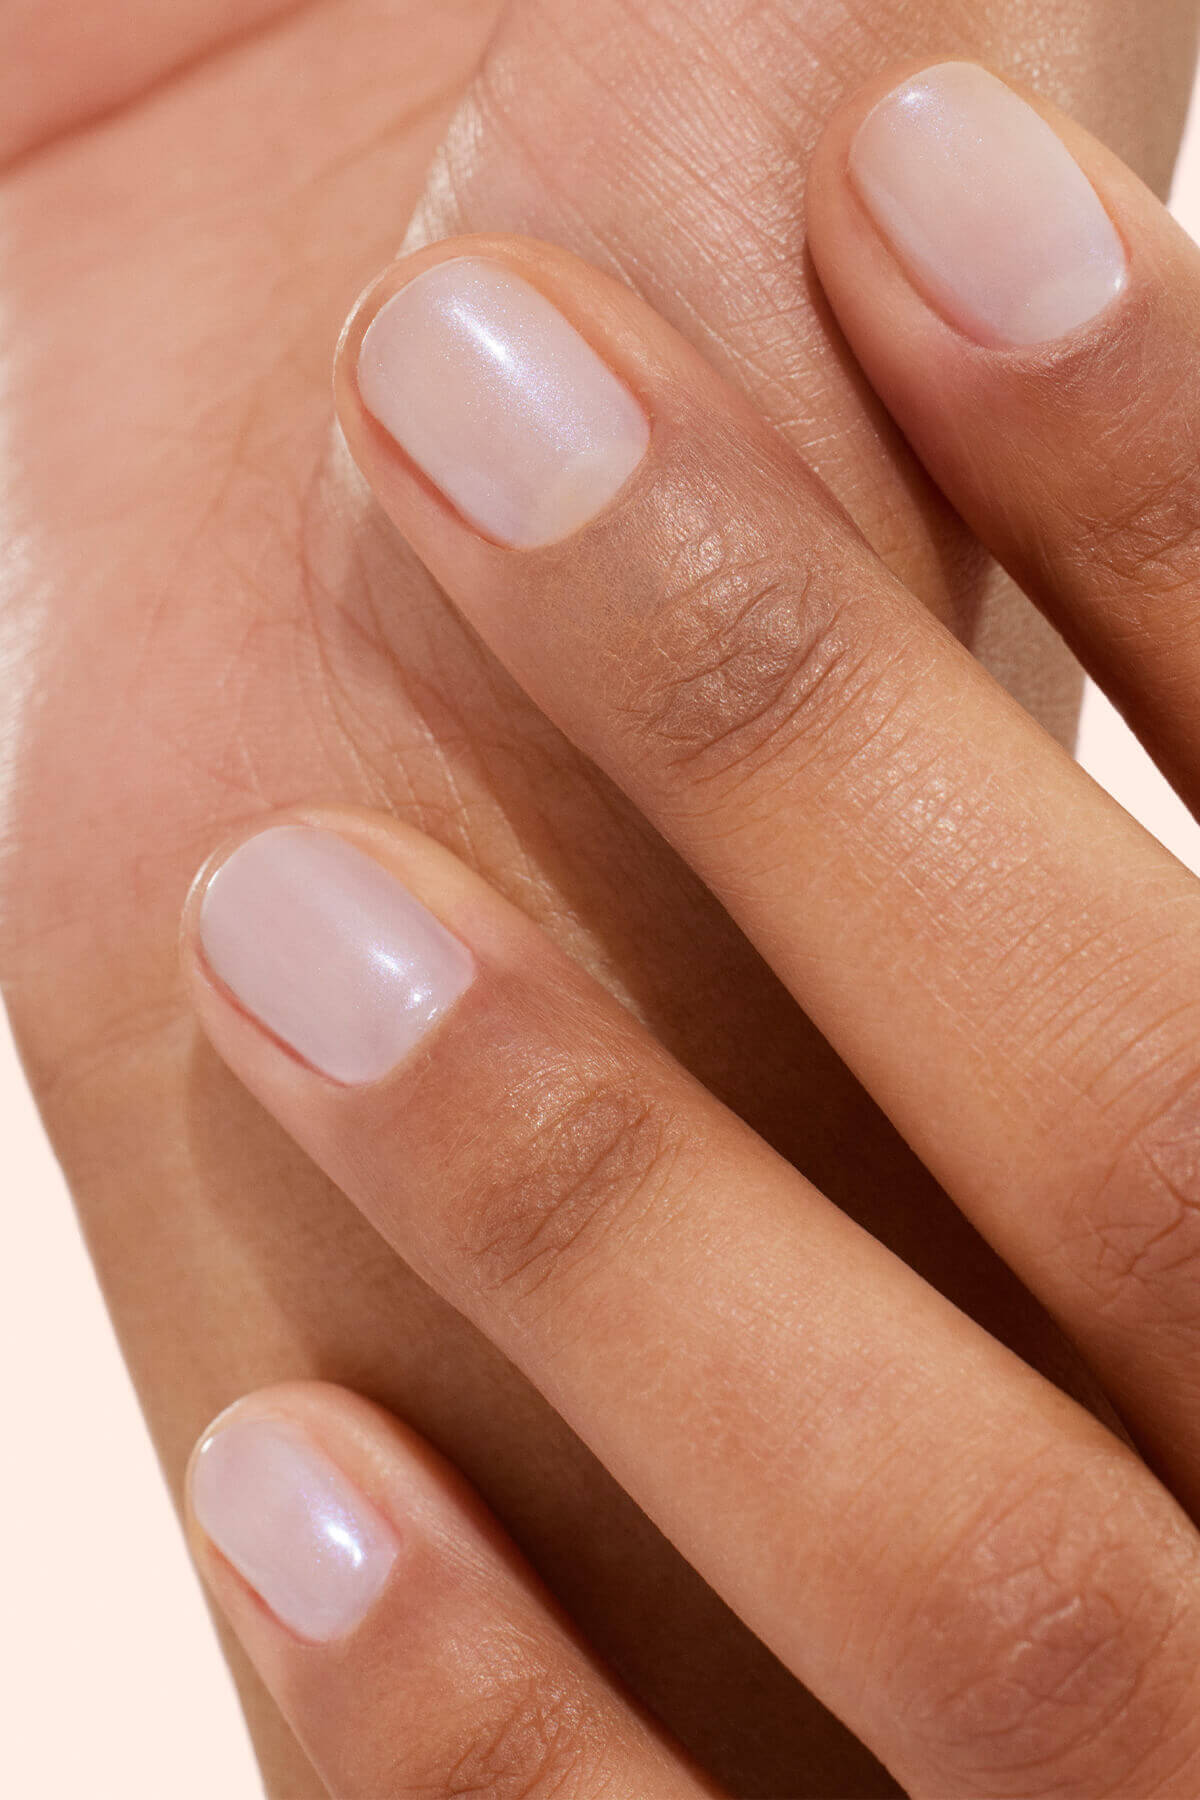
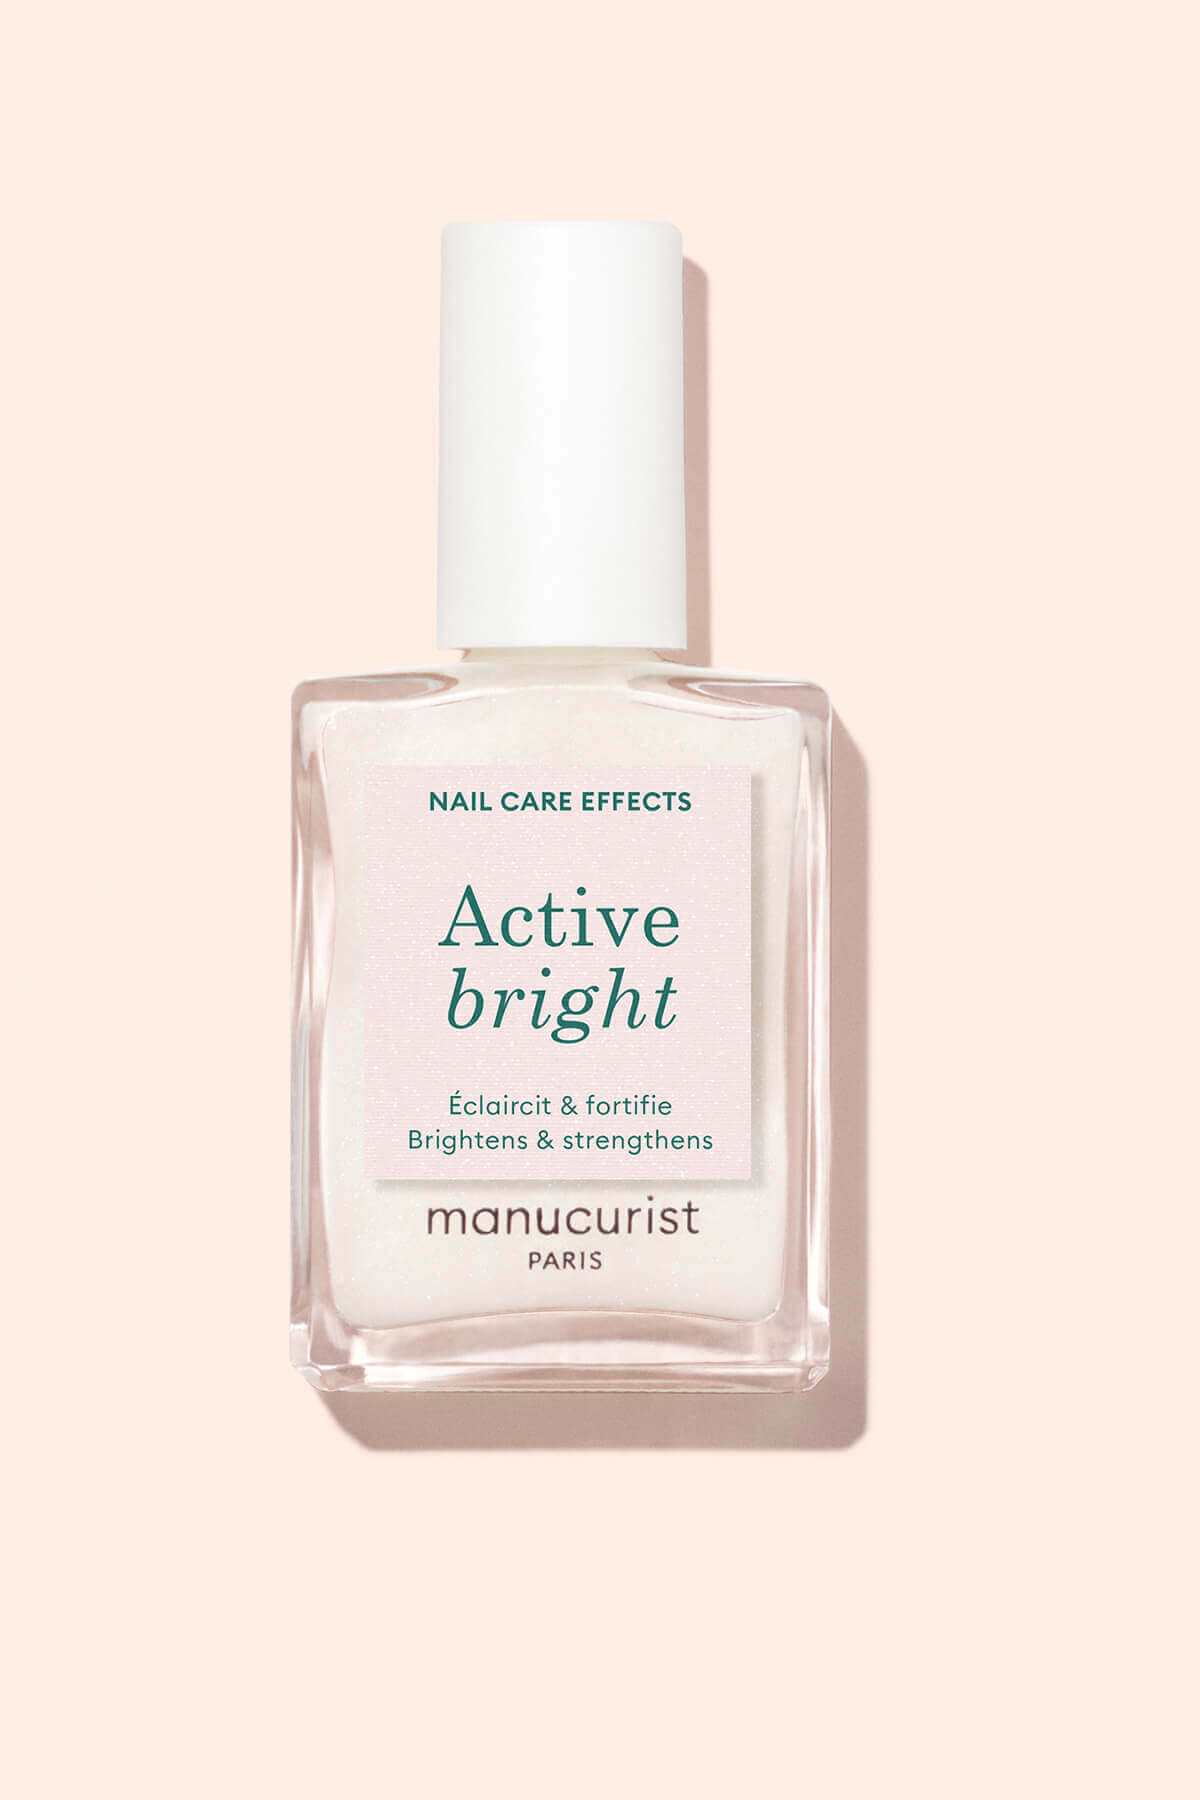
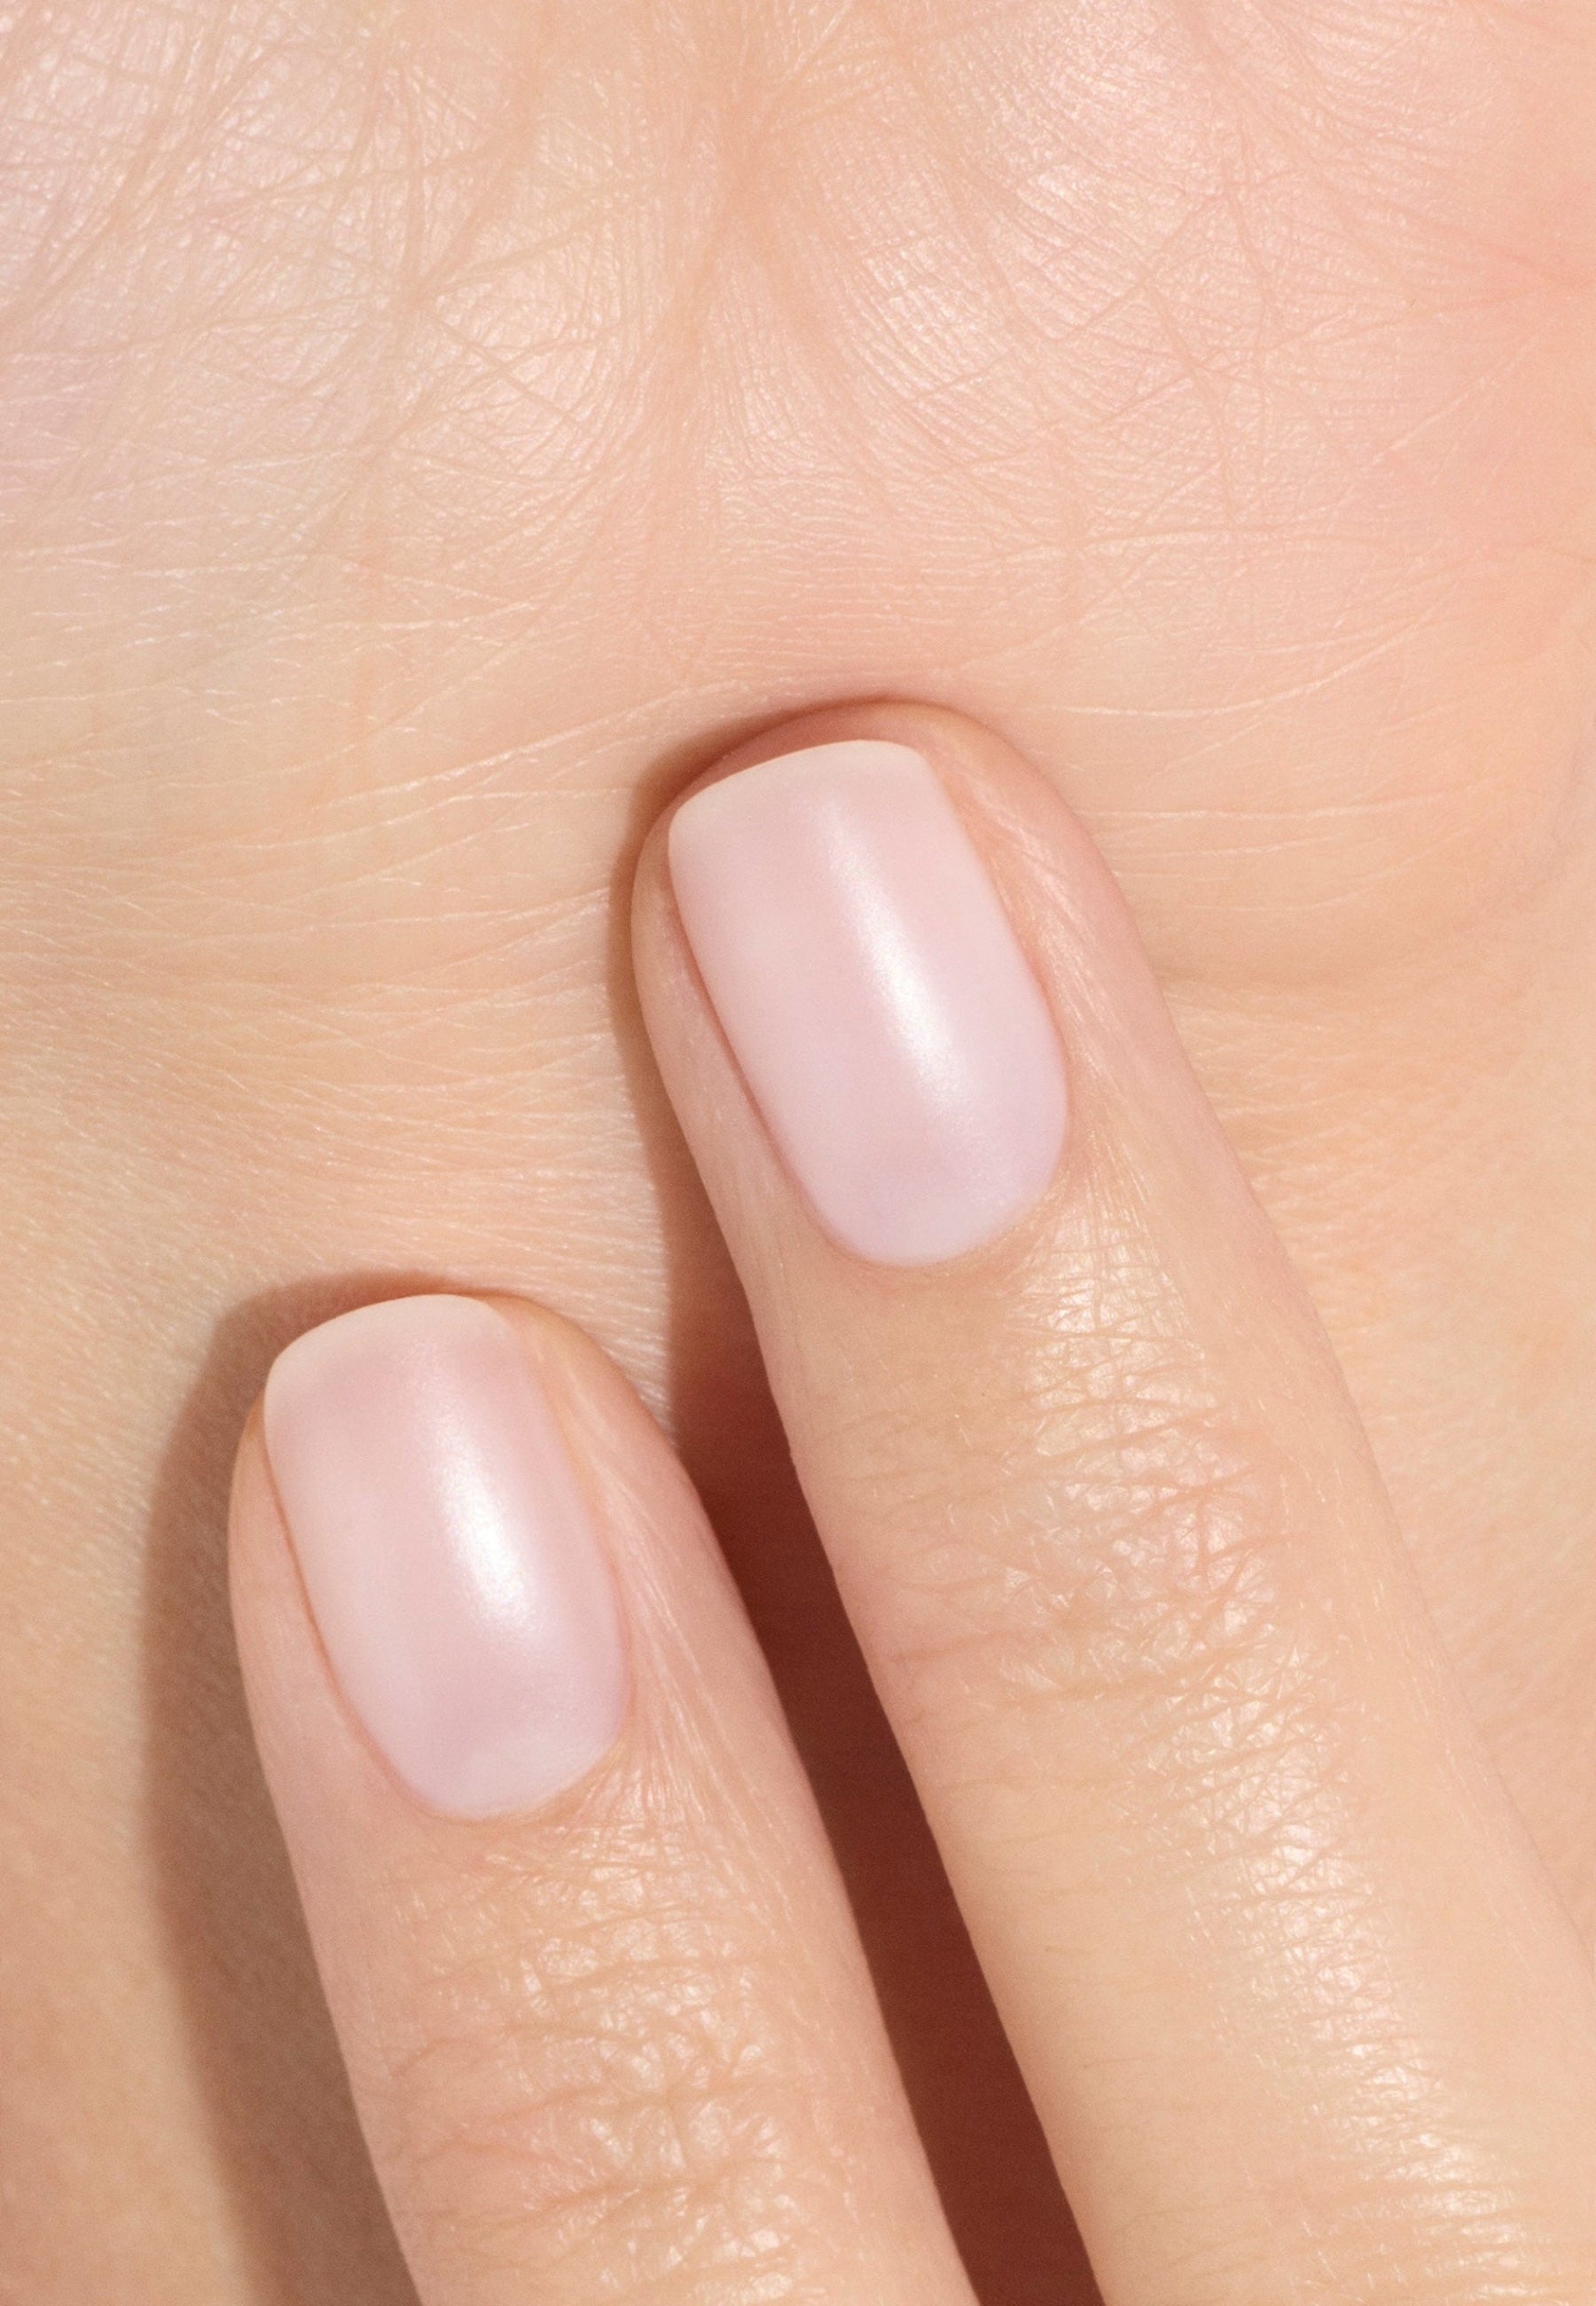
Milky White : one milky white varnish delicately translucent, like a hazy decor on your nails.
Poison : a glittery green fir varnish with a quaint elegance, with a completely hypnotic metallic effect.


Pink Halloween nails and glitter: the girly and original option
To change dark glam and break the codes, revisit Halloween in pink and sparkling version!
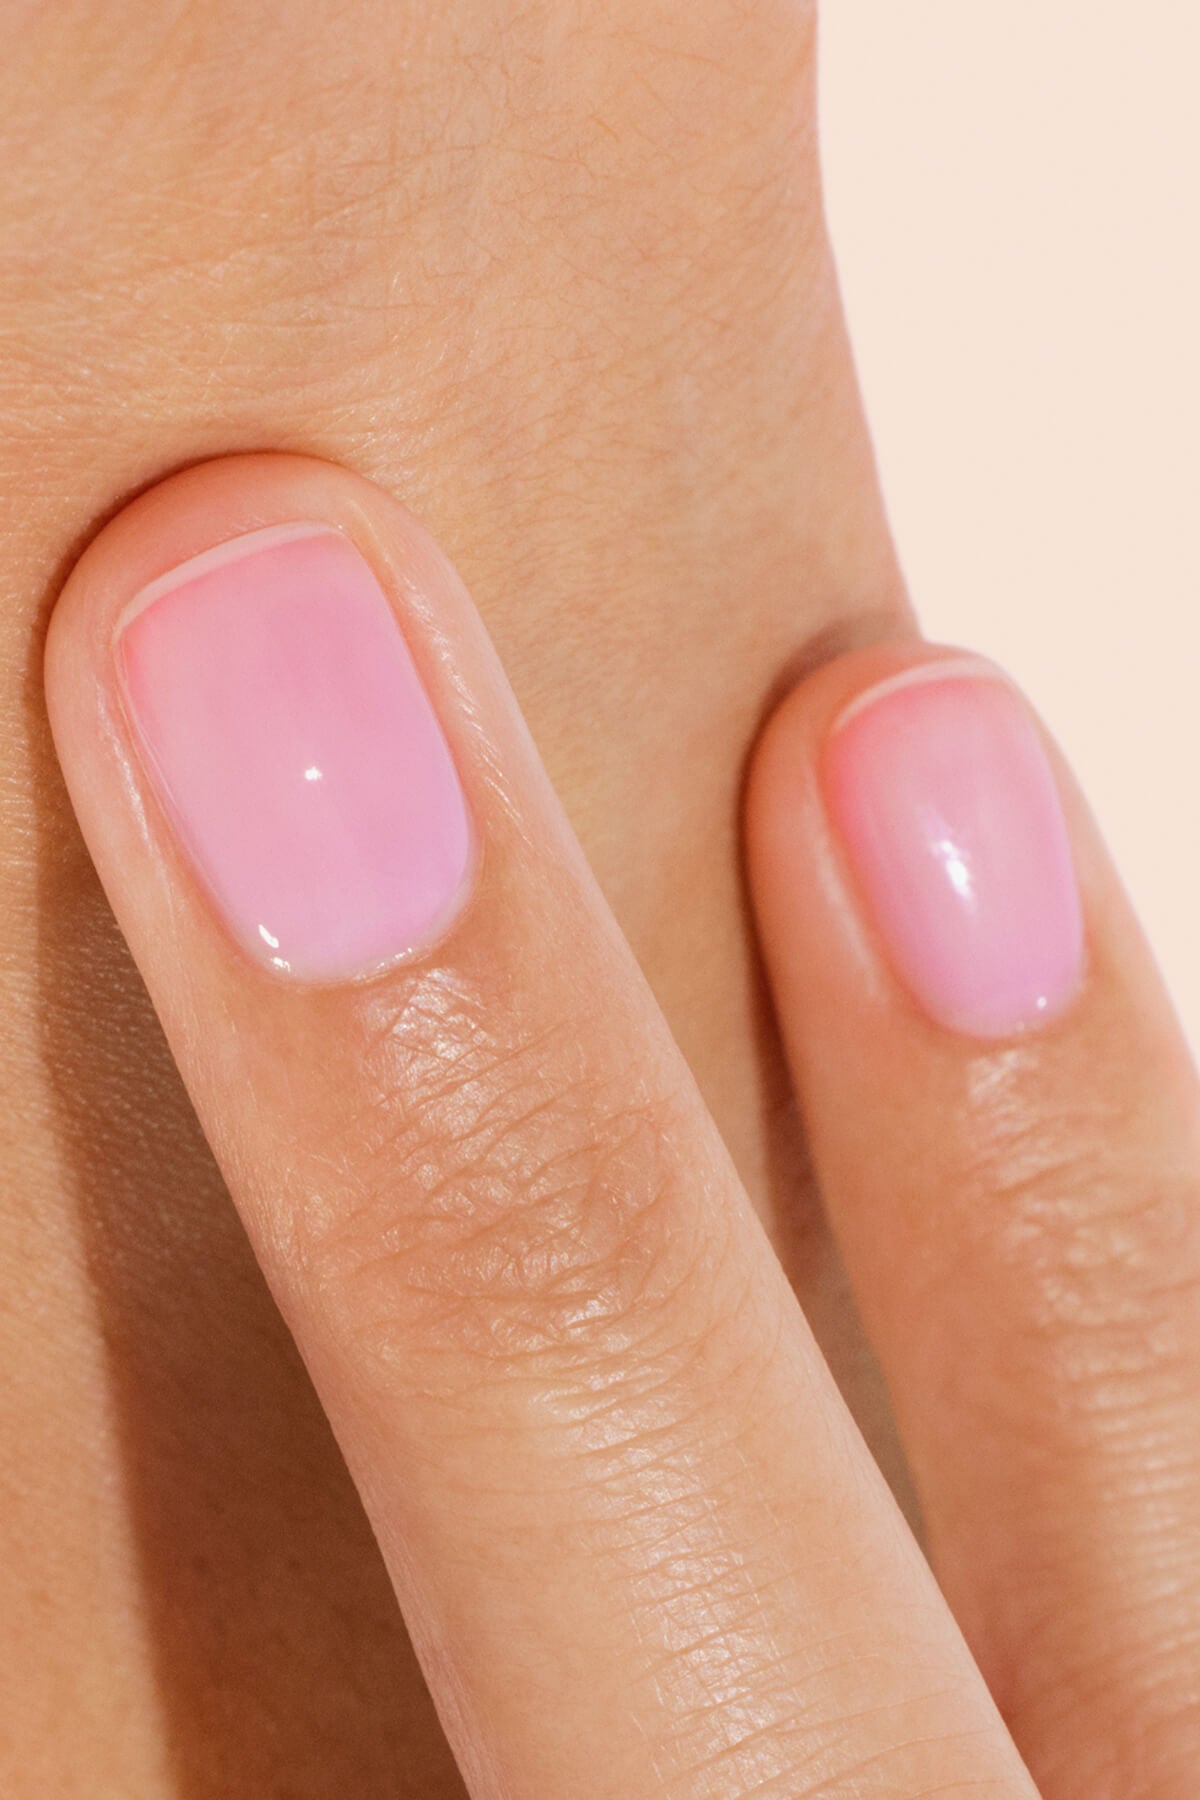
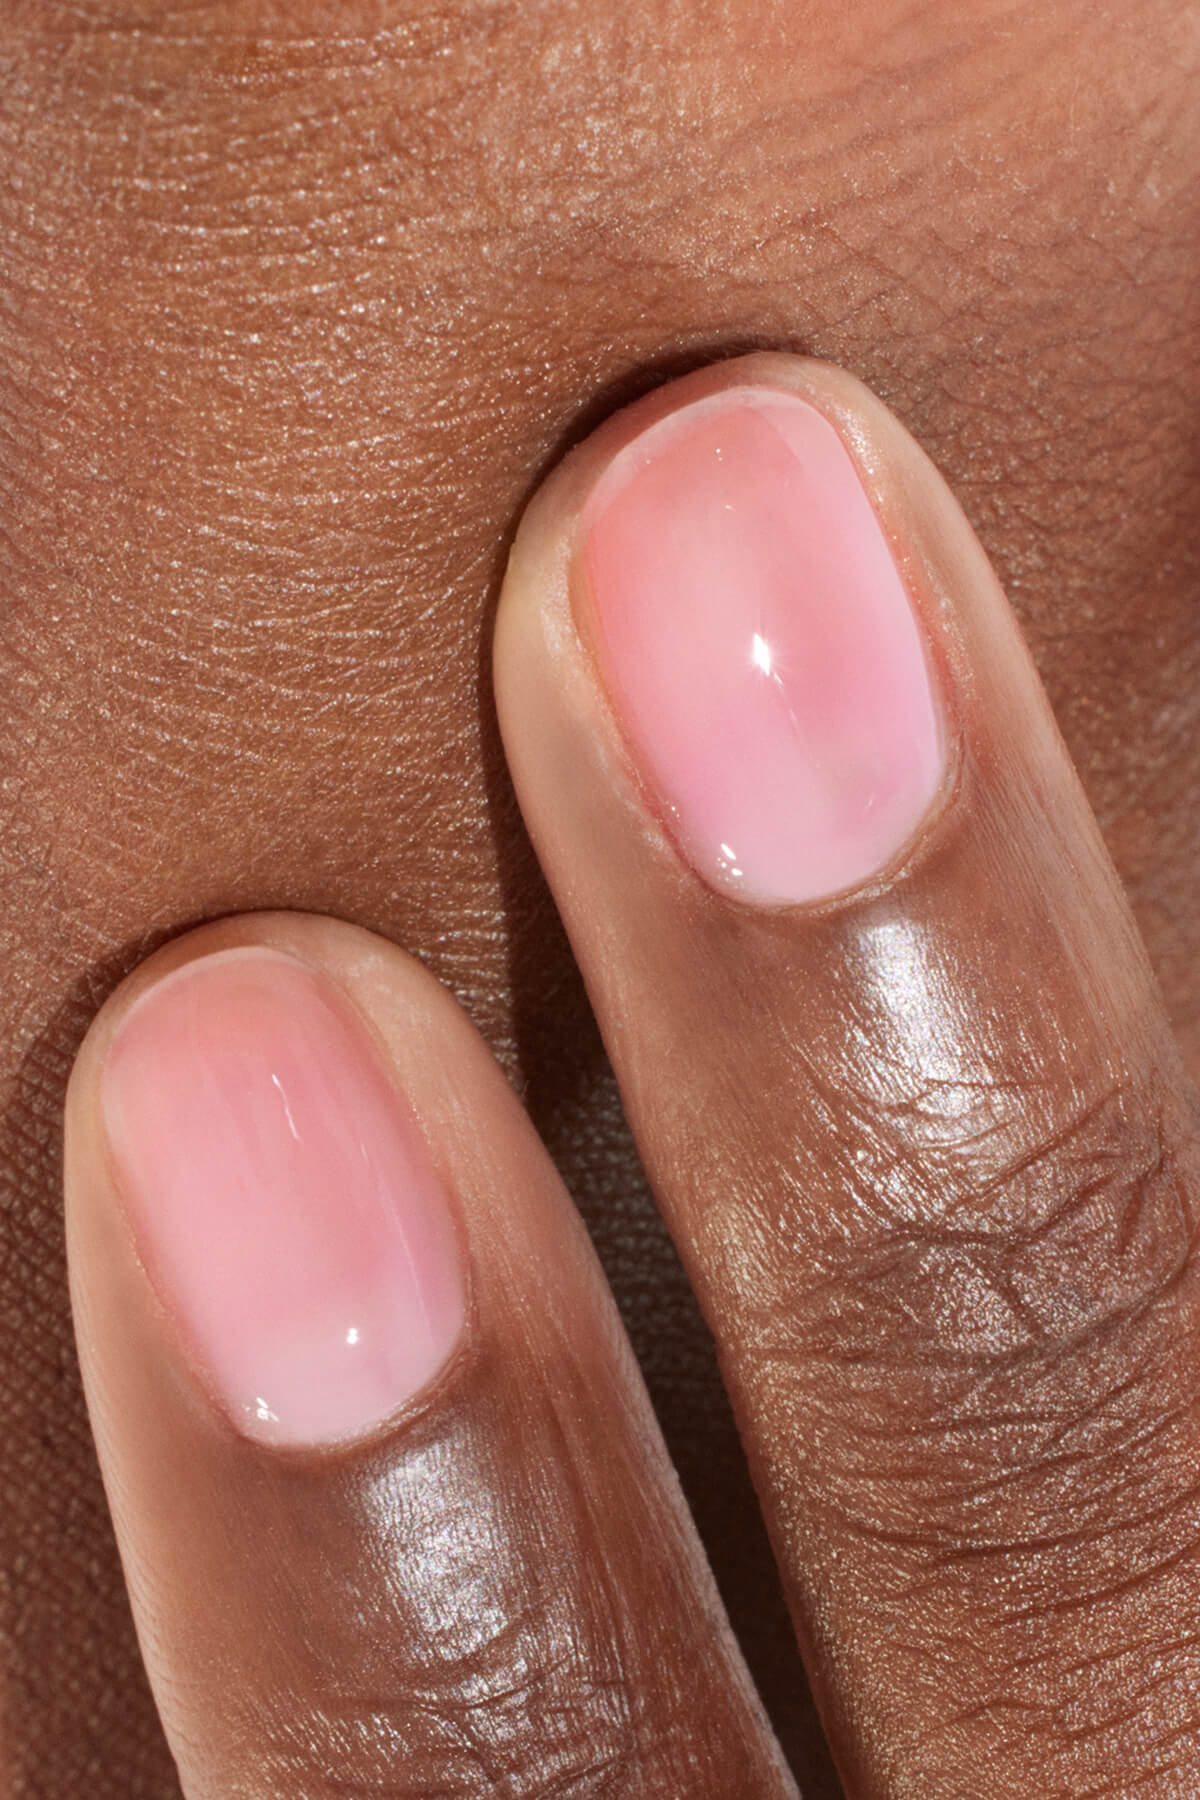
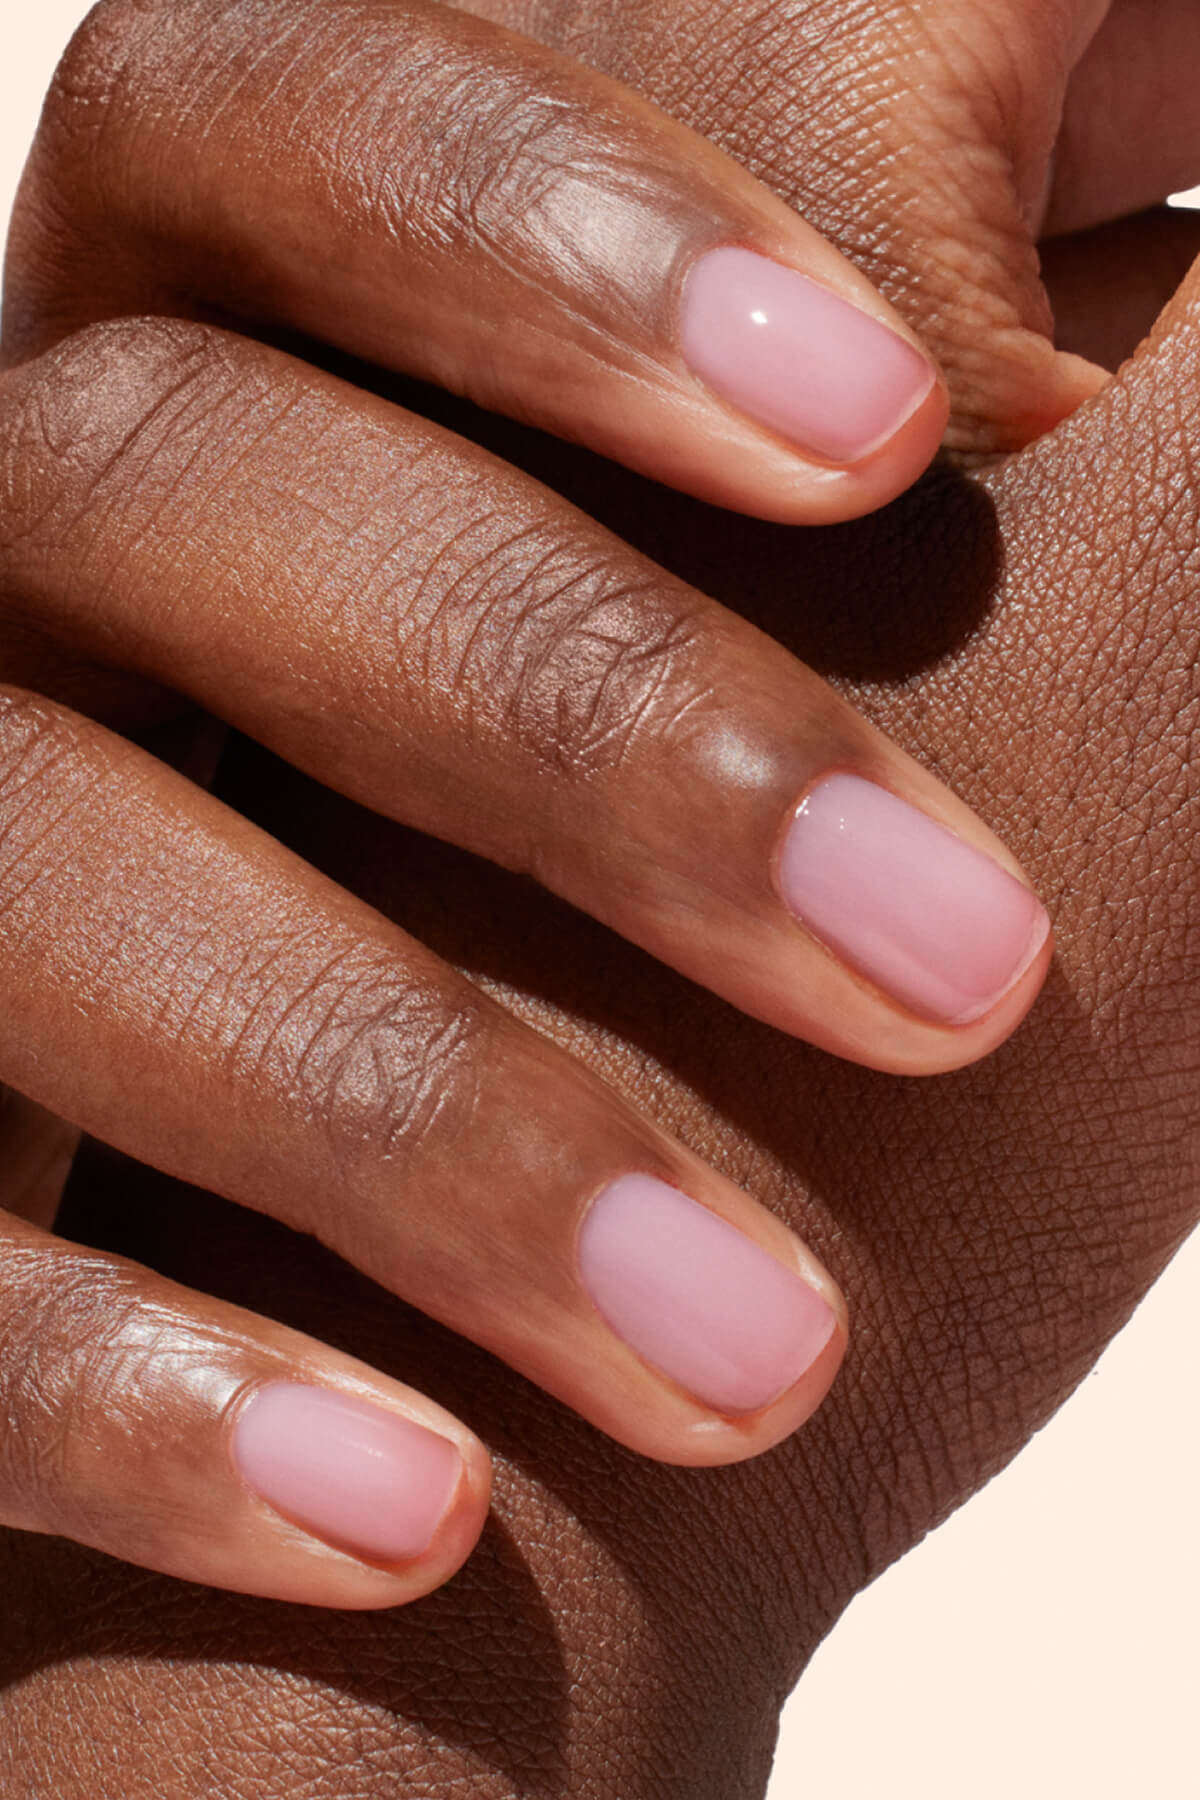
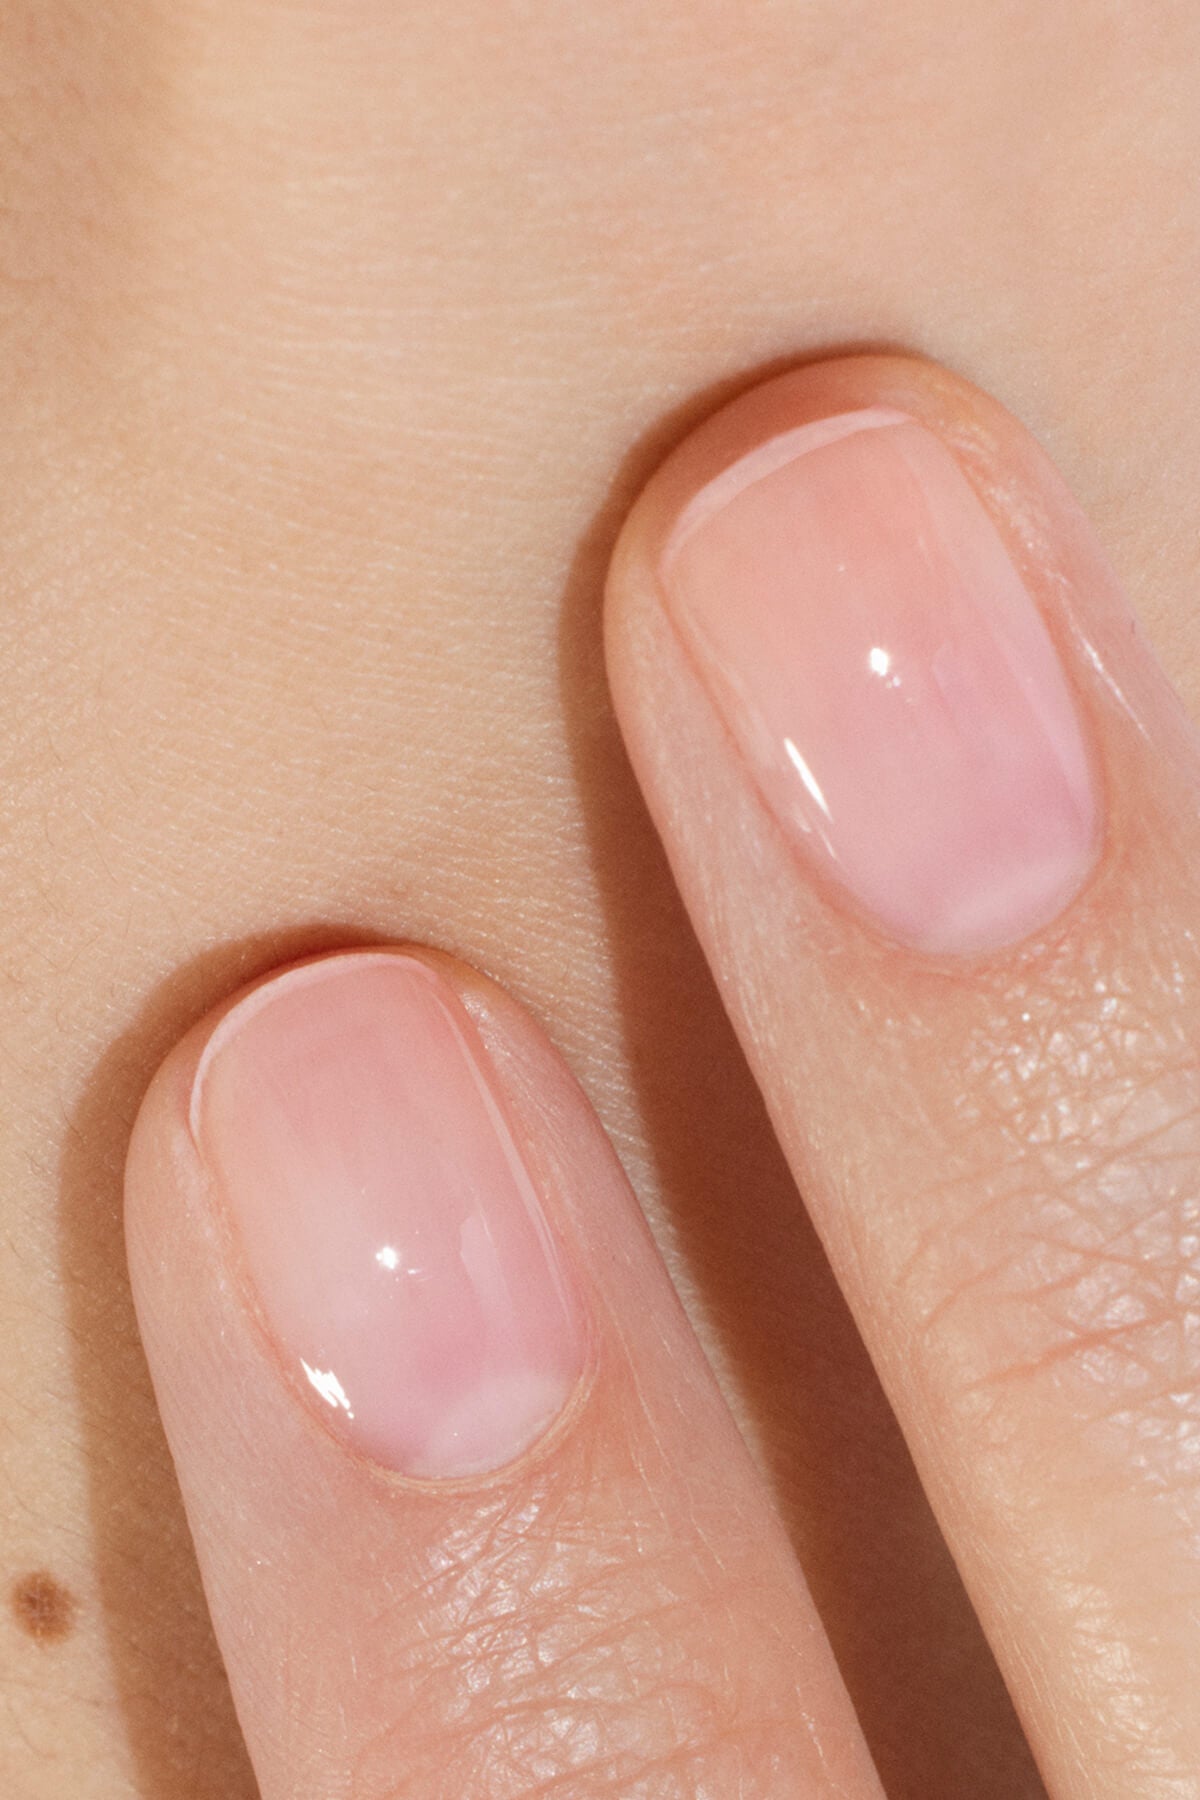
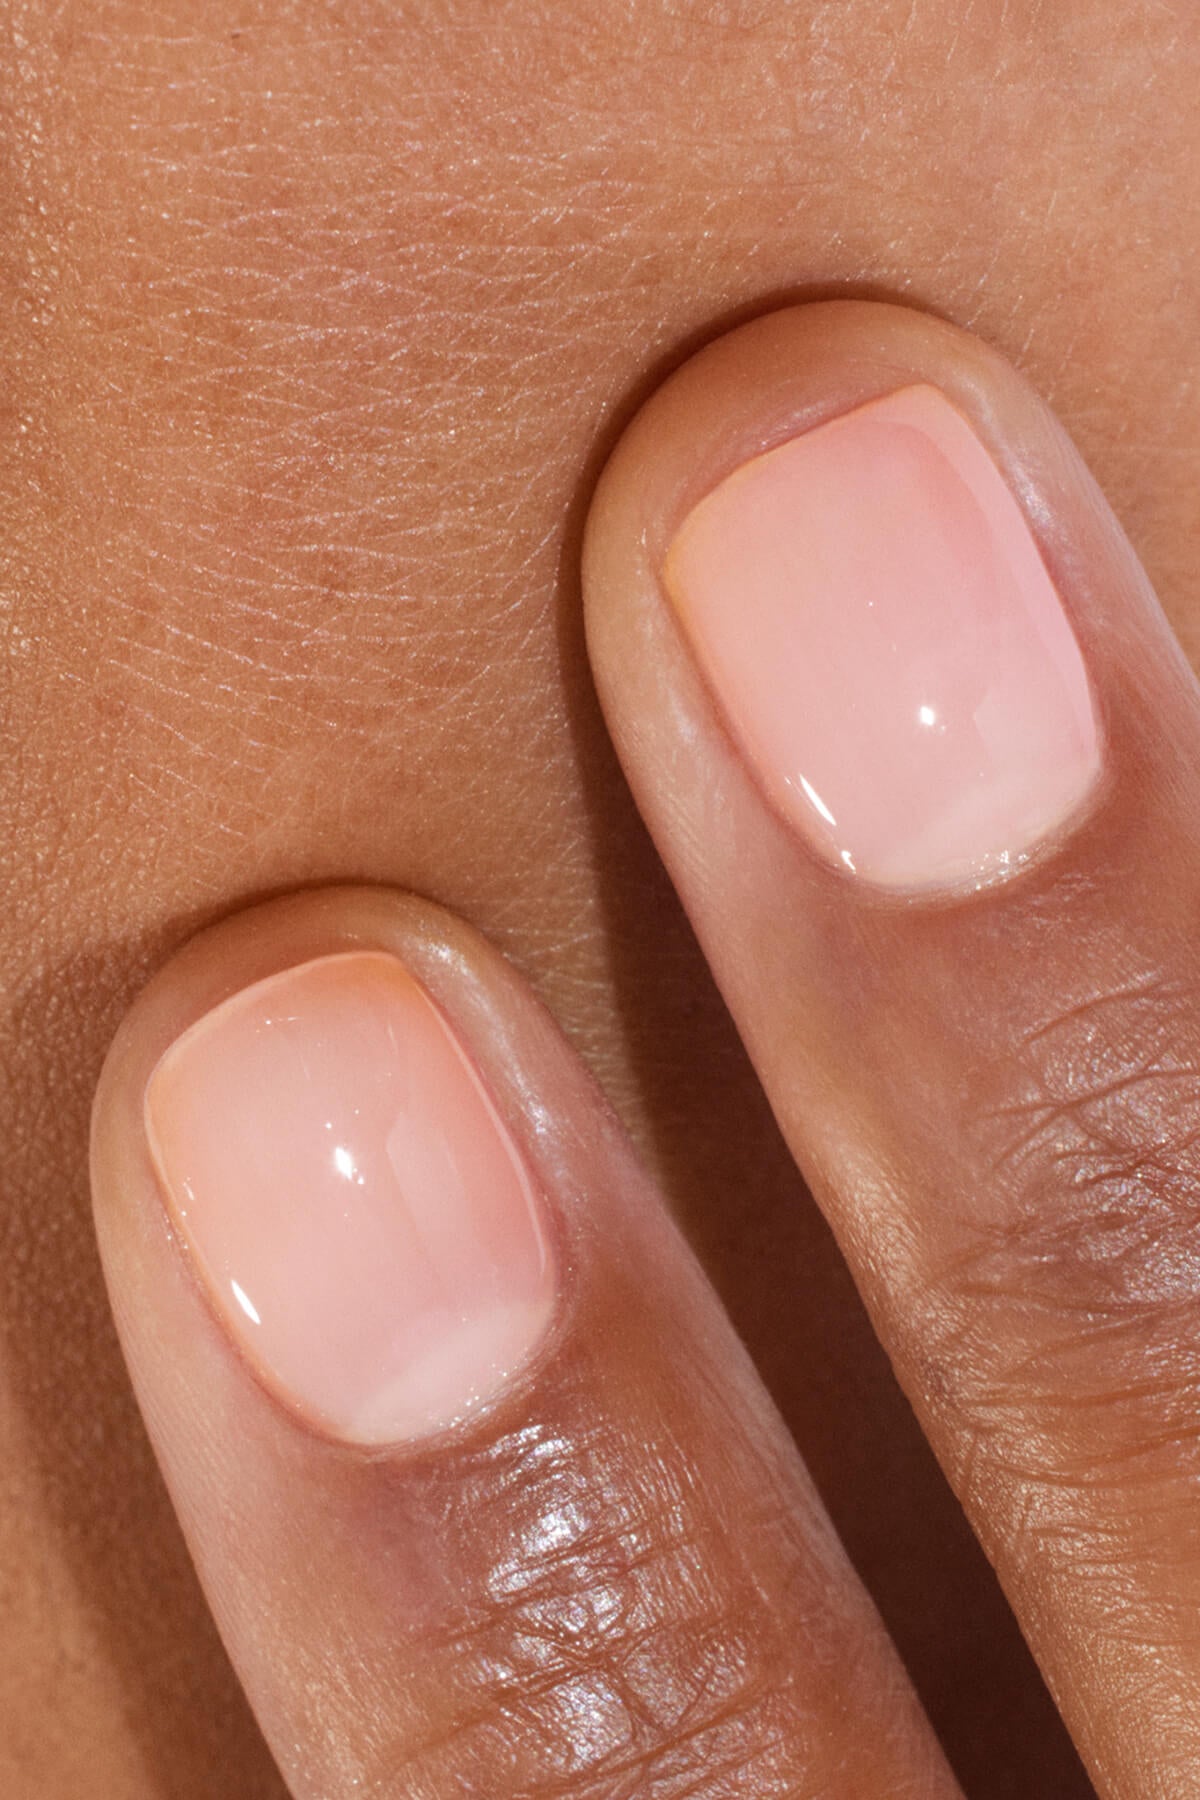
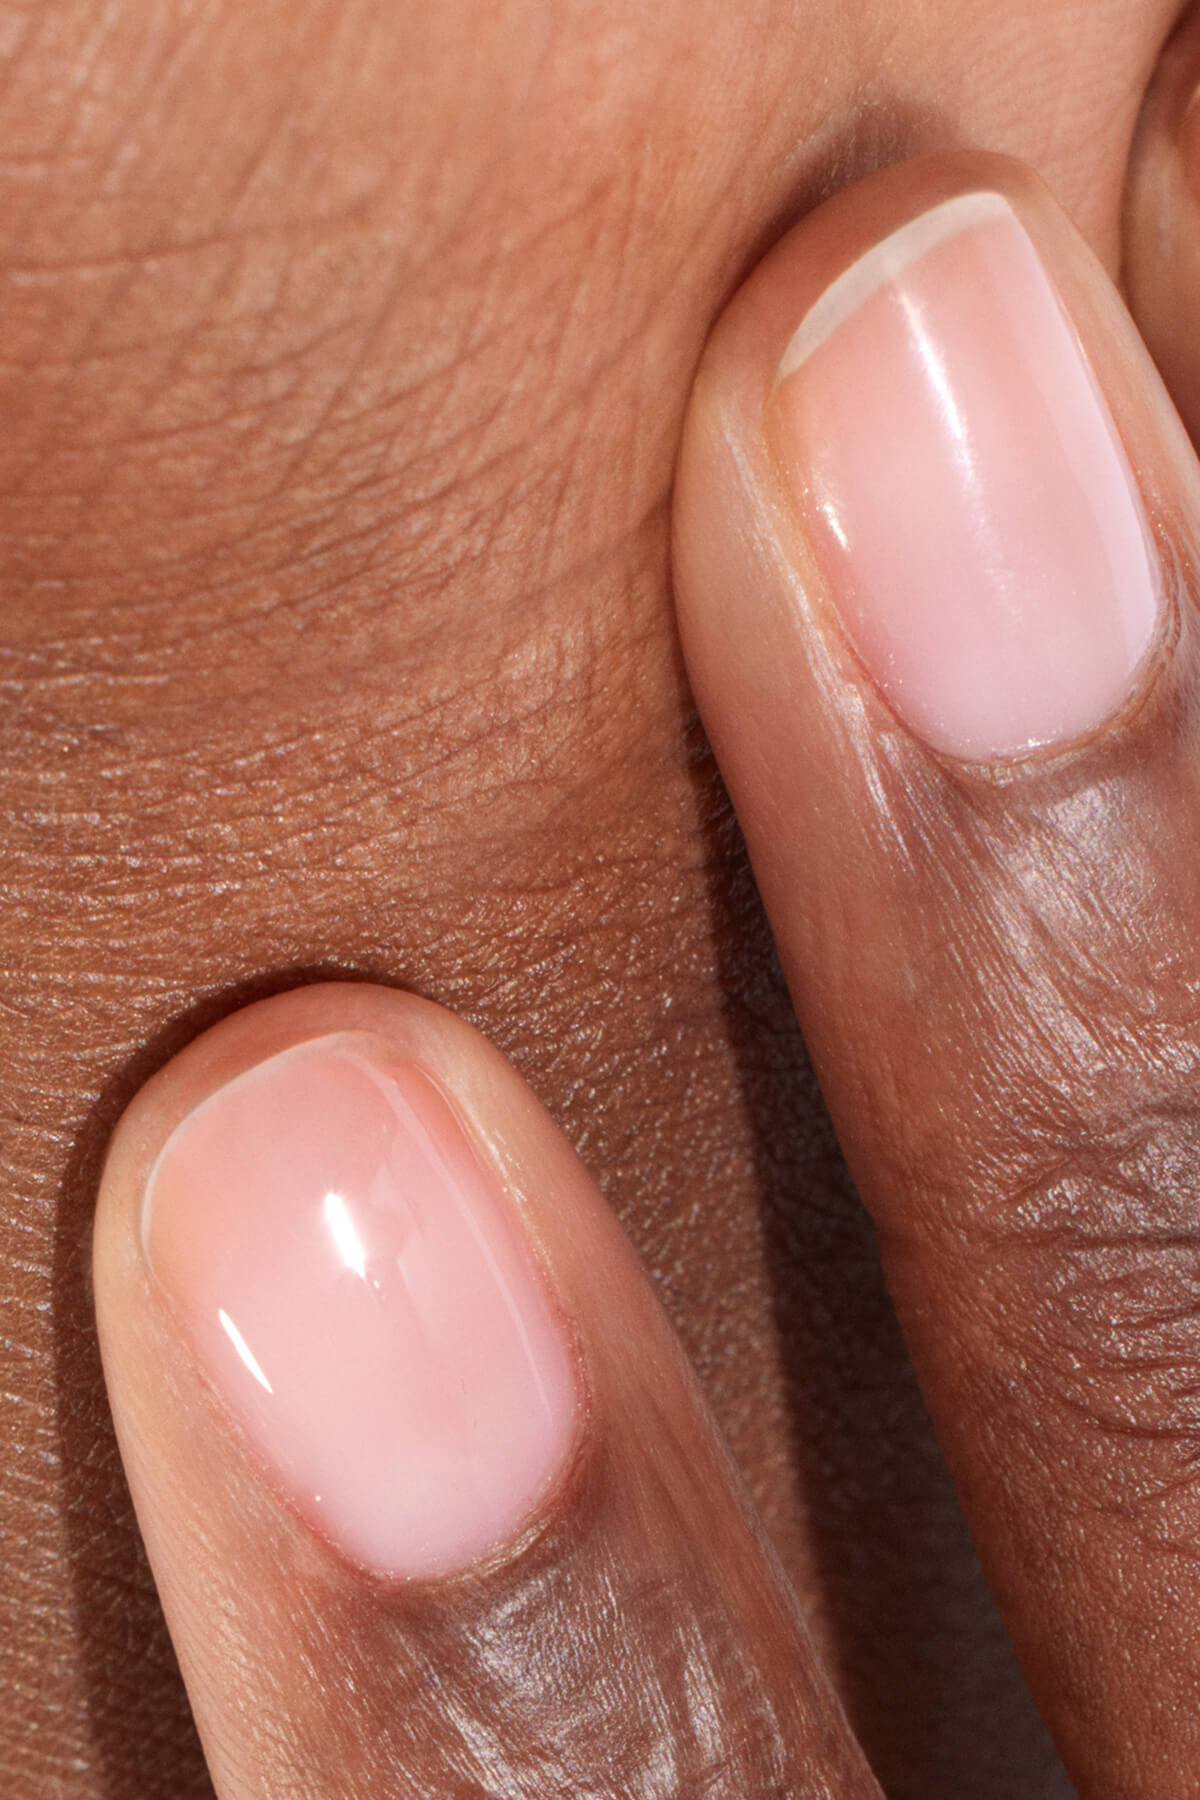
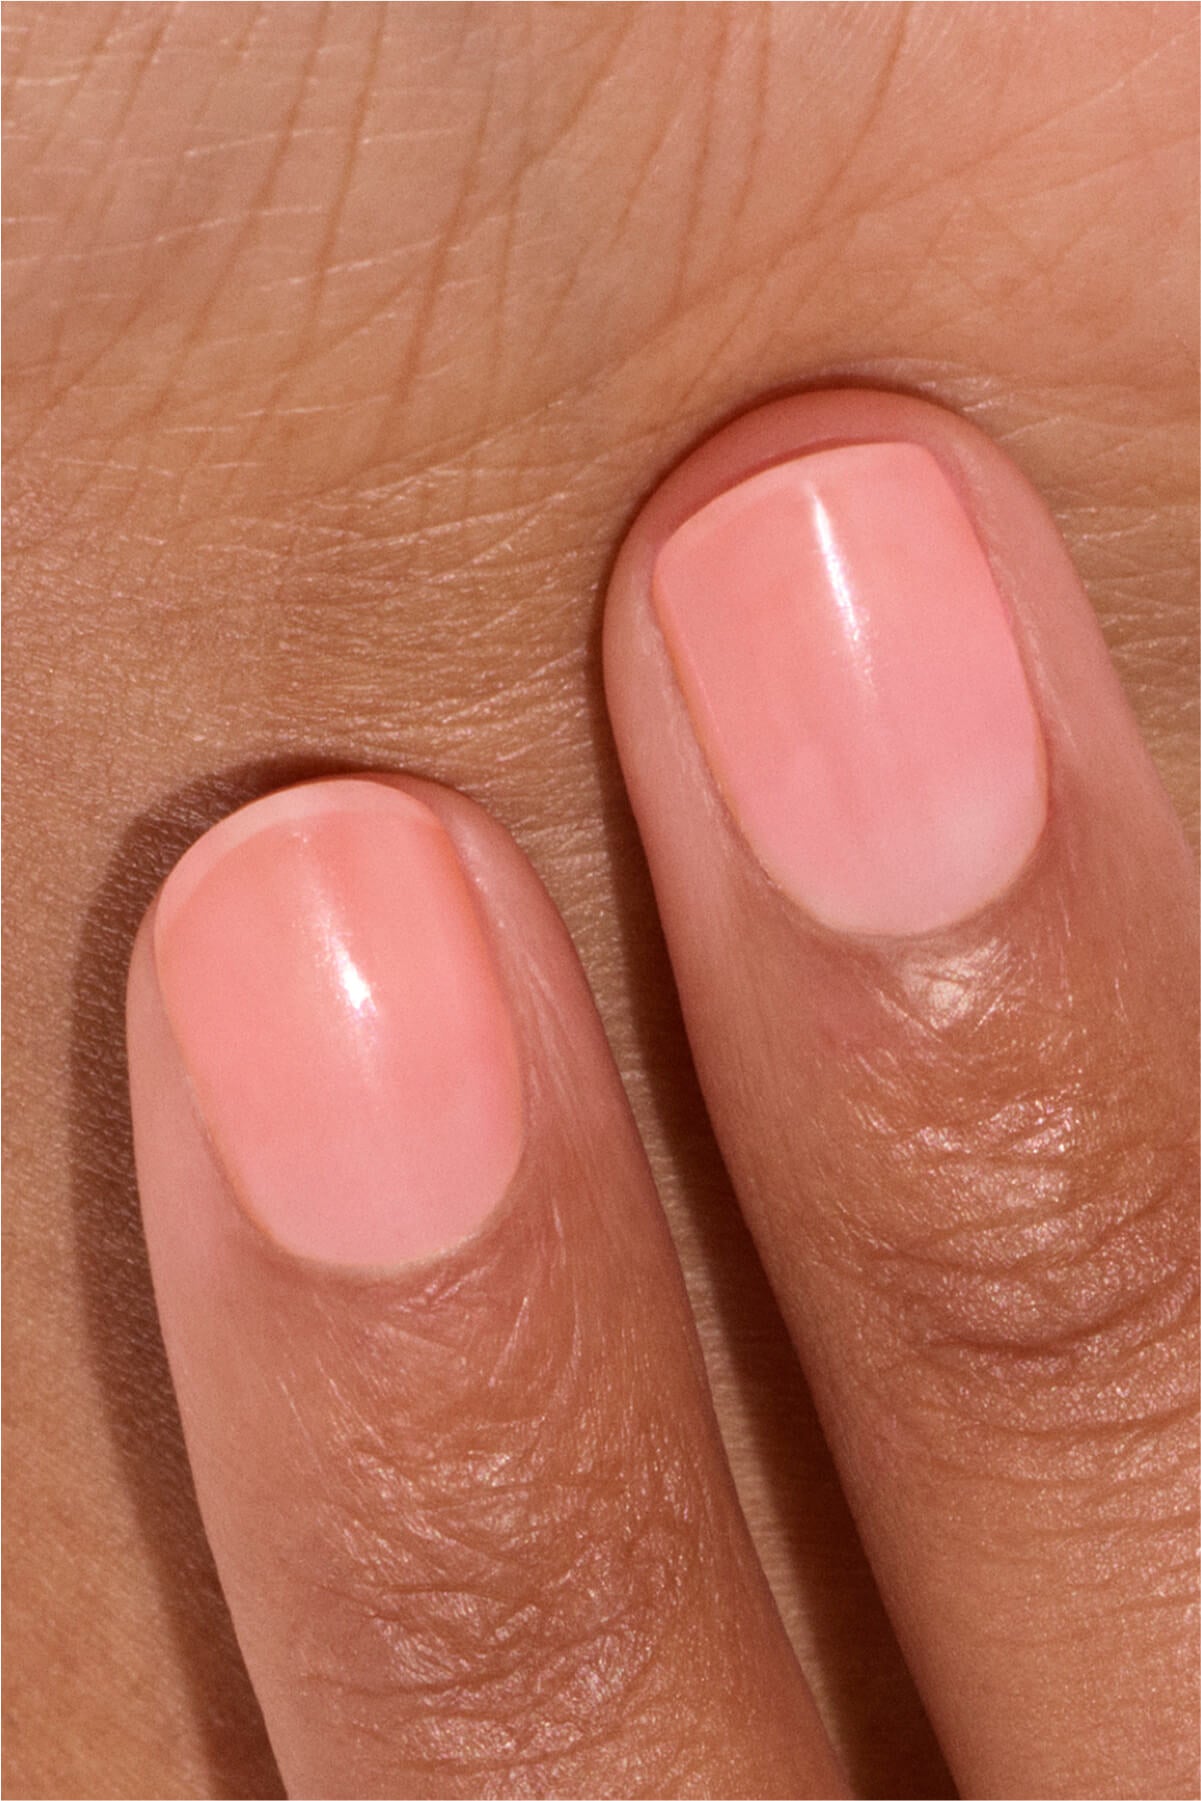
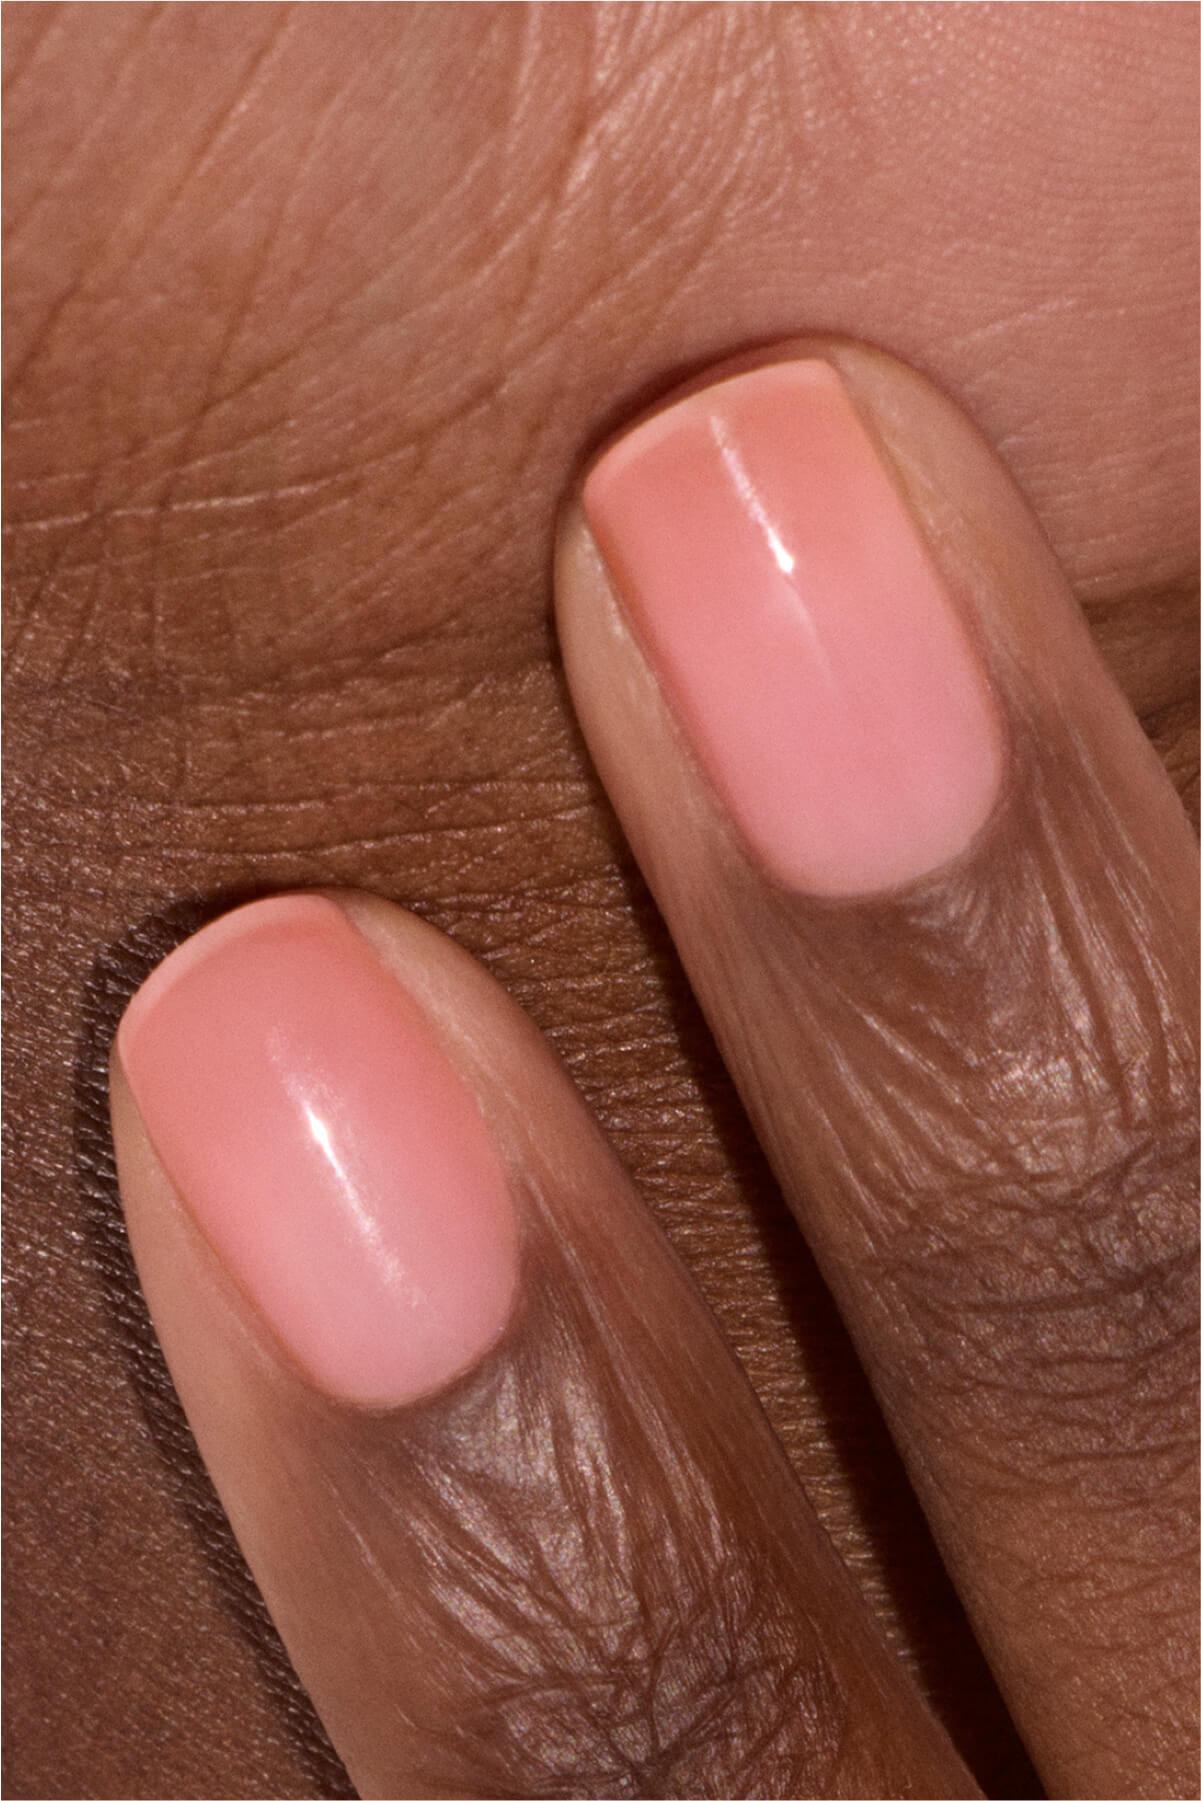
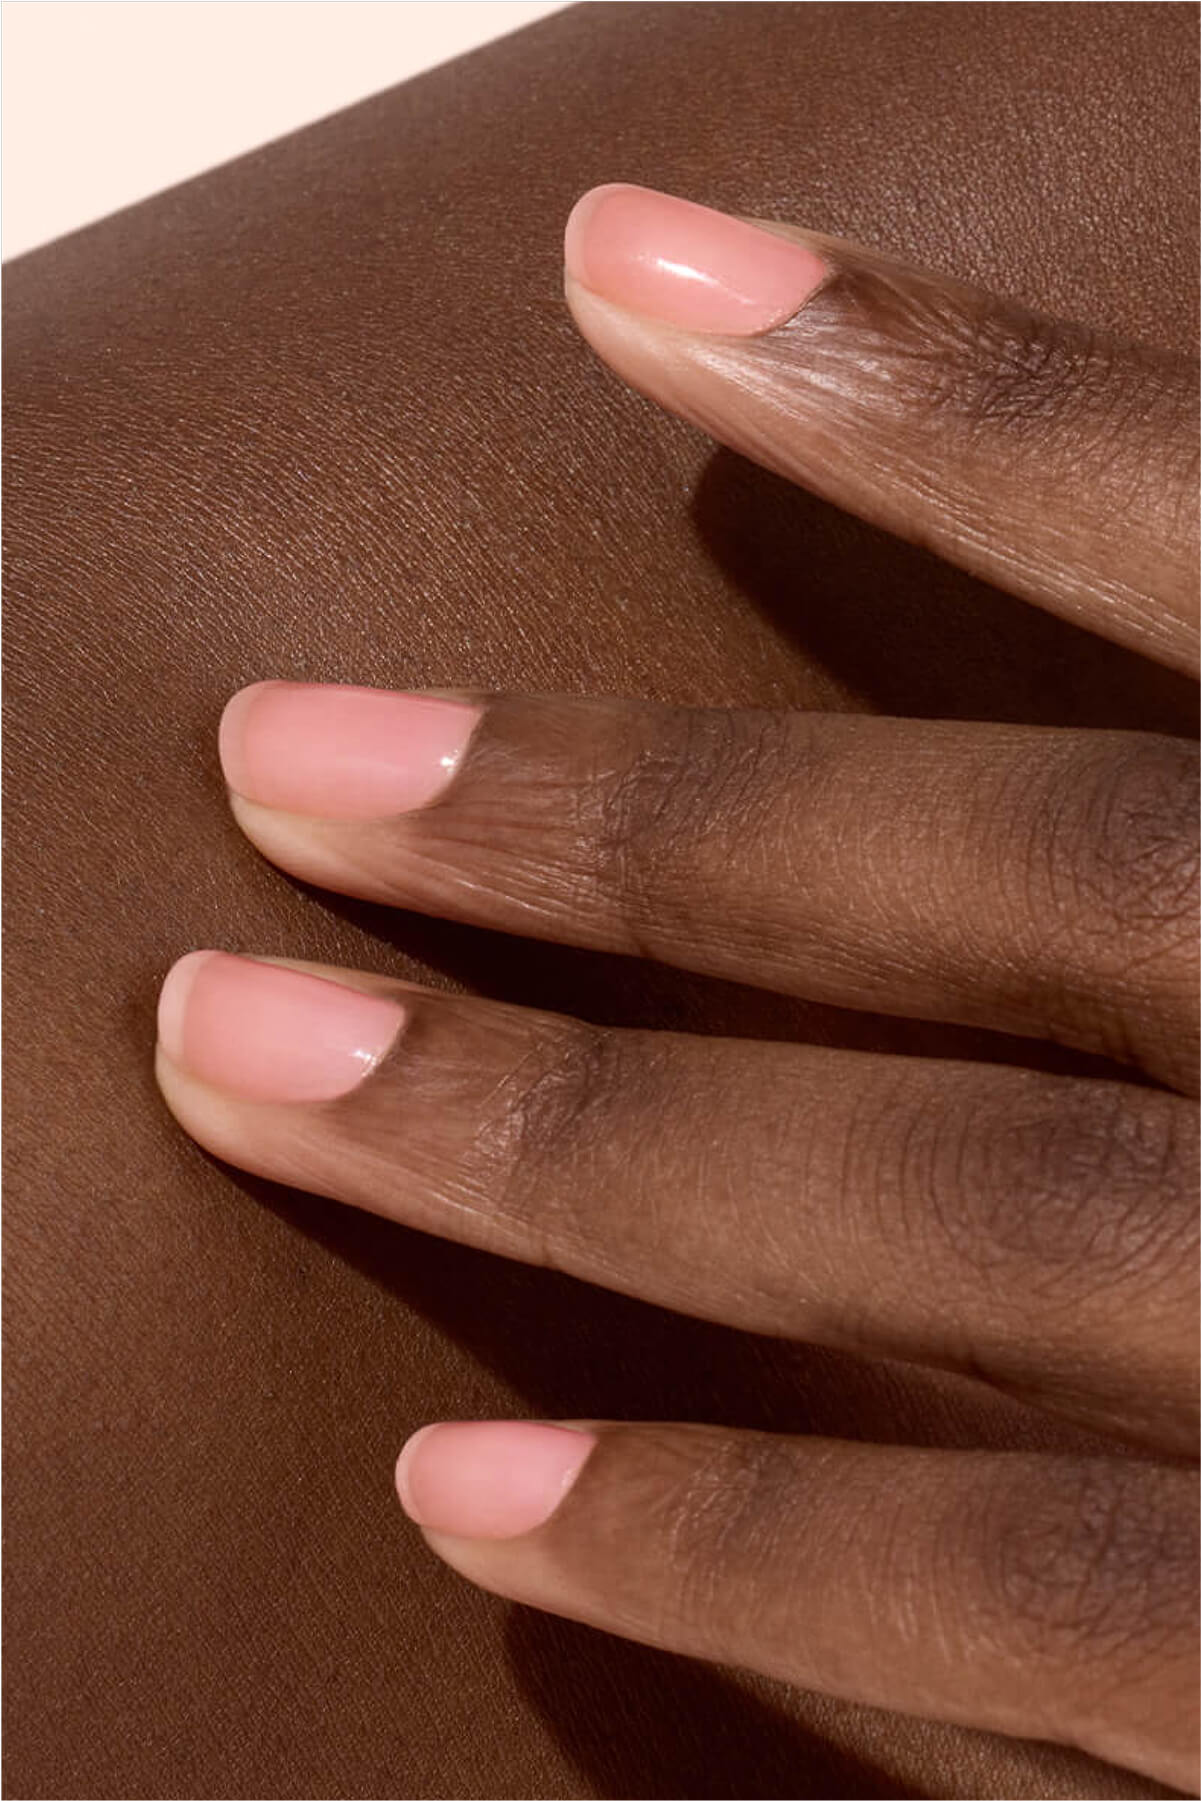
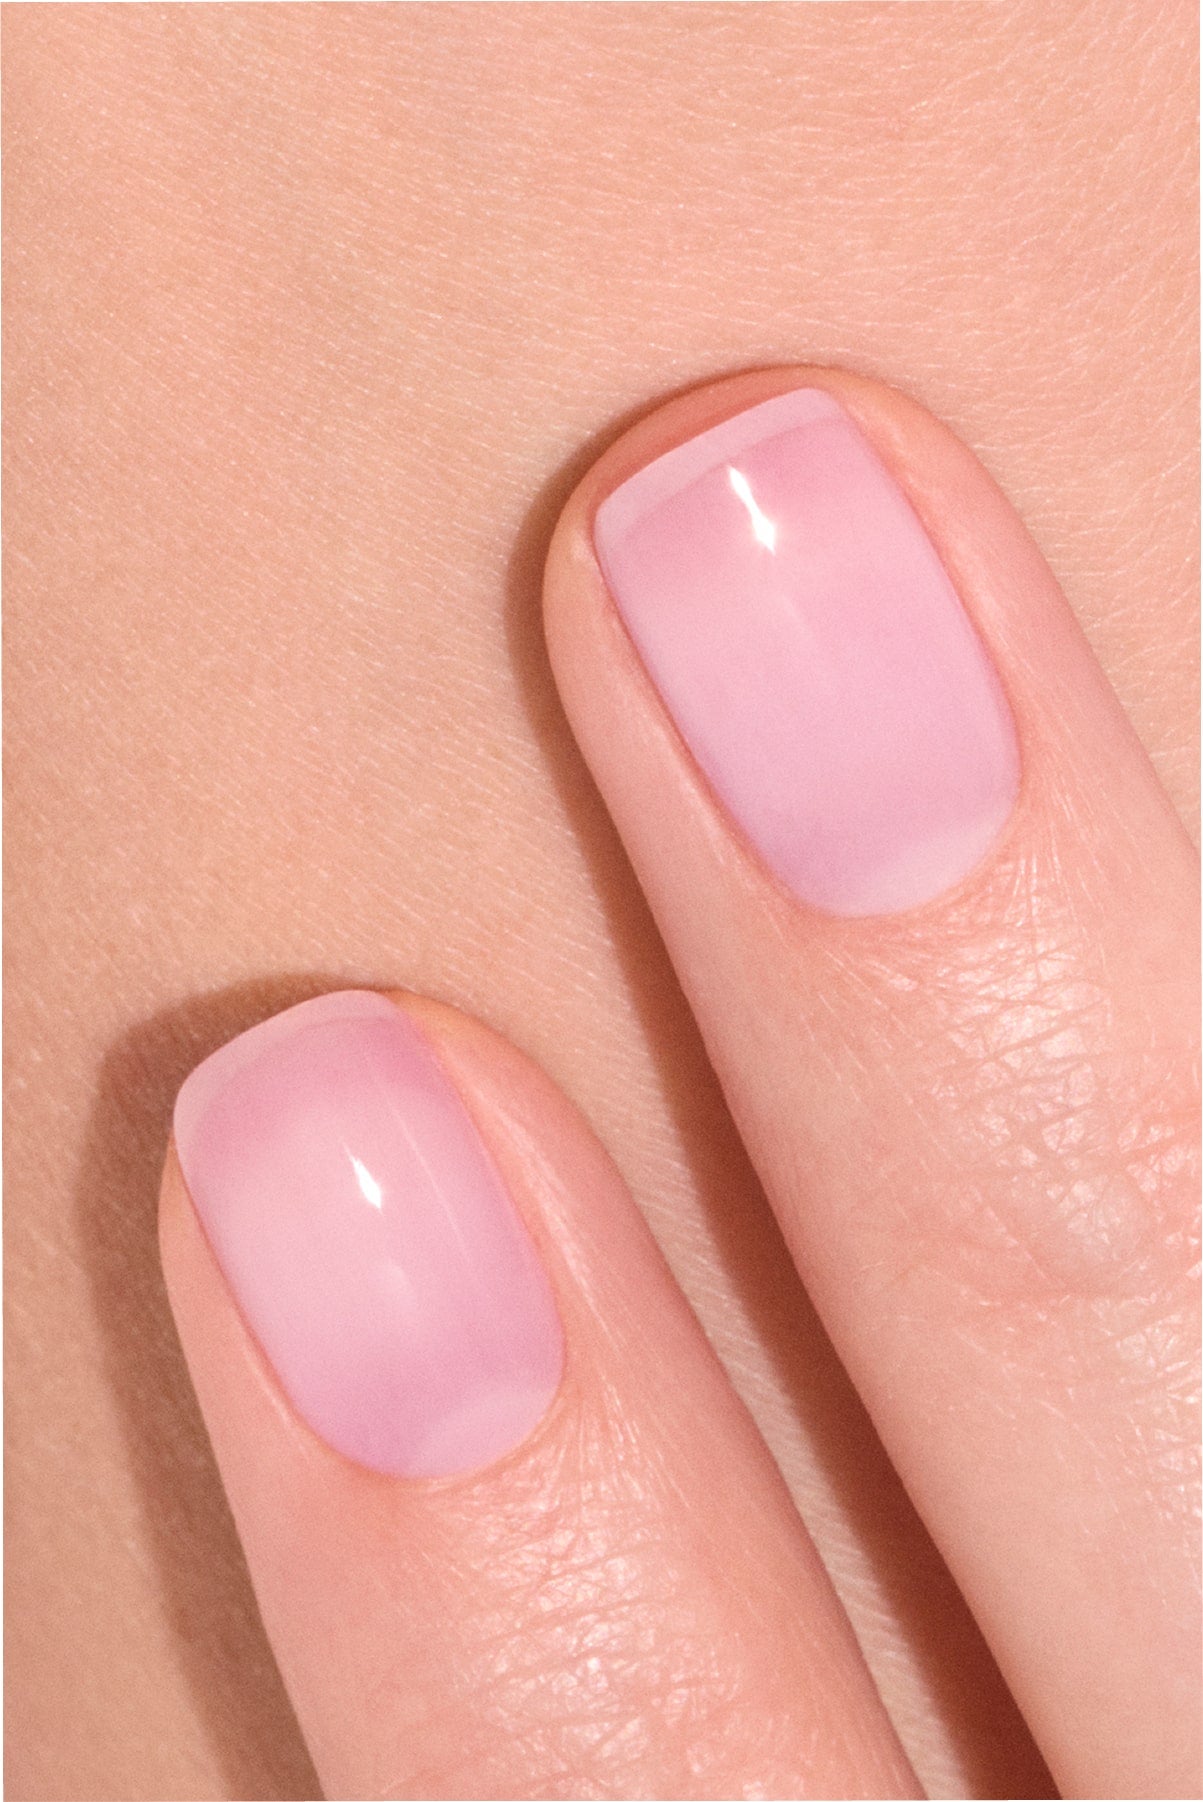
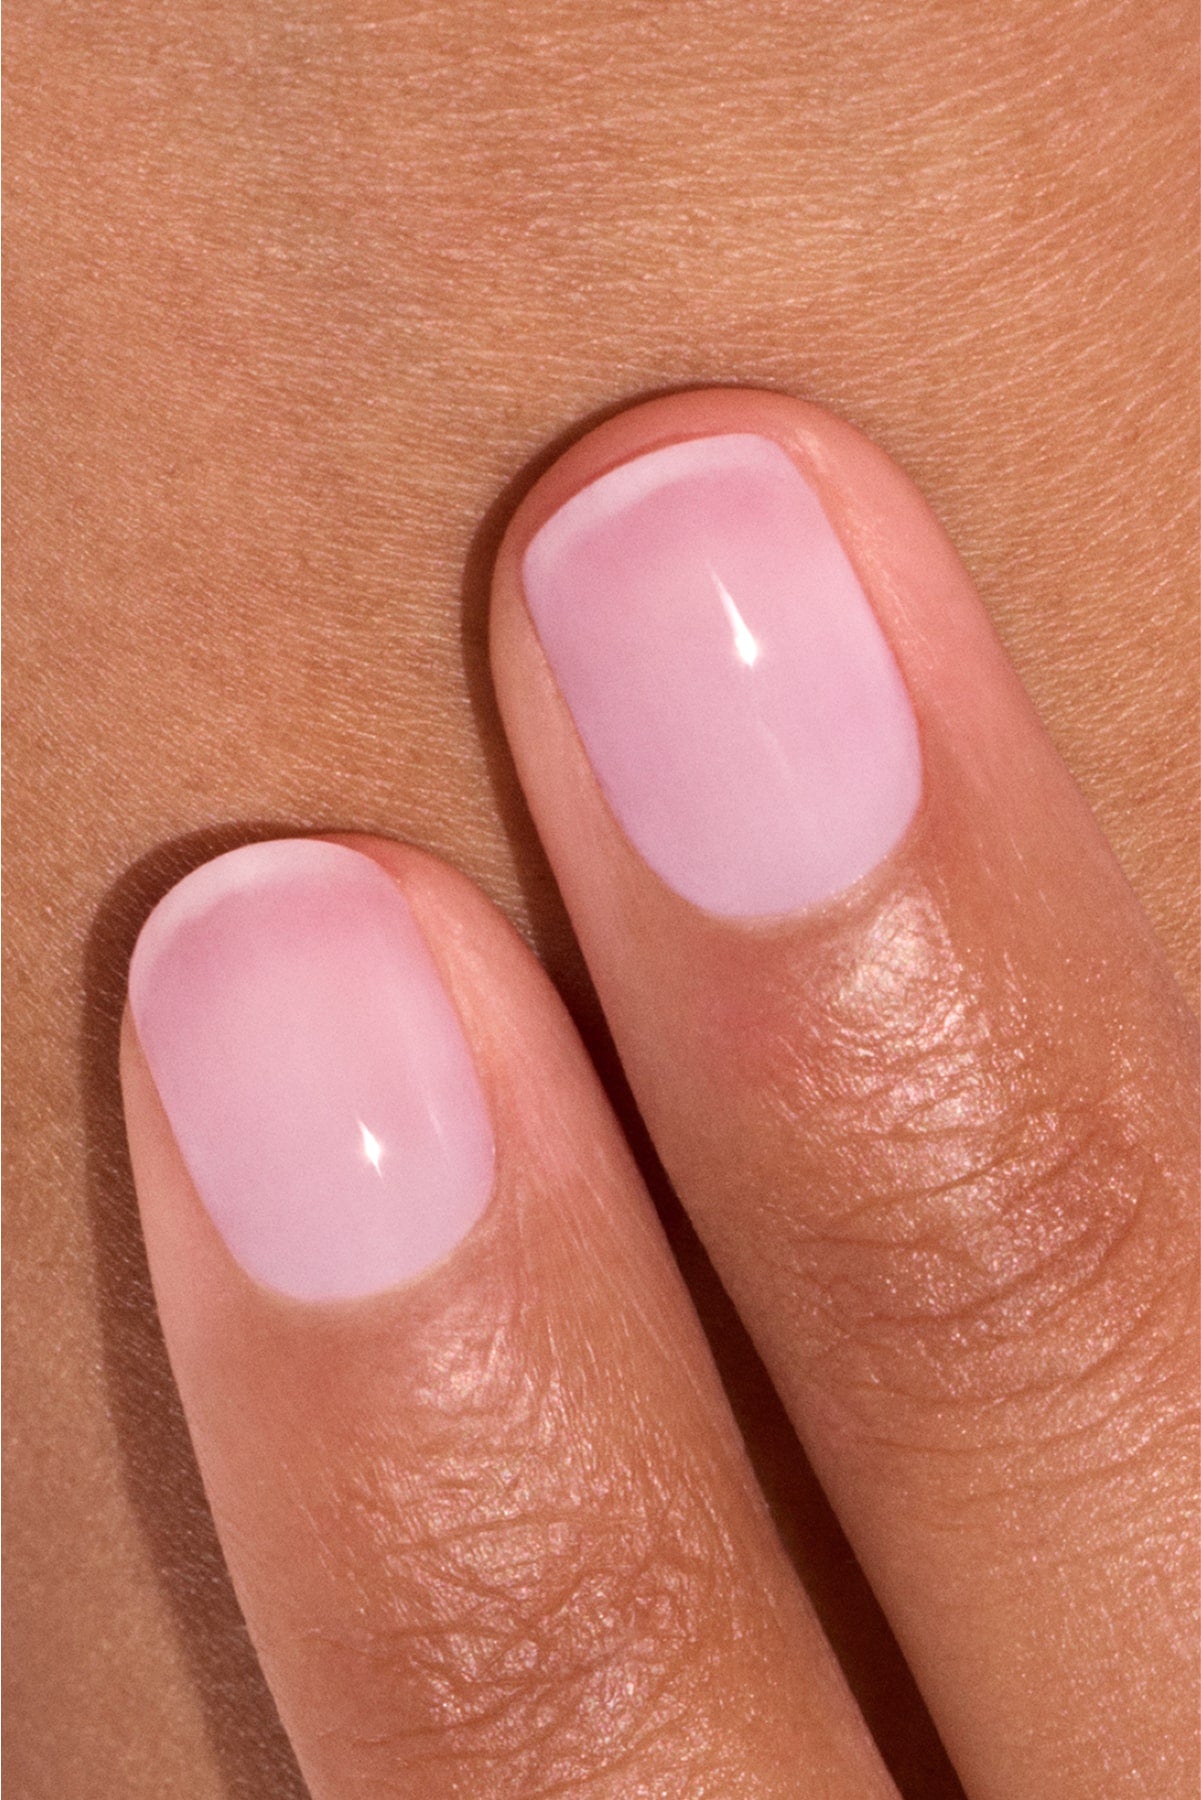
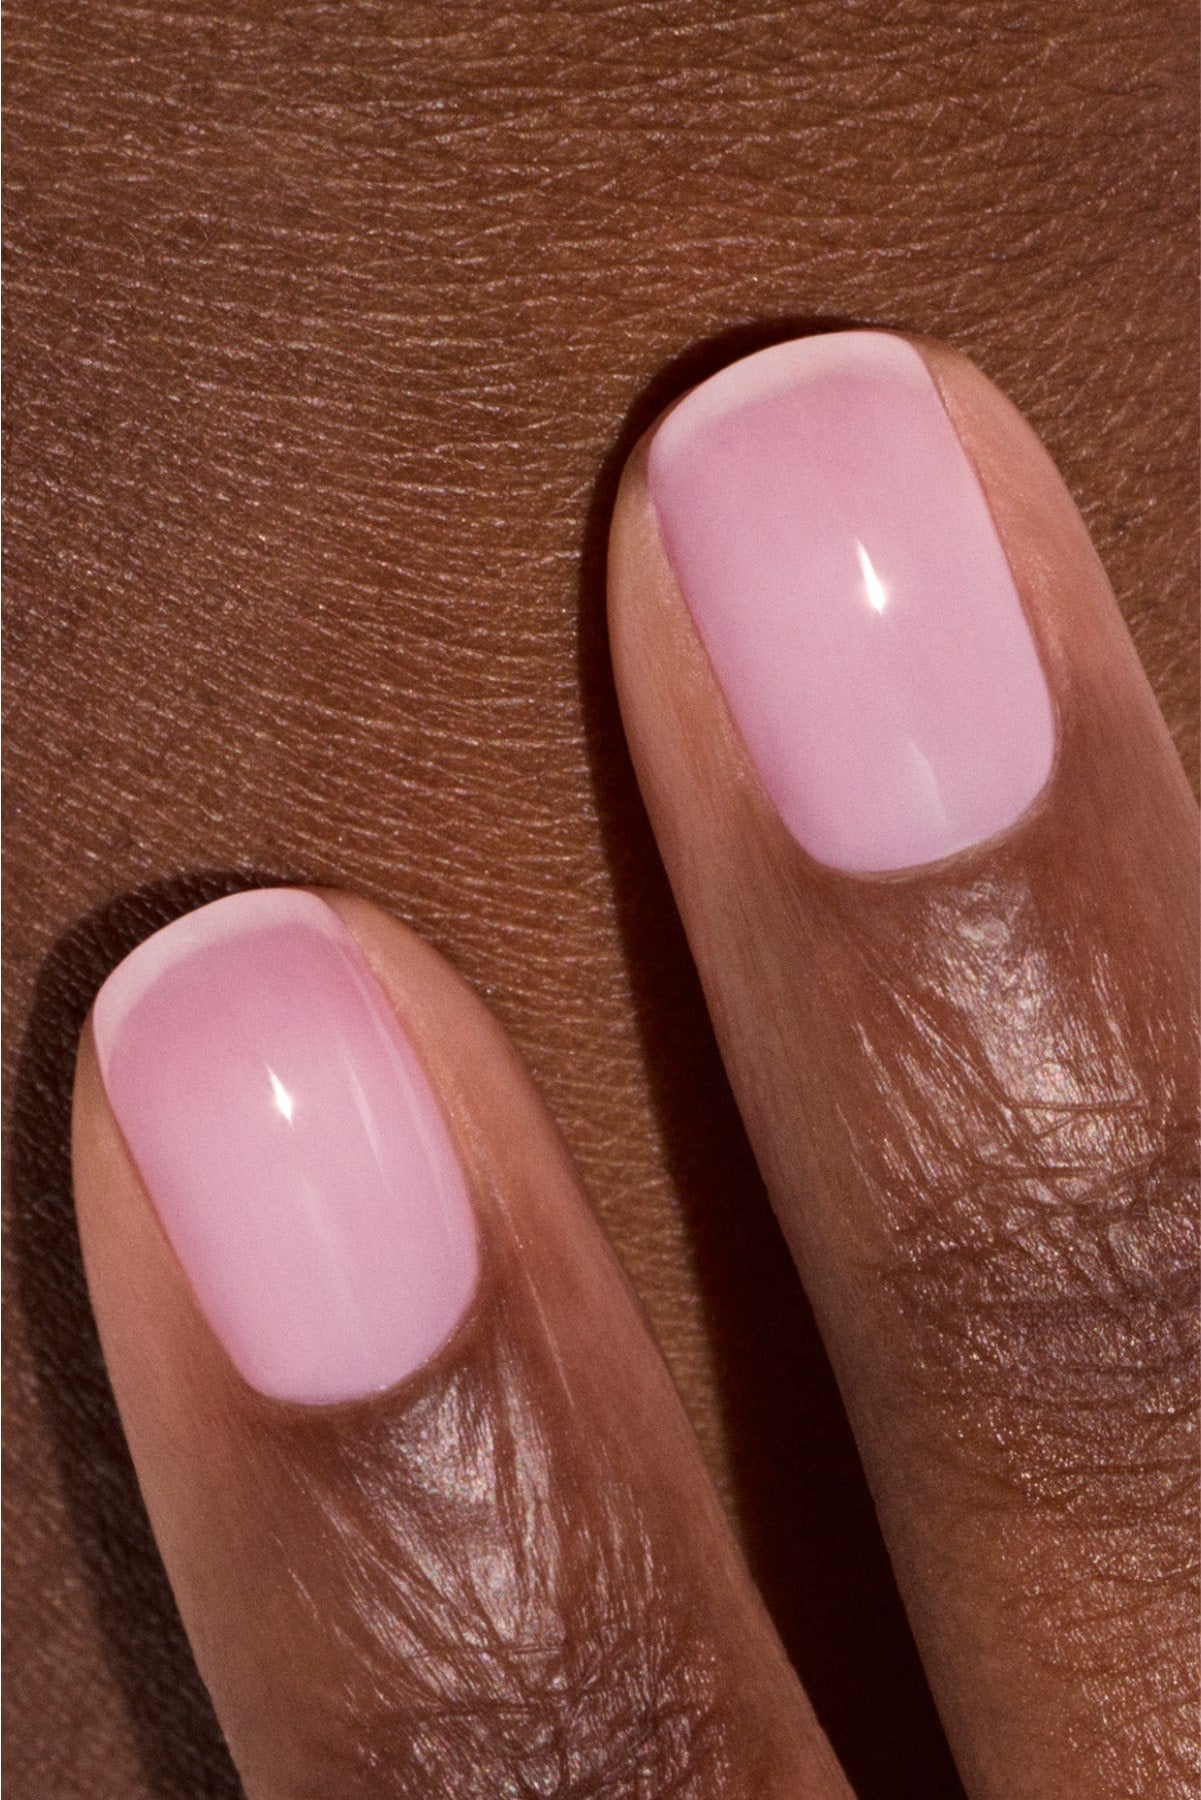
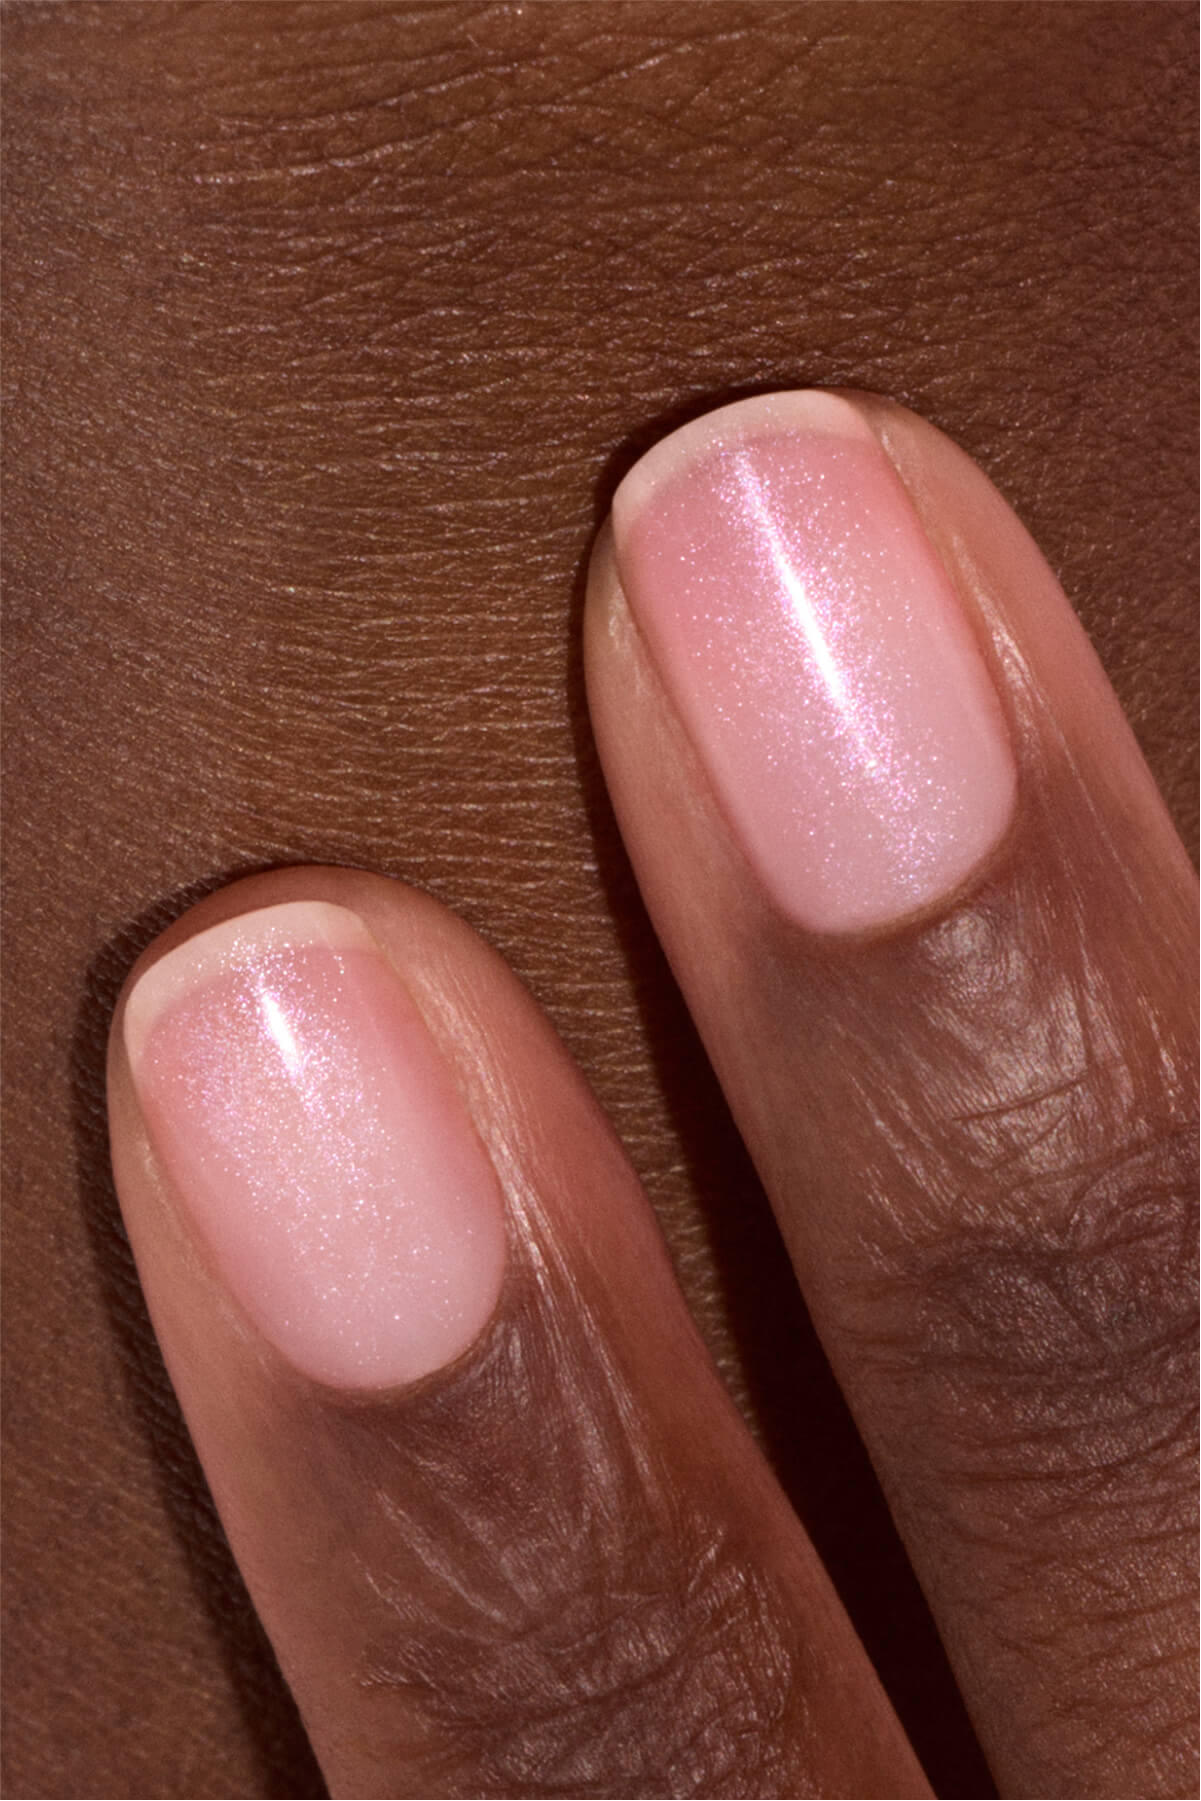
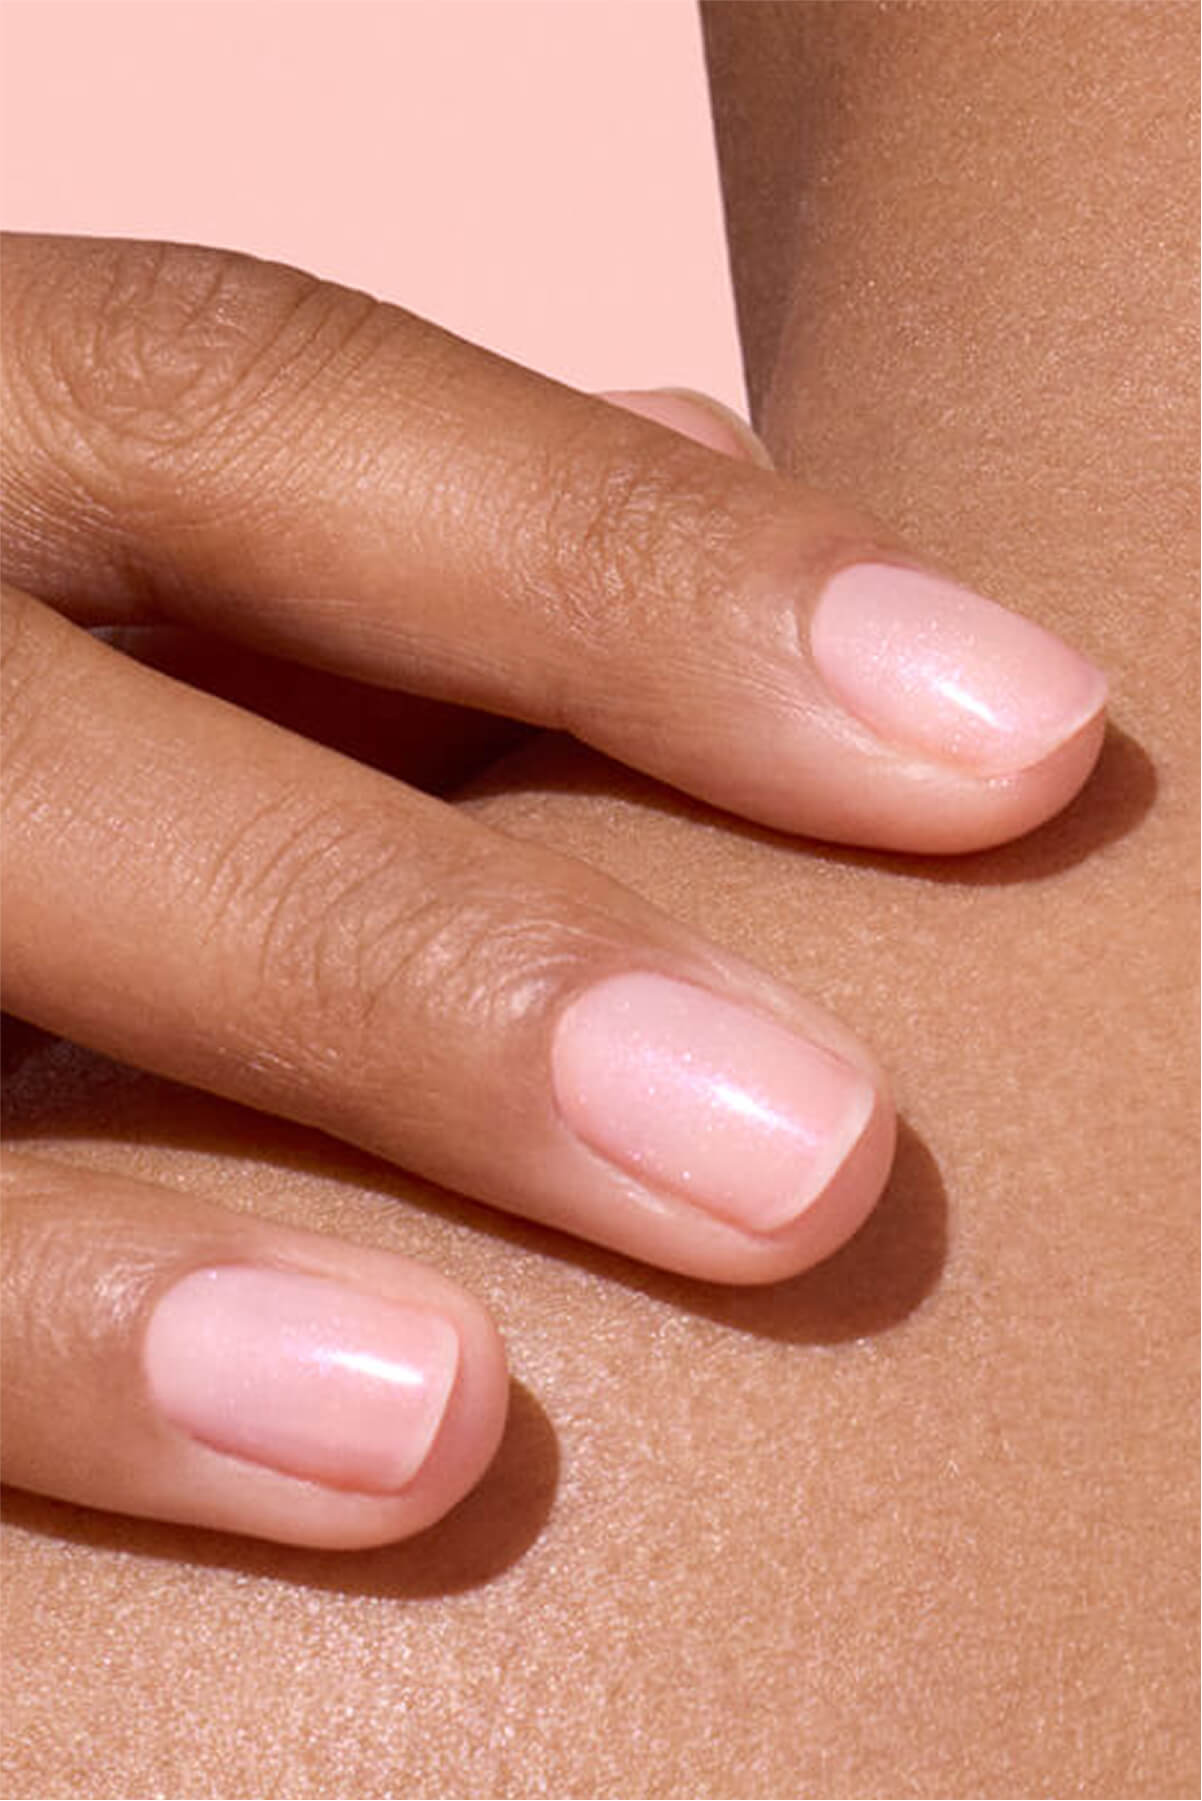
Dare it baby pink tint of the Milky Pink, for greedy marshmallow nails.
For a straight-through fluo effect from the 1990s, opt for Bloom, one neon pink varnish with blue subtons who elects the crowds.
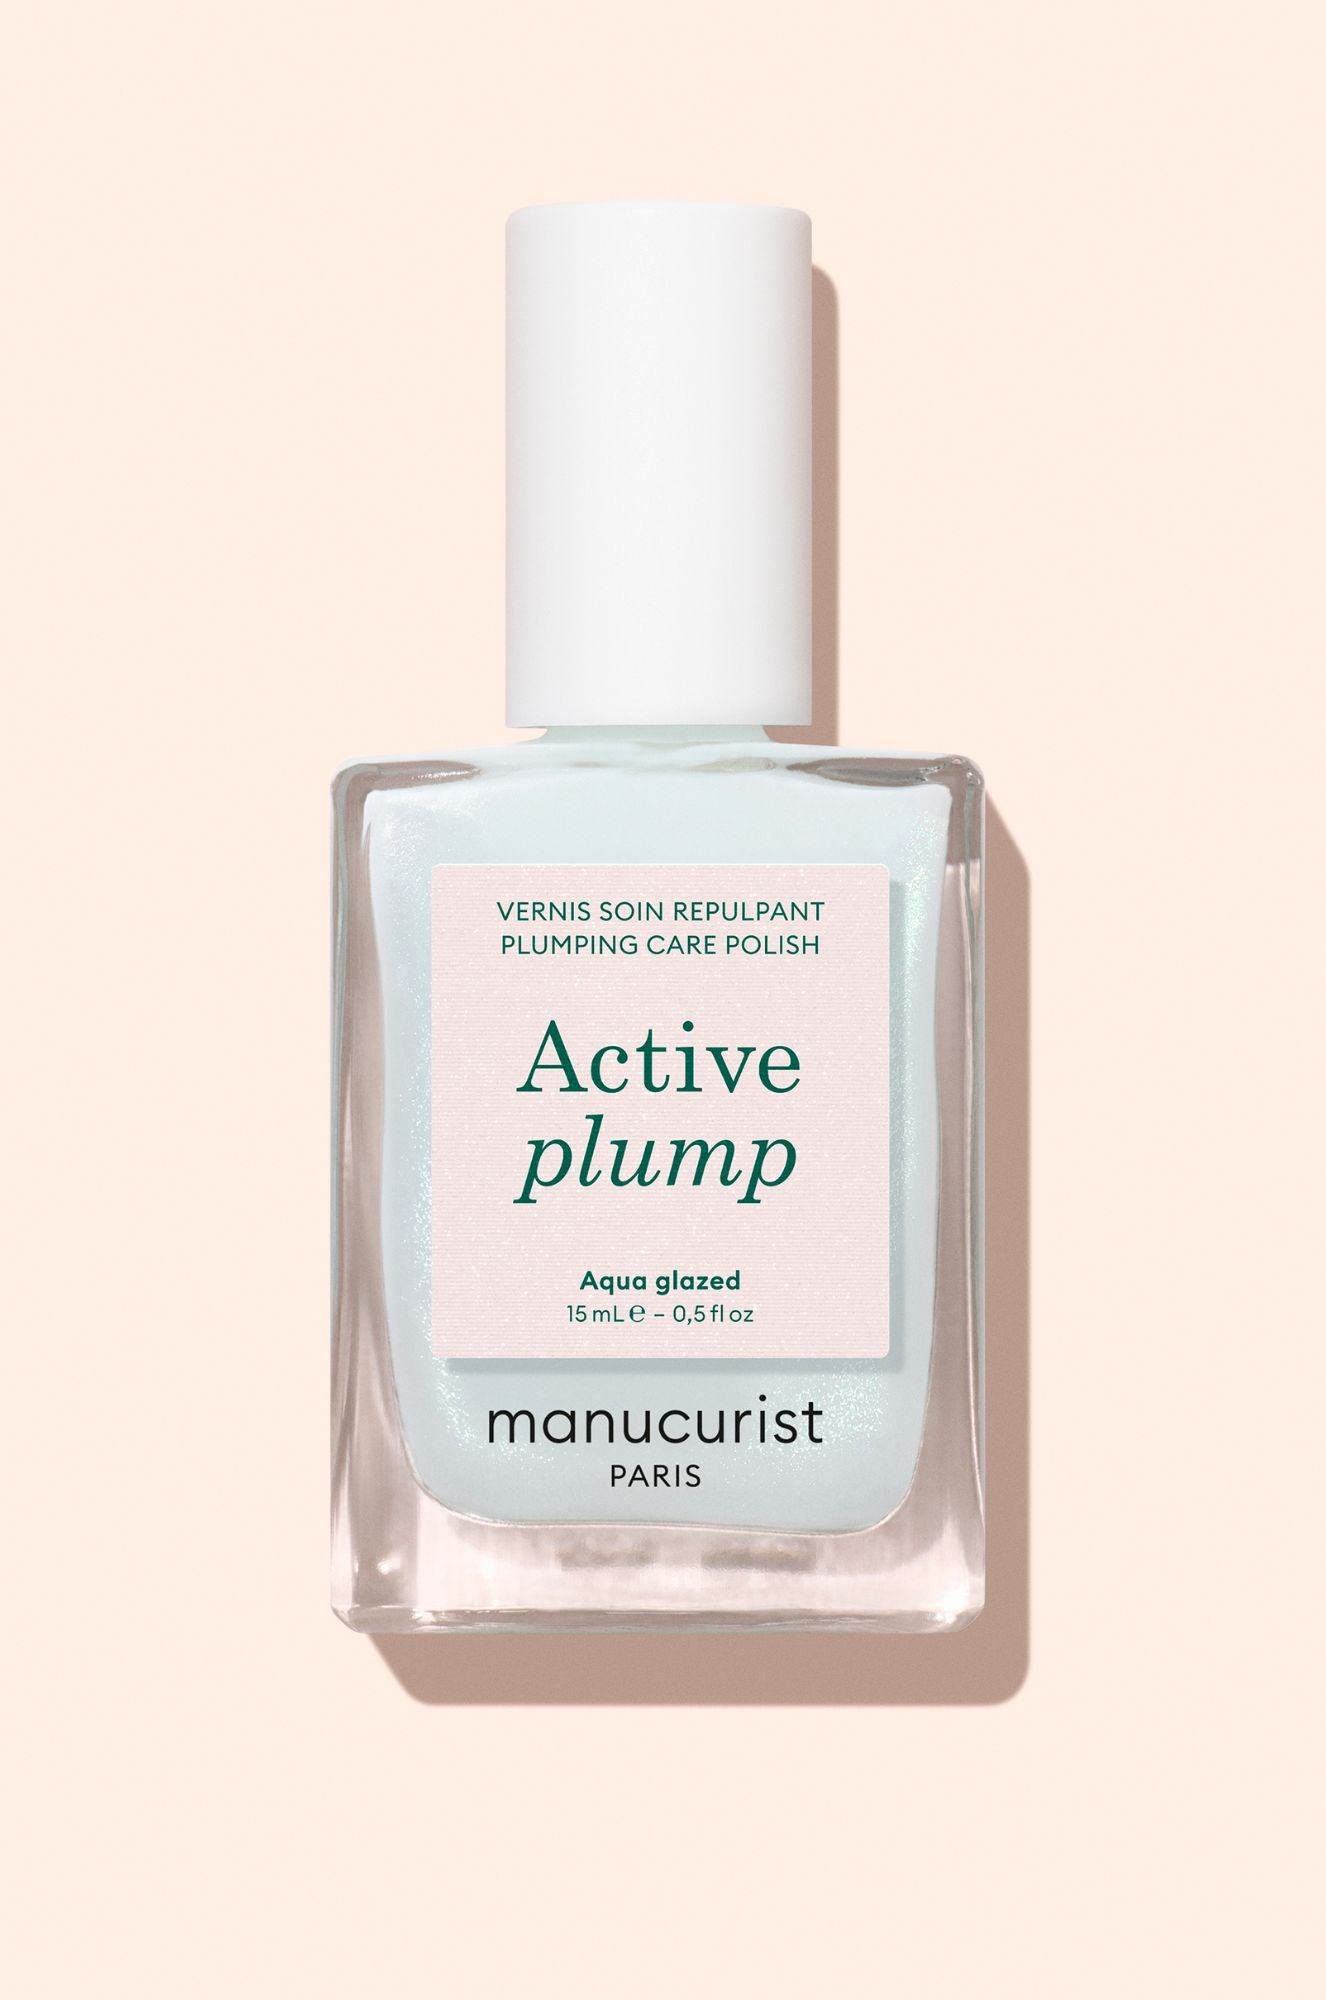
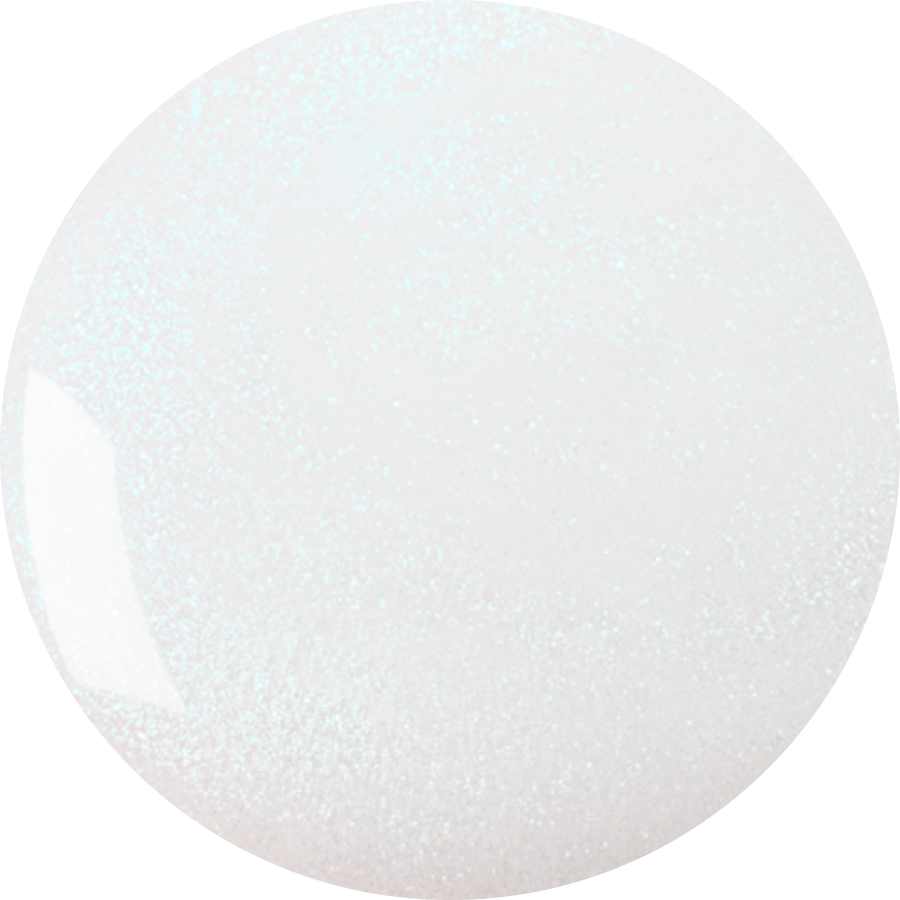
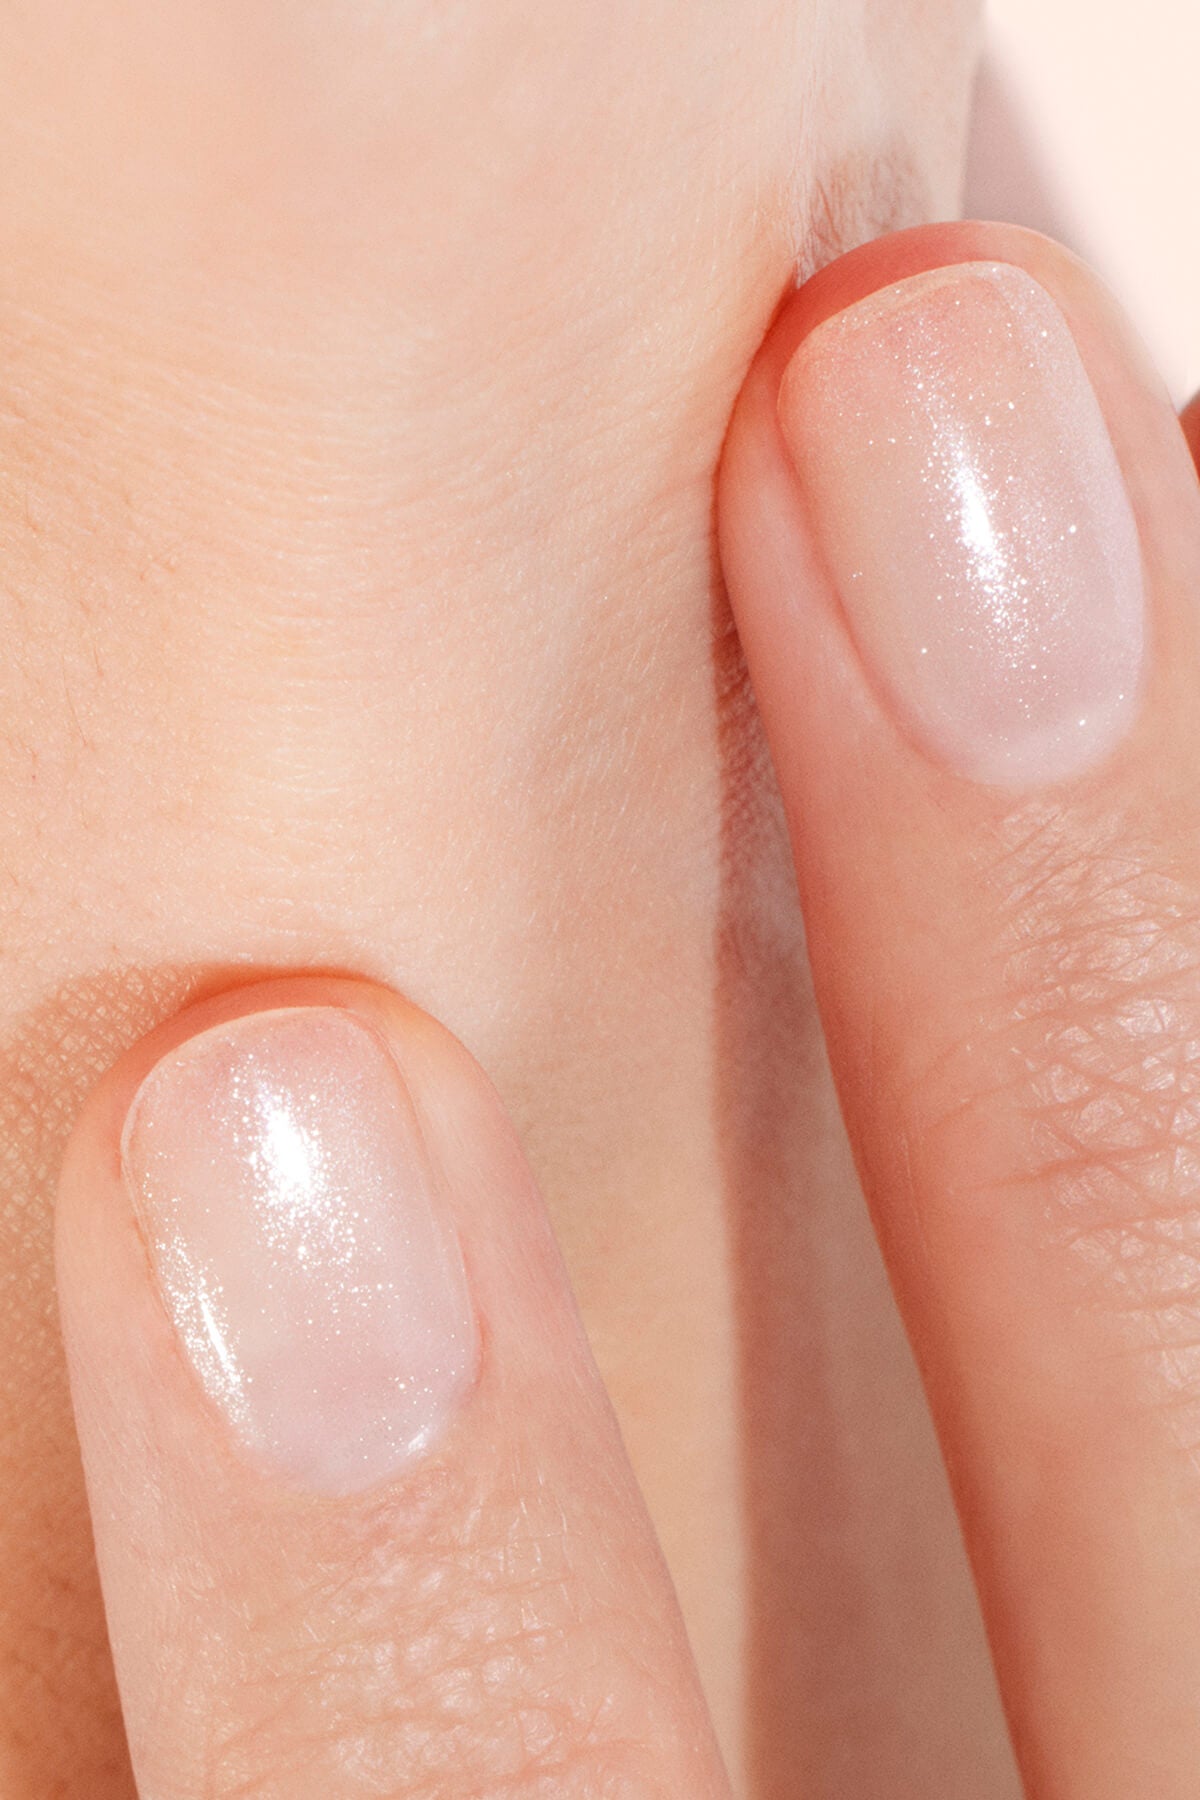
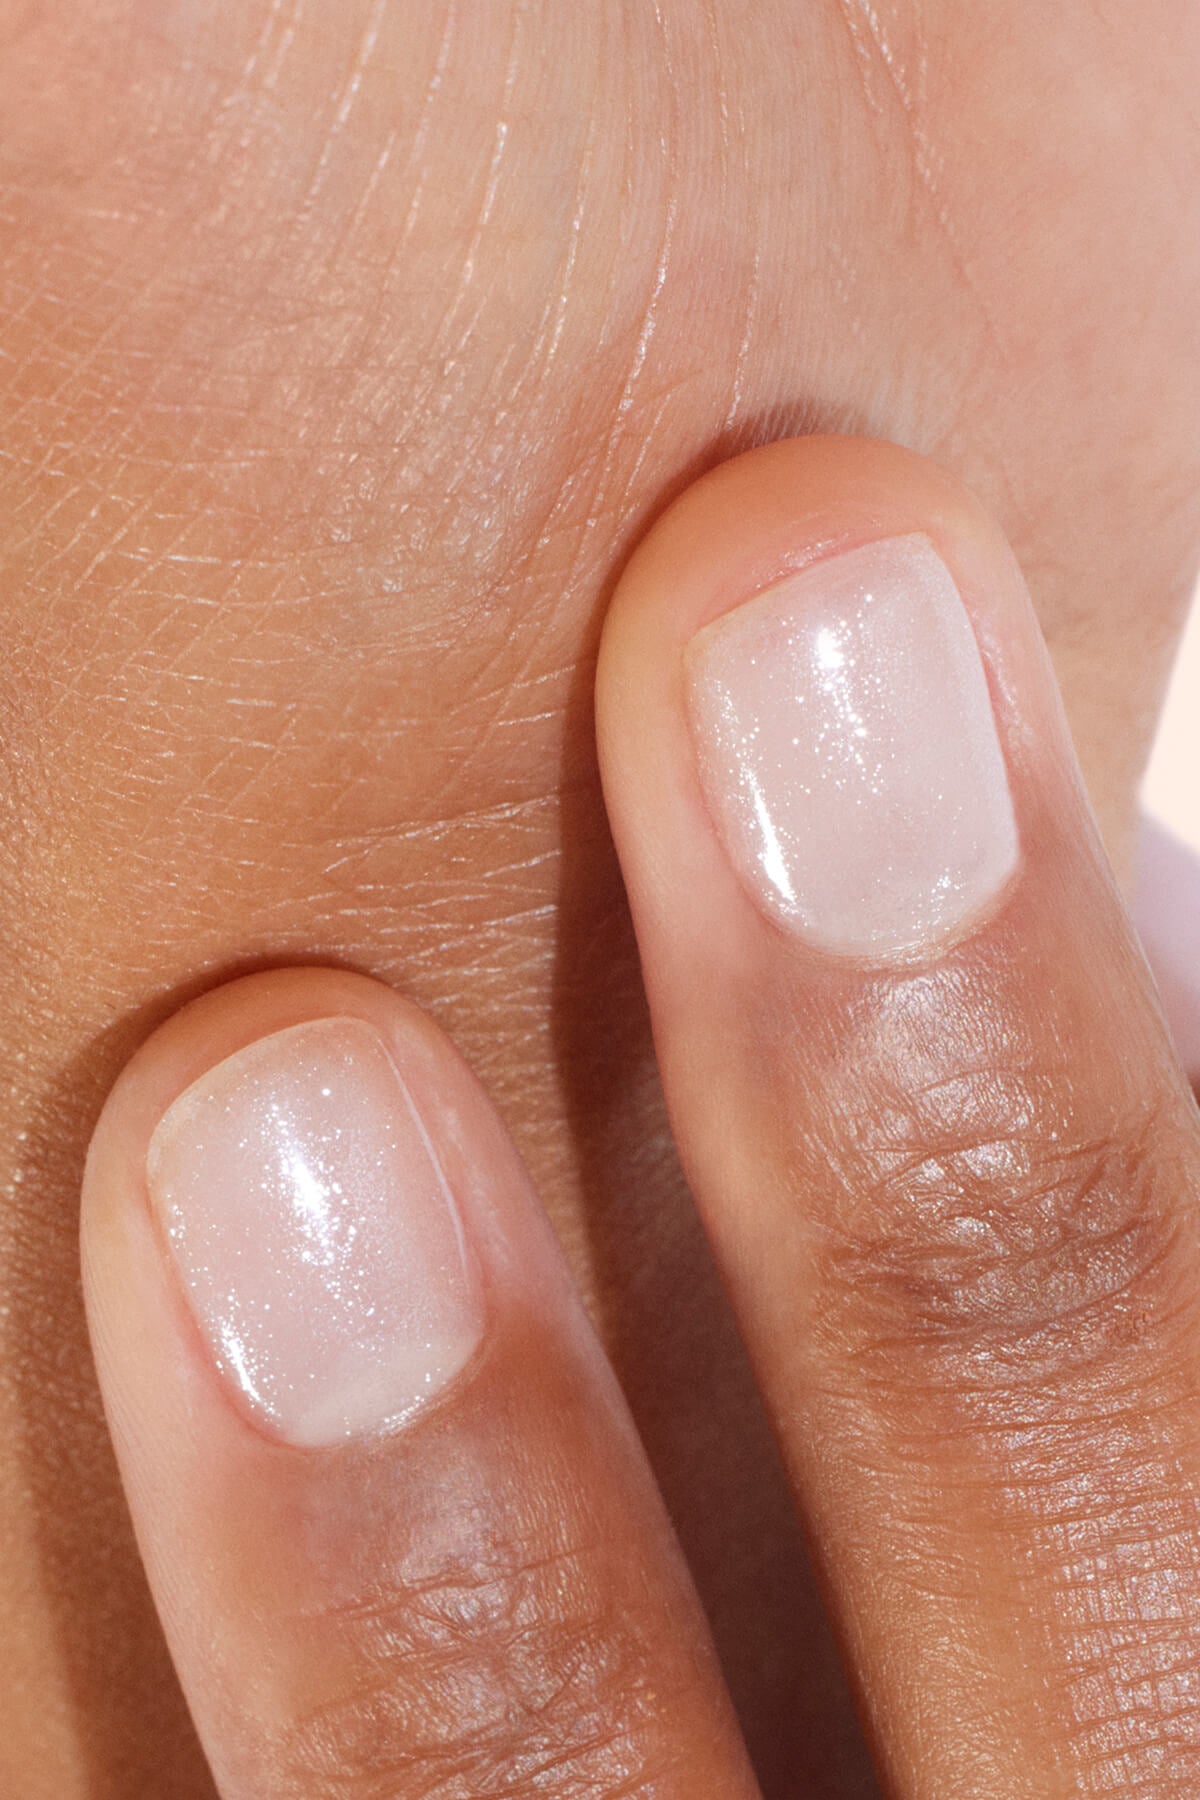
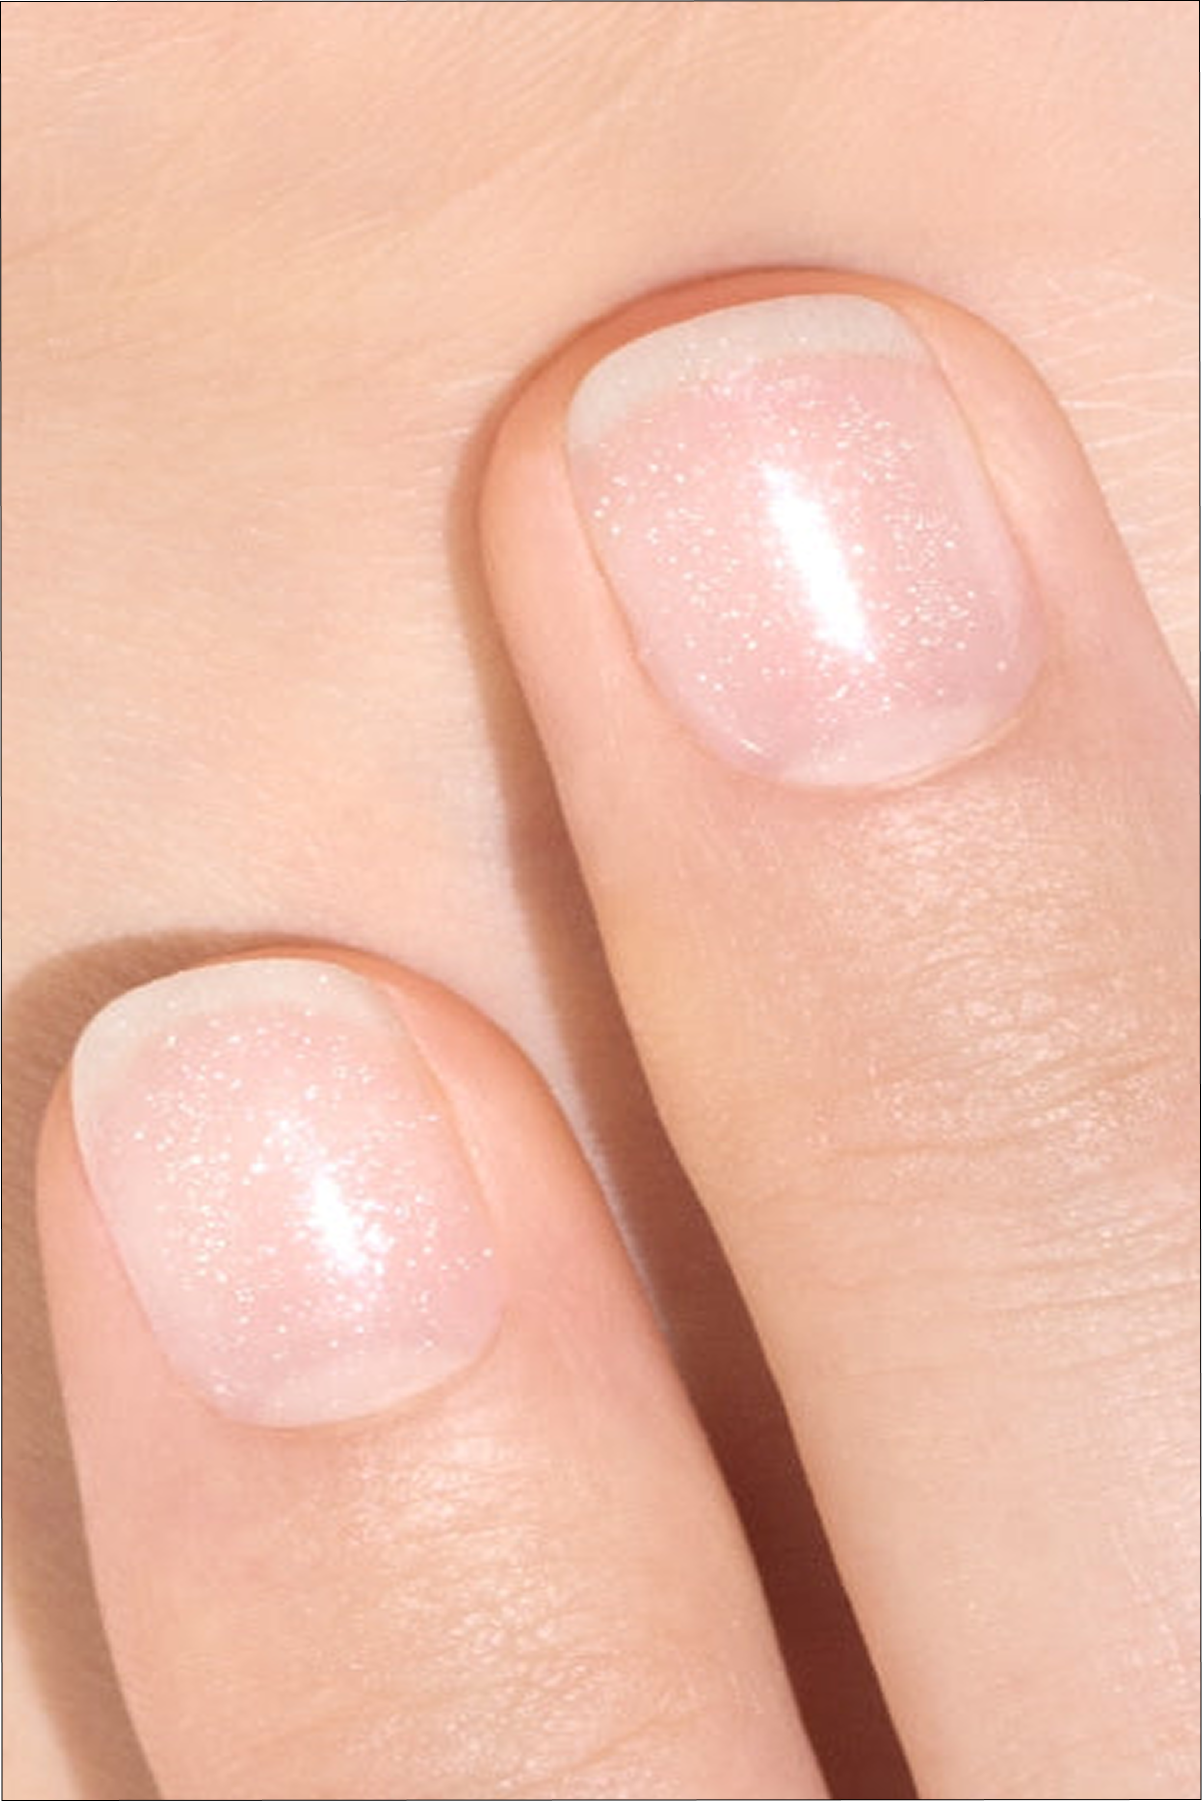
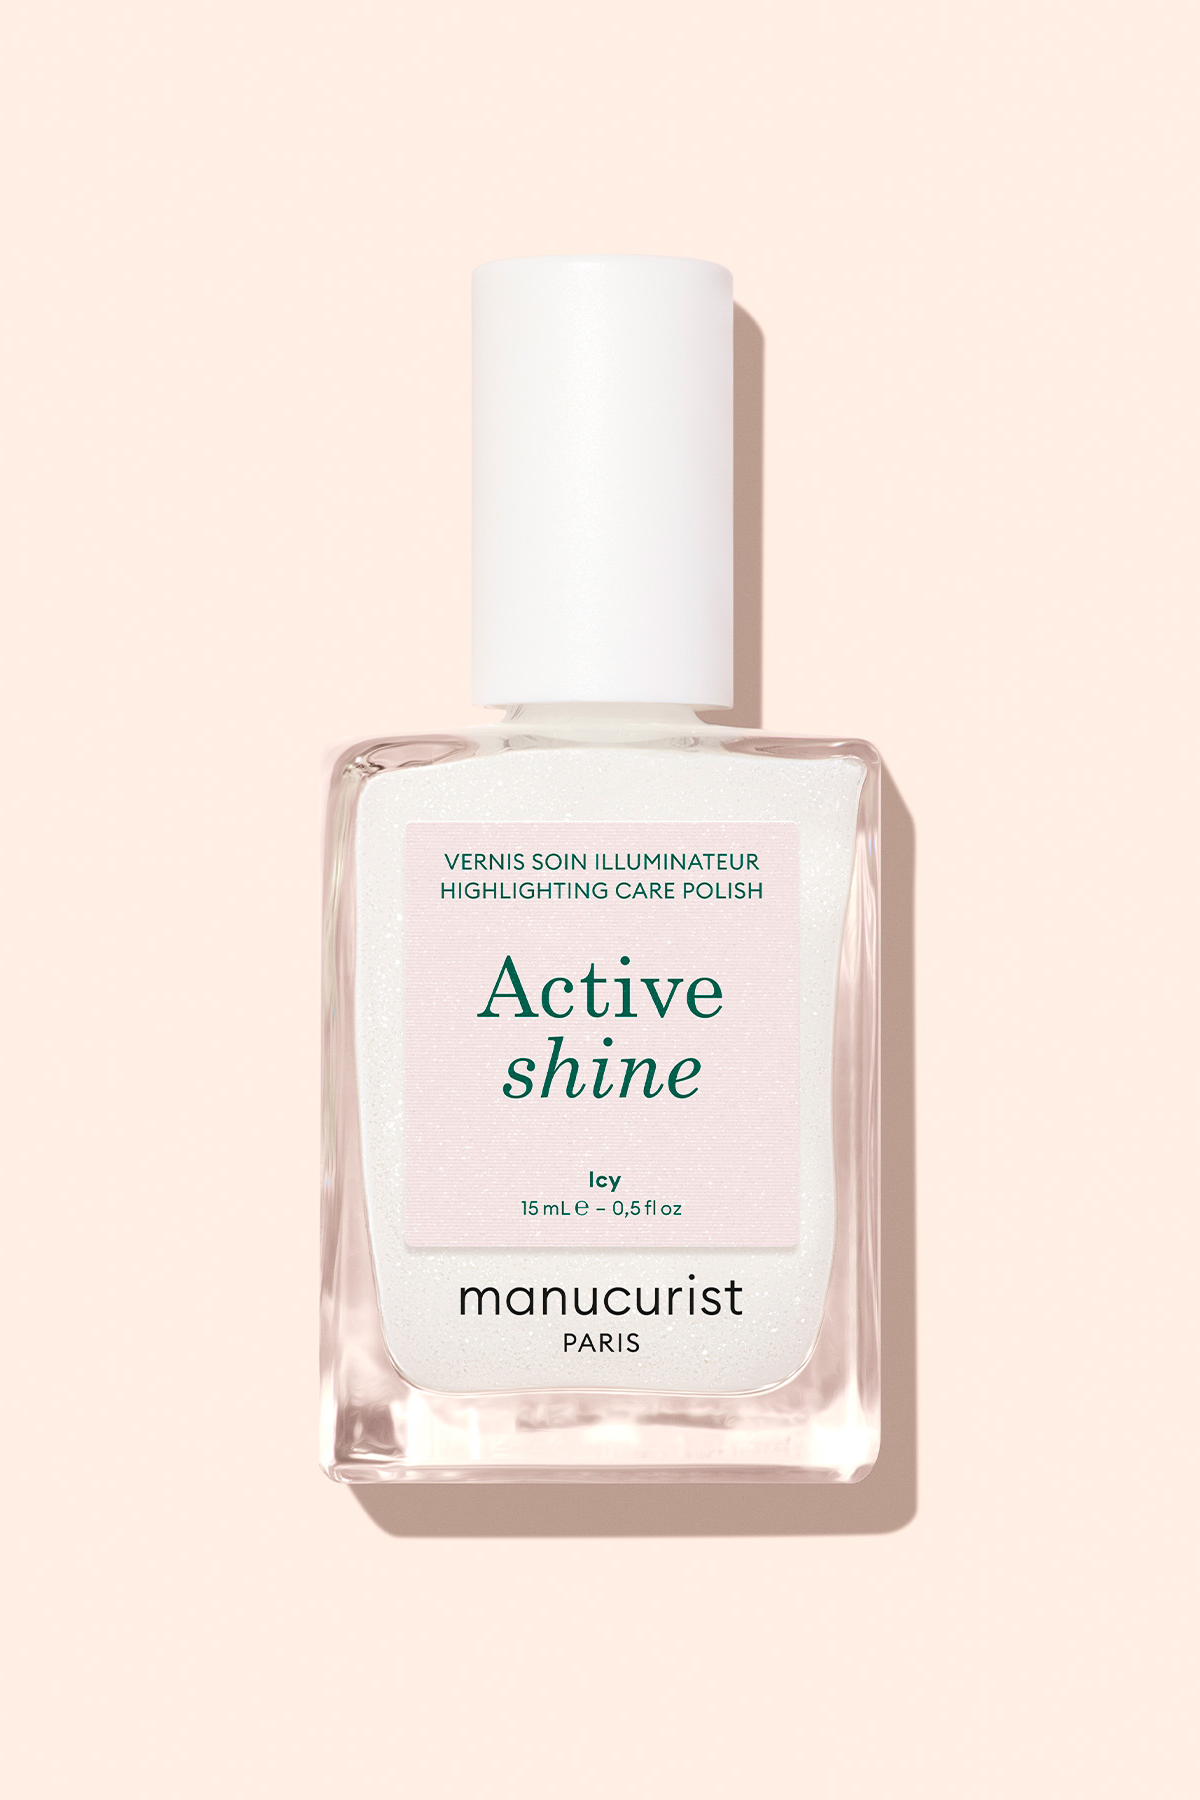
And for a bright and disturbing manicure, nothing like Nebula, one Translucent white varnish inlaid with micro-paillettes holographic reflections I'm gonna make you lose your mind.


Easy to achieve Halloween nail ideas
No need to be a brush pro to let yourself be tempted by a Halloween nail art. Two options are available: the homemade version, and the stickers version, for a impeccable rendering in one turn.
Black & White ghosts: minimalist ghost nails
On one Black base Licorice, draw a small white ghost with nail art brush with varnish Snow, then add two round eyes to the dotting tool. Too much time? The Halloween Stickers Manucurist You can sit down in seconds. Set your nails with a glittery black base to be made with Sparks And sprinkle them with little ghosts in a blink of an eye.

Drawing or ready to pose, these little ghosts are too cute on your Halloween nails. (@nenapleasenails, @m.o.n.a.j)
Cute cat: the black cat nail version Halloween
Still on a basis Licorice, trace with a fine brush of the eyes in almond with a yellow varnish Mimosa, crossed with a black line to create the cat's singular look.
In version stickers, Cat's eyes patterns make their small effect on a dark base, while cat silhouettes flourish beautifully on a base Milky Pink.

Cat eye, cat's paw, silhouette and cat head, cat lovers will love the new Halloween stickers of Manucurist . (@irasnailroom, @look8thenails)
Spider Nails: the Nail Art Easy Spider Canvases
On a nude basis Pale Rose, trace 3 lines in a beam from the corner of the nail with the licorice varnish, then connect them by small arches.
For the most in a hurry, you will love the Spider Stickerssmall or big, and spider webs. Put them on a lightly pearly grey base Tweed for a dramatic rendering just what it takes.

Hang on to your nails with thin spider cloths, delicate as laces. (@mani.minimalist, @look8thenails)
Blood drops: blood drops for Halloween chills
Go on a nude basis Beige and put a few drops of varnish in the dotting tool Dark Pansy you stretch slightly using the dotting tool for the dripping effect. And if you don't have the soul of a nail artist, Blood drops stickers Save your Halloween manicure.

Nail art So chic blood drops for Halloween drama queens. (@whatwomenwear_madrid)
Discreet, simple Halloween nails and classes
We know that not everyone has a desire to maximum design at the Mei Kawajiri for a Halloween manicure, so here are three ideas nail art while subtlety.
French Poison: The French manicure Halloween
For the addicts of the French manicure, bet on a more intense version. On a basis Pale Rose, draw the edge of the nail with glittery green varnish Poison, and lift it from a tip of Biodegradable glitter Cactus. A terribly refined result guaranteed for this colorful French Twist !
Double mini French Witchy: the French witches
Here is the perfect nail art to embellish a witch costume: on a base Hortencia, apply with the Mani Stamper a first line of French with the pearly green varnish Groove, enhanced by a dark purple varnish trait Queen of Night. The result: a two-tone border with mysterious elegance.

French manicures revisited for Halloween night queens. (@look8thenails, @irasnailroom)
Red and black shade: hypnotic gradient for a chic look
This shaded art nail merges the nuances, deep red way velvet nails until the black licorice. Start by dressing your nails with a Red Cherry base layer. On a nail art sponge, place 3 lines of varnish Red Cherry, Dark Pansy and Licorice apply by taping on the nail until you get a homogeneous gradient. Fall!
Halloween nails in black or burgundy
You swear only by timeless hues, but you dream of a twist? Metal effects will be your best allies. Here are 2 proposals:
- Black Aura nails : on a basis Licorice, create an effect by mixing on a nail sponge licorice art and silver varnish Disco for a manicure will have enigmatic.
- Shiny Purple Nails : pimp a deep burgundy varnish such as Plum applying a layer of top coat glittery Silver for a very silver chrome effect shiny baby.

Red, black or burgundy varnishes to be offered in shaded art nail, aura or glitter, to charm the creatures. (@m.o.n.a.j, @look8thenails)
The Halloween Nail Art Trends to Adopt This Season
Magnetic Green Baby Boomer
On a basis Milky Pink, shade the tip of the nail with a touch of pearly green varnish Groove applied to nail sponge art. Isn't it divine this baby boomer?
Mini French Pink & Glitter
For a manicure inspired by Harley Quinn and the universe of comics, combine a white and sparkling base Nebula with a neon pink mini french Bloom realized at Mani Stamper. Remarkable and unclassifiable!

Scroll Halloween with a good dose of glitter and other chrome effects. (@m.o.n.a.j, @nenapleasenails)
Mix & match Spooky design
Why just one motive when you can adopt them all? With our Stickers boards, invite on your pumpkin nails, bats, haunted houses and other devil horns, to apply on a base black, white or nude, for a custom mix & match.

How to make a successful Halloween manicure?
Here are our tips to have every chance of success your Halloween manicure:
Prepare nails before laying
A successful nail art begins with a careful preparation of the nails that is done in four stages:
- Line your nails to give them the desired shape (square, rounded or almond) with a natural nail file.
- Apply a few drops of emollient for soften cuticles and push them with a cut-off to make your nails clean and clean.
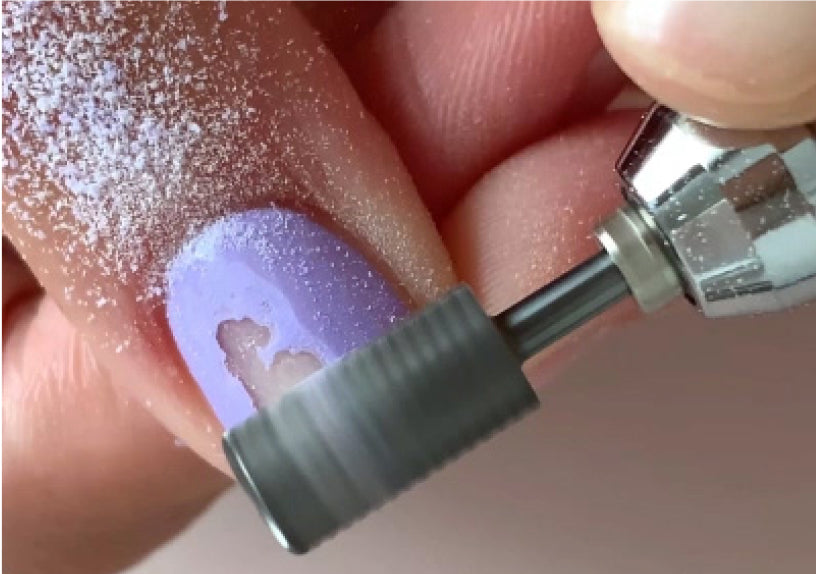
- Then come on. Lightly mattify the surface with a preparation file to remove any roughness and open the keratin scales, which helps the varnish to adhere better.
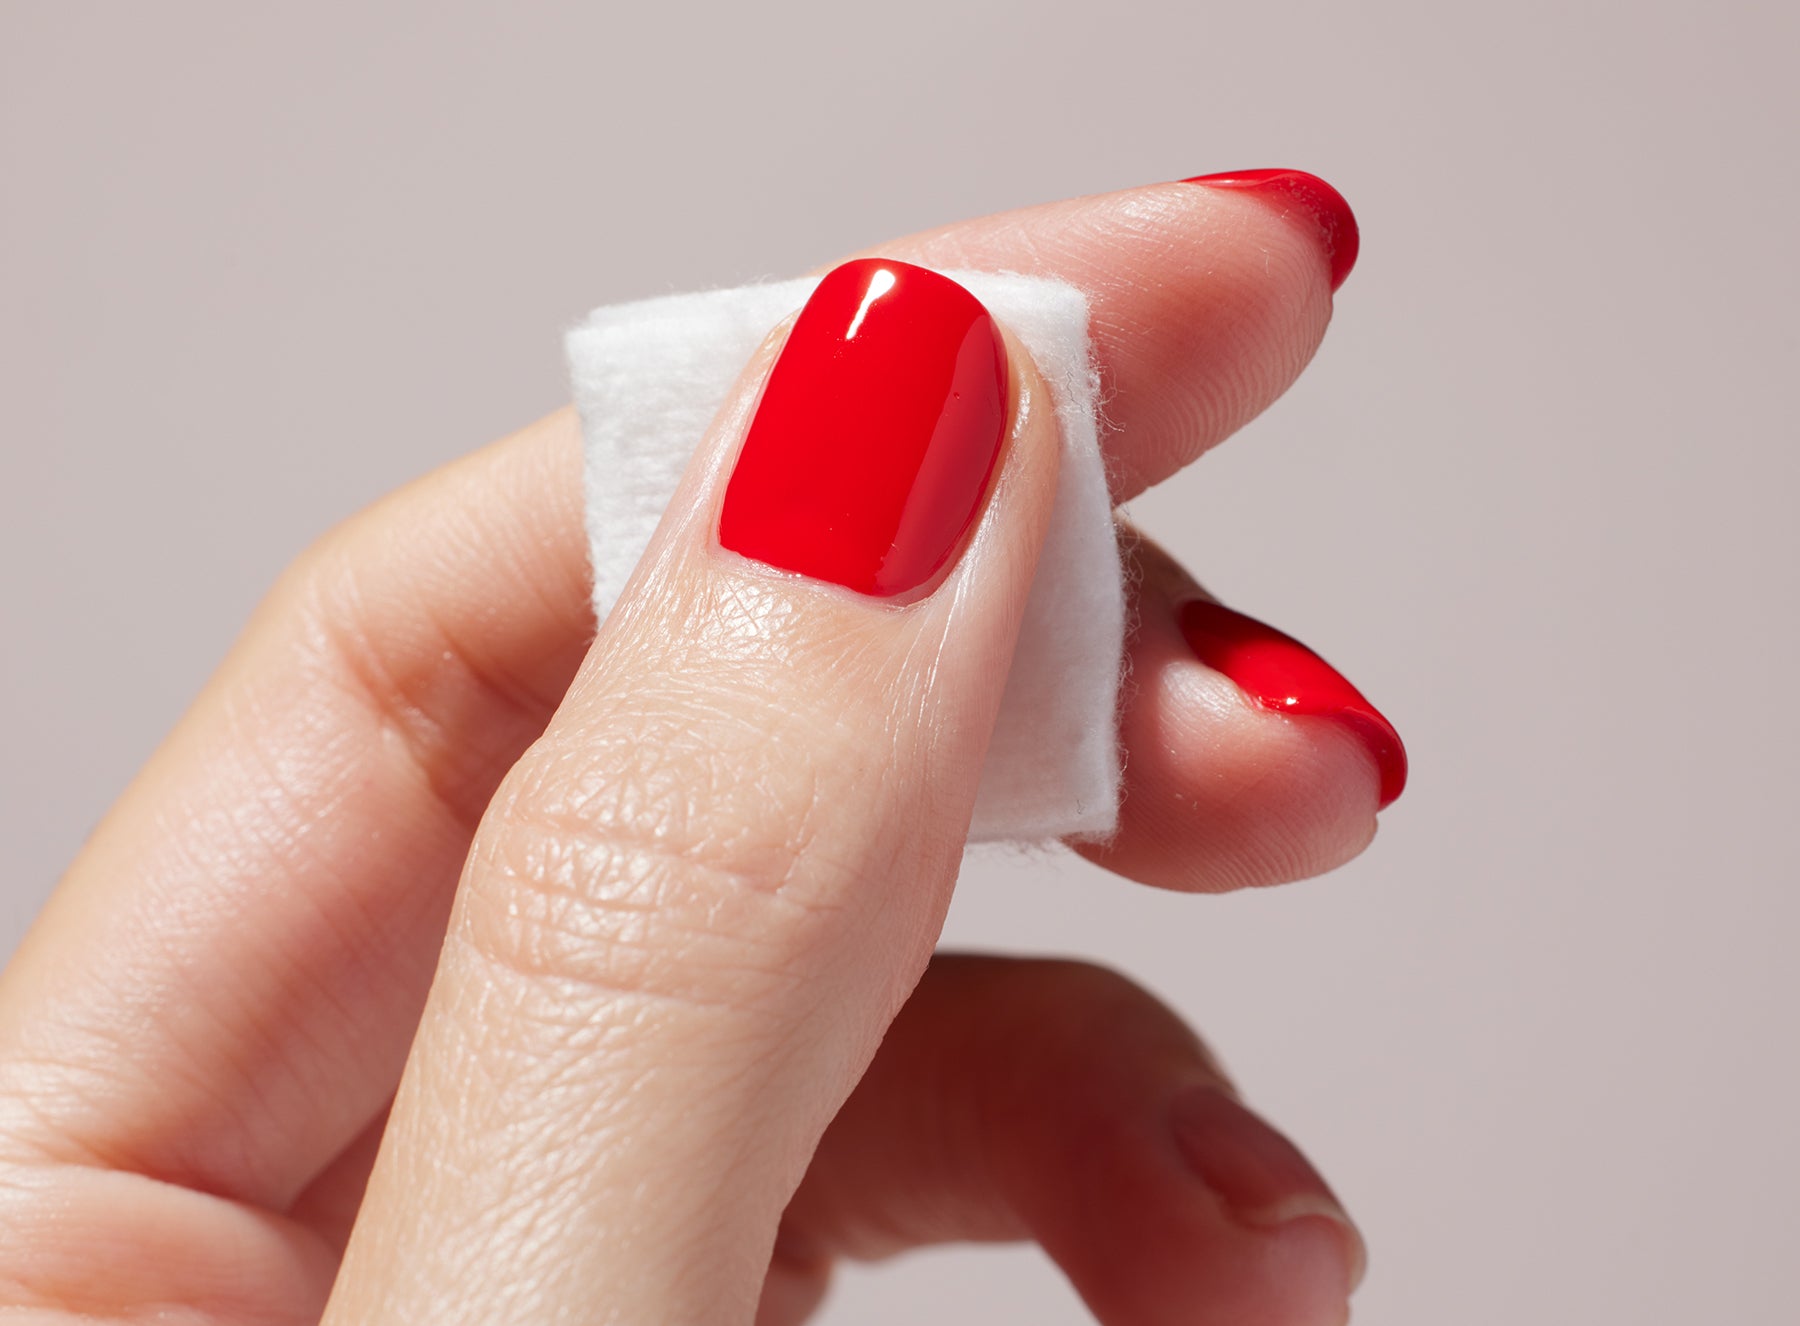
- Degrease finally with a degreaser or a soft solvent so that the nails are perfectly clean before laying.


Choose the right varnish
Before you draw your brushes and stickers, it is essential to know with which type of varnish you will work and choose the most suitable.
👉 Classic nail polishes such as varnish Green™, easily, without specific material, dry in the open air and easily correct in case of blush or failure. The ideal solution if you're new.
The confirmed nail artists can opt for semi-permanent varnish, as Green Flash™, which dries under LED/UV lamp and offers long-lasting hold.
Using the right tools
To succeed your Halloween nail arts, your best allies are:
- One dotting tool to make Polka dots nails perfectly, but also create some patterns like hearts or drops of blood.
- One nail brush art and one Liner brush for reasons that require precision.
- One brush glitter to gently put the glitters on.
- One corrector pen to clean out the overflows on cuticles, especially when working with sponge gradients.
- One mani stamper to achieve an ultra precise French manicure in seconds.
- One nail sponge art to create perfect gradients, thanks to its ultra thin foam that fades and allows to obtain a uniform melt.


Hold your Halloween art nail longer
For magic to work to the fingertips, the best advice to follow is to follow all steps of the chosen routine.
👉 If you choose a varnish Green™, apply a thin layer of Base Vitamin Coat Green™. Once you have finished your nail art, seal the manicure with a layer of Top Coat Sunshine or Top Coat Green™ with a matte or glittery effect. Leave it dry well each layer in the open air (approximately 1-2 minutes per layer) to prevent the colours from blending or blending and the varnish from frying.
👉 If you choose a varnish Green Flash™, apply a thin layer of Base Vitamin Coat Green Flash™. When the nail art is finished, fix it with a layer of Top Coat Green Flash™ (held up to 12 days) or Xtrem Flash™ (held up to 21 days). To avoid oddness, Dry each layer under lamp the time required before applying the next layer.


FAQ
What color of varnish for Halloween?
It depends on your preferences but the essentials remain black, orange and red. For a "sorcier" inspiration, you can opt for purple or green. One white varnish is always useful for ghost or mummy motifs. The pink varnish fluoIt offers a staggered and original alternative.
What are the best nail ideas for Halloween?
The ghost patterns, black cats, spider cloths and blood drops are emblematic of Halloween. For a more trendy version, try the a nails, baby boomer revisited, french reversed or a mix & match stickers Spooky.
How to make easy Halloween nails?
The fastest method is to place a black, white or neutral varnish at the base and to have the Halloween Pattern Stickers Using a tweezer. Then fix the manicure with a suitable top coat.
What ideas of nails to make in October?
Beyond Halloween classics, October is an opportunity to test deep autumnal shades such as the bordeaux, plum or chocolate brown. The colours of milky and enveloping varnishes, nude or latte, are appreciated as well as rich and shimmering hues such as duck blue, fuchsia or yellow gold button. Nail art side, the glazed effects and animal motifs are safe values.