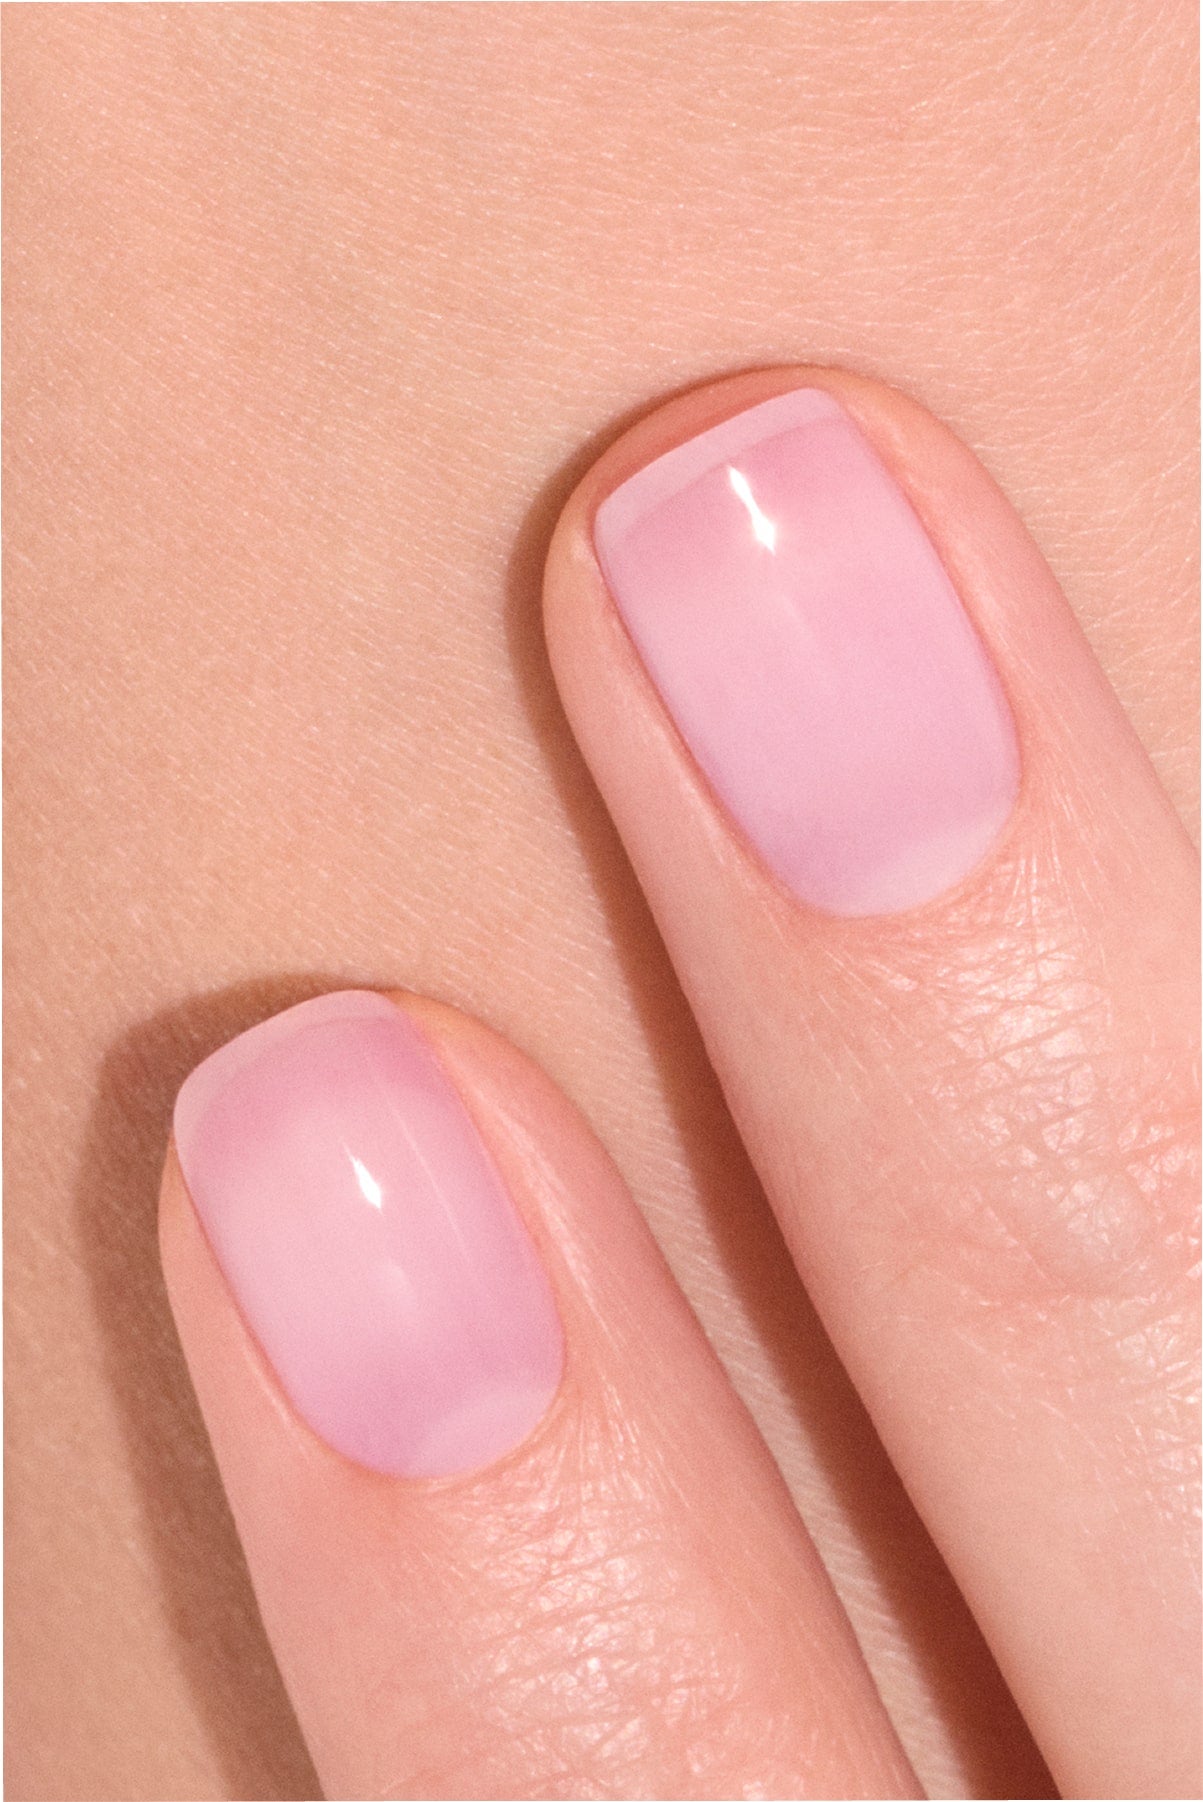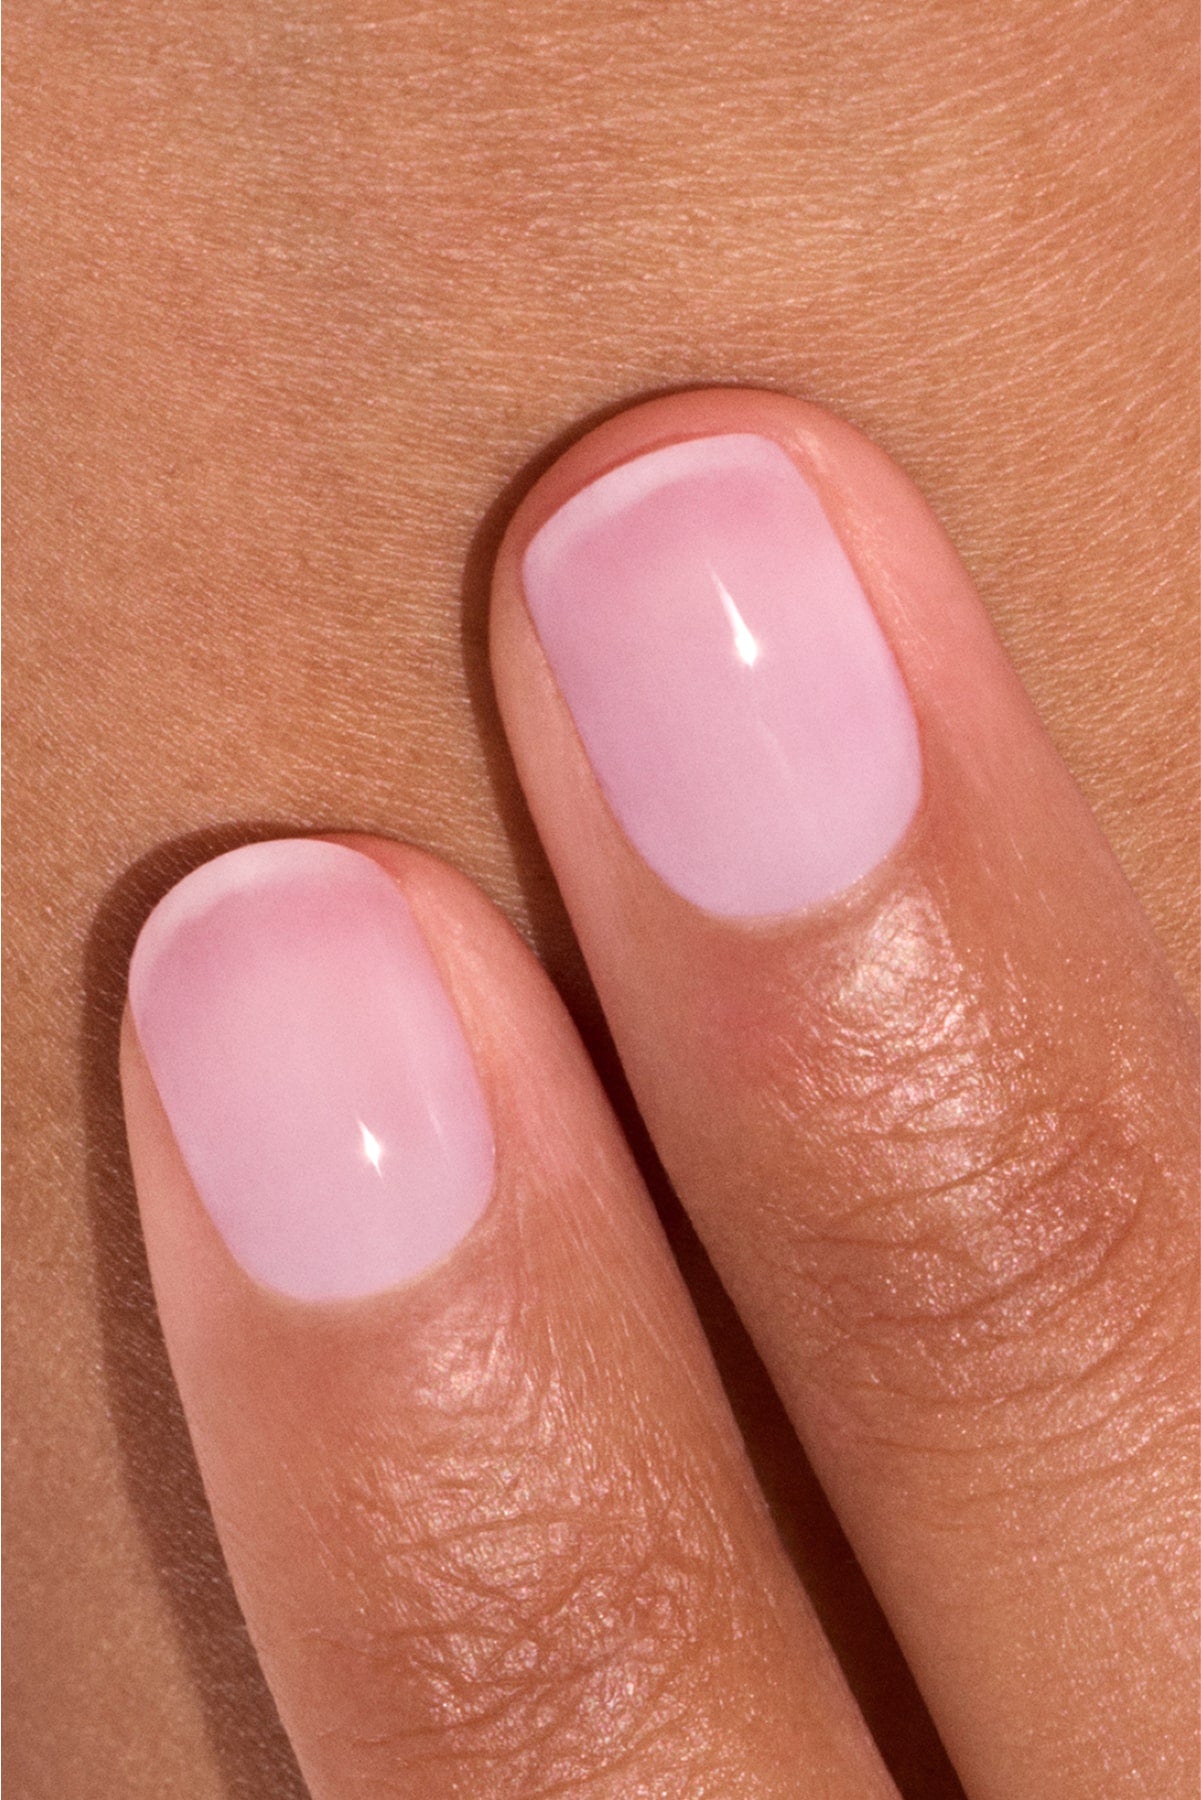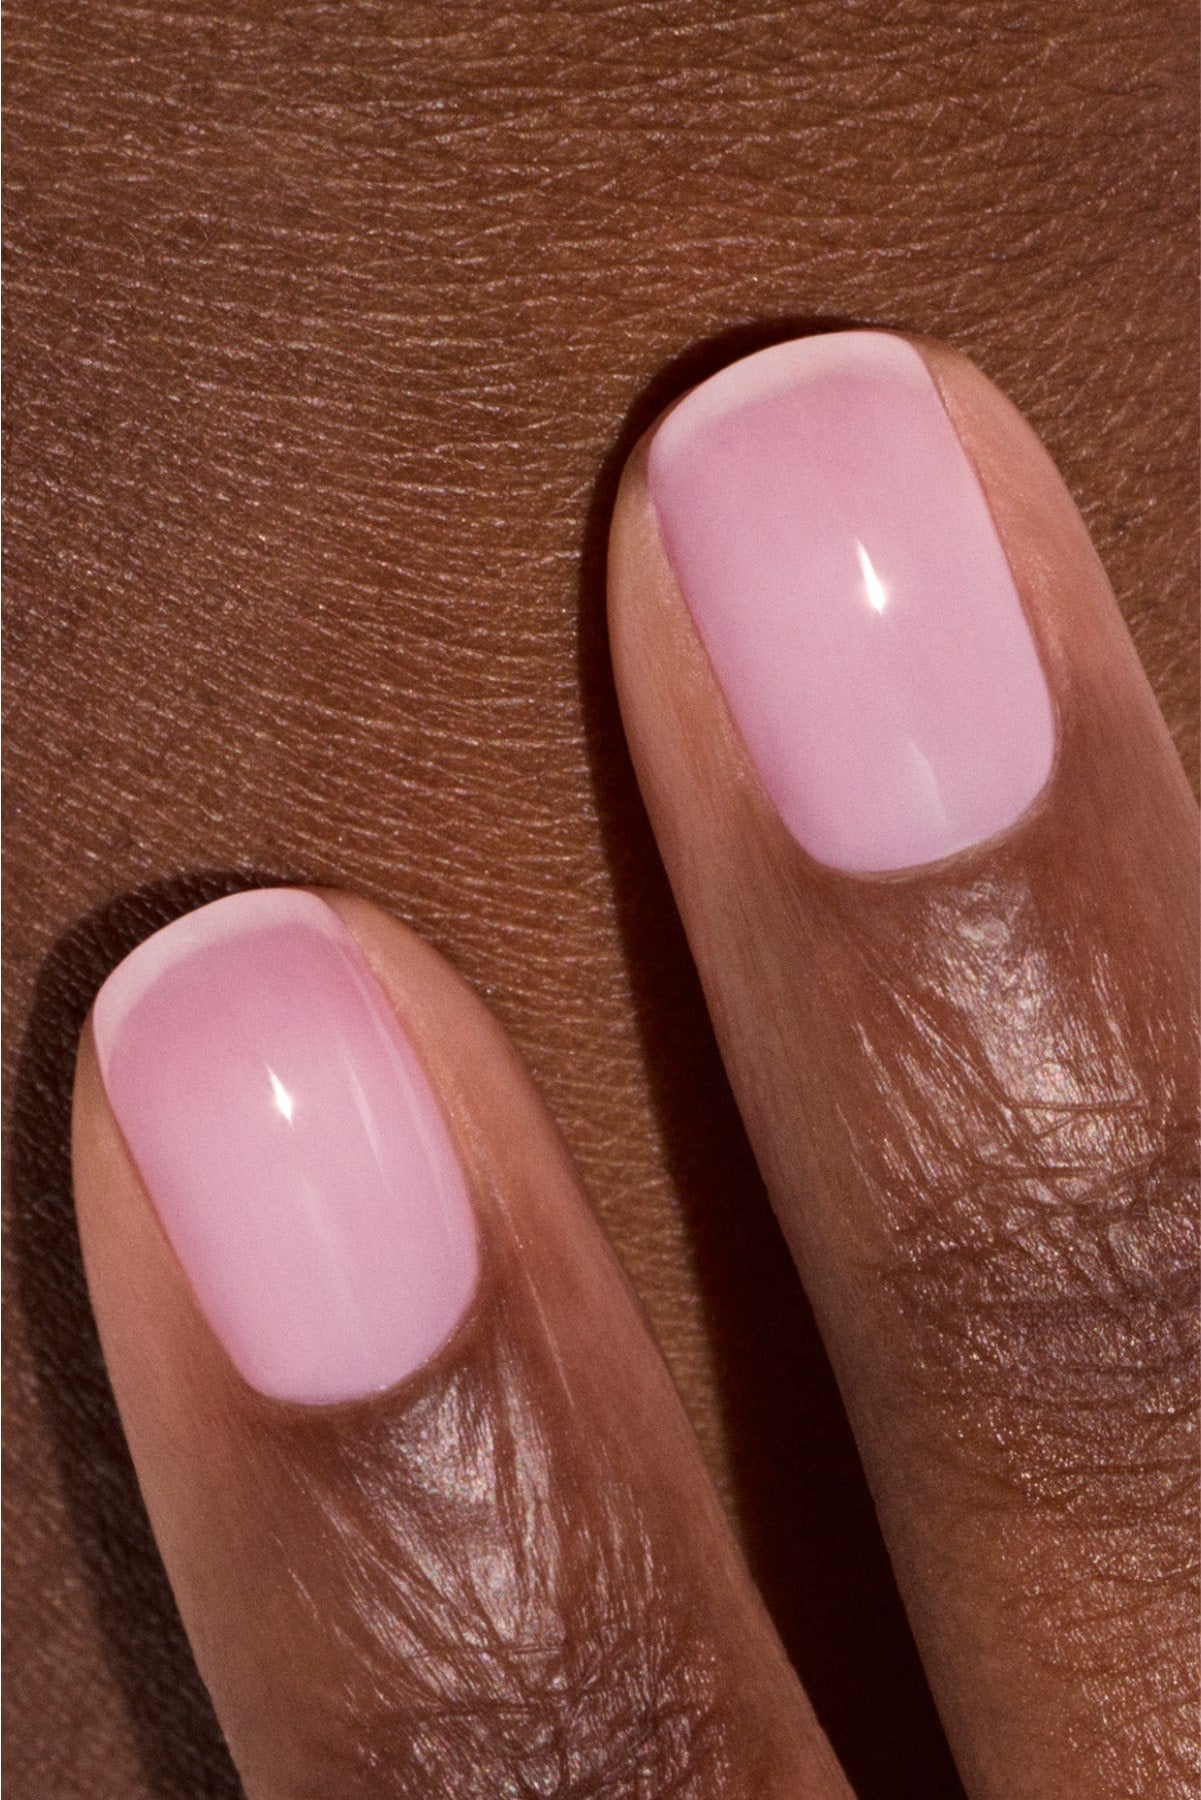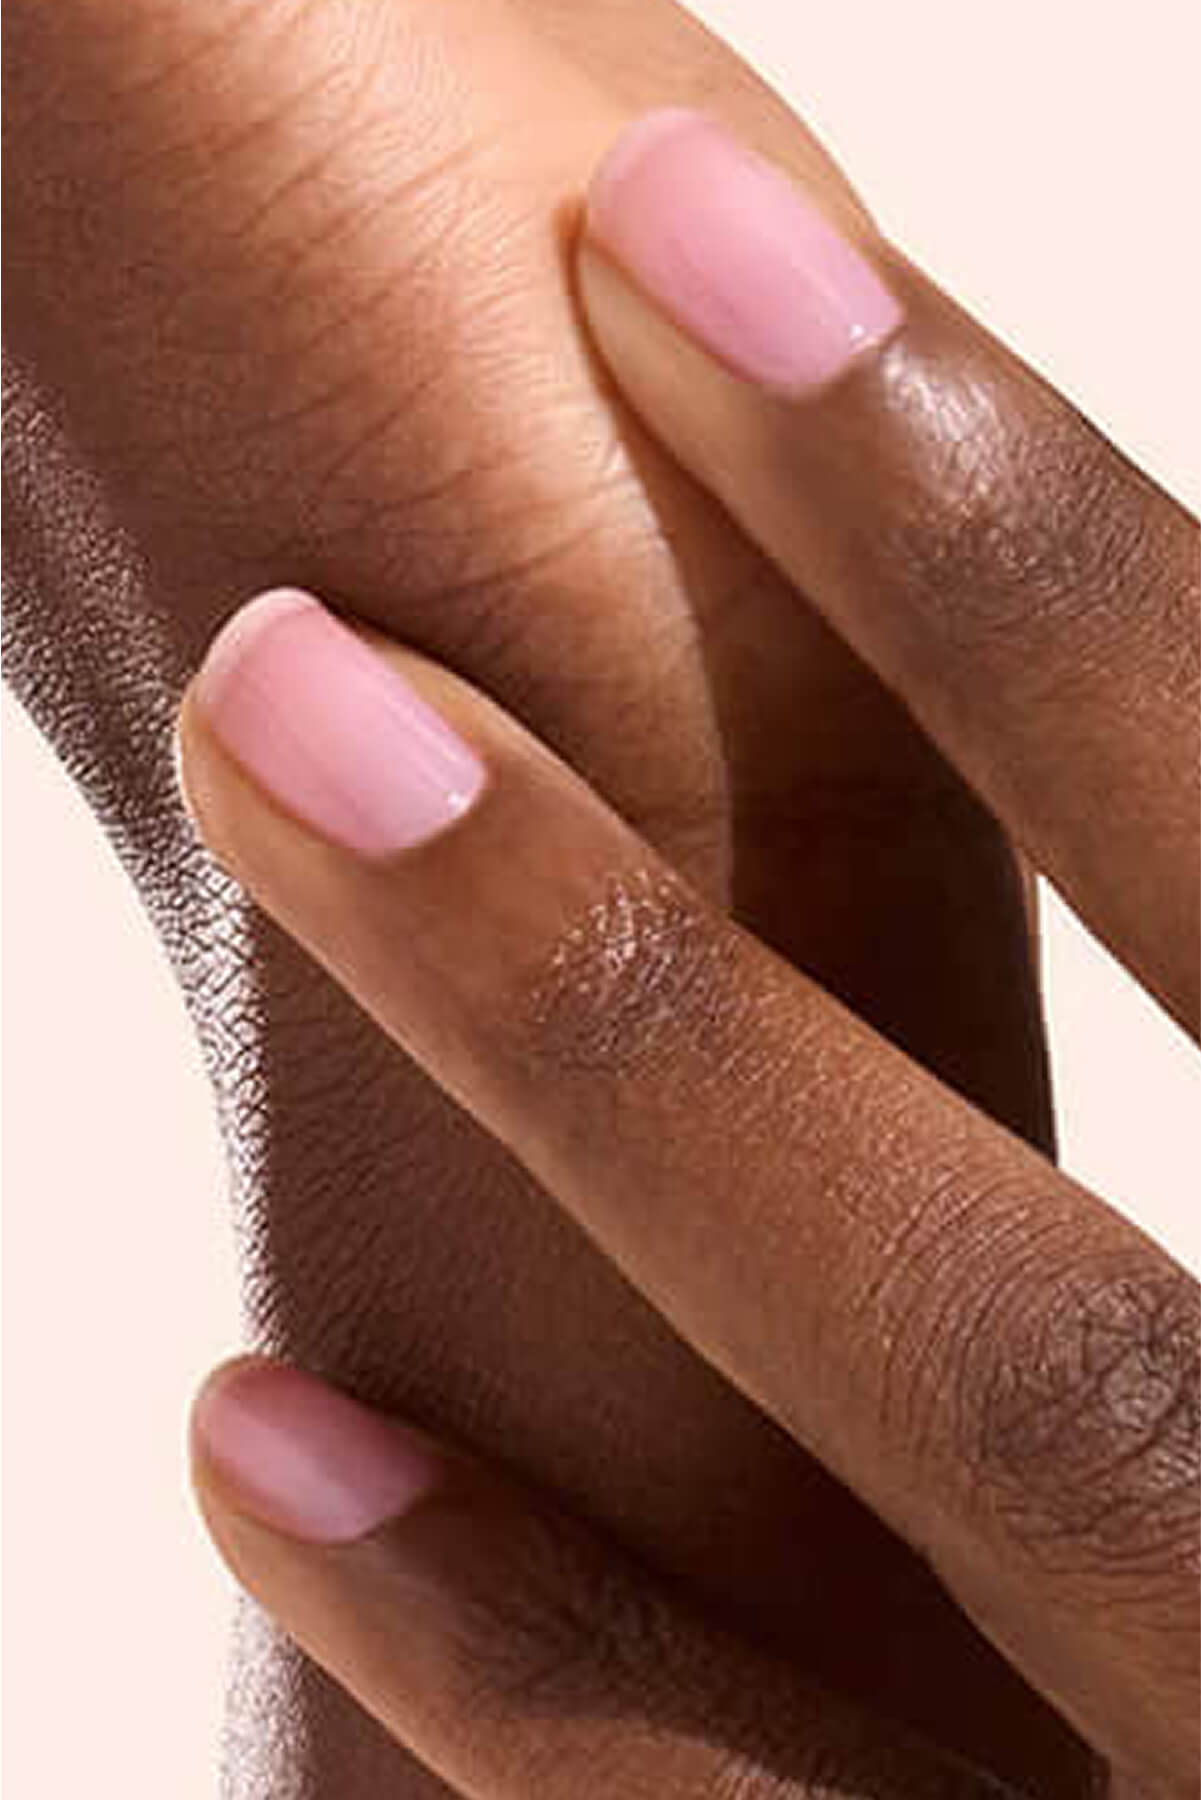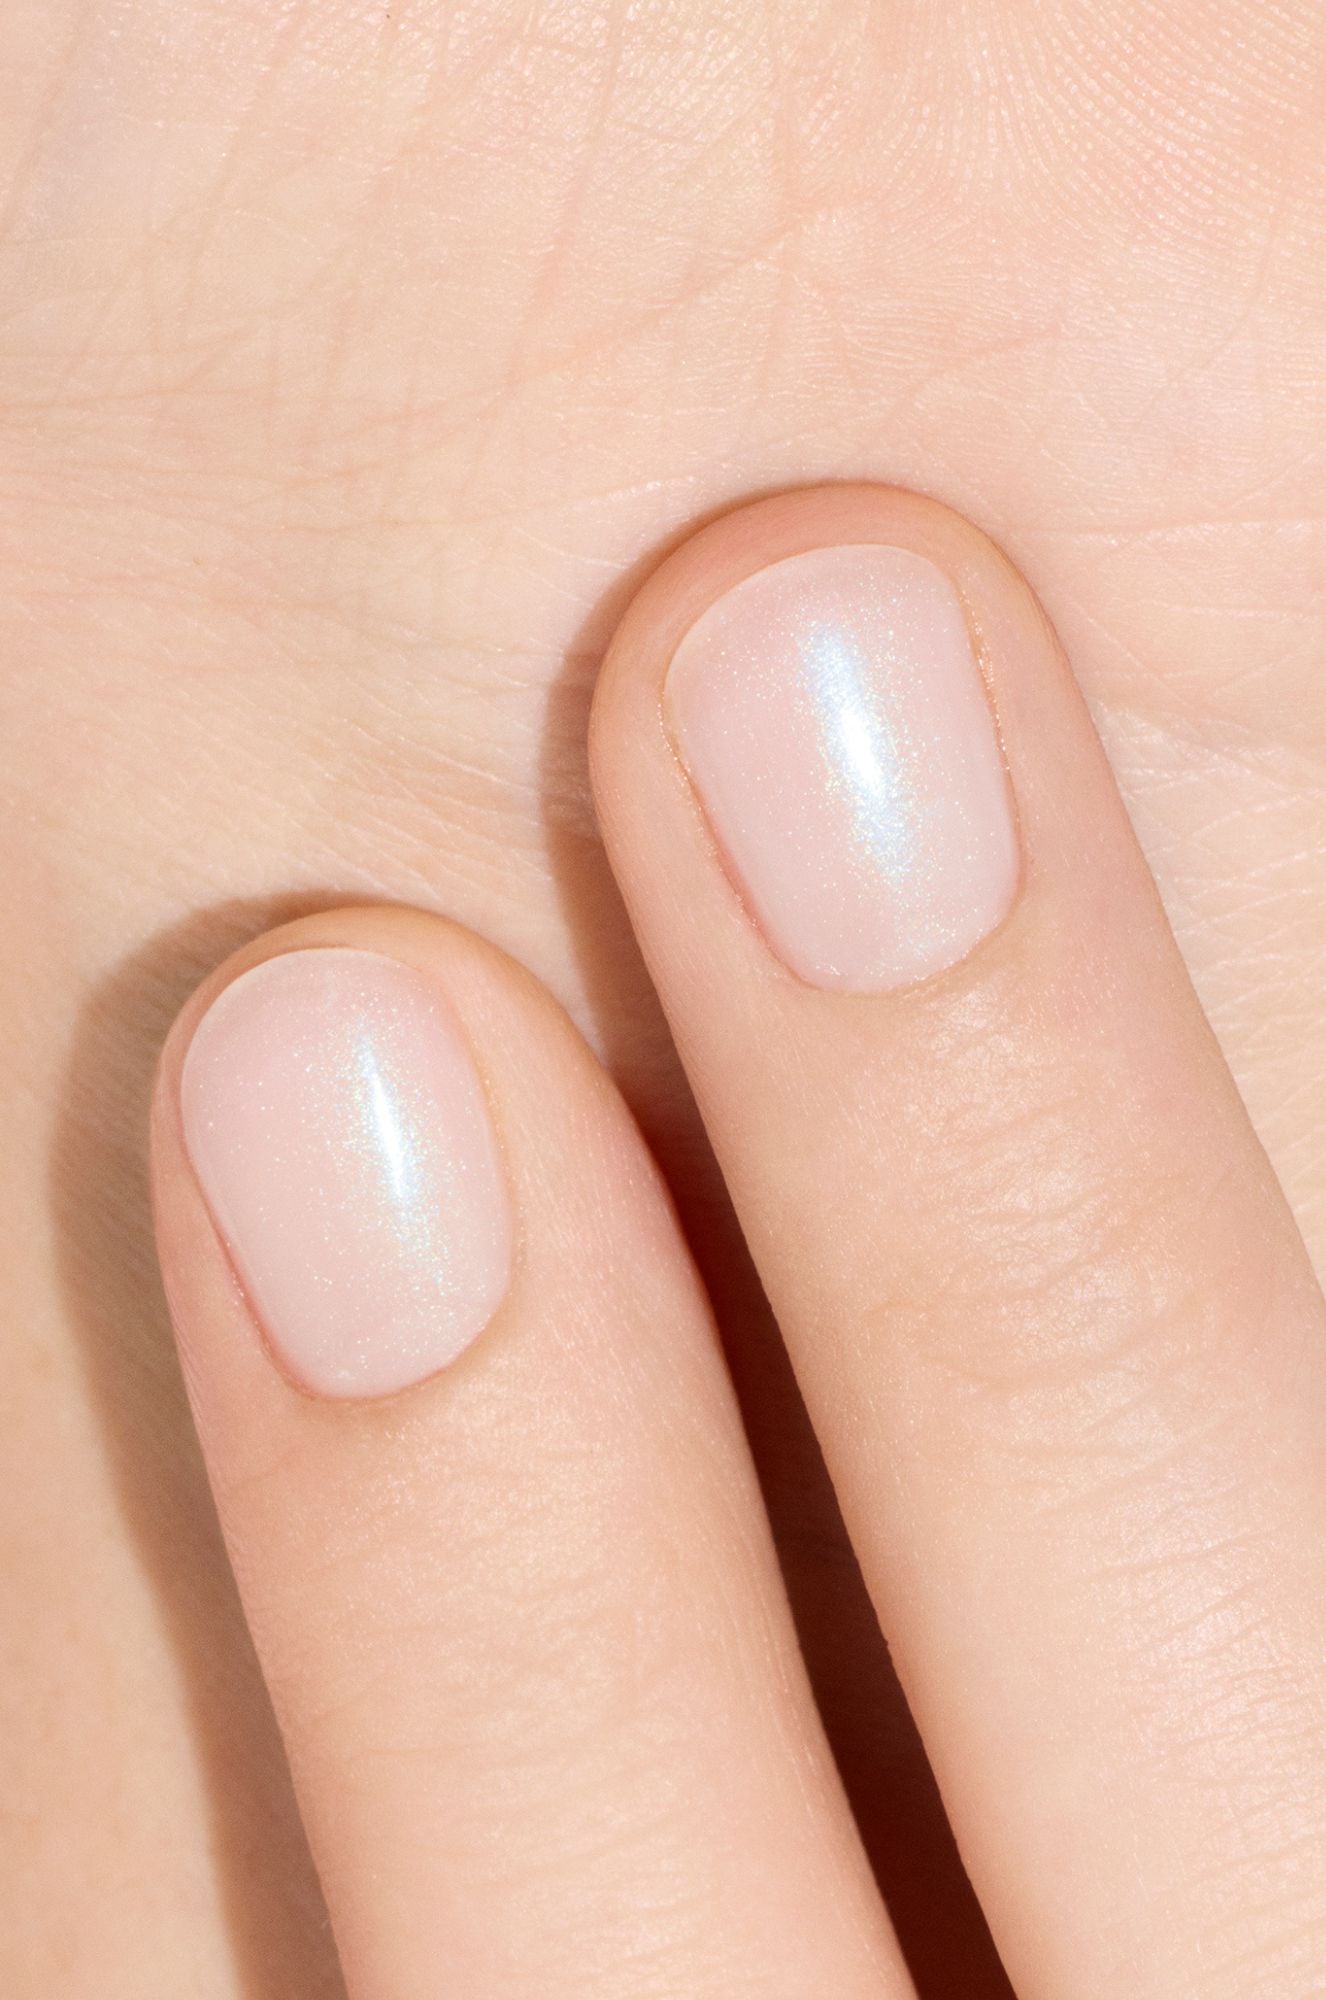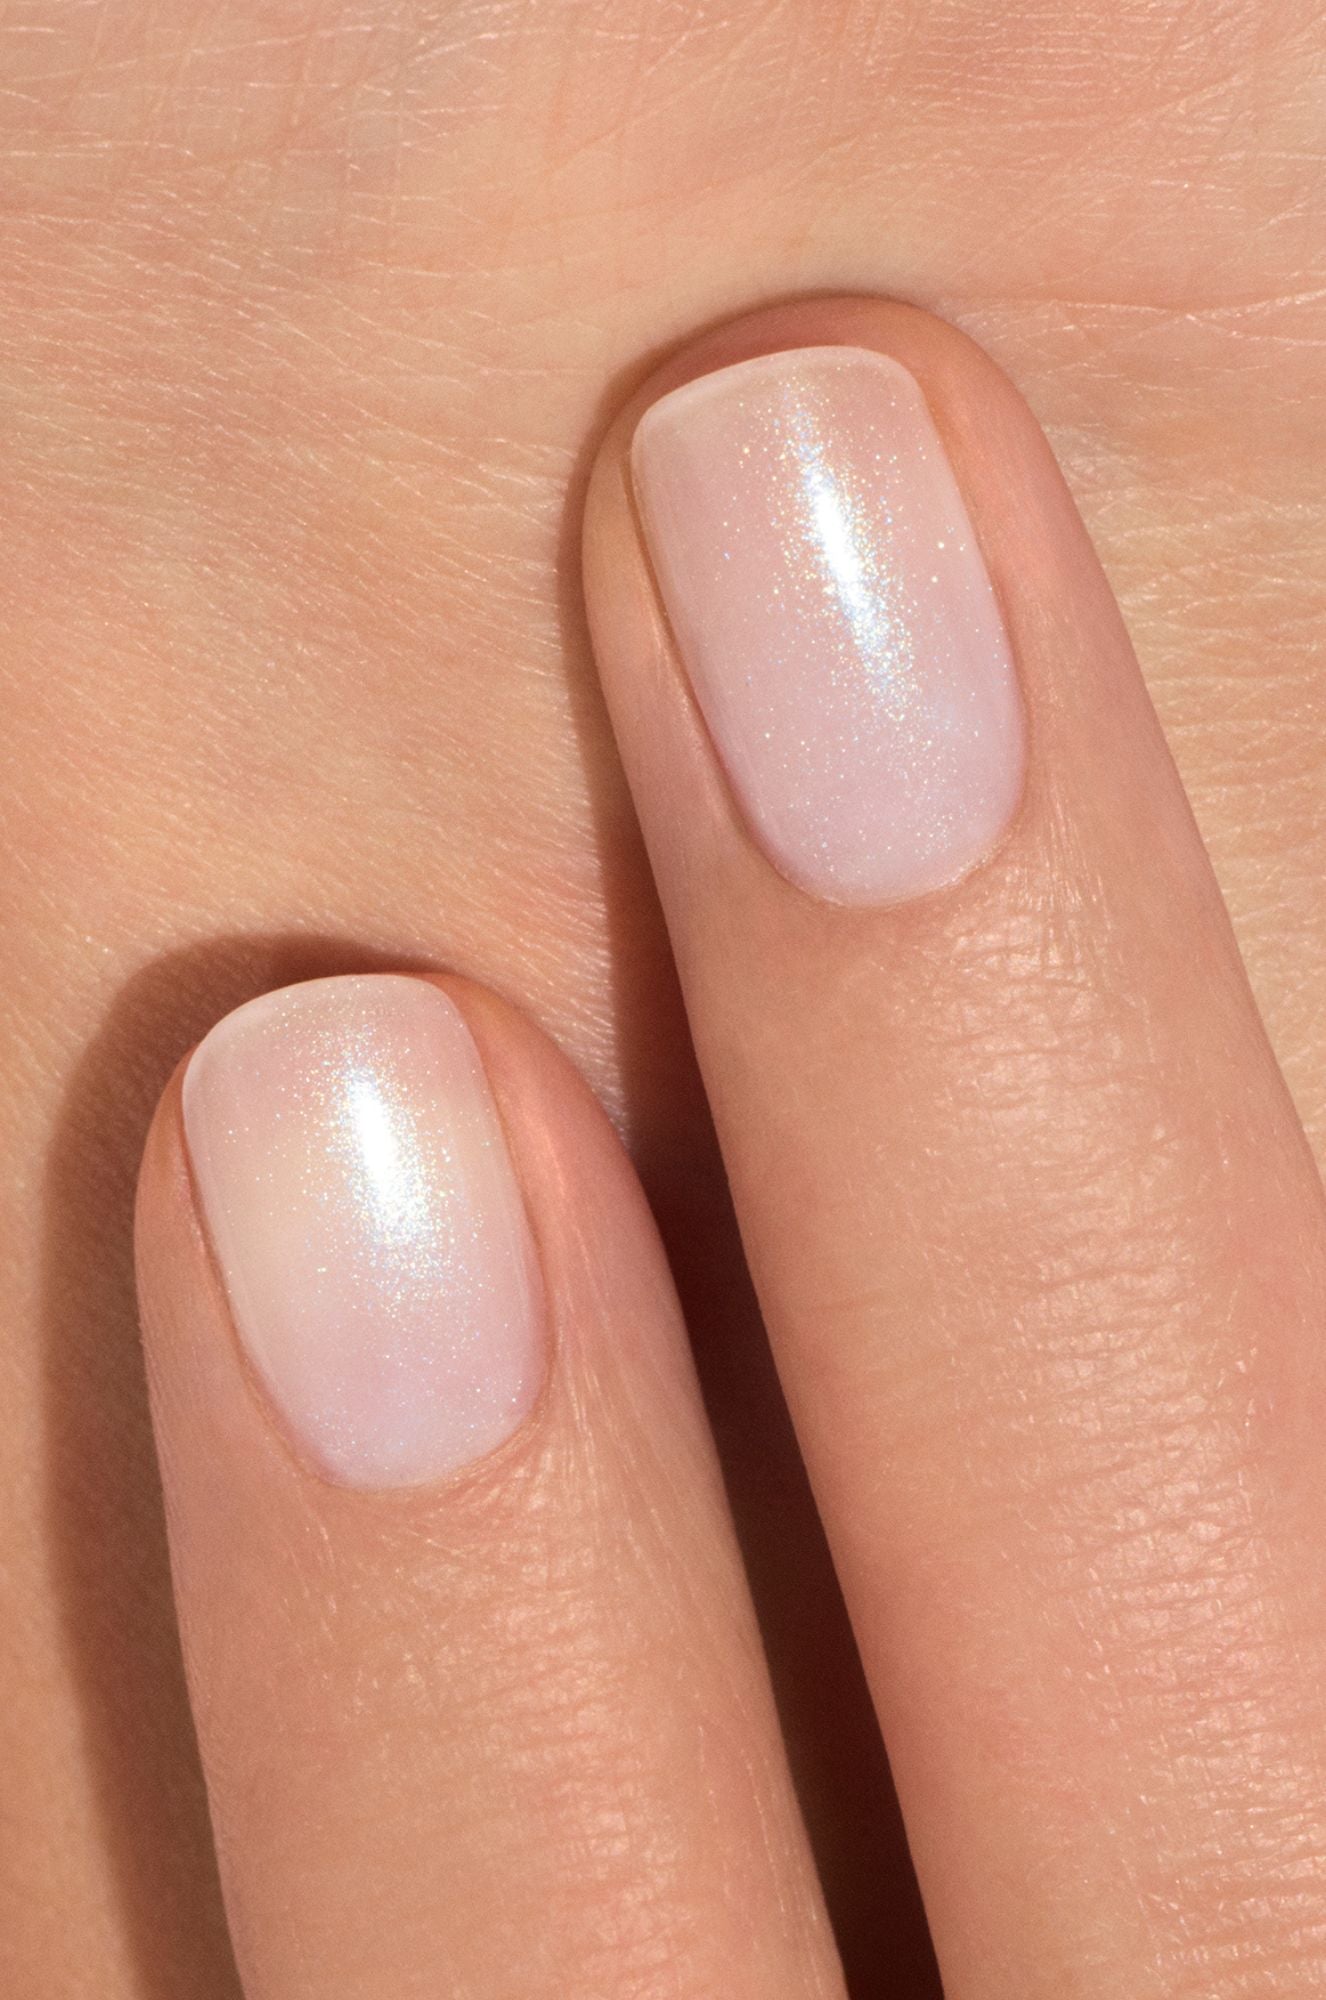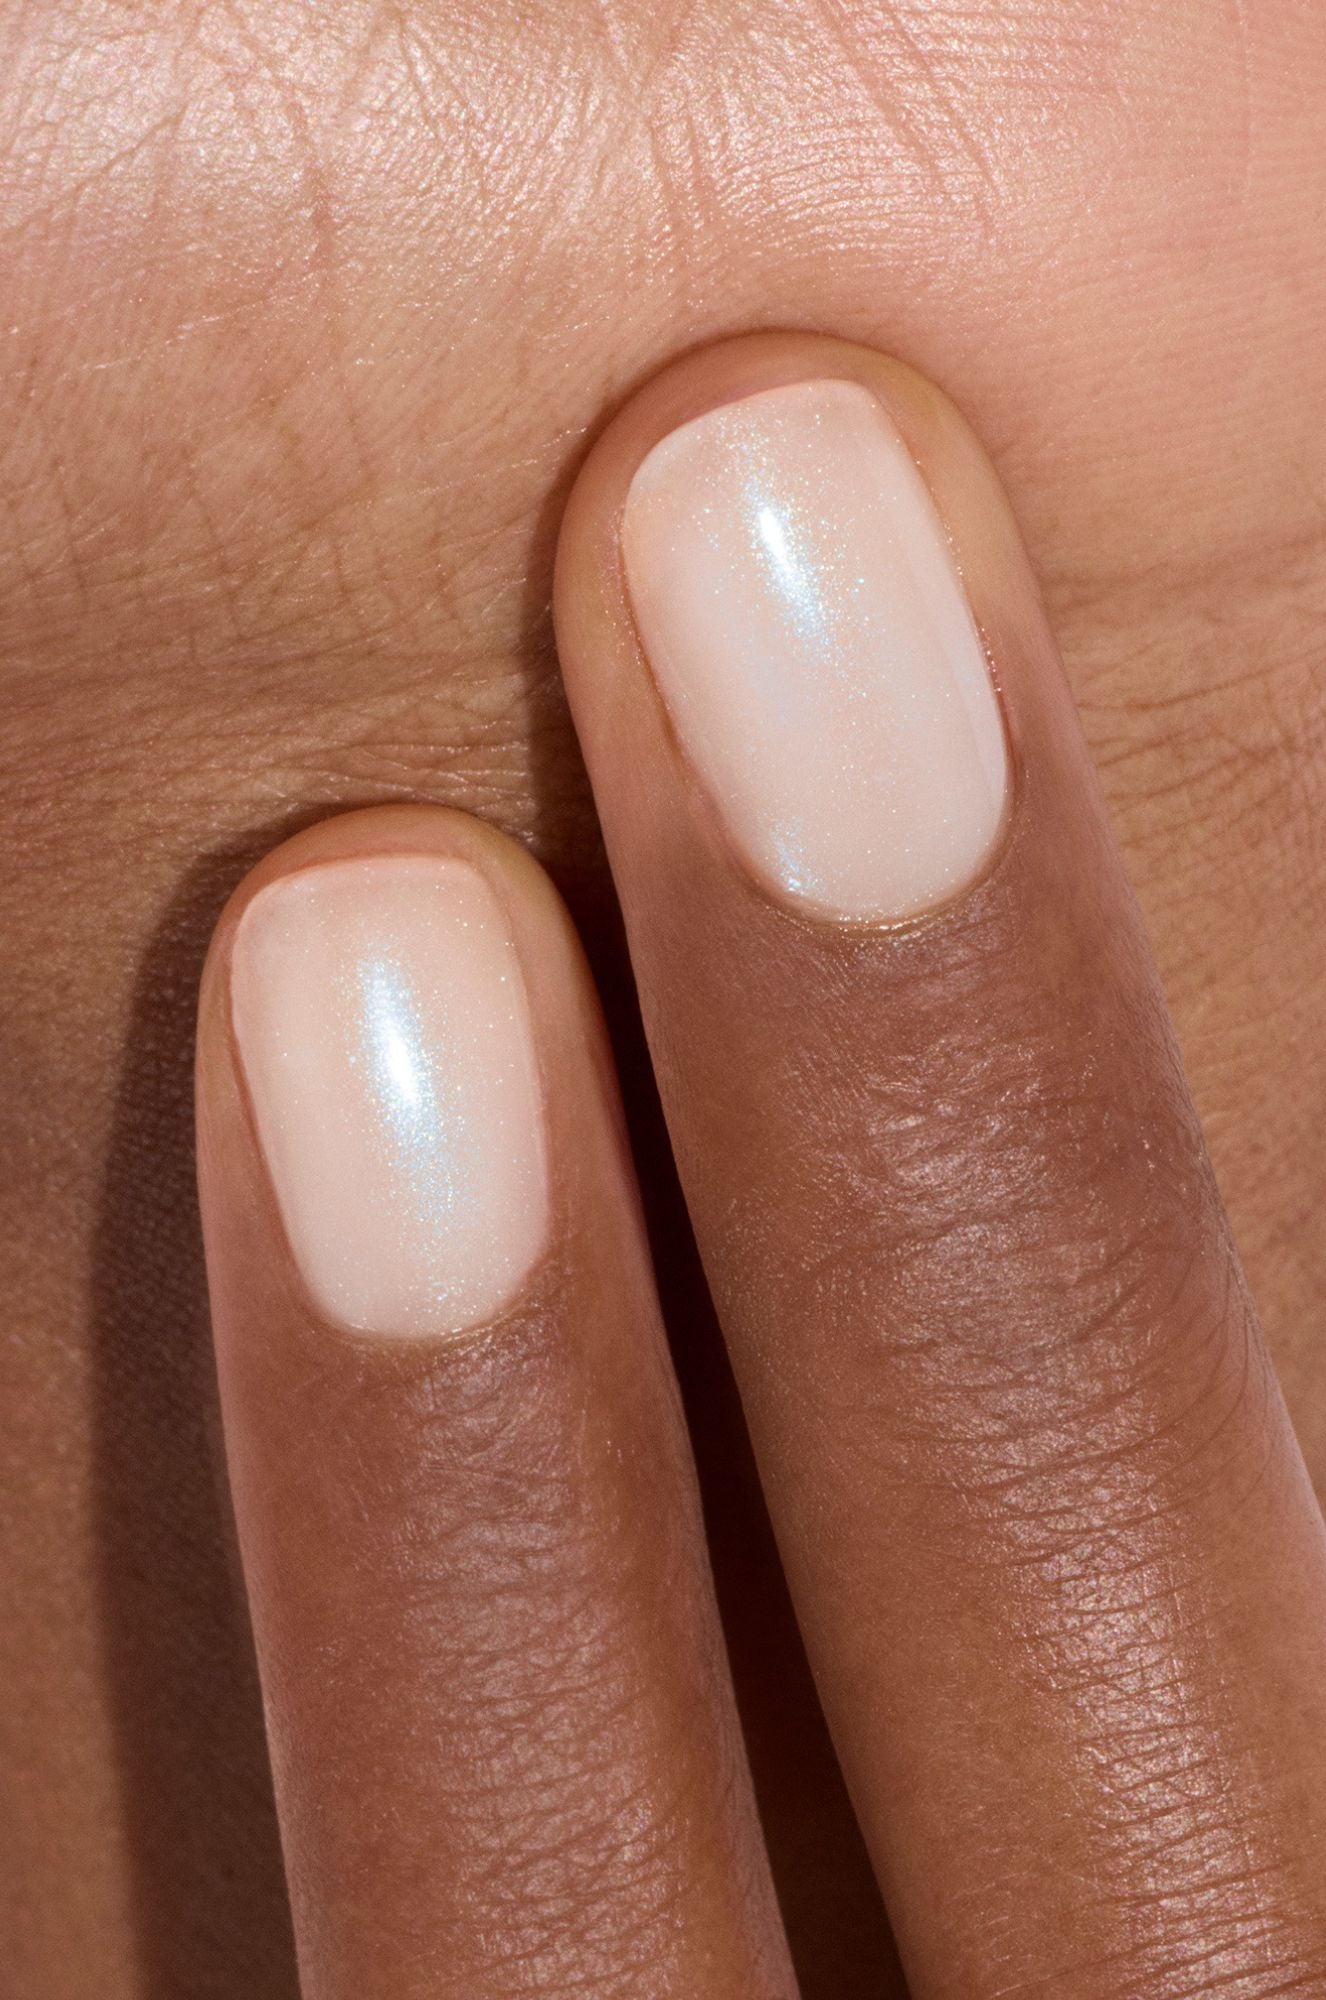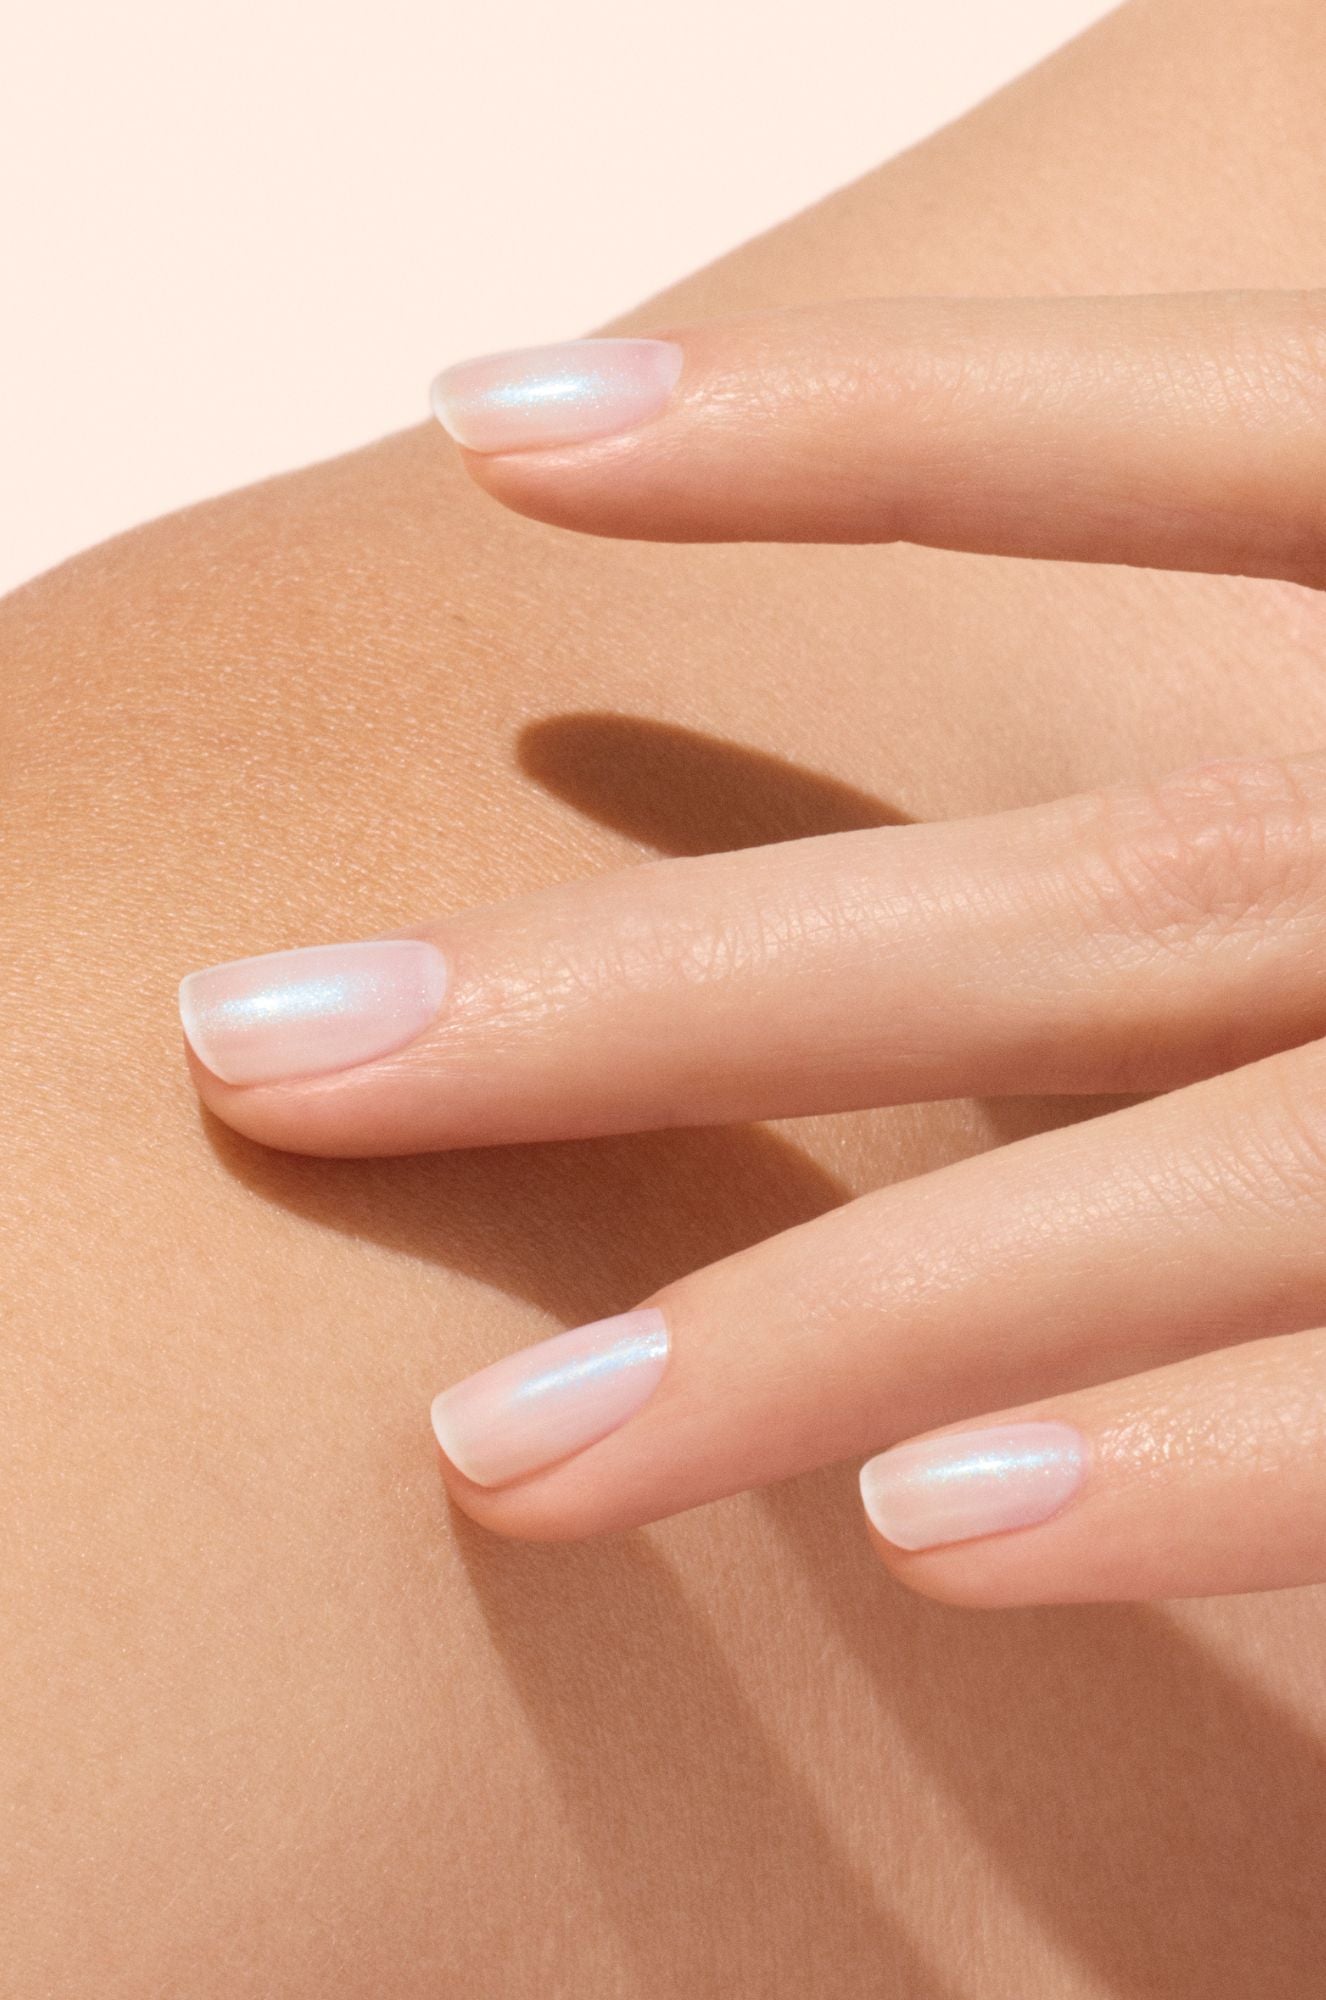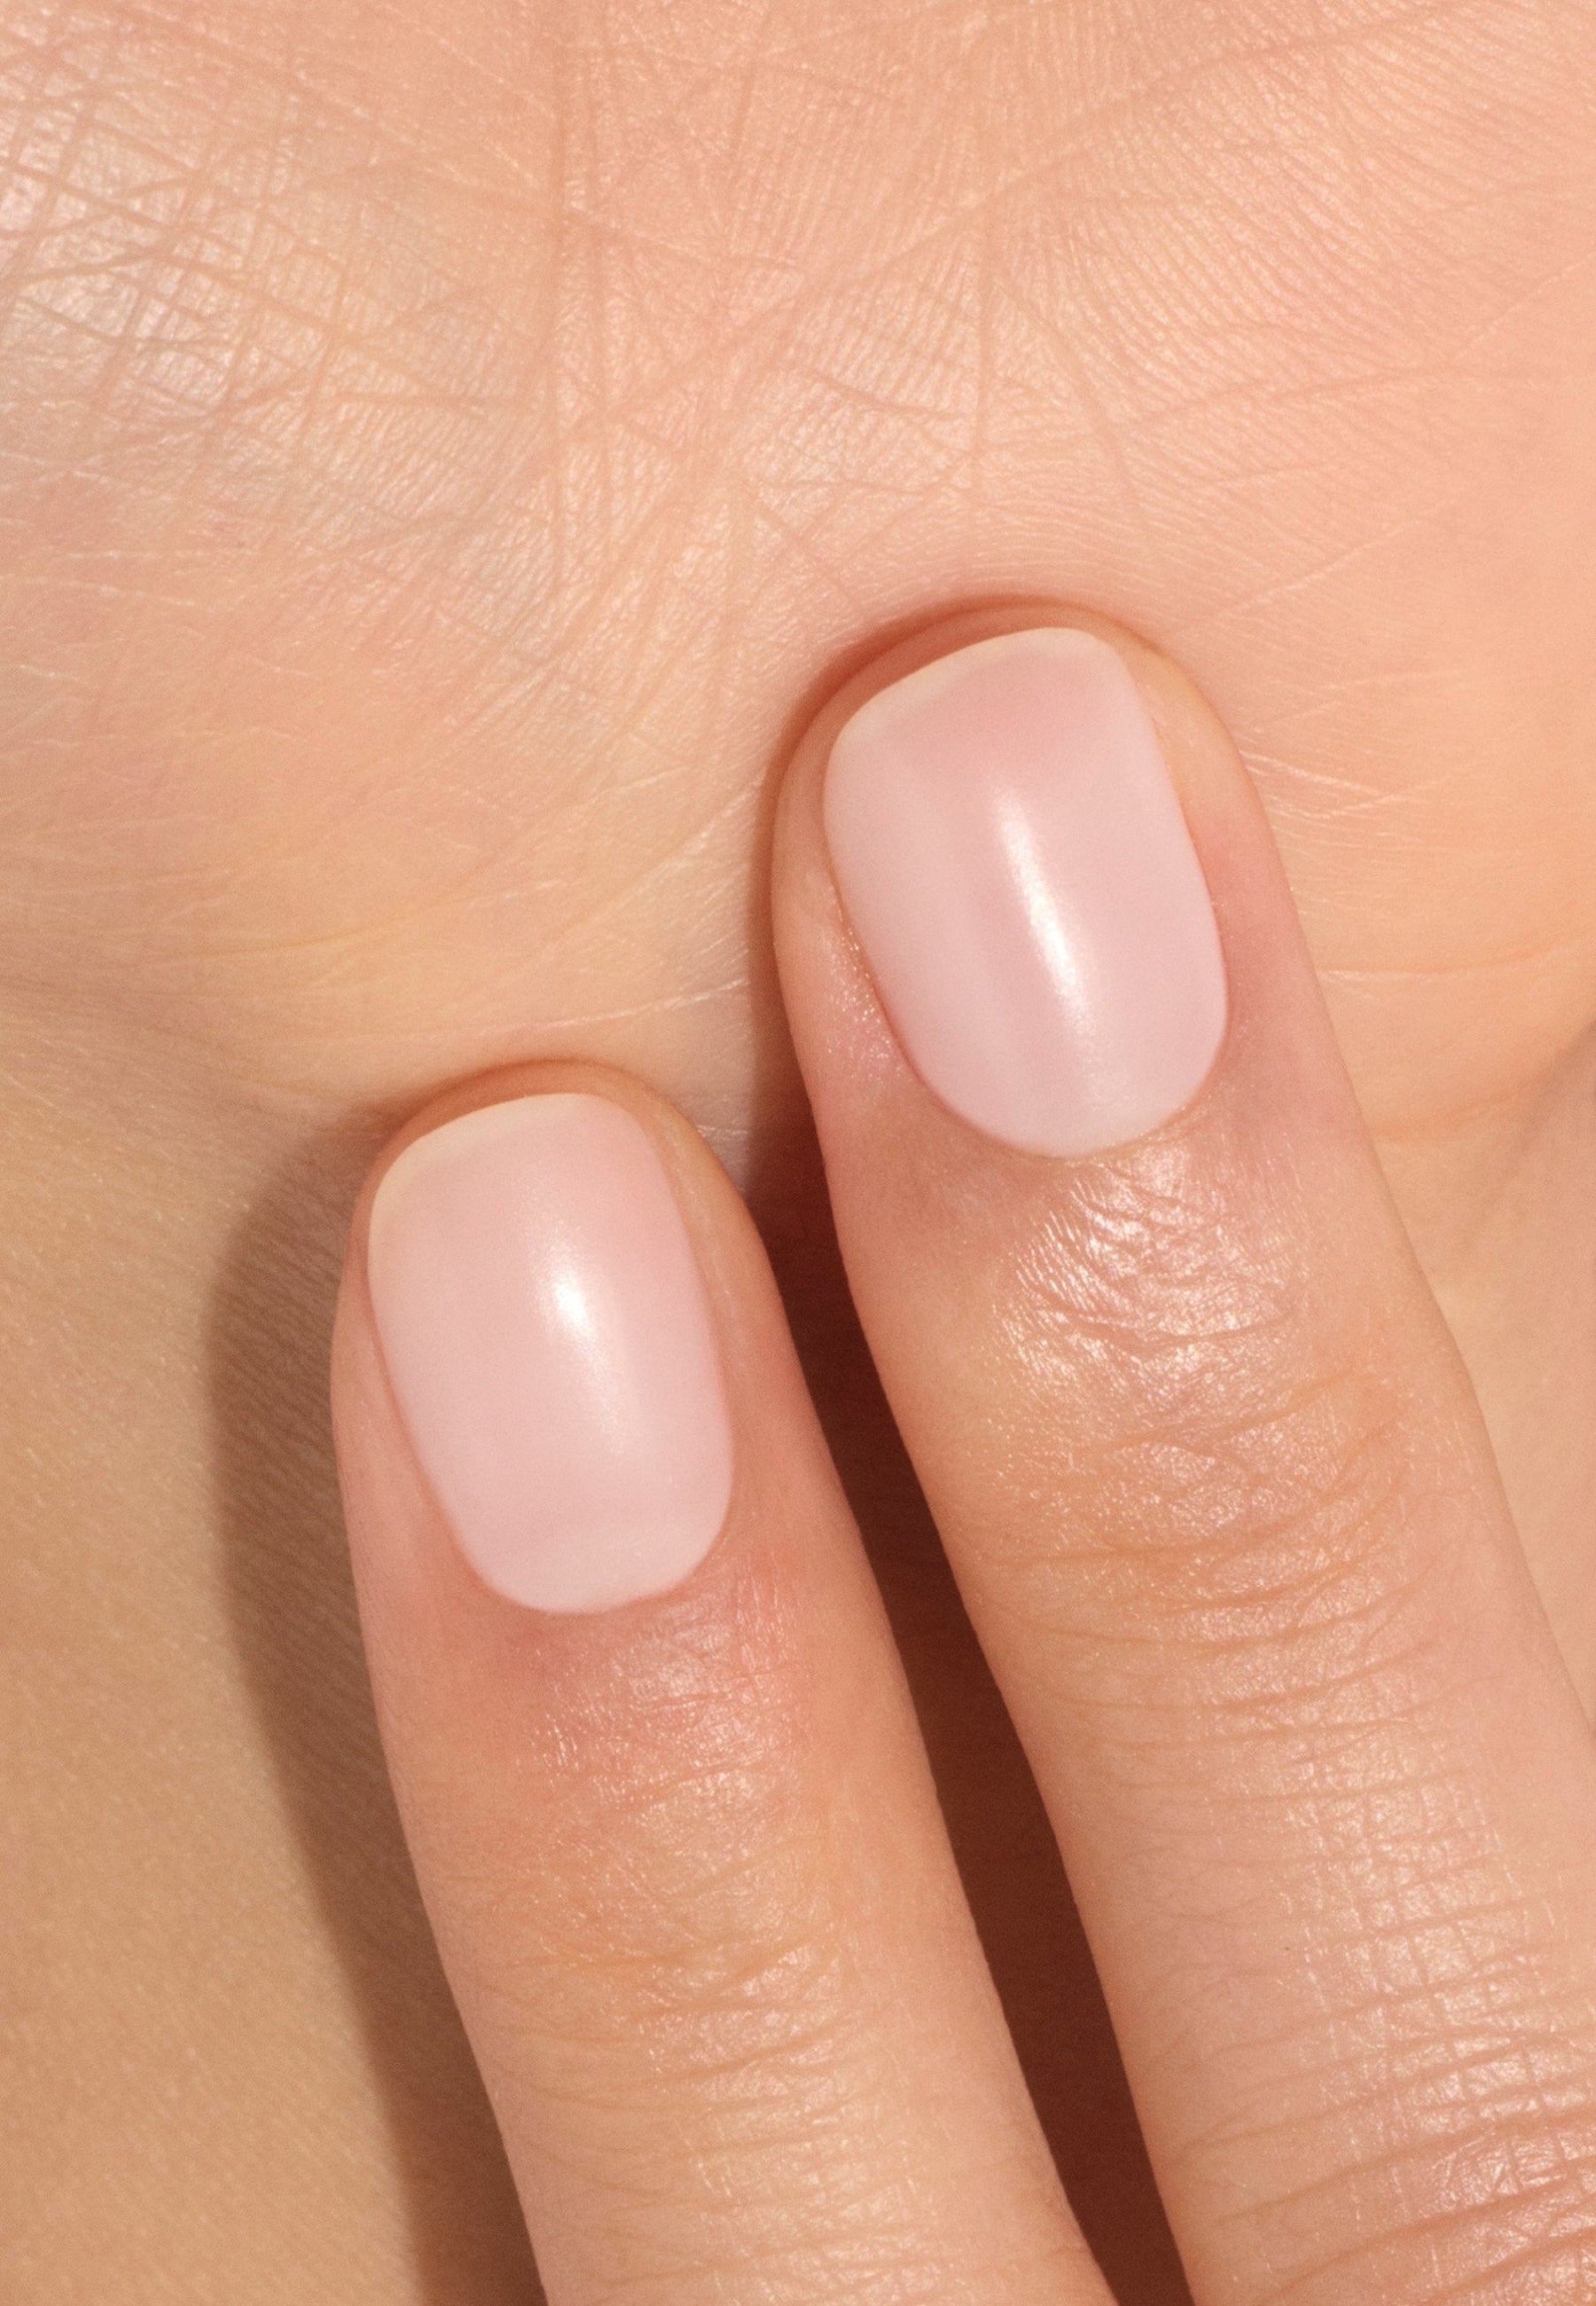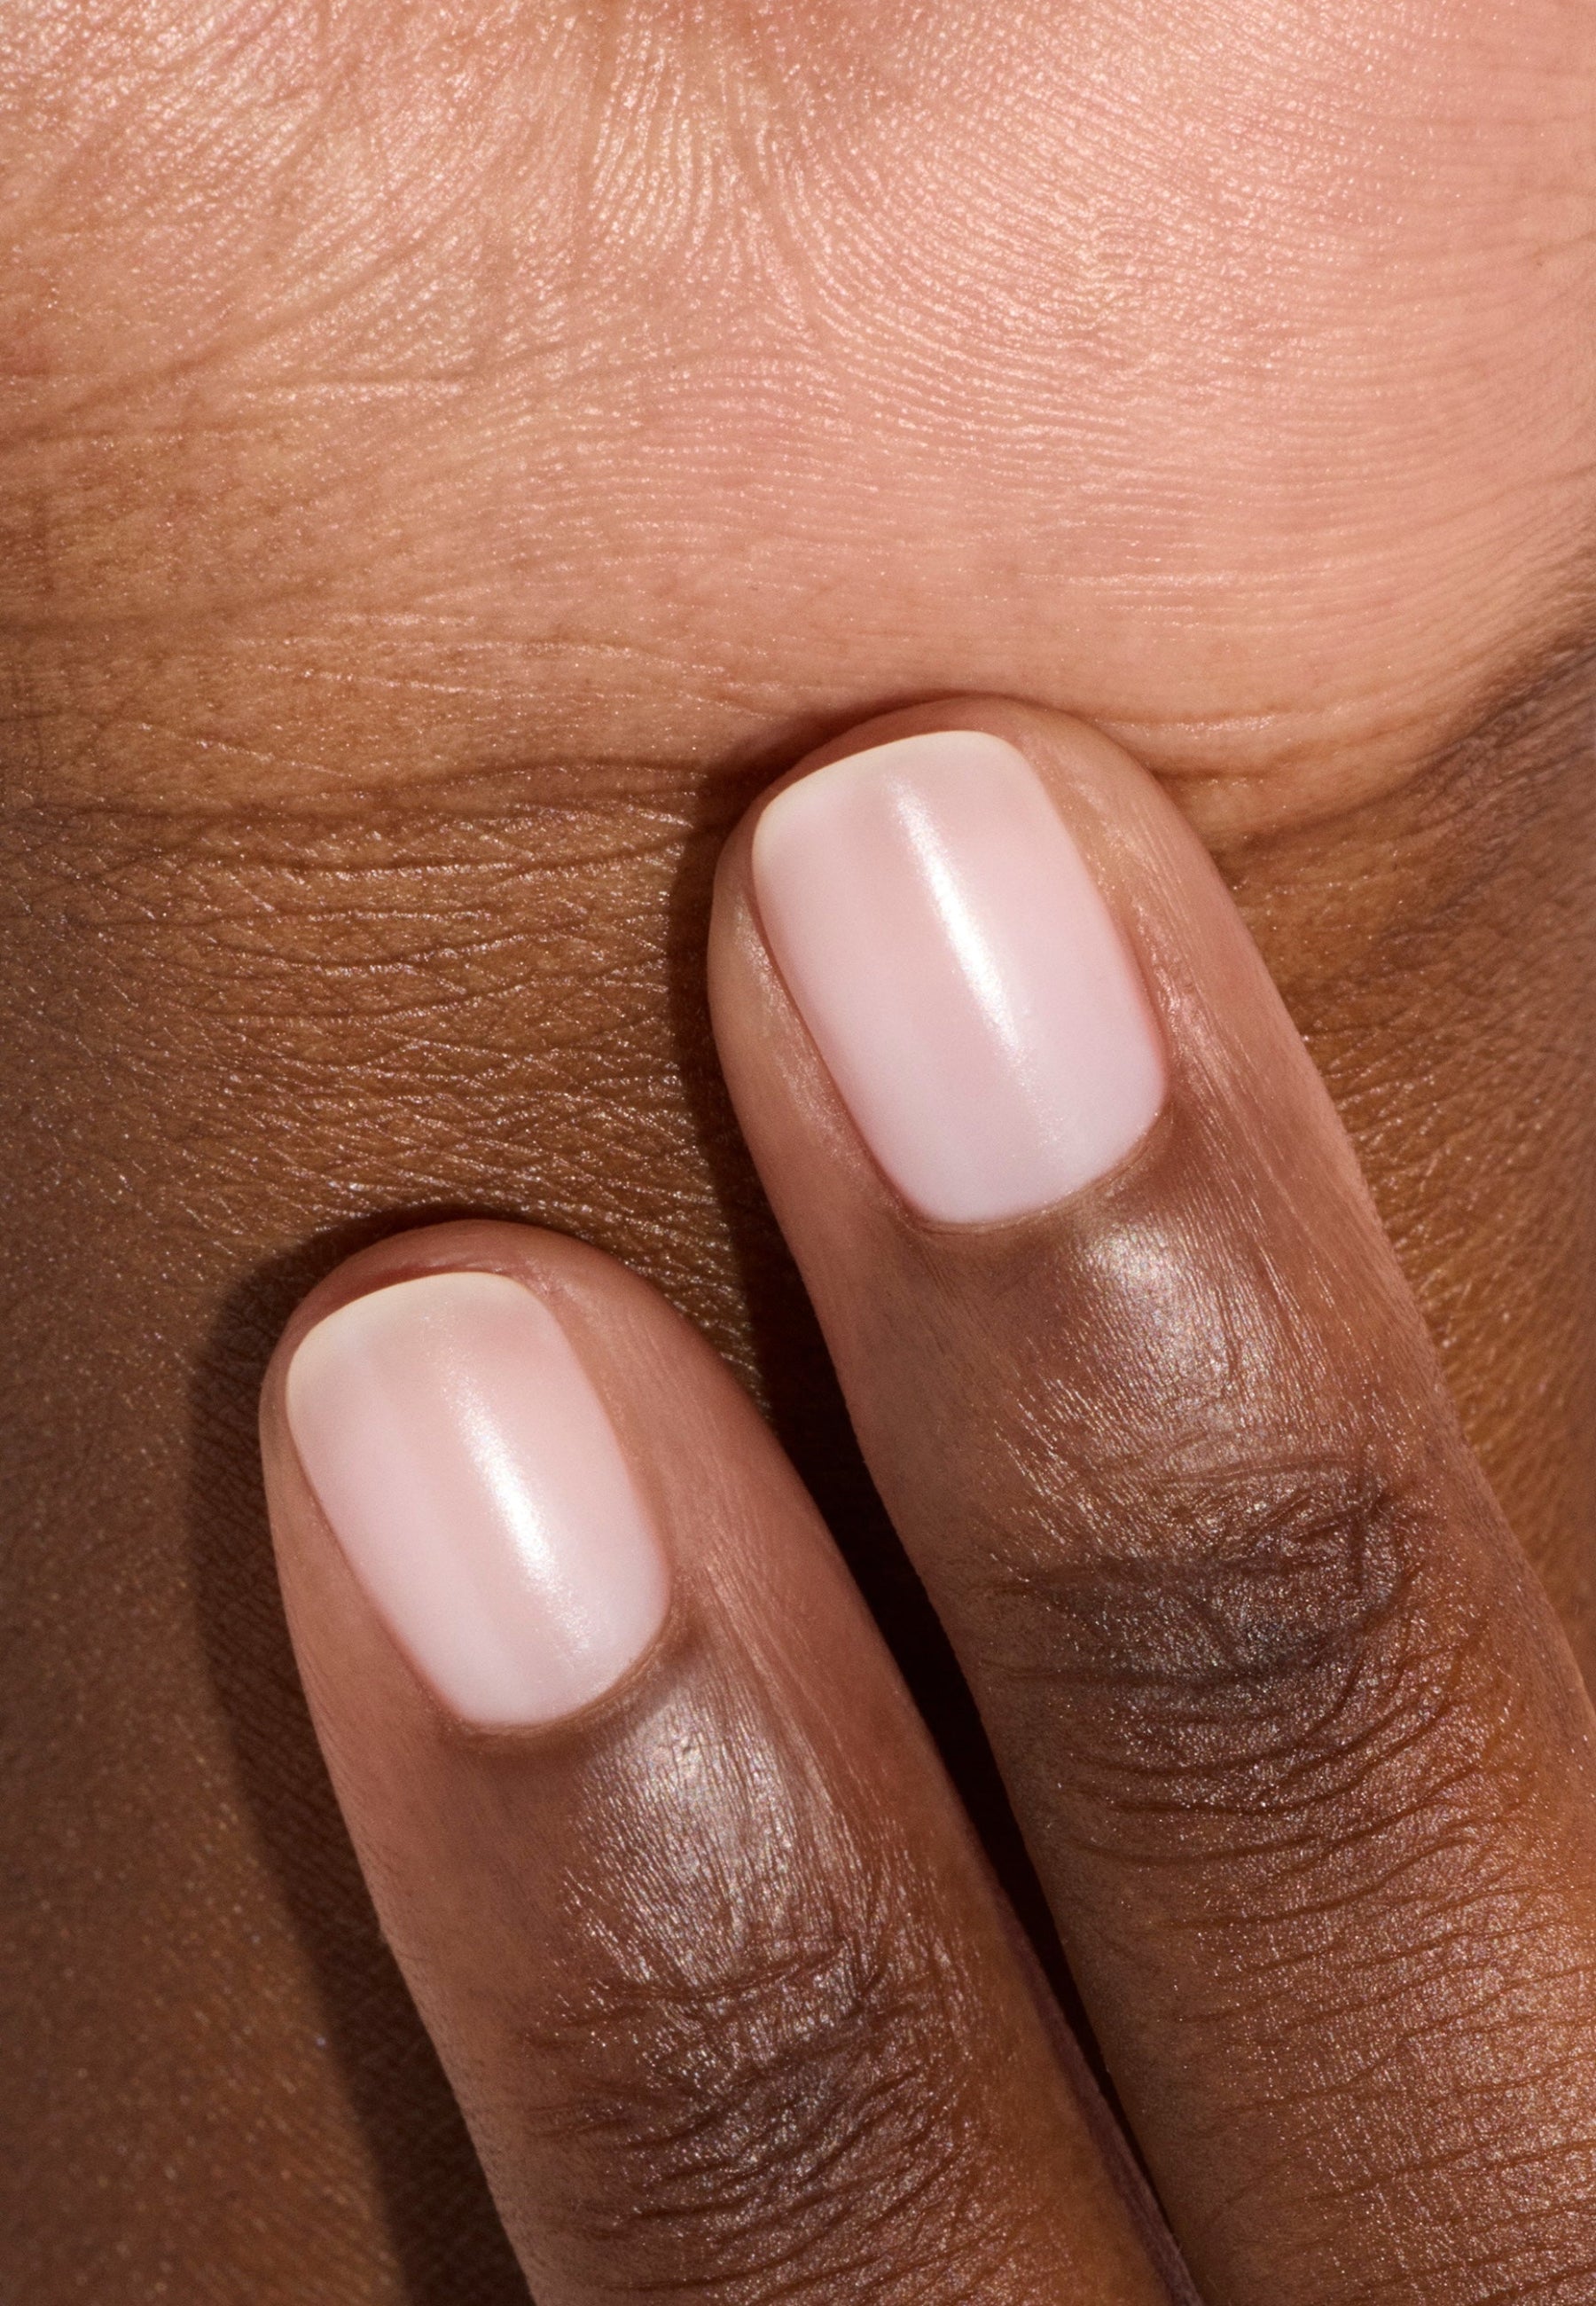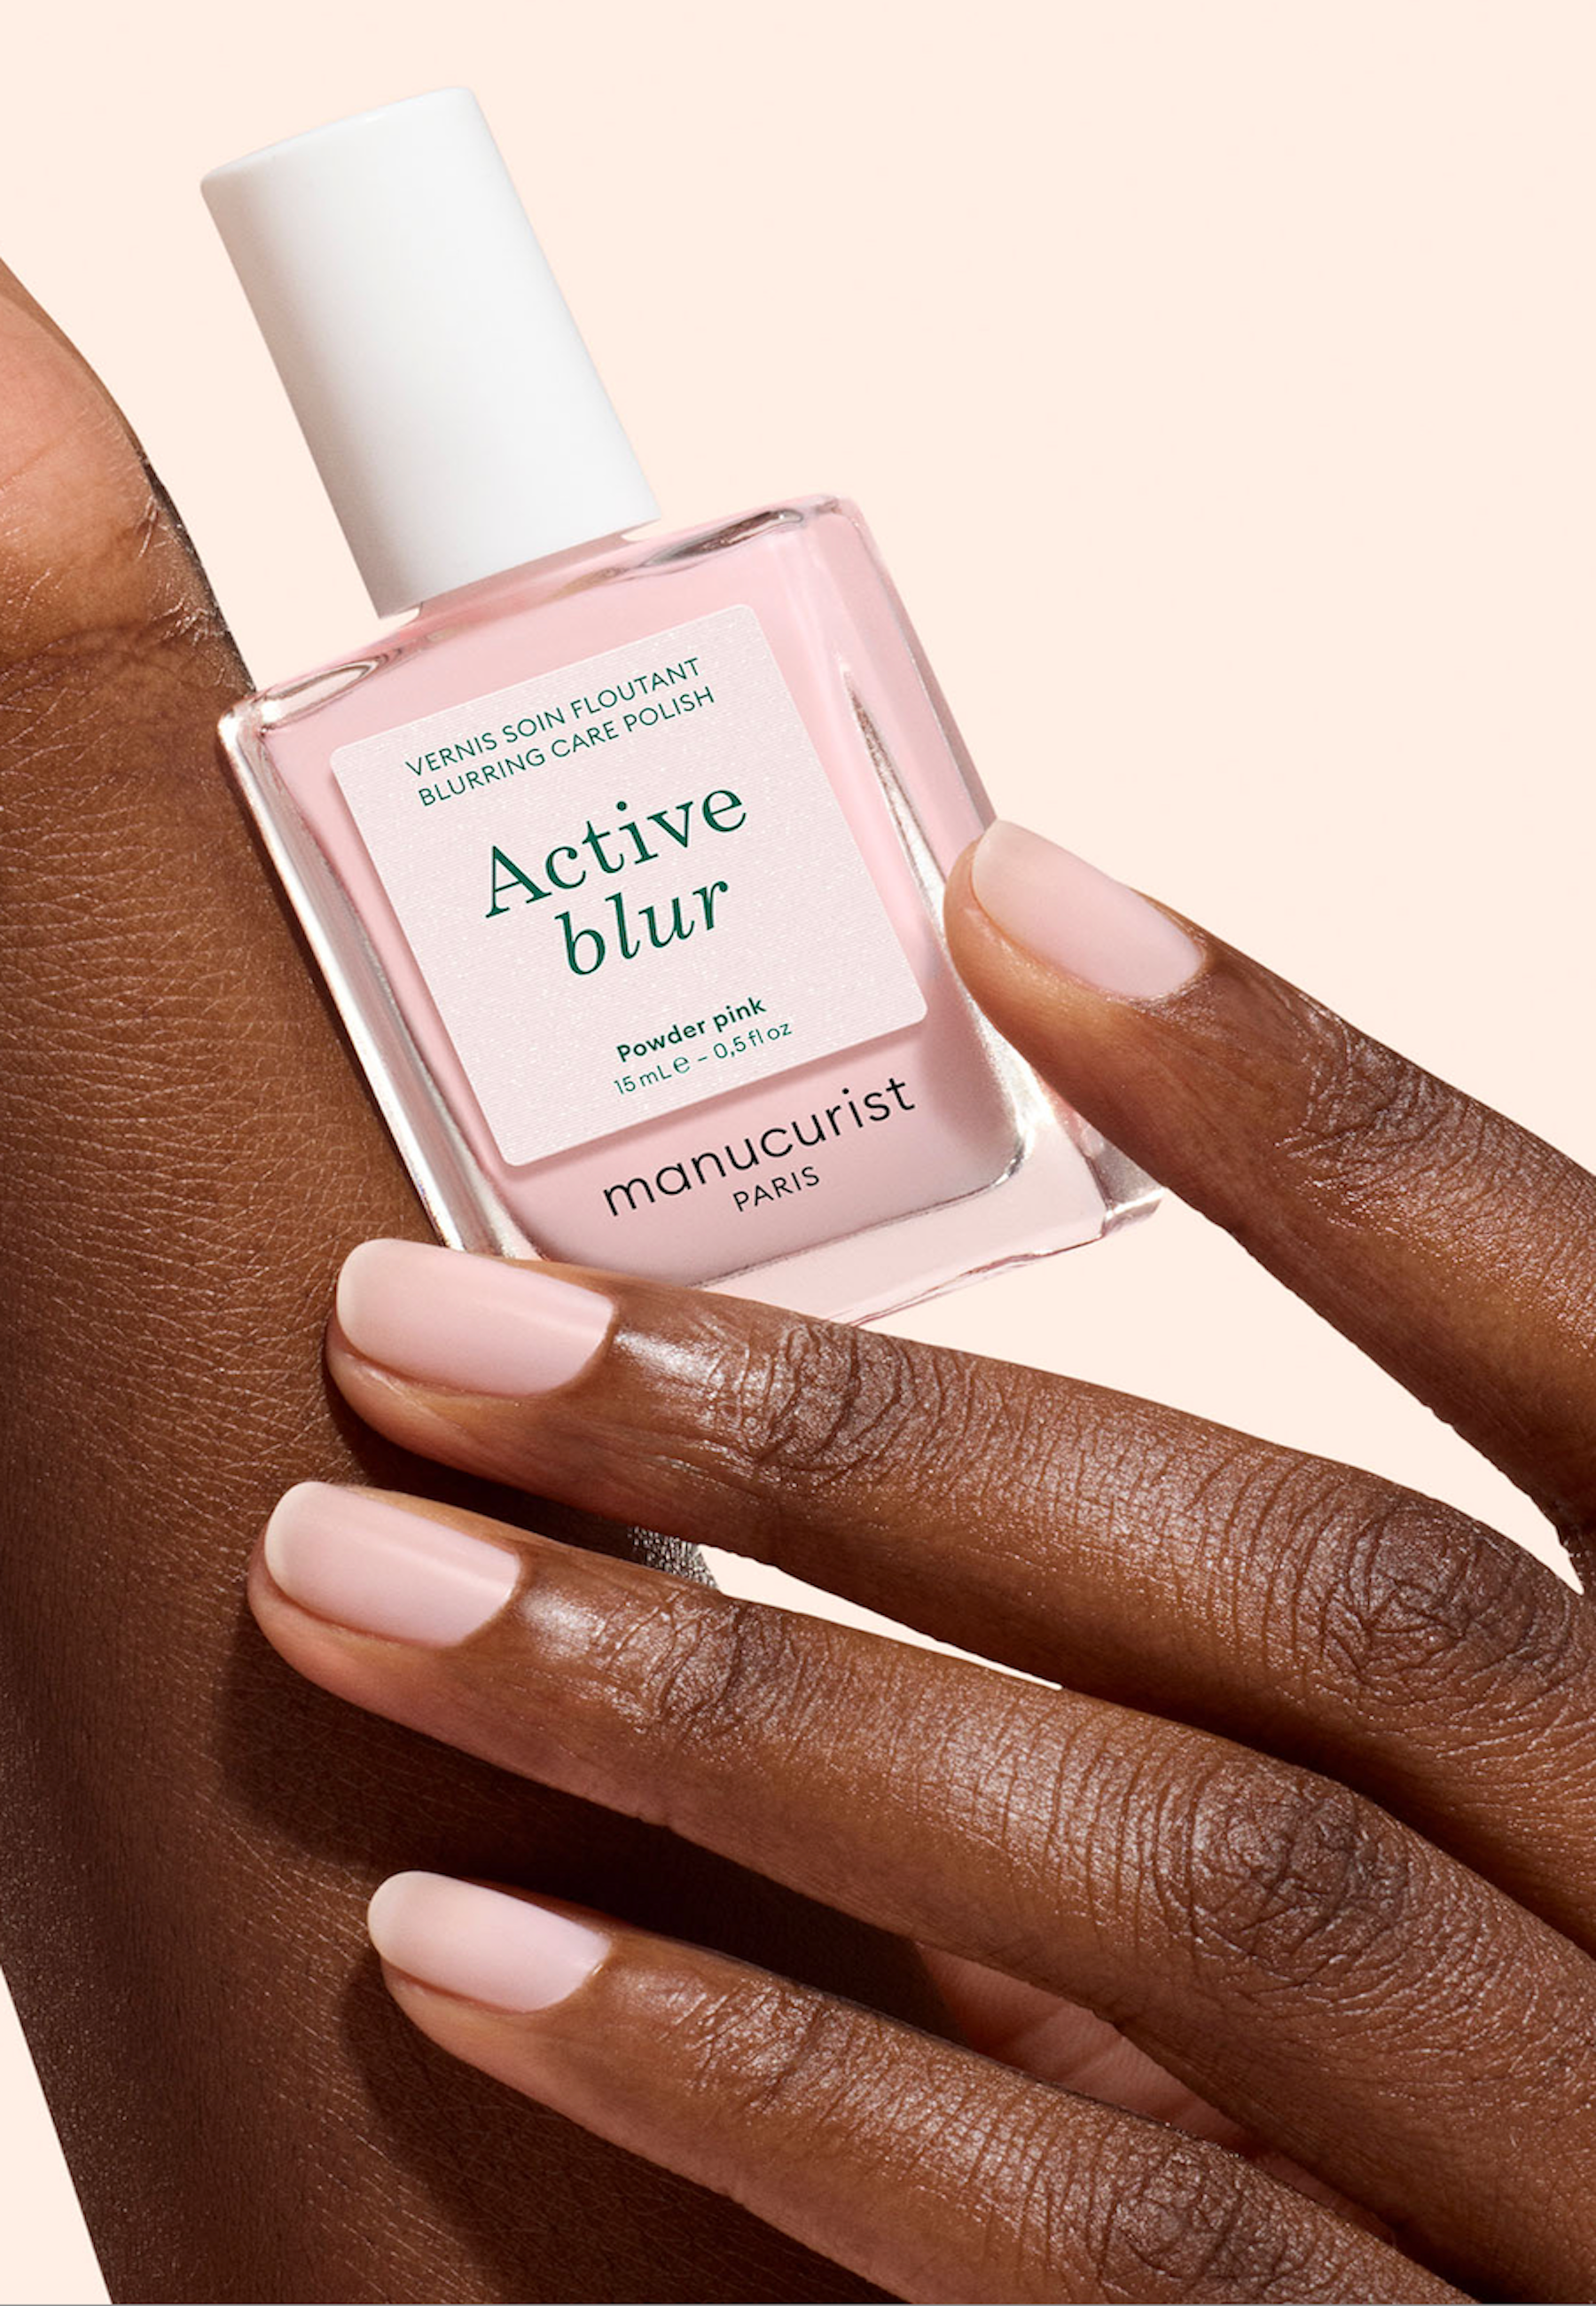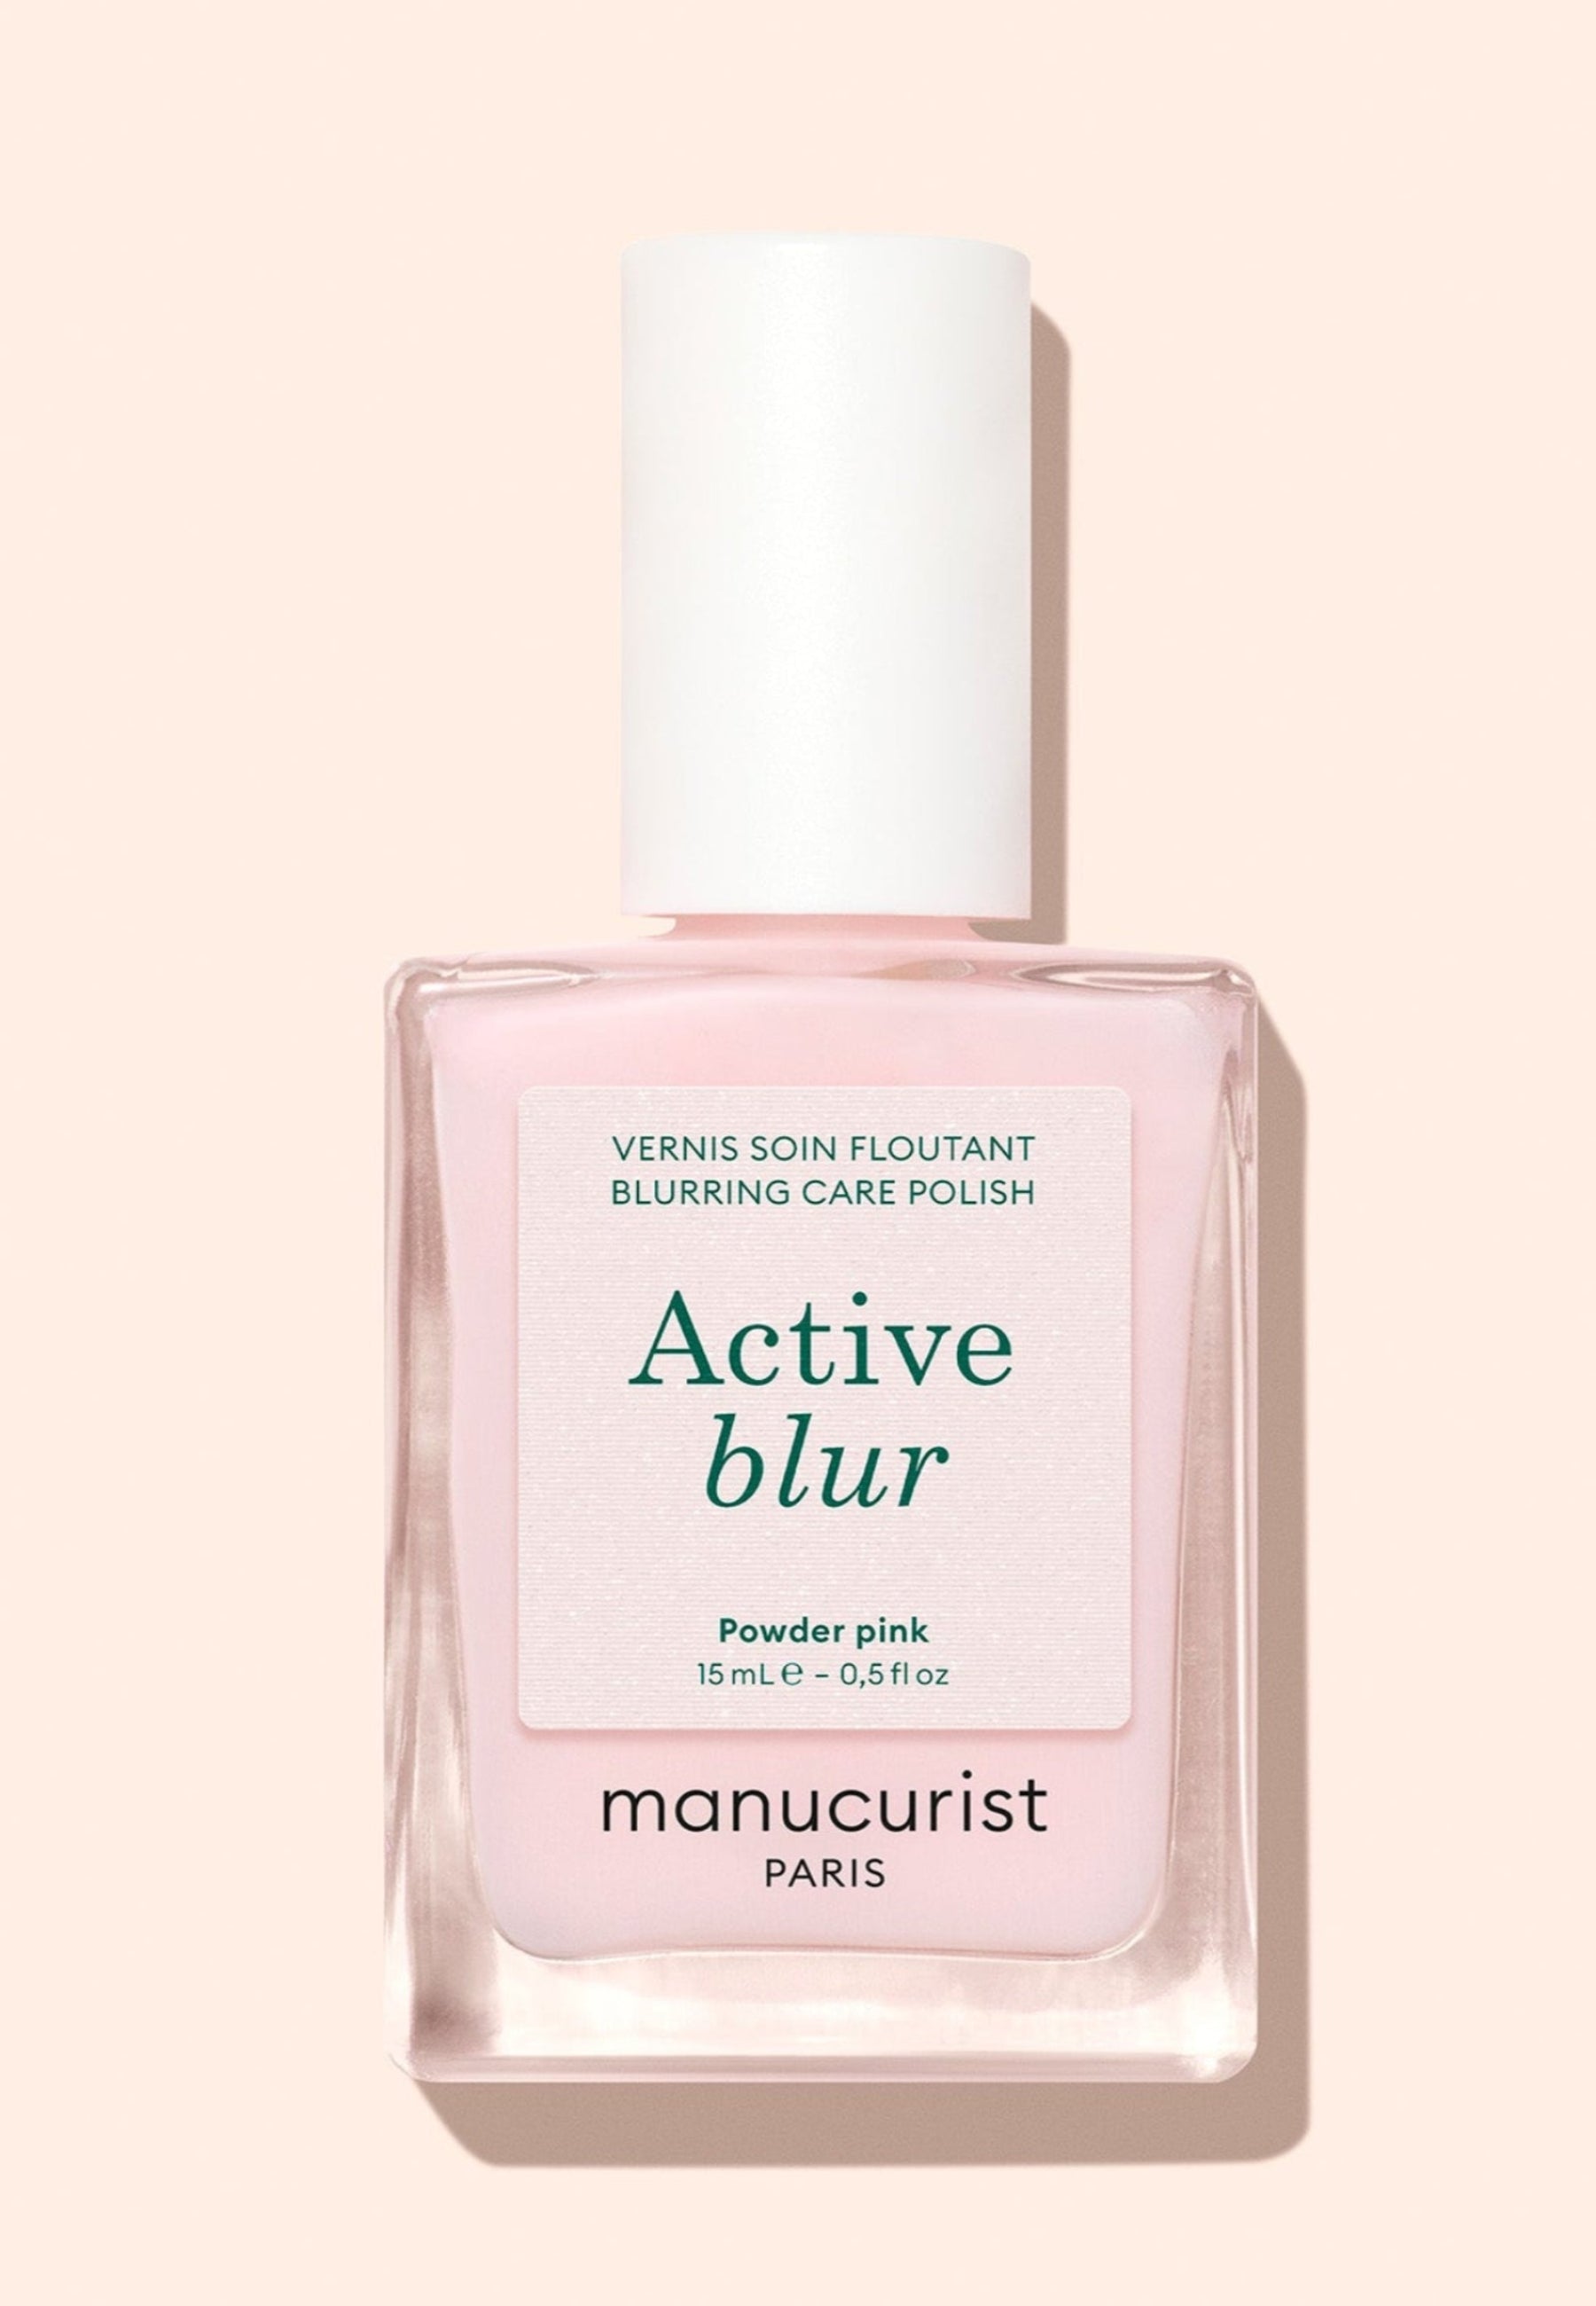


Nail art, reserved domain of manicure salons? Not just! With a little material, a few simple gestures and a good dose of inspiration, you can improvise yourself a day's nail artist, quietly installed on your sofa. From delicate peas to minimalist floral motifs, discover our ideas for simple designs to be realized even without experience, step by step, to display nails as cut as trendy.
Why choose an easy nail design at home?
Long live minimalism
Do you love to take care of your nails, regularly place a new nail polish and play with the colors? Nail art trends on social networks fascinate you but you haven't dared to get there yet? Become a nail addict accomplished is nothing complicated. You just have to do your first tests quietly at home and start smoothly, with some simple motifs to achieve. Complex arts nail techniques are avoided, which can quickly discourage. The focus is on easy to achieve goals, nice polka dots or bicolor graphic effects, which can be proudly displayed. The first step is to minimalism is your best ally!

For your first nail arts, bet on the colorful effects rather than complex patterns. (@shanivynails, @look8thenails)
Create visual effects on short or long nails
Whether you have short or long nails, the pleasure remains the same, but the effects vary.
On short nails, the nail art allows to cheat a little: a well placed pattern or an elegant French manicure will visually elongate nail in a blink of an eye. Discover our ideas for nail art special short nails in our dedicated article.
On long nails, it sublime natural length bringing a touch of ultra-trend sophistication.
Tools to start in nail art
To succeed your first designs for sure, no need to rob stores. Just have a little patience, precision, and some tools that make all the difference:
- One Fine-point brush for accuracy
- One Liner brush (King of the straight lines)
- One dotting tool for perfect peas
- One Mani Stamper for an impeccable French
- One corrector pen to clear out overflows
- One base to be applied under the basic colour
- One top coat to fix and make shine the nail art
Pro tip: To keep your brushes and tips as long as possible, clean them thoroughly with a little soft solvent after each use. Never let the varnish dry on it, it's the secret to keep effective and durable tools.


Prepare nails before making an art nail
Now that your material is ready, no question of drawing on a creased canvas. A successful nail art always starts with a Good preparation. We can never repeat it enough, zapper this step is taking the risk of seeing its pretty pattern splatter in a few days. For an unimpeachable outfit, follow this ritual in four stages:
- Line and standardize the shape nails for a harmonious base.
- Push the cuticles after softening them with a little emollient.
- Matify and degrease the surface of the nail so that the coats of varnish adhere perfectly.
- Apply a base coat coat before you put your basic color. Use a base coat suitable for the chosen varnish, preferably from the same range and even brand.


👉 Good to know : for your first tests, prefer a classic nail polish, the varnish Green™ for example, with semi-permanent type varnish Green Flash™. Easy to set, it dries in the open air (without UV/LED lamp) and is easily corrected if missed. What can we do without stress before we get to serious things?
The easiest cute nail patterns to make
Once your base is dry, place for creativity! Need some inspiration? Here is our winning trio of ultra easy patterns to start smoothly.
Polka dots
It's with this pea pattern that all nail artist gets started. Be a member of your dotting tool or, failing that, a pin. Take a little color with the round tip (or pin head), then gently place the peas on the nail keeping the tool straight, vertical from the nail.
Before you start, visualize the distribution of your peas on the nail. We recommend you start with a first row of peas at the centre of nail then add a row on each side. On short nails, the ideal is to make 3 peas in the center and 2 on each side, keeping a regular spacing for a harmonious result.
Our combo at heart? A base of burgundy varnishes Dark Pansy Sublimated by peas Light Blue... or the opposite, for an equally crisp effect!
Miniature hearts
I can't resist these little hearts full of charm. To achieve them, nothing simpler: just draw two small V strokes with the help of a Fine-point brush. In a few gestures, your little hearts come to life!
For a perfect staging, opt for the delicateness of the transparent pink varnish Hortencia on which you draw your pretty little hearts using the deep velvet red varnish Red Velvet. A tender, elegant and resolutely romantic association for perfect Valentine's nails.
Minimumist flowers
What's better than a pattern flower power to bring a touch of freshness? With the help of your loyal dotting tool, have five peas in a circle as petals. Add a pea of different colour in the centre and, in just seconds, a lovely little flower of fields splatters on your nails.
On the tinted side, we crack for pastel colors with transparent pink varnish Pale Rose base, and frosted blue varnish Bubble for petals, then light up the heart of each flower with a touch of white varnish Snow or with a golden dot thanks to Metallic.

Polka dots, miniature hearts and minimalist flowers, motifs that are easy to reproduce even without experience. (@shanivynails, @matejanova)
Easy designs for short nails
Short nails are also entitled to their fancy dose! They are even perfect for graphic and sleek looks. Here are four nail designs that delight them:
Delicate peas
Minimalist, chic and terribly trendy, this nail art consists ofa single pea or two peas delicately laid at the base of the nail, at the level of the lunule, for a graphic touch all in subtlety.
Here, we chose to apply the milky pink varnish Milky Pink base, then make the peas with white varnish Snow and Sage, a soft and sophisticated vegetable grey varnish.
The half moon
With his half moon delicately underlinedThis manicure revisits a great classic in a retro chic version, both elegant and easy to adopt. A subtle detail that attracts the look while remaining resolutely refined.
Bet on milky white varnish Milky White base, then draw a half moon at the base of the nail, over the lunule, with the same varnish. Inspired by the trend Soap nails, this look is focused on discreet colors and a soft and bright finish, very quiet luxury.

Tiny dot and half moon, custom-made design for short nails. (@matejanova)
The playful color nail arts
Notice to color addicts, these nail arts all in fresh and vitamin shades are for you!
If you like graphic effects and contrast sets, here is an imparable design nail. Apply pop red varnish to pink subtons Spicy Base. Using a fine brush, draw a diagonal before filling the nail angle with pastel purple varnish Wisteria. A bold color set that brings a sparkling touch to your manicure.
Also crack for the manicure Rainbow by showing your favorite color in 5 shades, one for each finger. In Pink Rainbow version, opt for varnish Bloom, a neon rose with blue undertones, continue with Neon Pink and Pop, a fluo rose with orange shades, before finishing with Petula and Candy, two bright roses that bring the final touch to this fun gradient and girly.
Graphic lines
Dare abstraction by recreating a horizon line that will visually lengthen your short nails. One simple fine line, drawn horizontally or diagonally with a brush liner, which comes structure manicure.
We like this combo that combines a white varnish base Milky White a horizontal line, drawn with varnish Sapphire, a majestic and deep blue, for a pure result of a crazy elegance.

Parse your short nails with selected sets of colors and graphic effects. (@shanivynails, @ellzabethm)
Making his French manicure work
Ah, there. French manicure… Undead and chic It is one of the easiest nail arts to adopt on a daily basis. For an impeccable rendering, start with choose your base : a nude or white varnish for a classic French, a sustained color for a coloured French. Then decline the smile from your french, this line that adorns the free edge of the nail, according to the trend of the moment.
The French mini
Cute but never boring, the mini French manicure seduces by its ultra fine and delicate line, perfect to sublimate the short nails with a clean and resolutely rendered clean girl.
Here we start with a semi-transparent pink base Milky Pink, then we make the French with the light blue varnish Bubble. To succeed in every move, help yourself with the Mani Stamper, this magical tool that allows to create the smile of French in seconds, without shaking. Place a line of varnish on the silicone pad that you gently apply to the edge of the nail. The pad adapts to the curve of the nail and just deposits what it takes to draw the French. Use a correcting pen to erase any varnish overflows under the nail and on the sides.
The French Double
And why not double the pleasure with the double French - What? Overlay here two thin lines of different colors on the edge of the nail for an original graphic effect, which revisits the French with boldness.
On a basis Hortencia, create a double French pink with the Mani Stamper with the shades Candy and BloomTwo pop and acid roses that come to awaken a manicure a little too wise.

With the Mani Stamper, the French manicure is accessible to everyone, in single or double version. (@m.o.n.a.j, @irasnailroom)
Easy Nail Arts Ideas Inspired by Manicure Trends
You see them all over the networks, you dream of trying them... what if it was time to adopt them?
The glazed nails
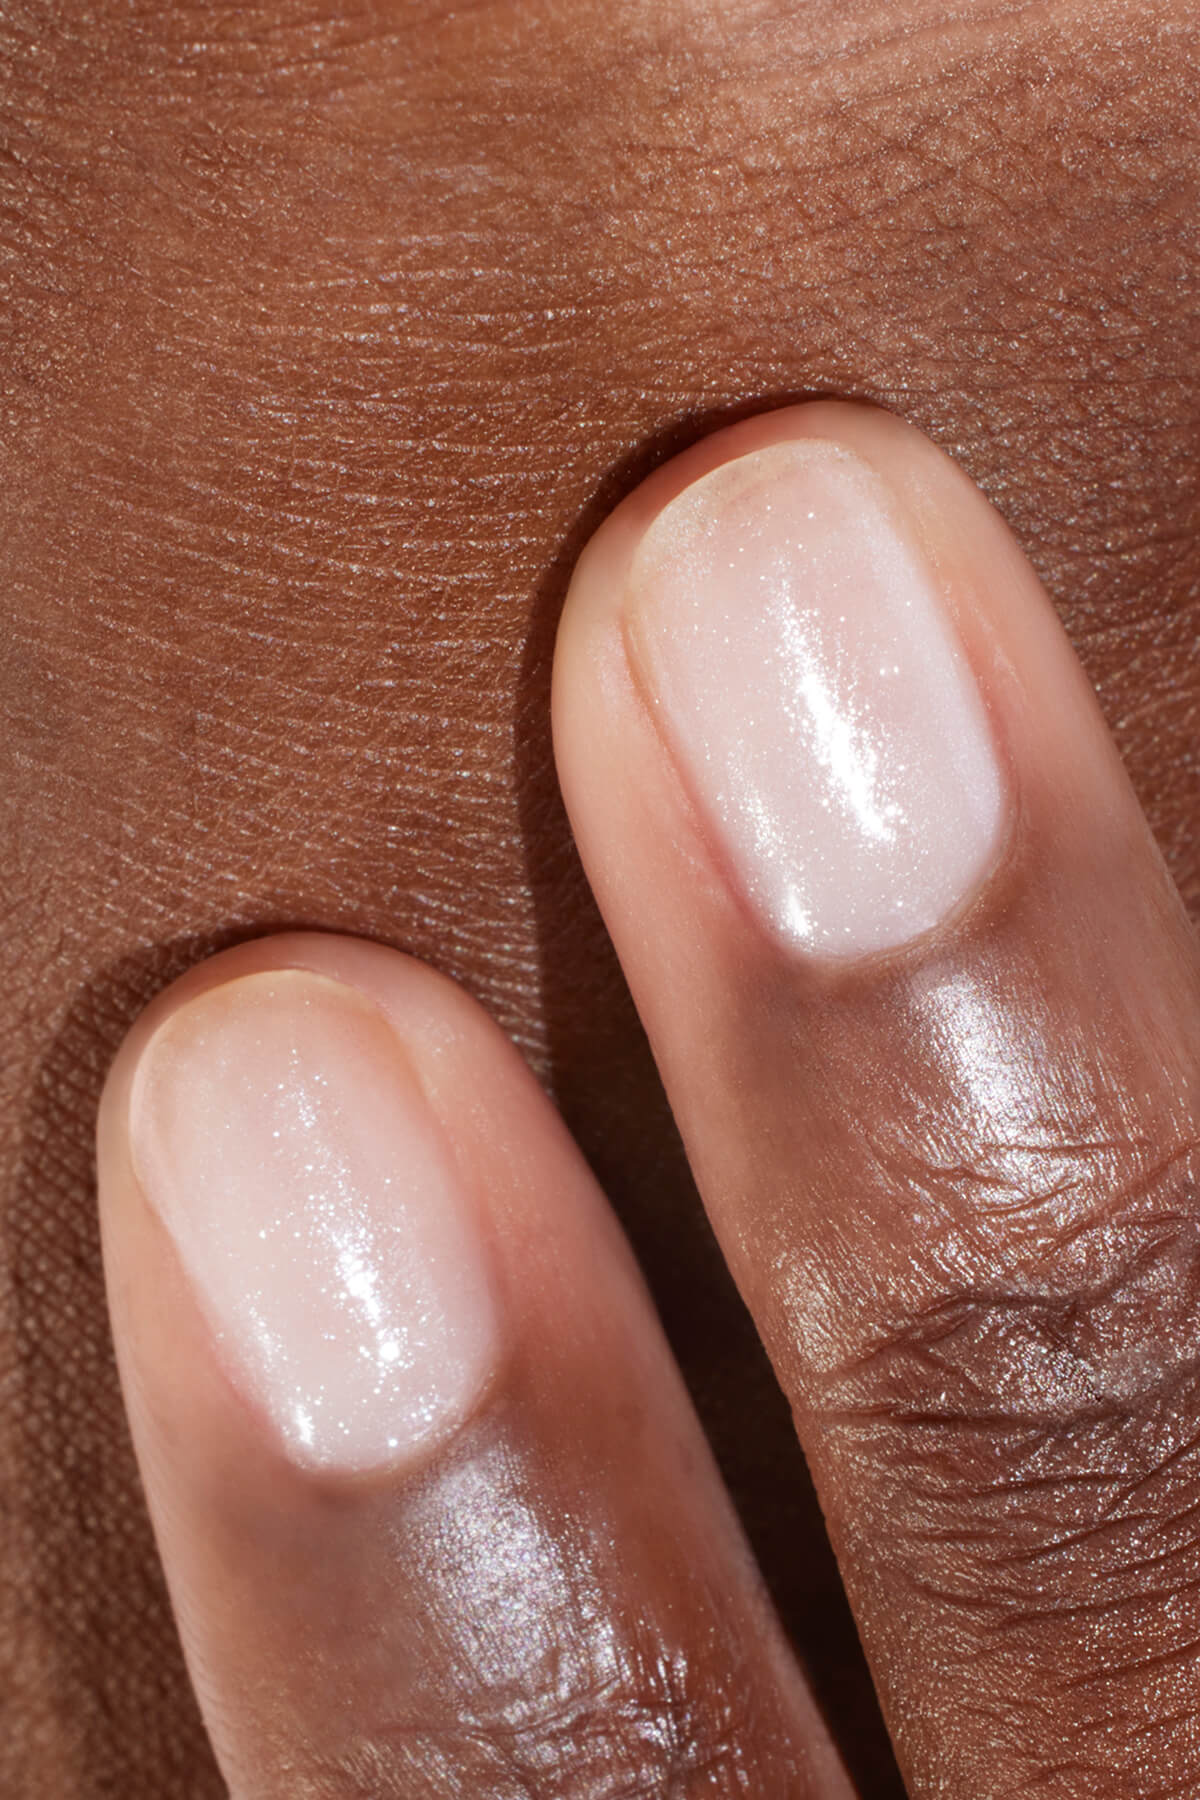
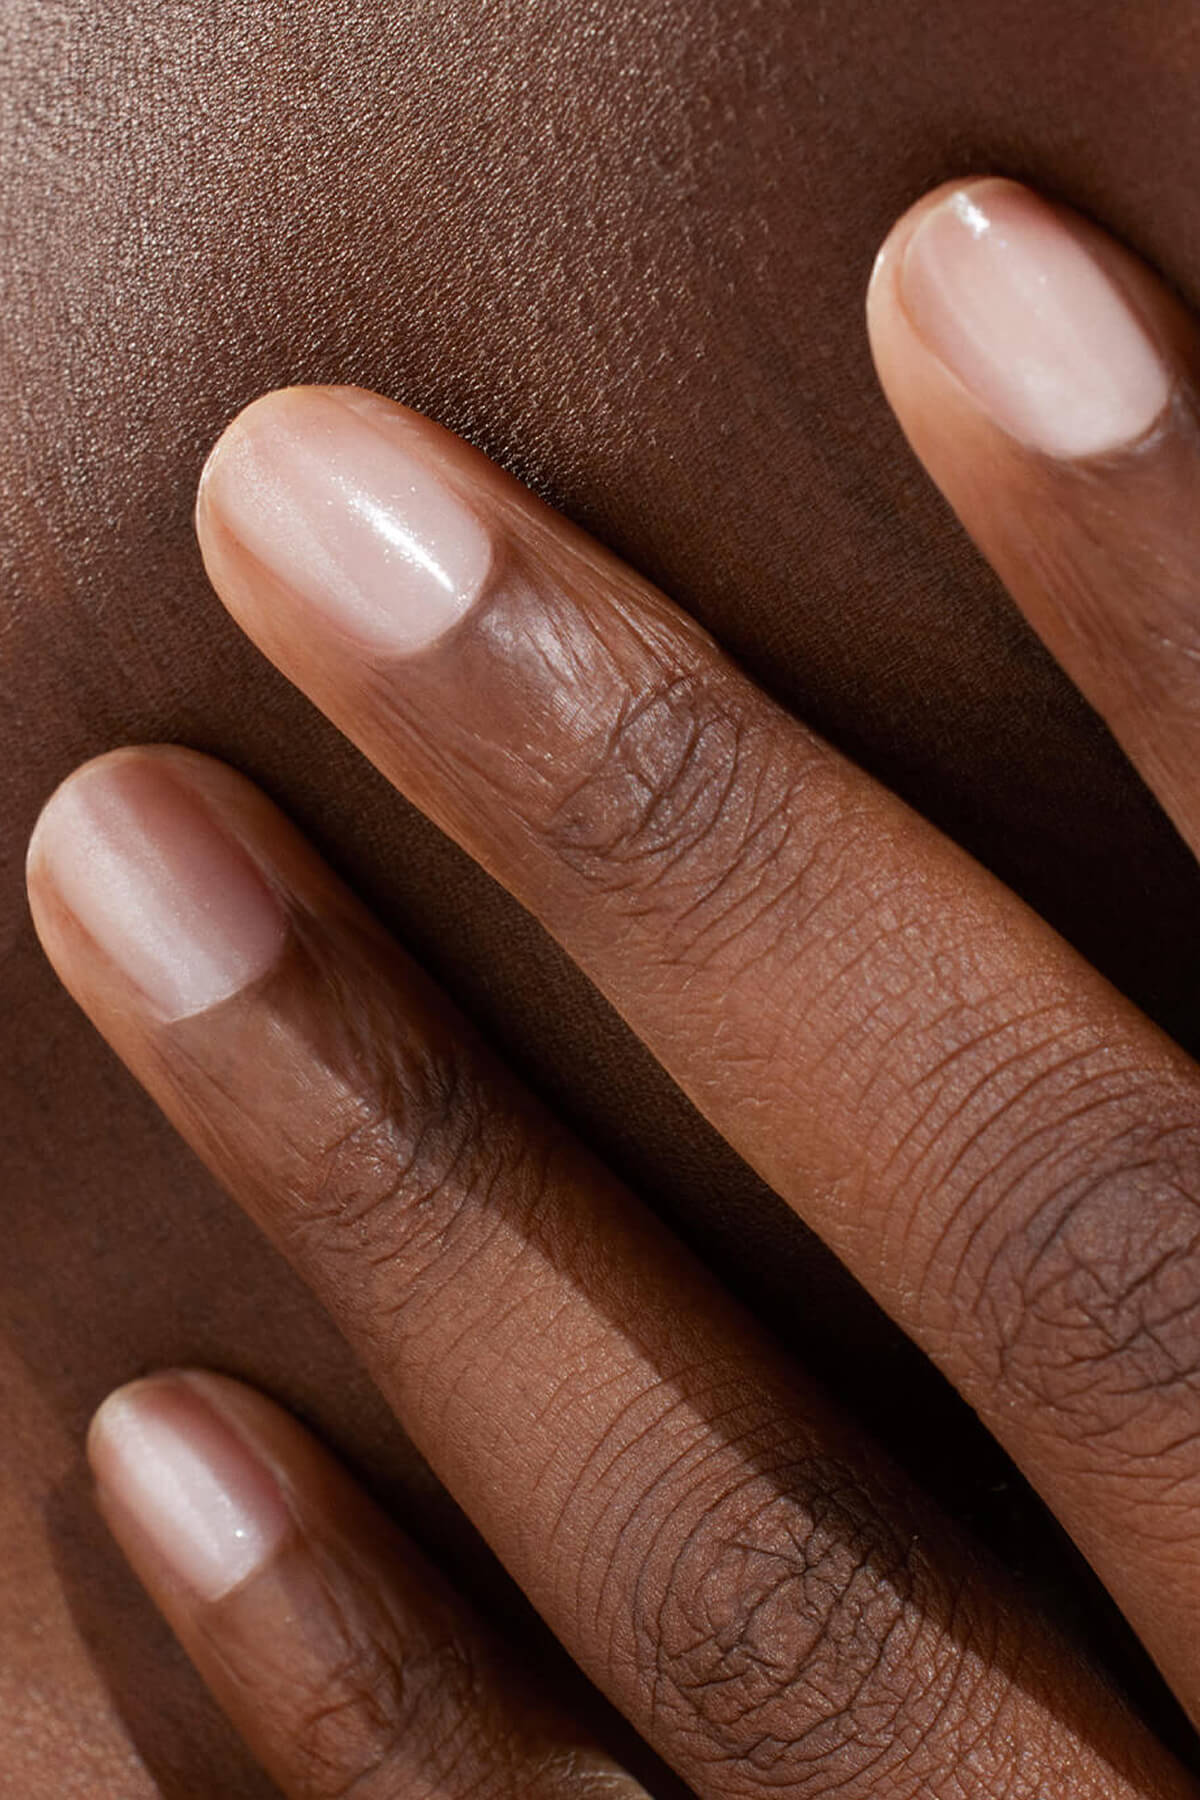
Hailey Bieber's fetish manicure keeps eyeing us. To create your version of glazed nails, apply on a neutral varnish base (a milky white, translucent pink or nude) Glazed effect powder (4 colors to choose from in Manucurist) to get this glazed and bright finish. Remove the excess powder from your nails with a dust brush and fix the Glazed effect with a layer of top coat suitable for the varnish used.


The glittery effects
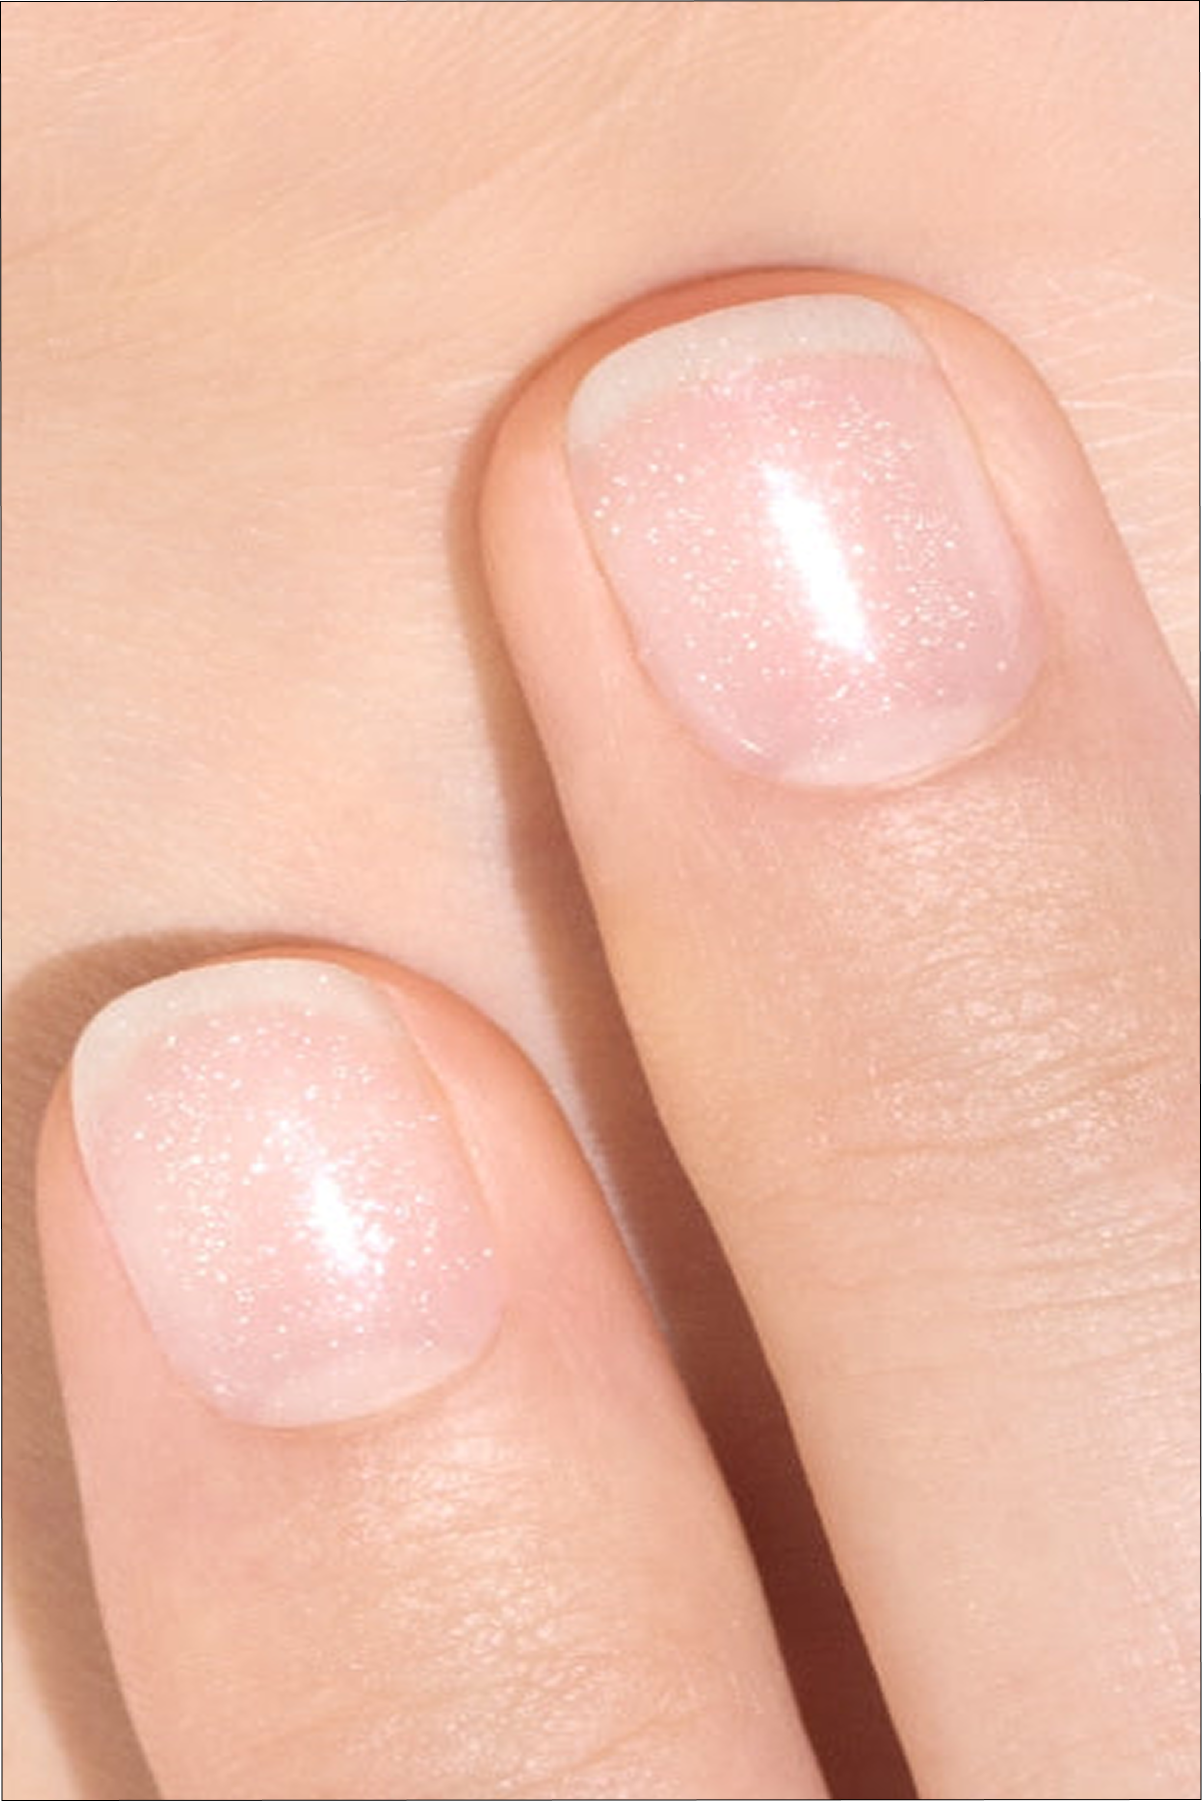
Want to put glitter on your nails and in your life? Nothing easier! If your favorite color does not exist in glittered version, just pimp it with a layer of Top glittery silver or gold topYou're the one who chooses.

With a glittery top coat or glitter to apply yourself, make your nails sparkle. (@m.o.n.a.j, @bara.hoyle)
More elaborate but equally accessible: theglittering gradient effect. Start by applying a basic color (here Hortencia). Then, using a glitter brush, place on the tip of the nail a few Silver Biodegradable Sequins (or any other colour of 12 colours of Biodegradable glitter Manucurist). Adjust your degraded effect and fix your nail art with a top coat suitable for the varnish used.


Errors to avoid
You've been filling up on ideas and ready to start? Before you start, remember that even the most minimalist designs deserve a minimum of rigour. For a result worthy of a living room, it is better to avoid these few classic traps:
Forget the preparation: a clean, clean and well-damaged surface, it is the key to a successful nail art that will last in time. It would be a shame to deprive you of it!
Overload Longle from Patterns As often, quality is not the quantity. In nail art, a few well-selected and well-realized details are enough to create a harmonious manicure. The more pattern you make, the more coats of varnish you multiply. One too thick art nail will have trouble drying and holding in time.
Use too many different colors : playing with tints can be tempting but be careful about overdose! For aesthetic rendering, we ideally limit ourselves to maximum three colors. This helps to maintain a good balance between the colours and avoids drying problems.
Neglect drying time patience is indispensable! Without allowing each layer of varnish to dry the time required, the colors may be drooling, mixing with each other and you ruin all the finesse of your design.
Forget the top coat : it's just the final touch that comes setting the reasons and effects, which protects and sublimes the nail art while bringing shine and resistance. Absolutely inescapable!
Tips for making your nail art last longer
Once your masterpiece is finished, the goal is obviously to keep it intact as long as possible. Here are the right reflexes to adopt:
Patience Is Queen We have seen it, it is essential to allow each layer to dry well or varnish touch, in the open air for classic varnish or under UV/LED lamp for semi-permanent, before moving to the next one.
The top coat reflex : Always seal your design with a fine layer of top coat suitable for the varnish used, preferably from the same range and brand.
Daily hydration : as for your skin, you should moisturize and nourish the nail by applying a regular nail oil and cuticles.
Protection : wear gloves during household tasks or to make dishes to prevent water or detergents from damaging your nail art.


You now have all the cards in hand to get into the nail art. Trust your creativity and enjoy yourself with custom-made manicures 100% home made. For Halloween or Christmas, spring or summer, there is always a nail art within your reach.