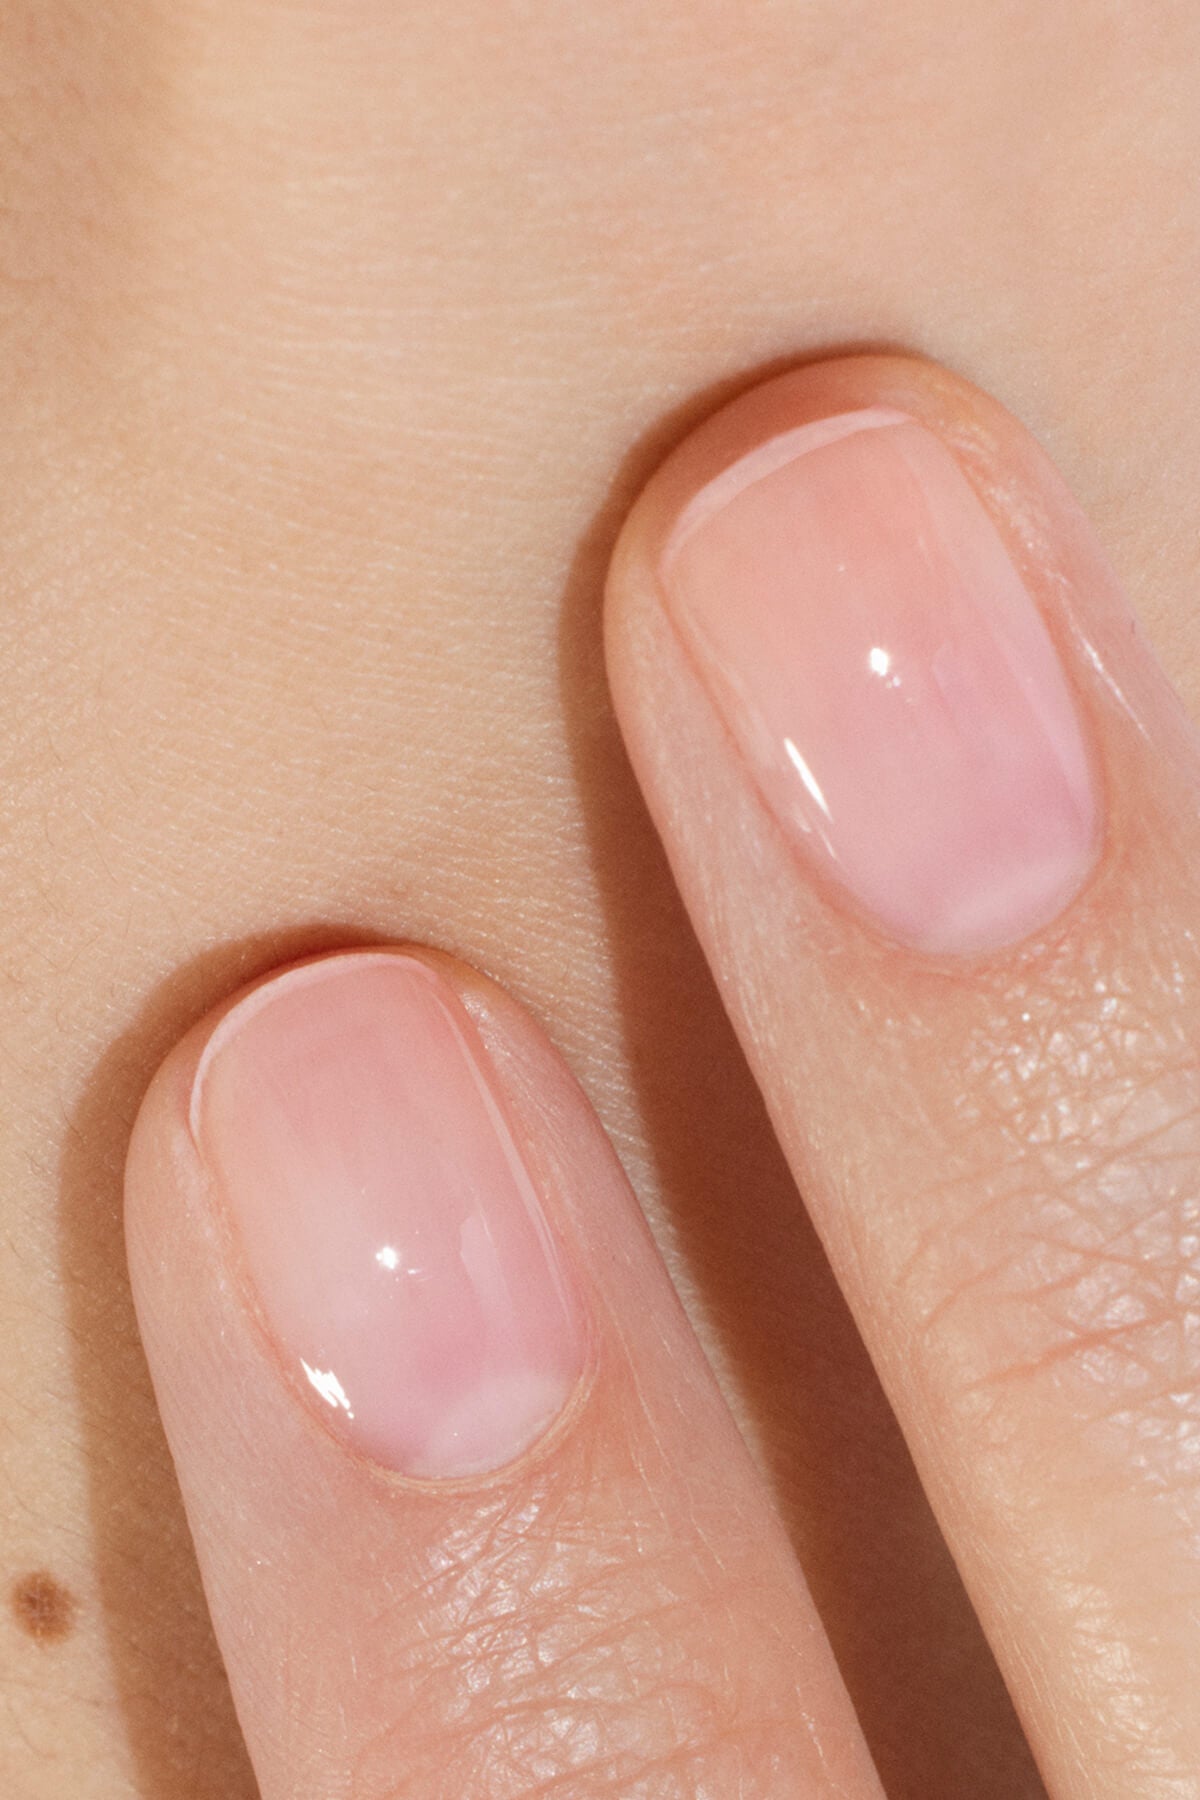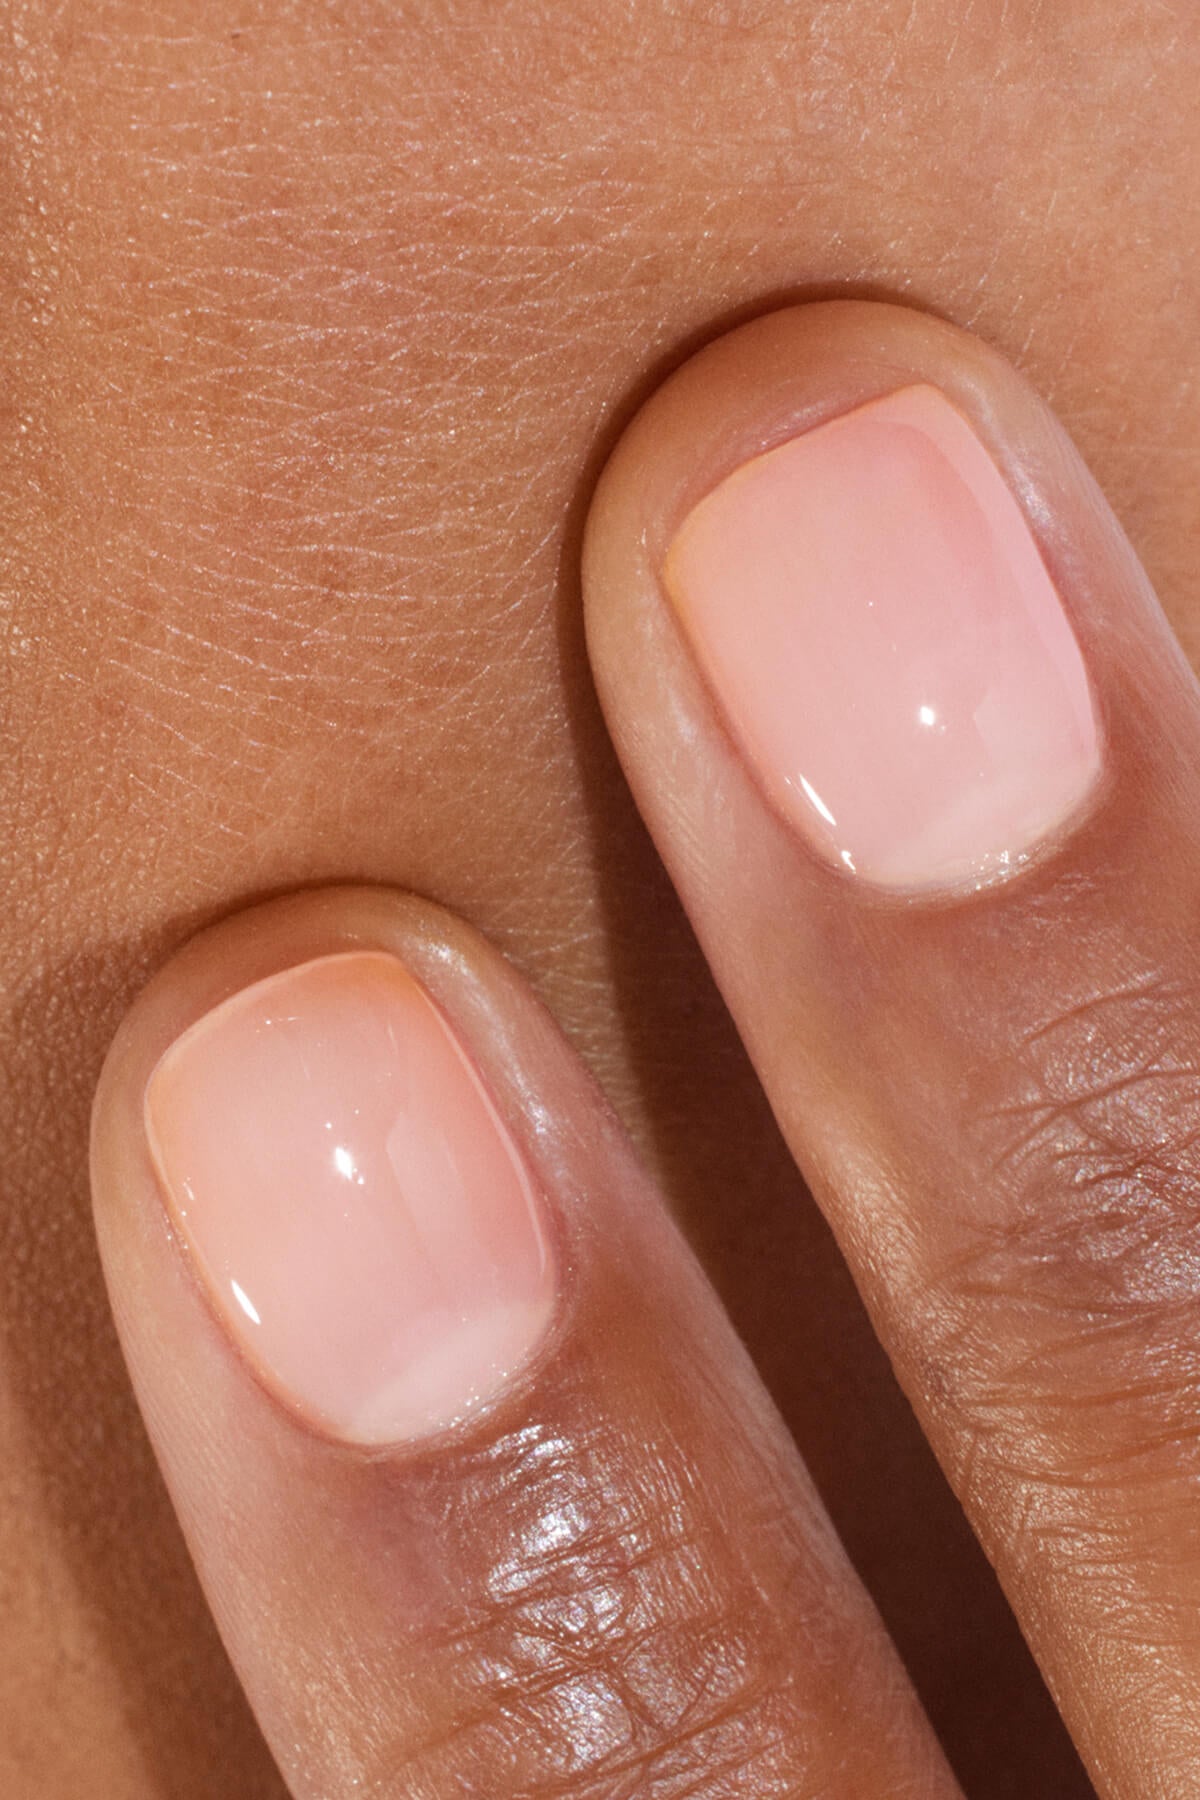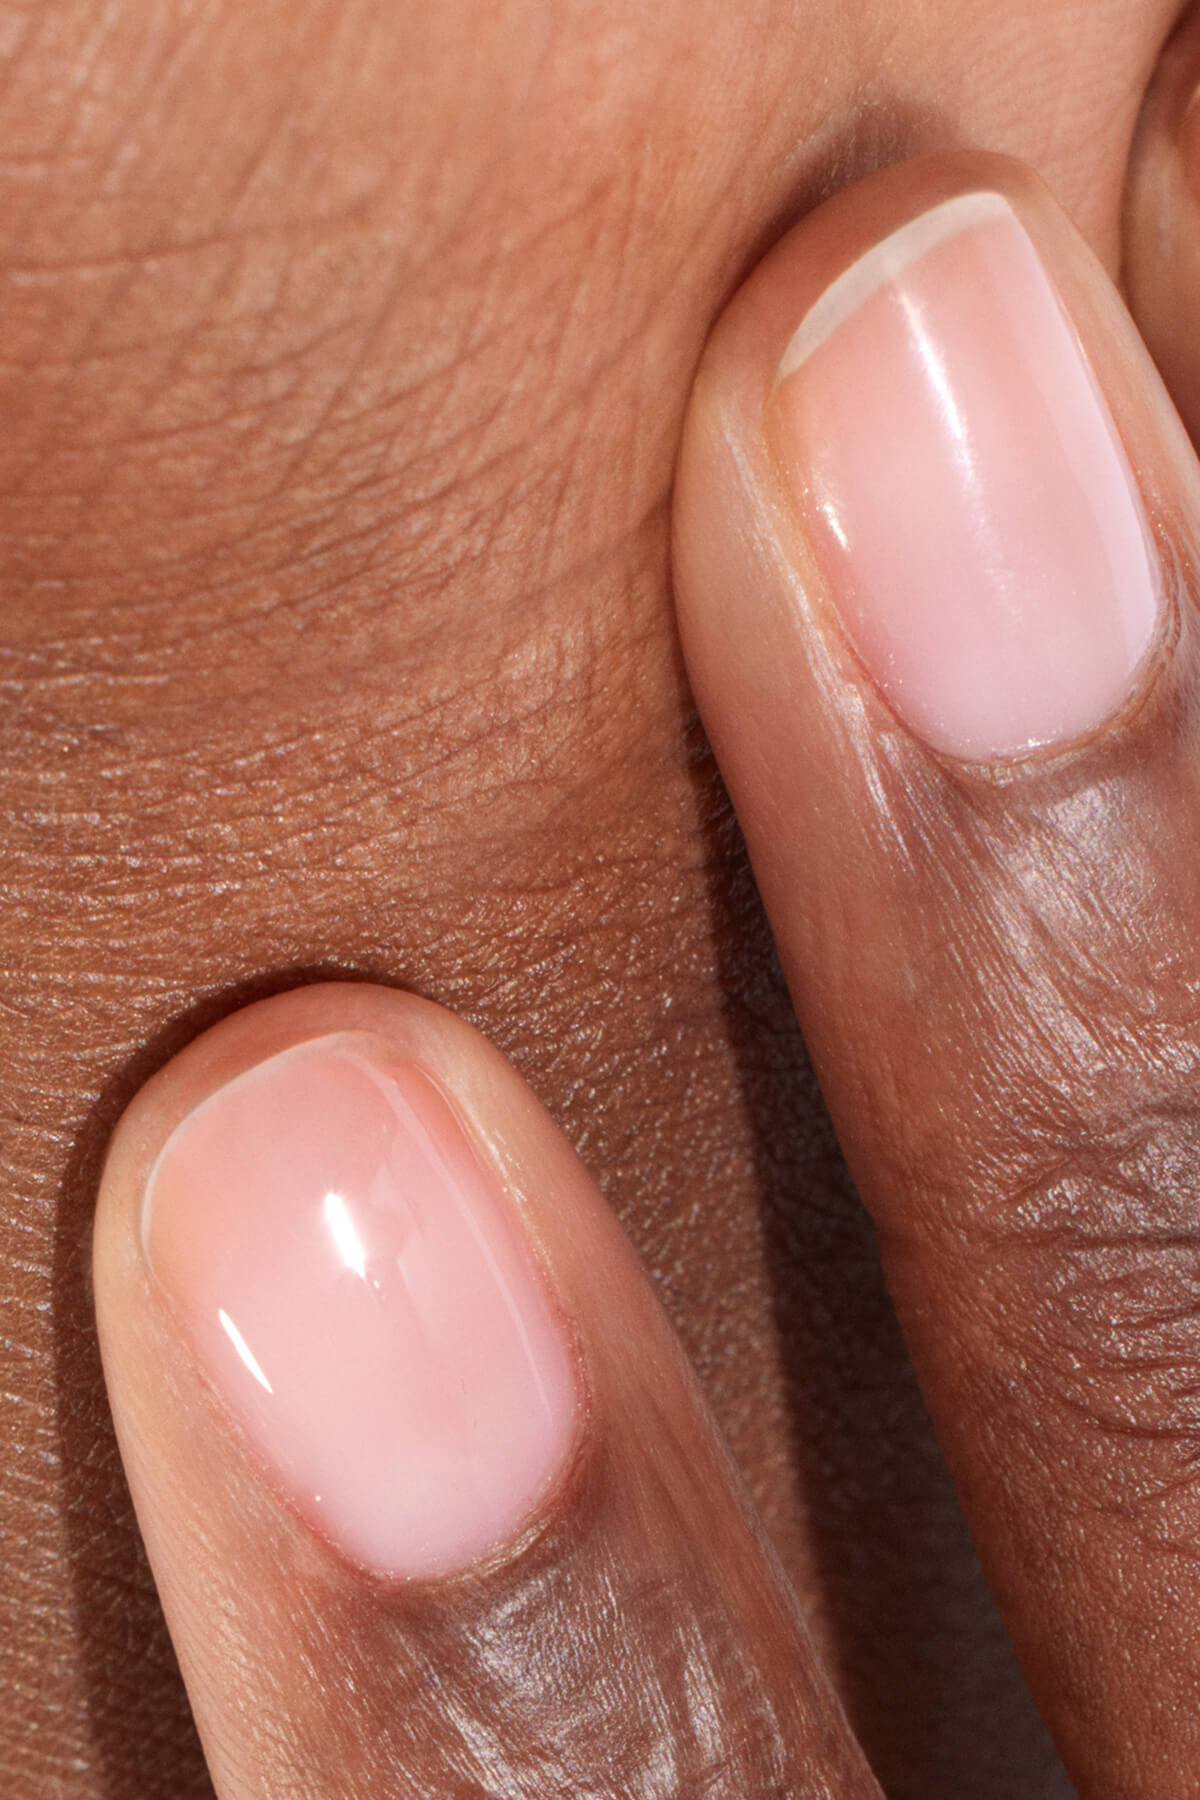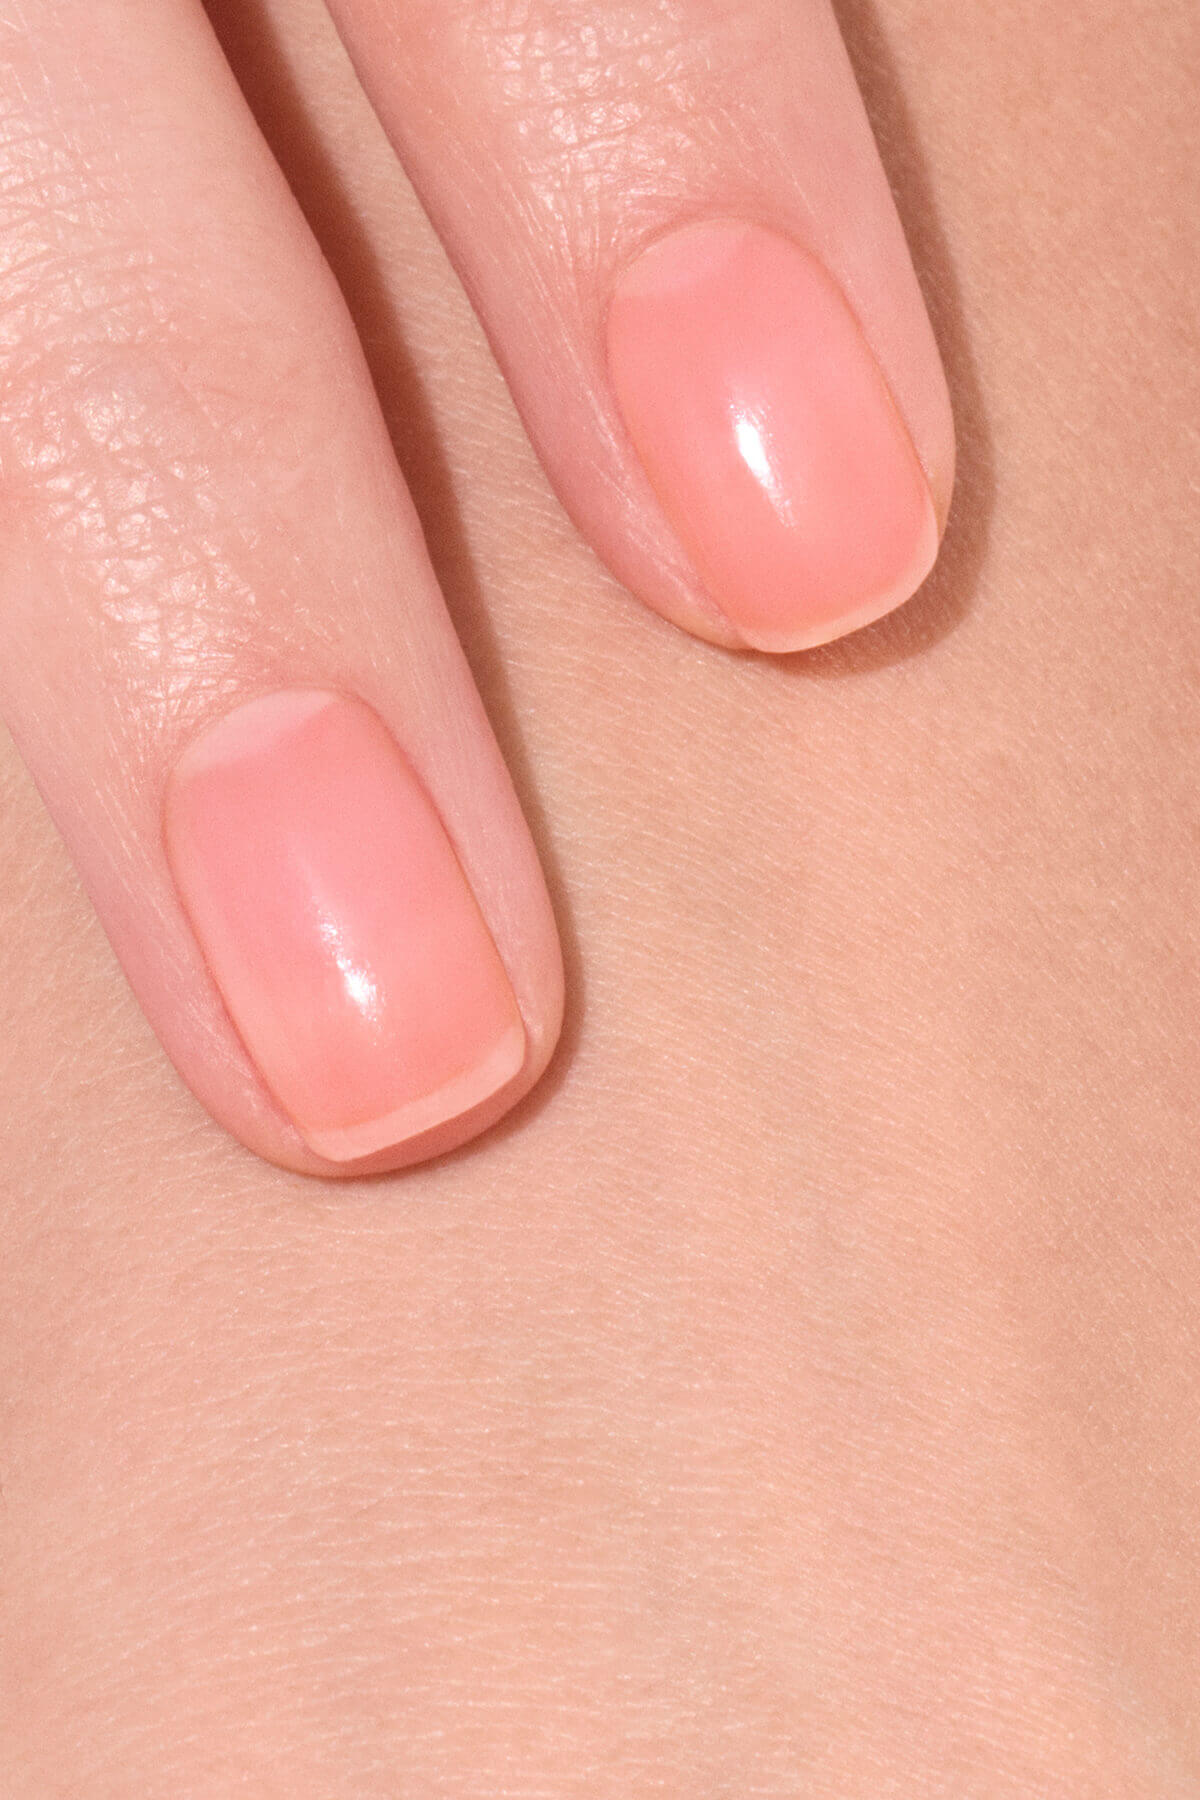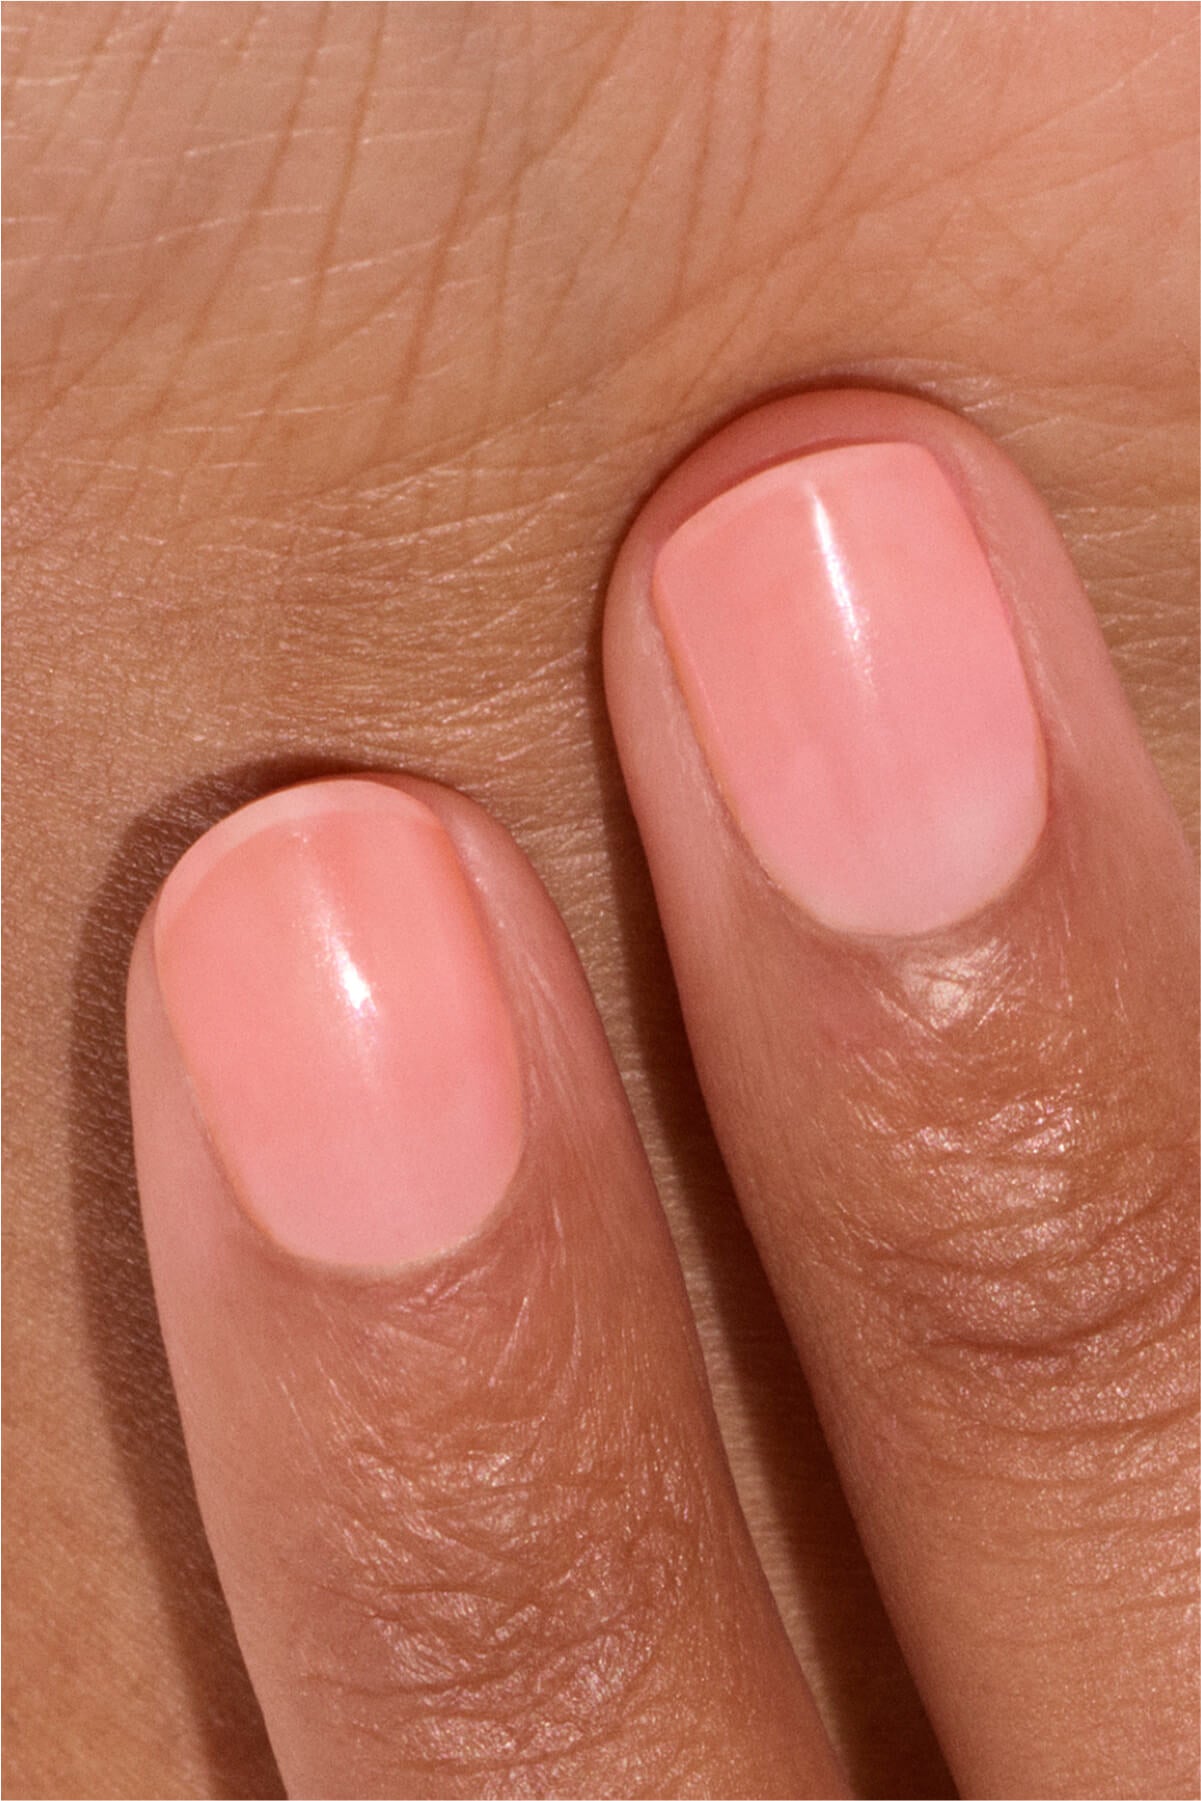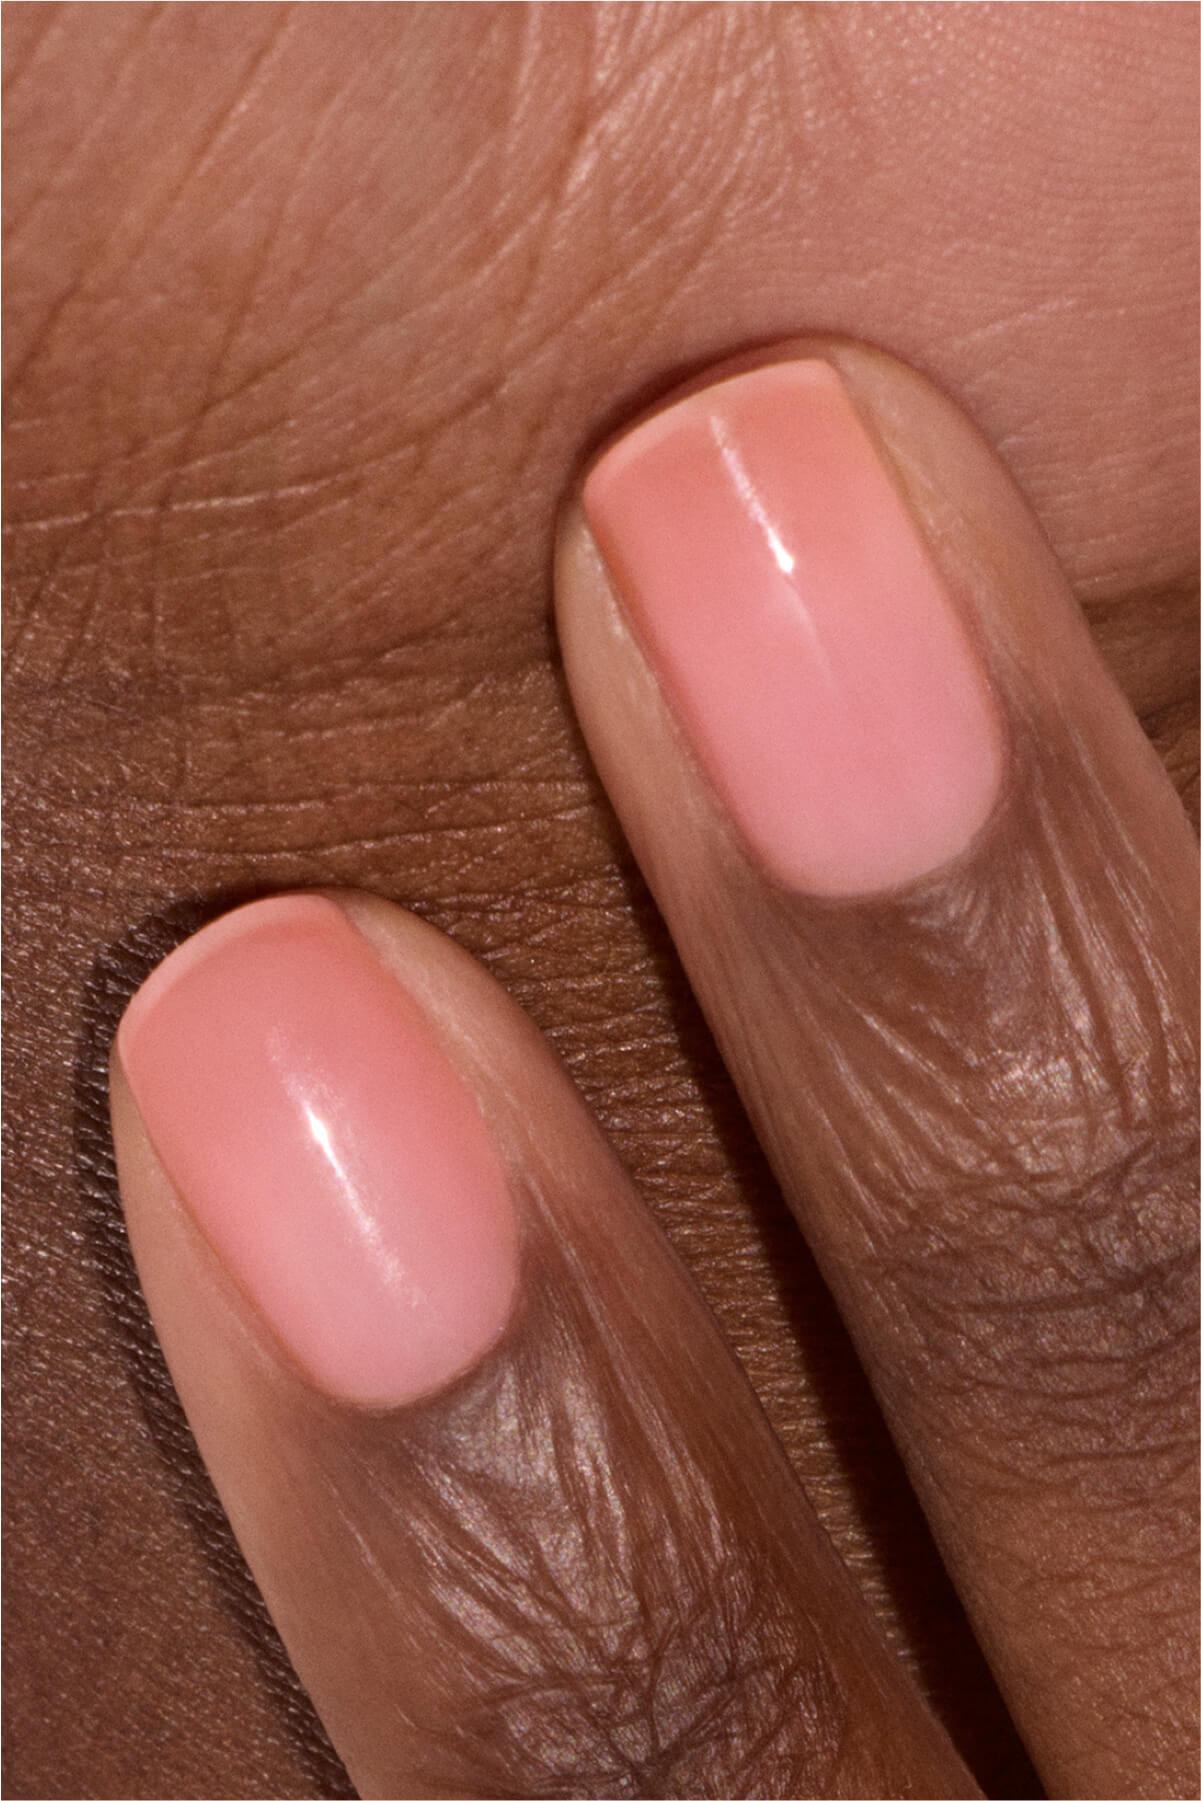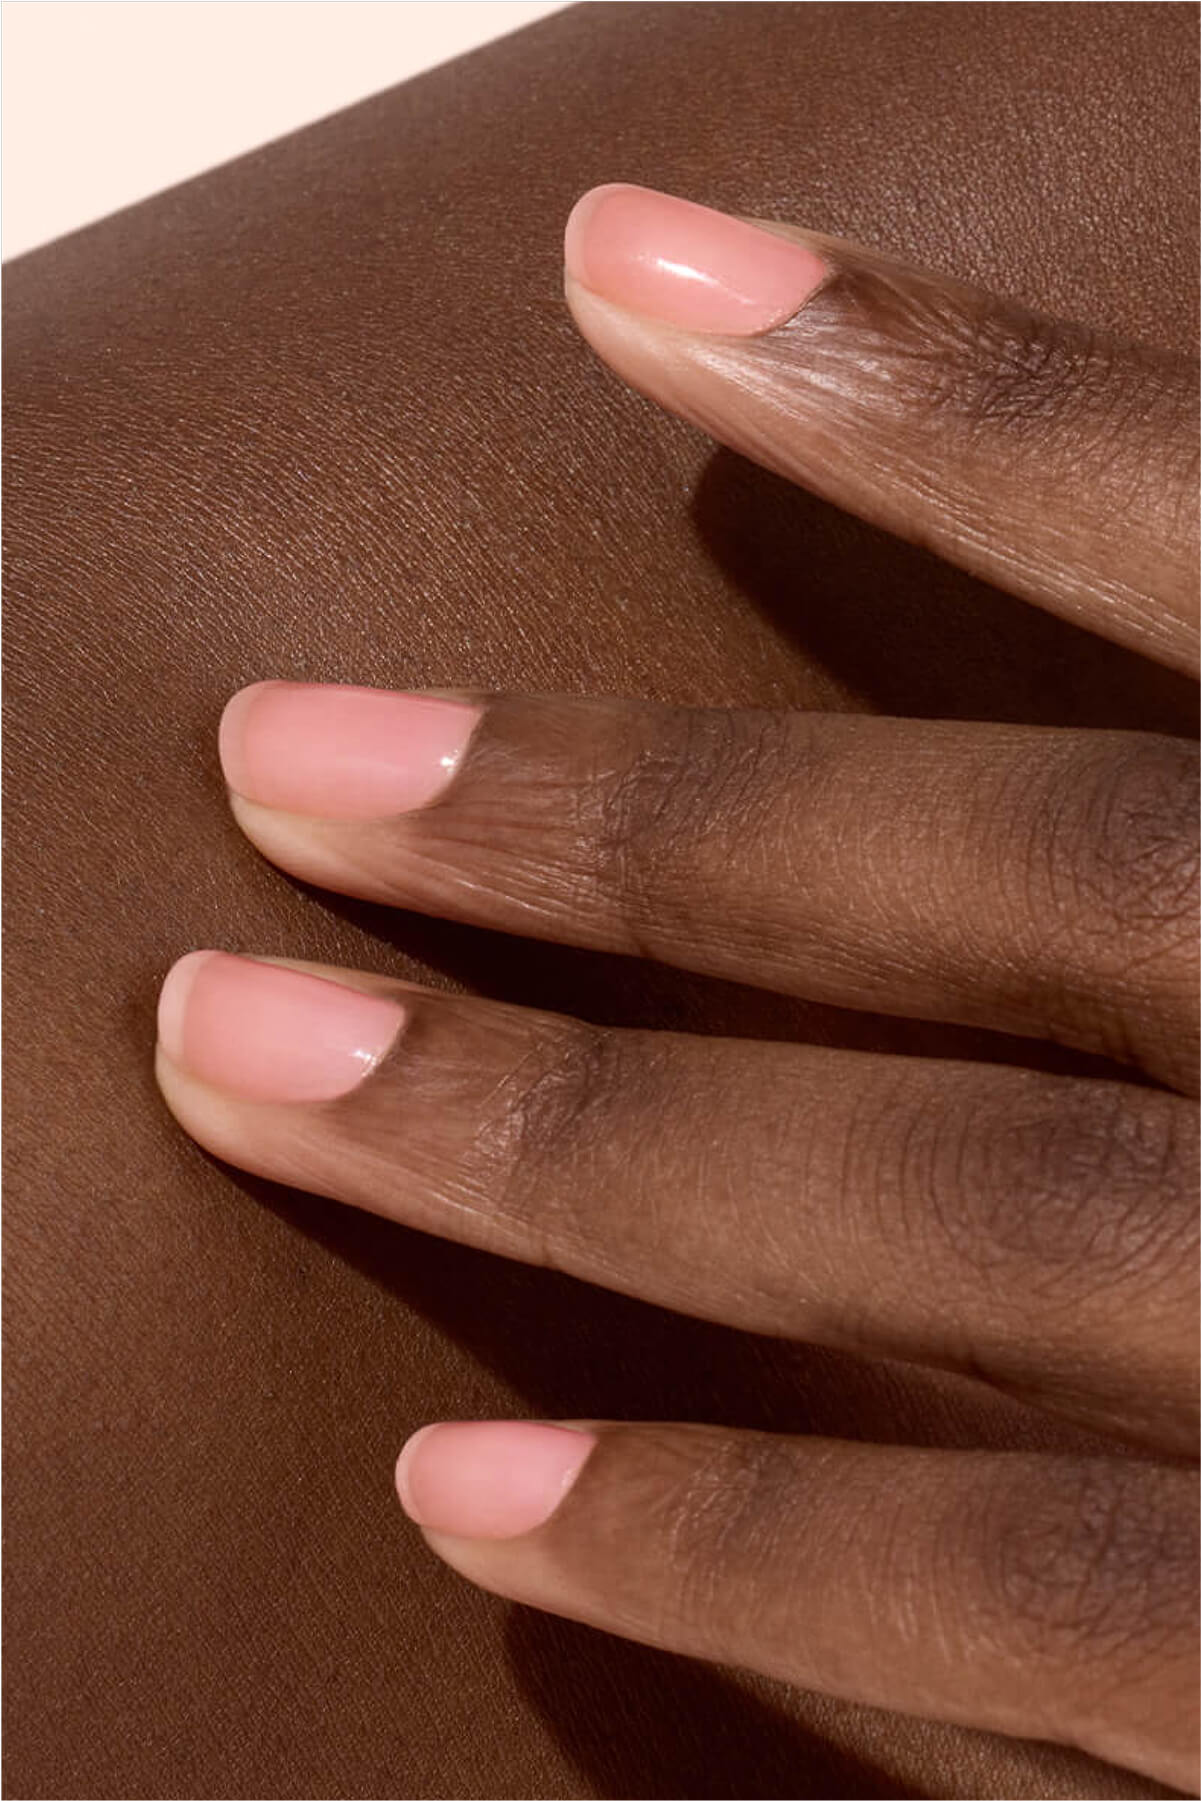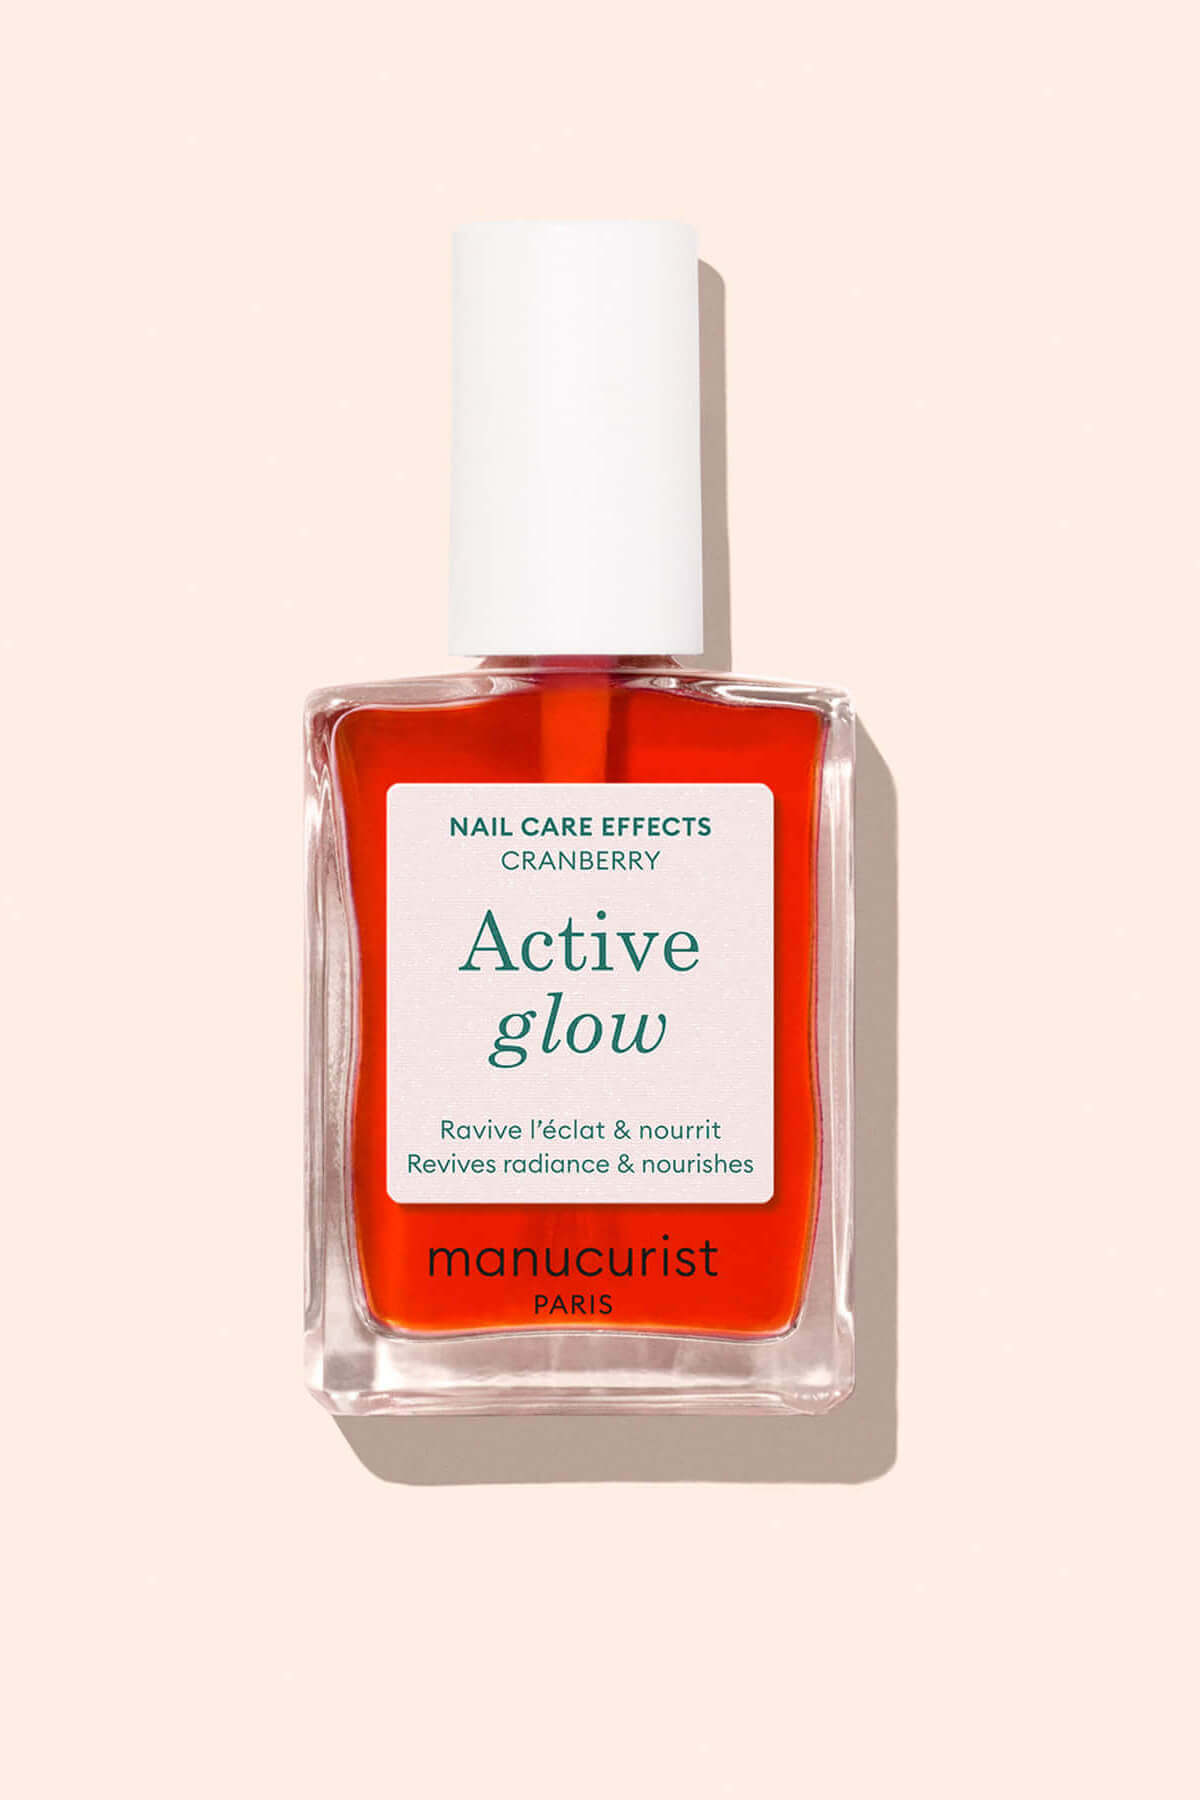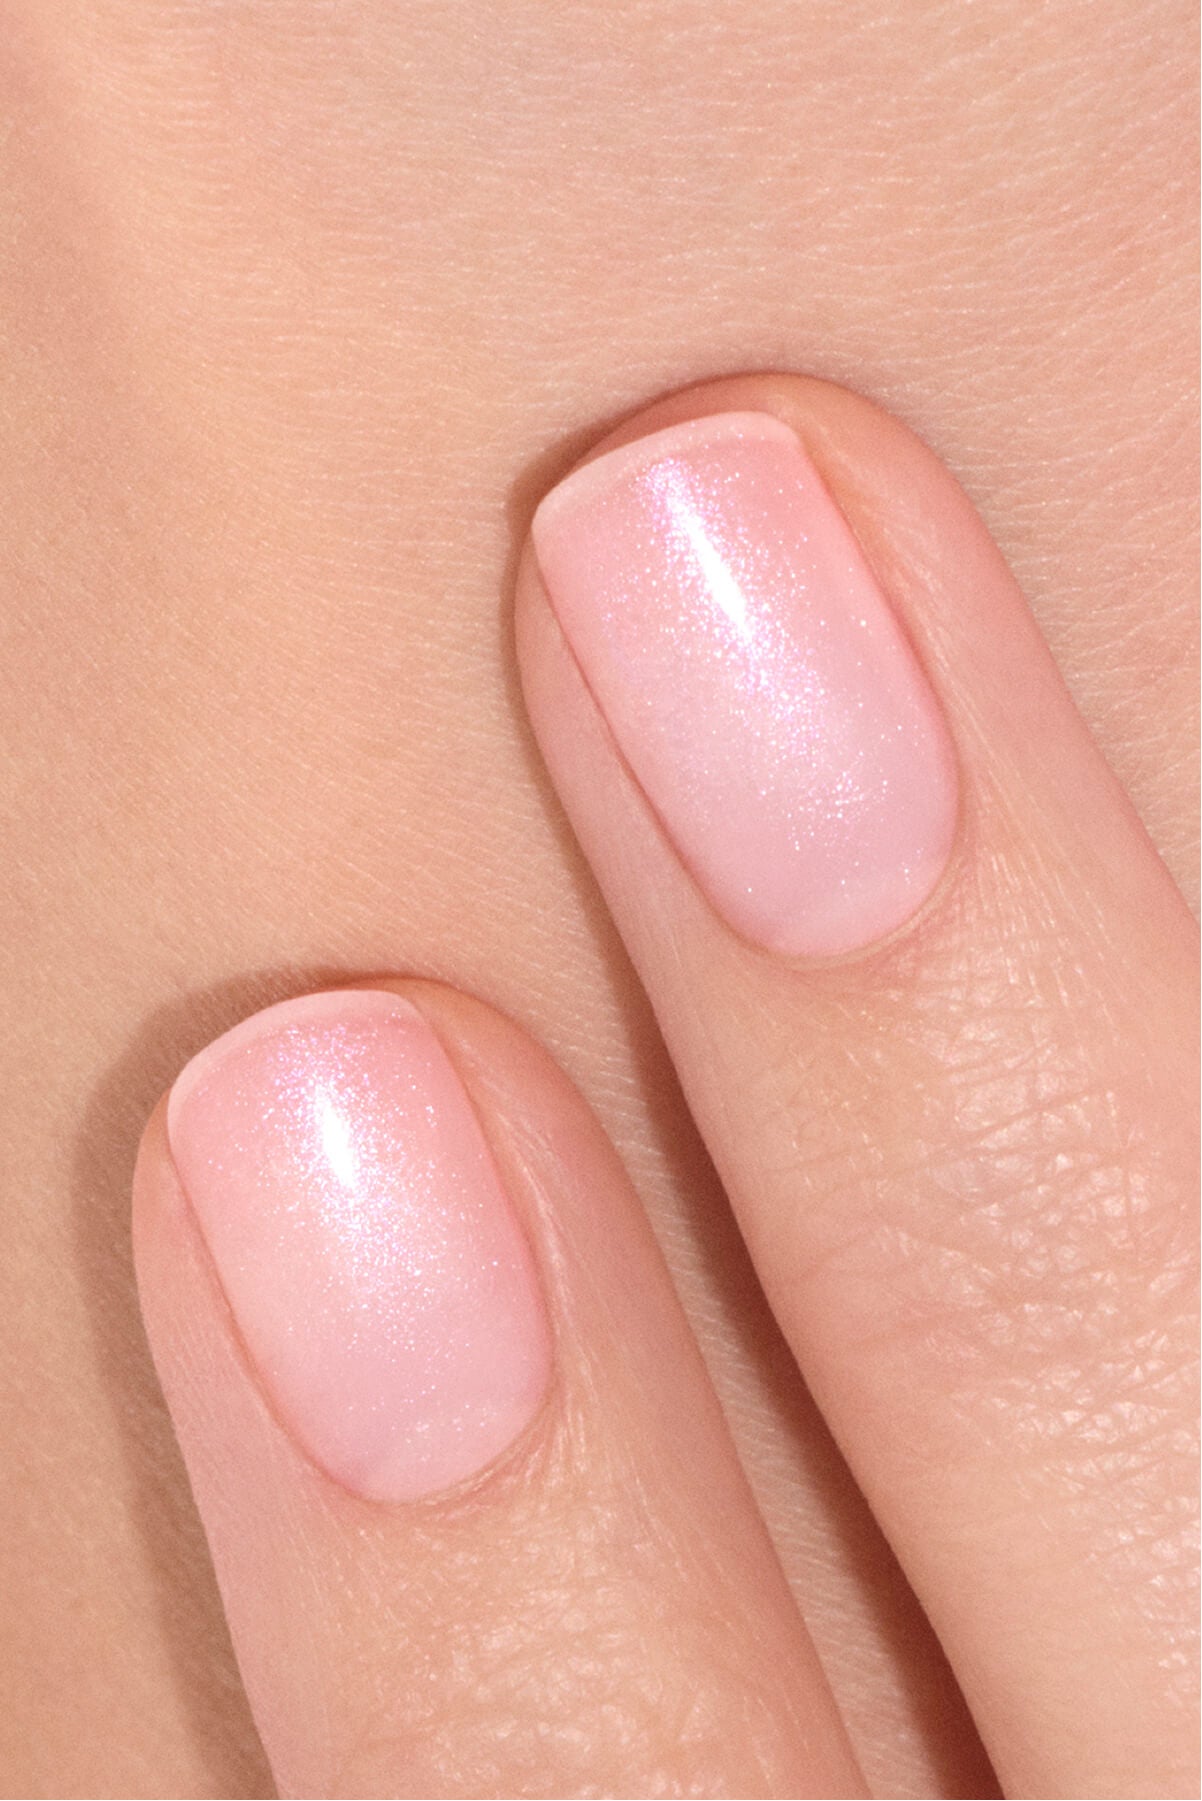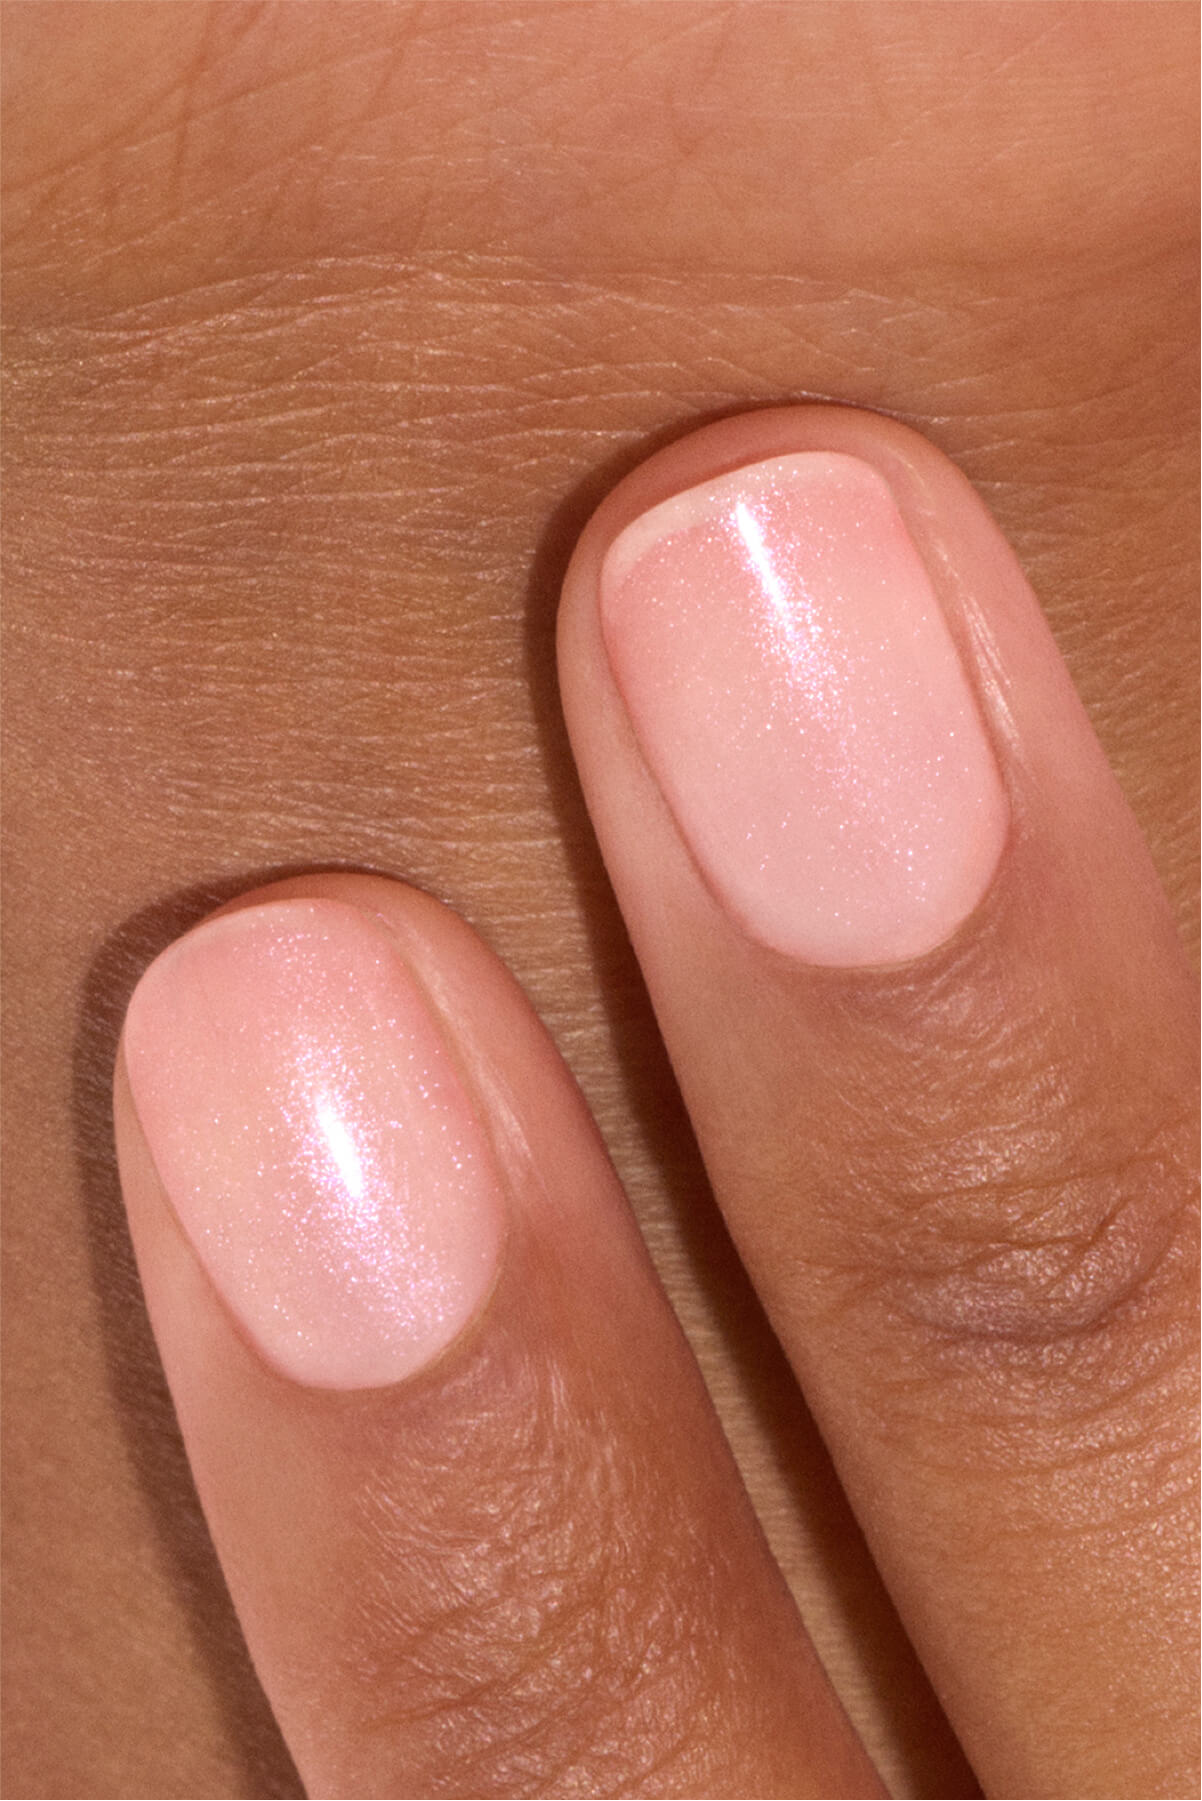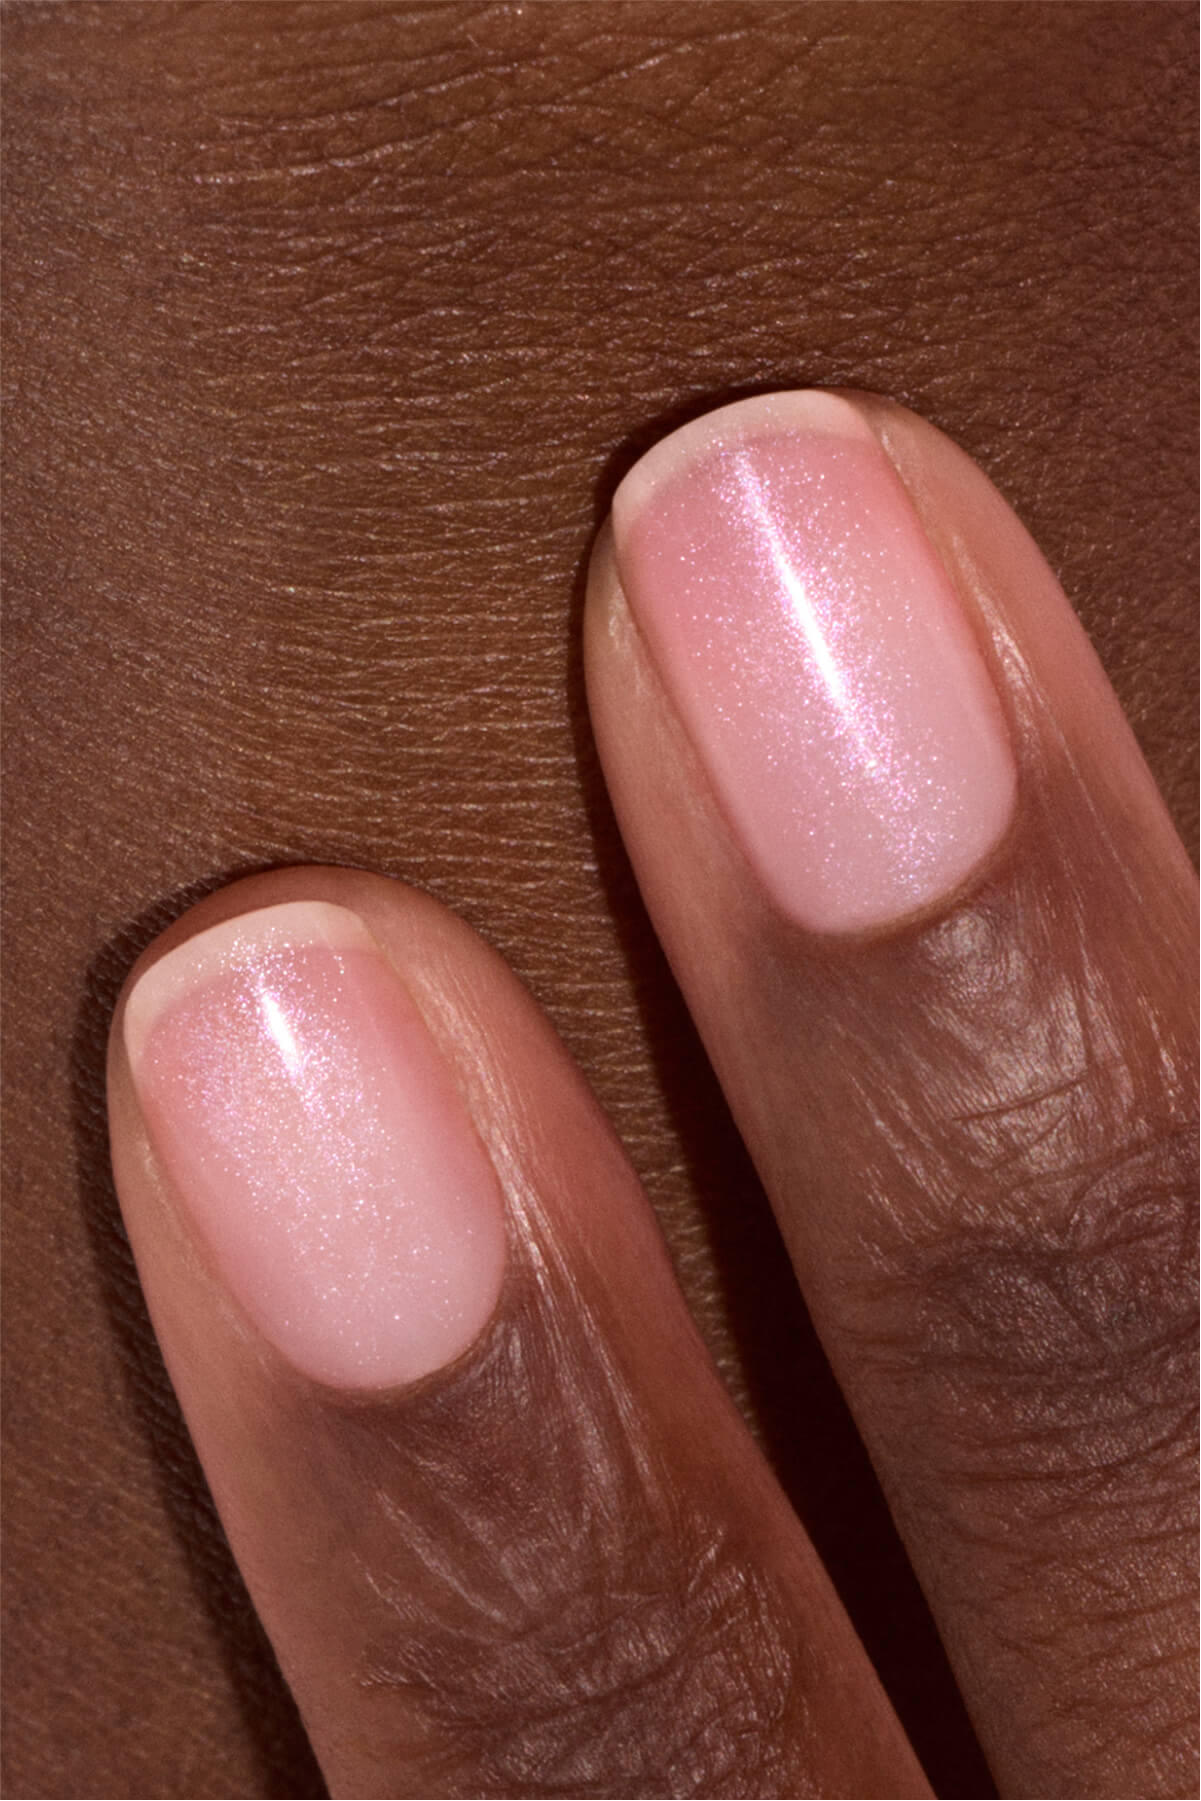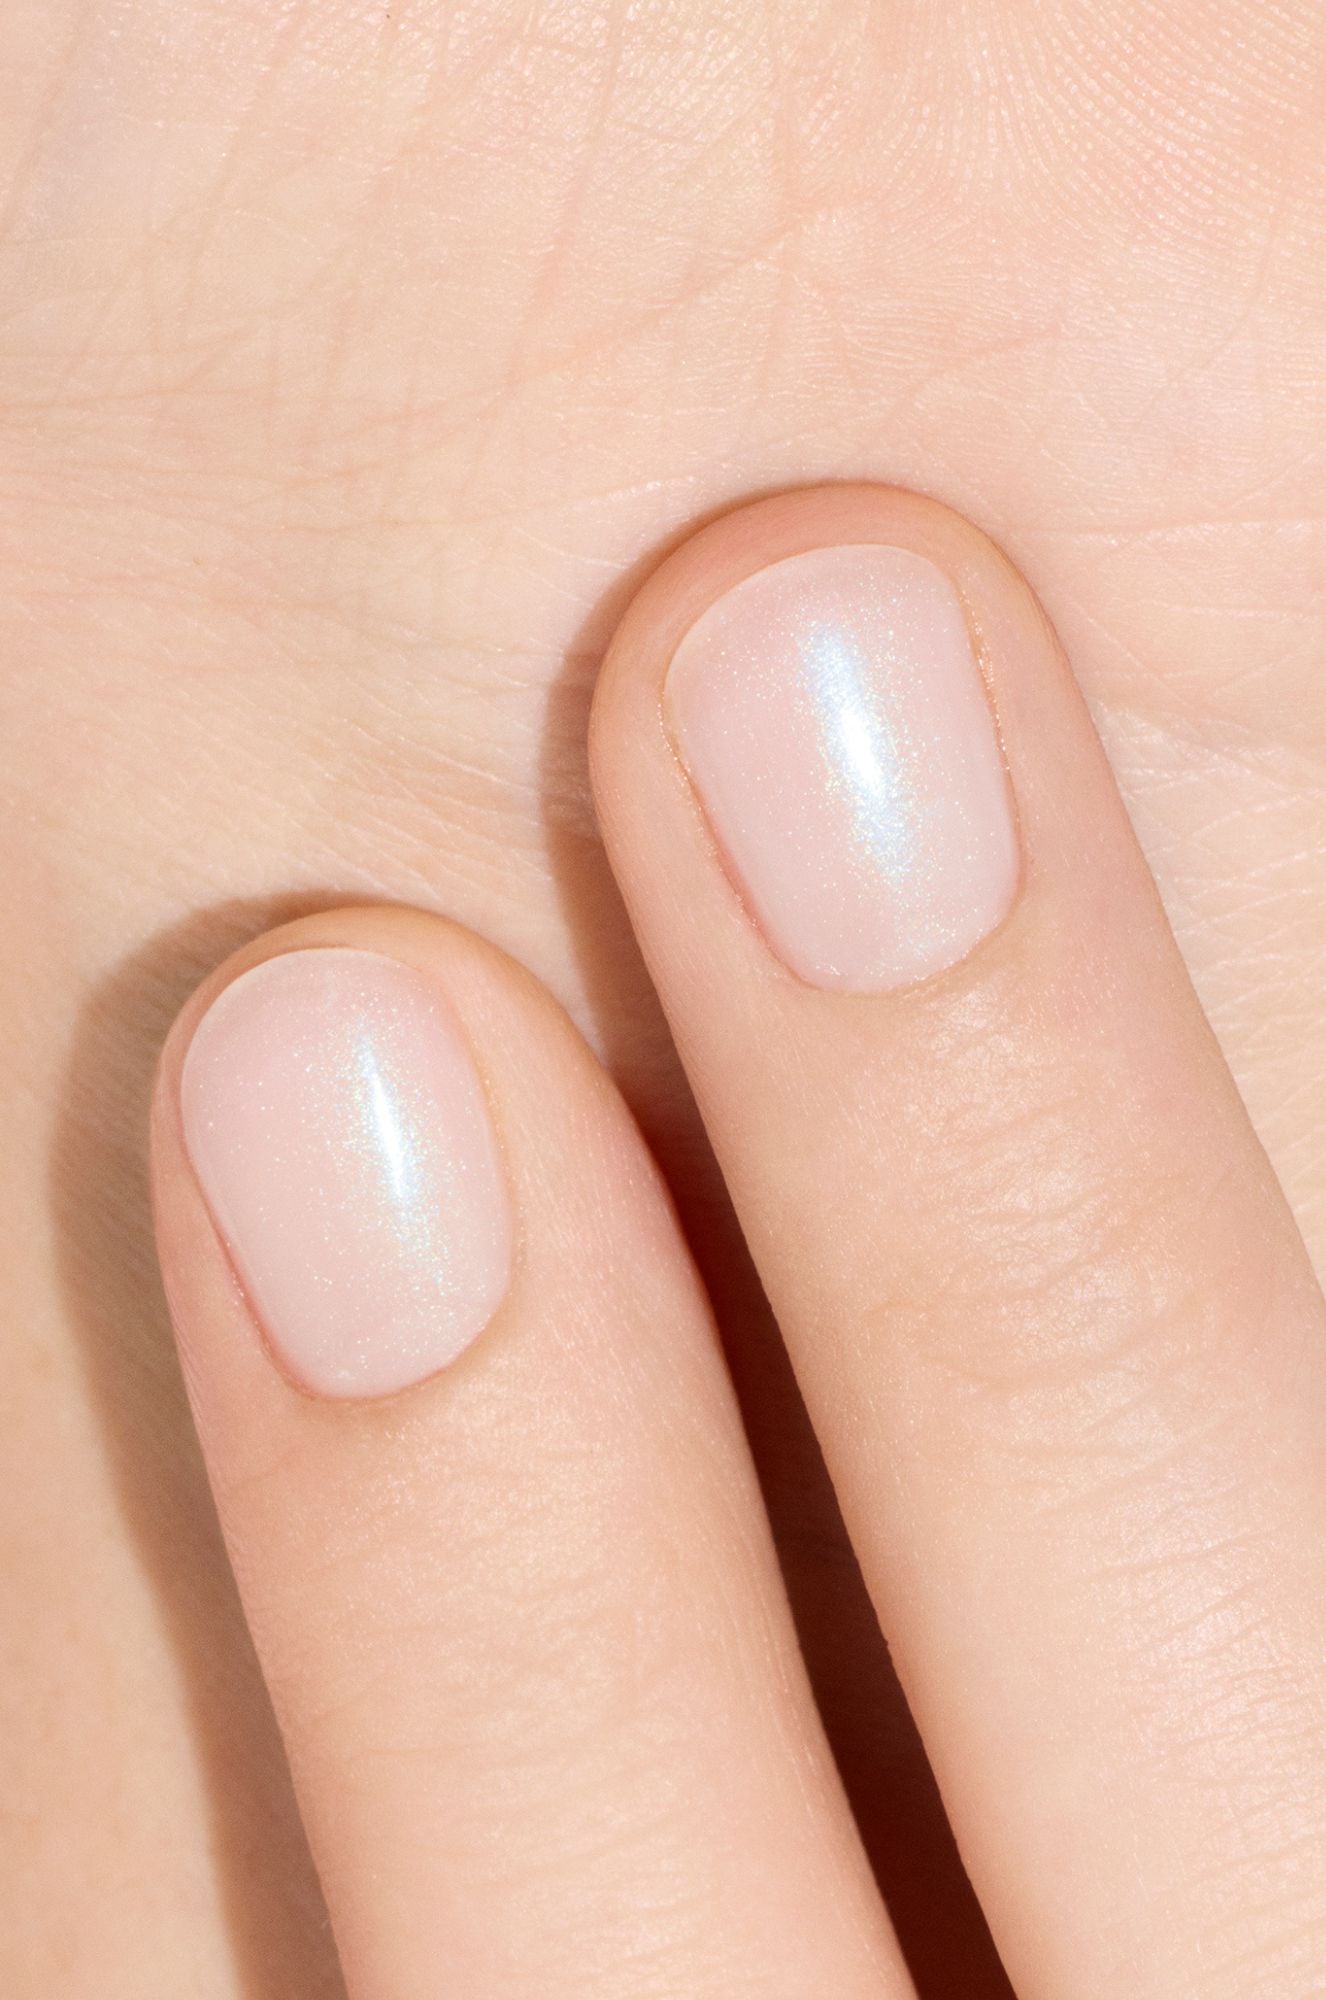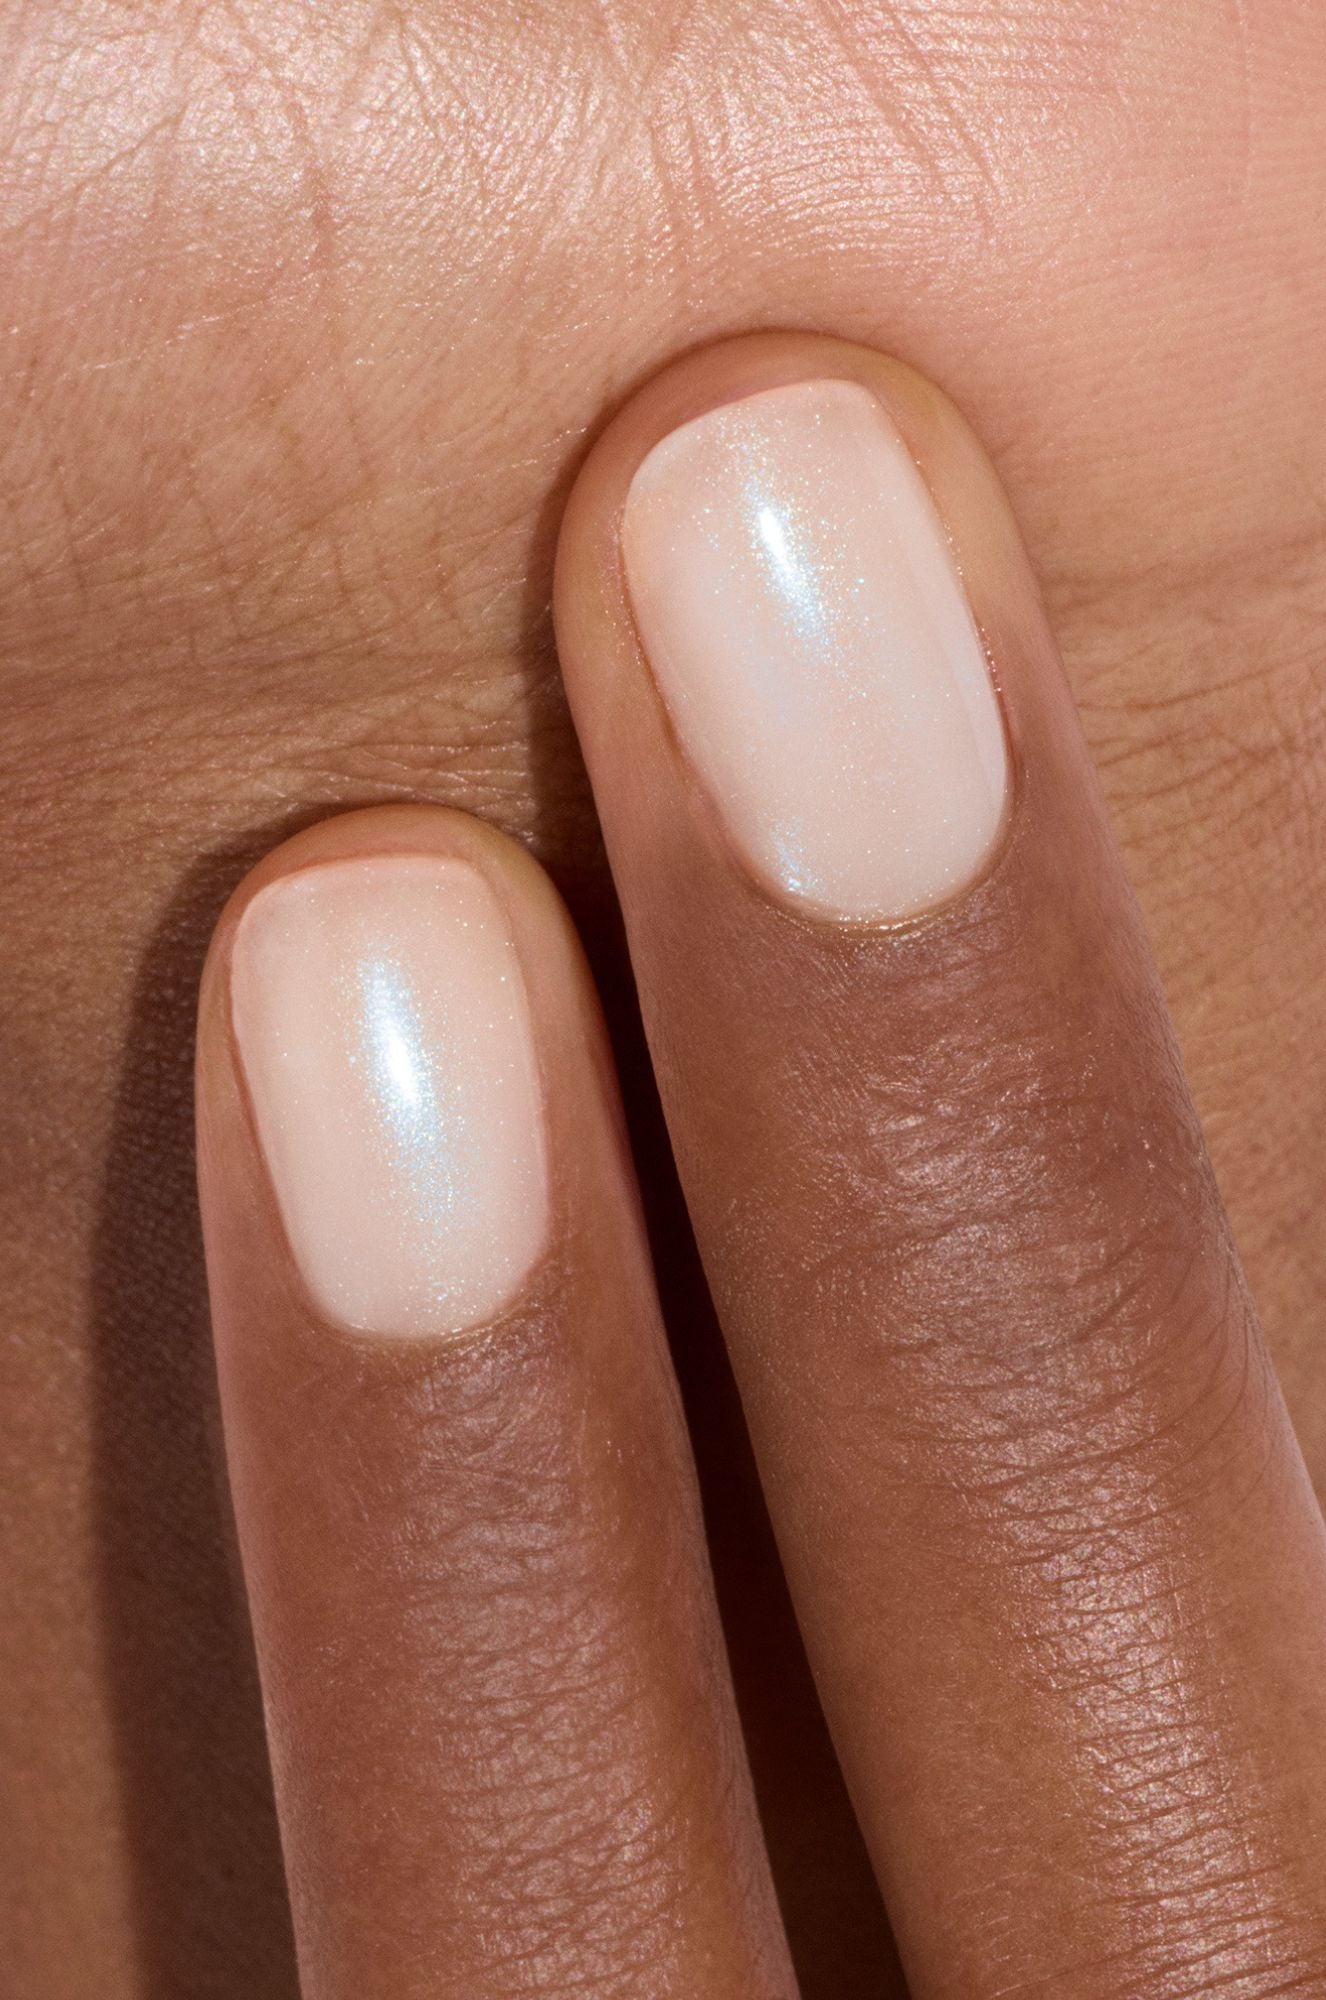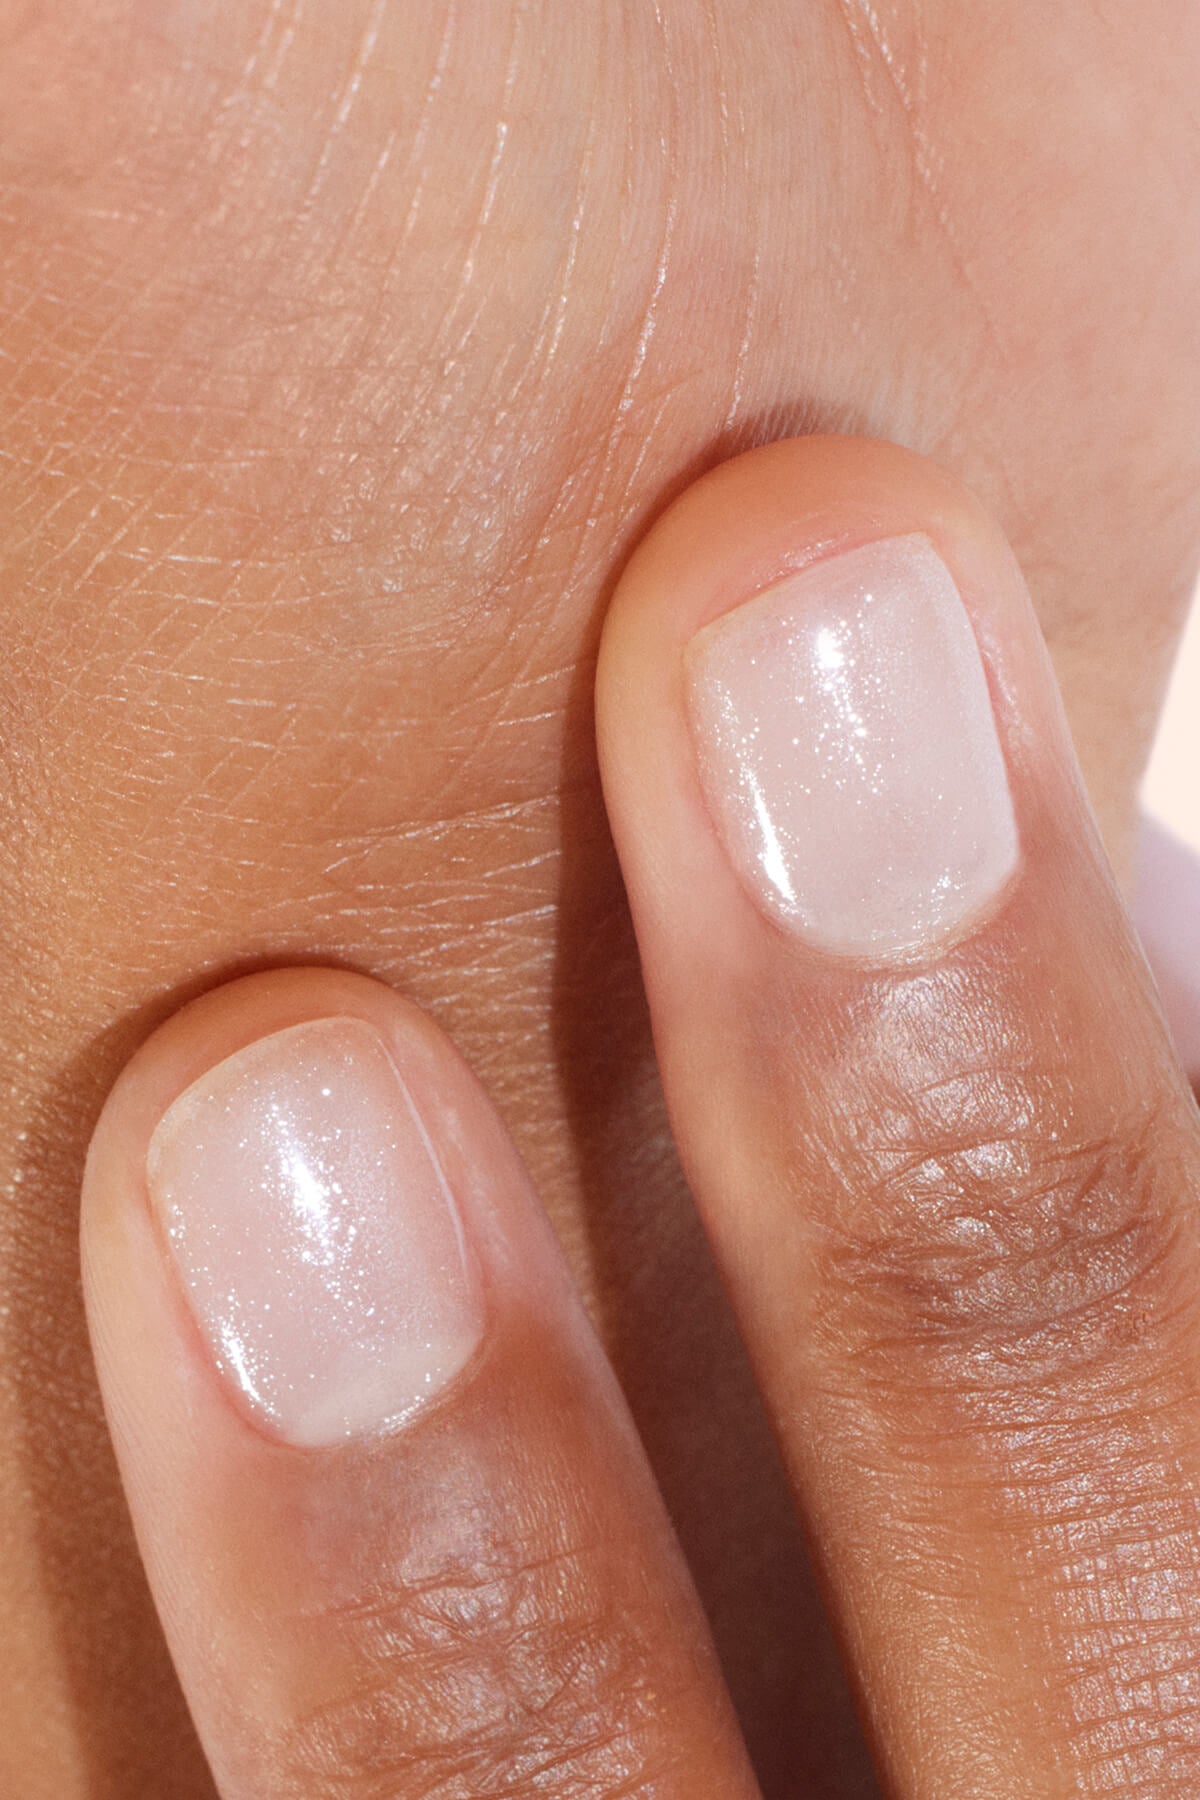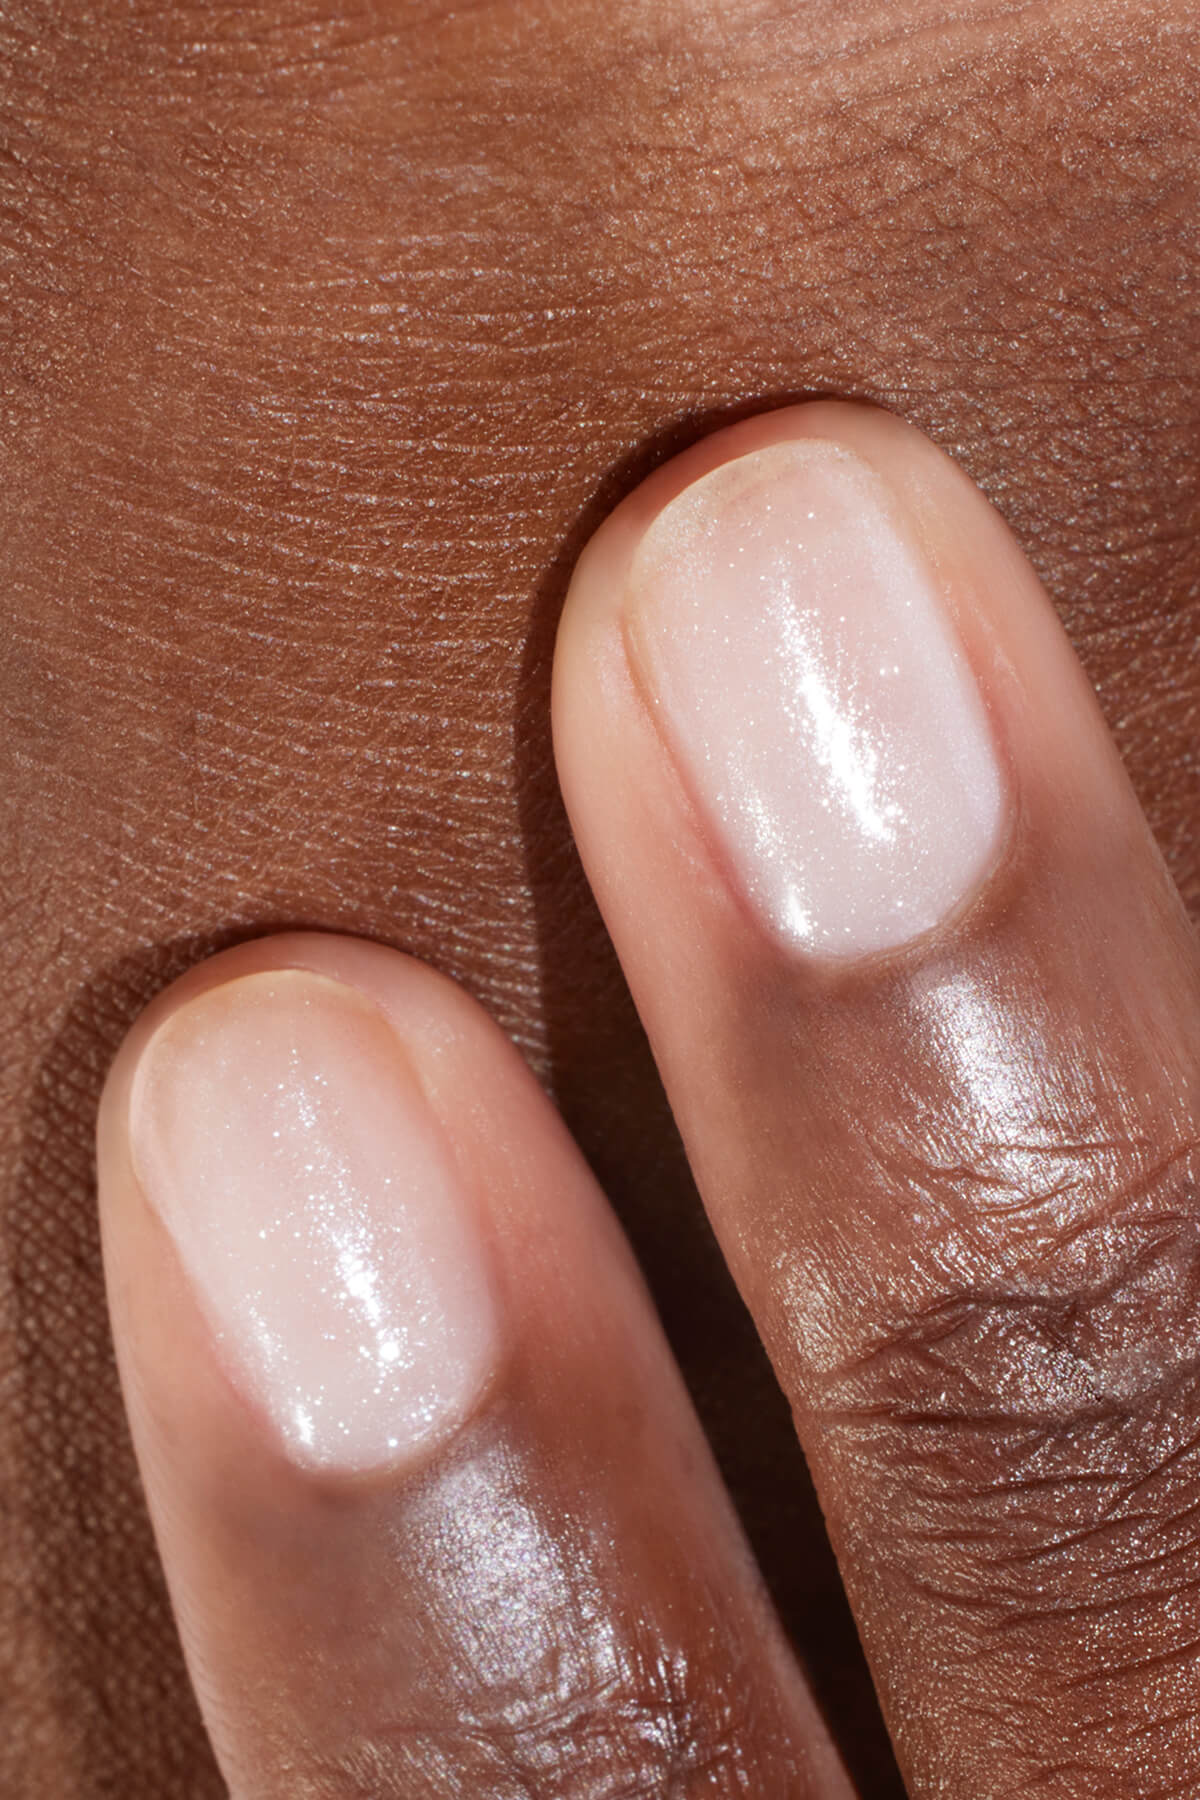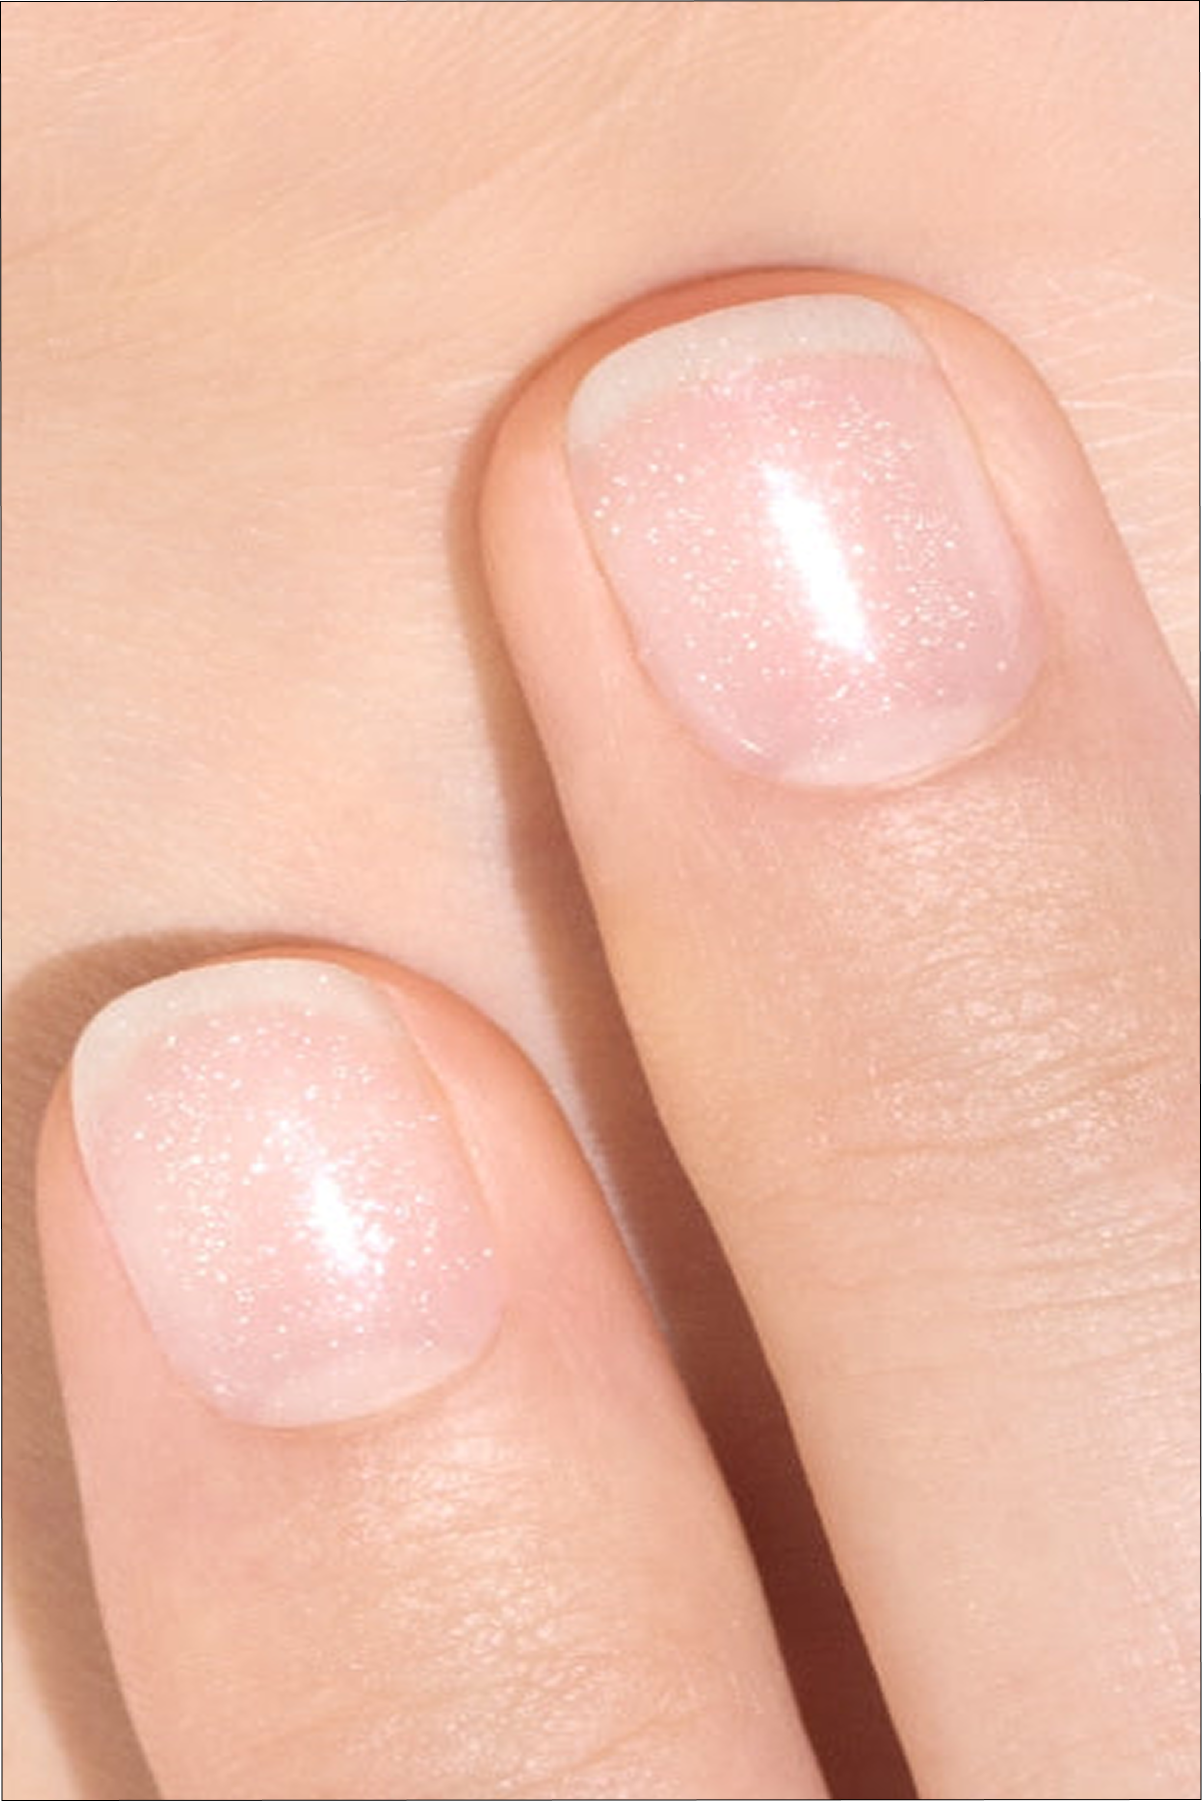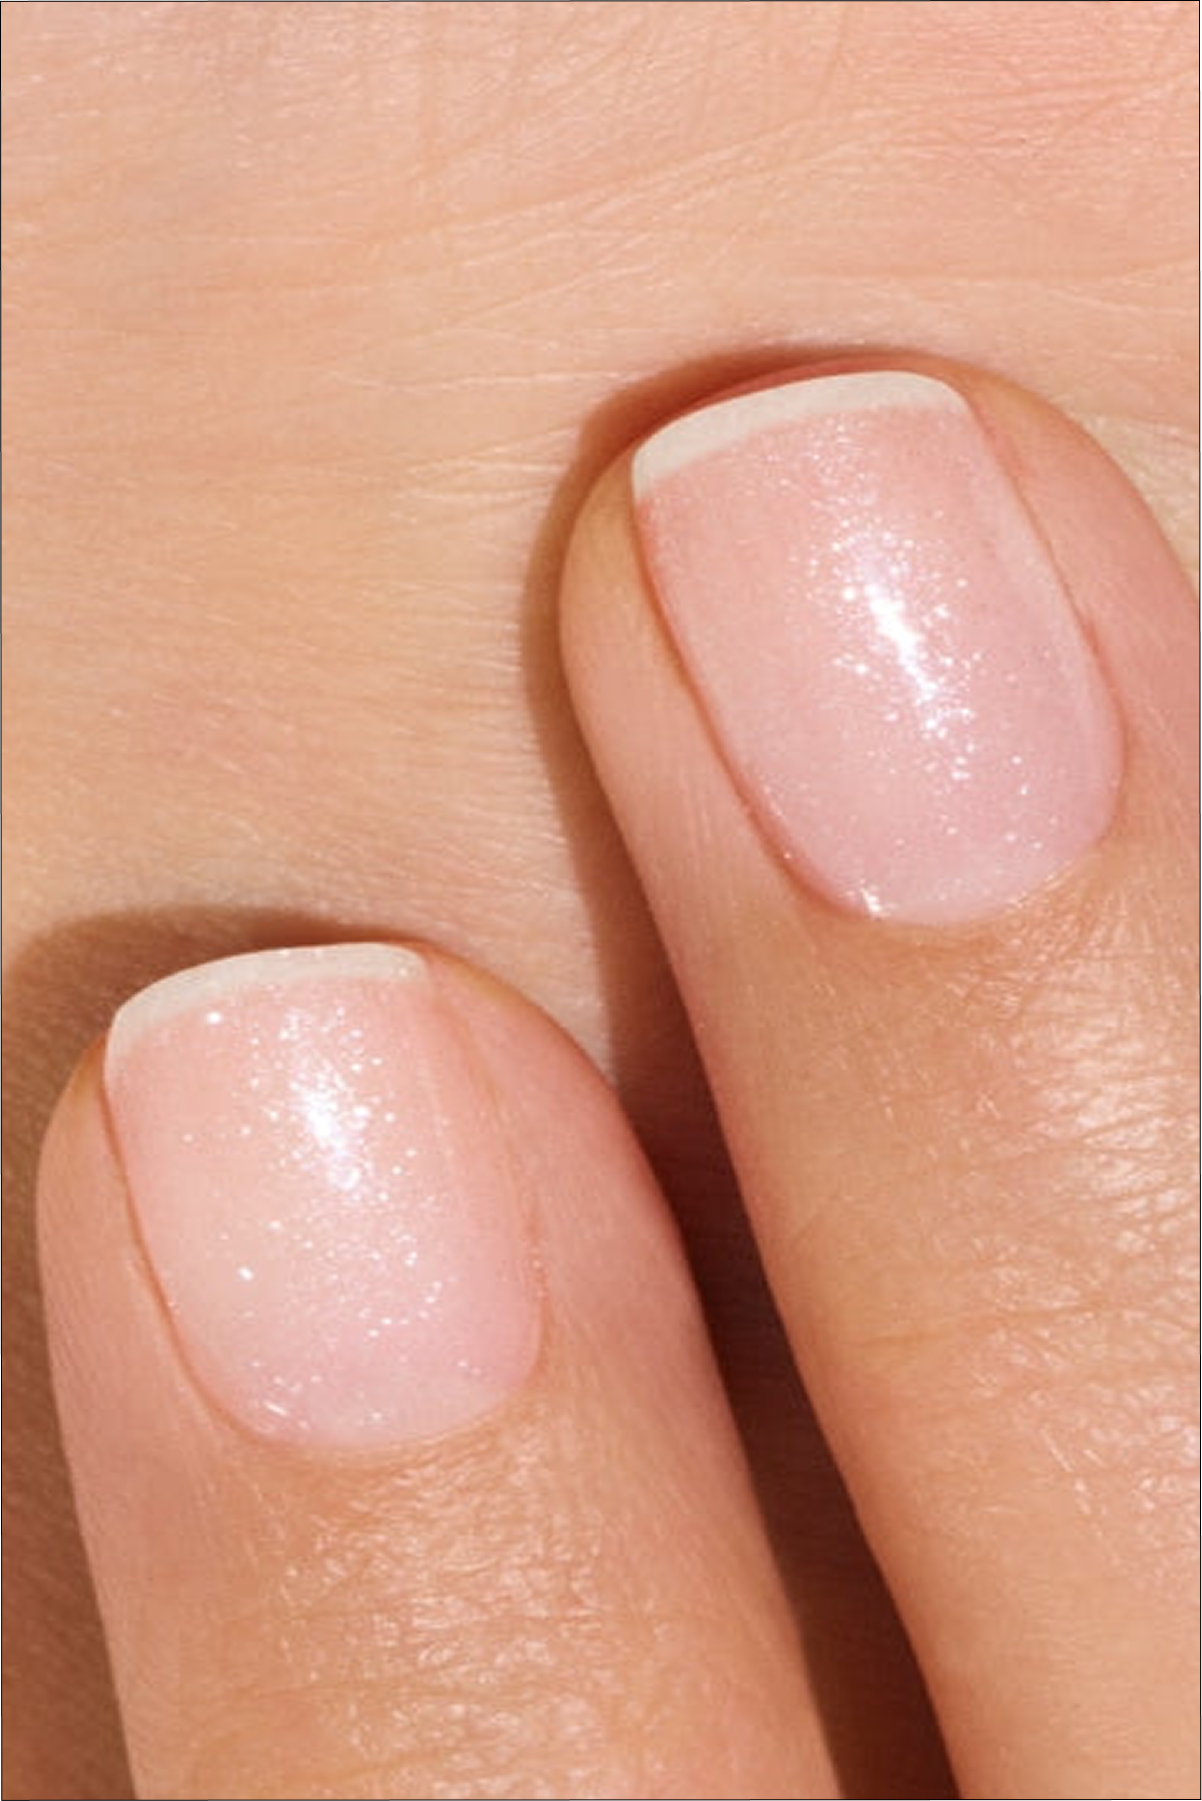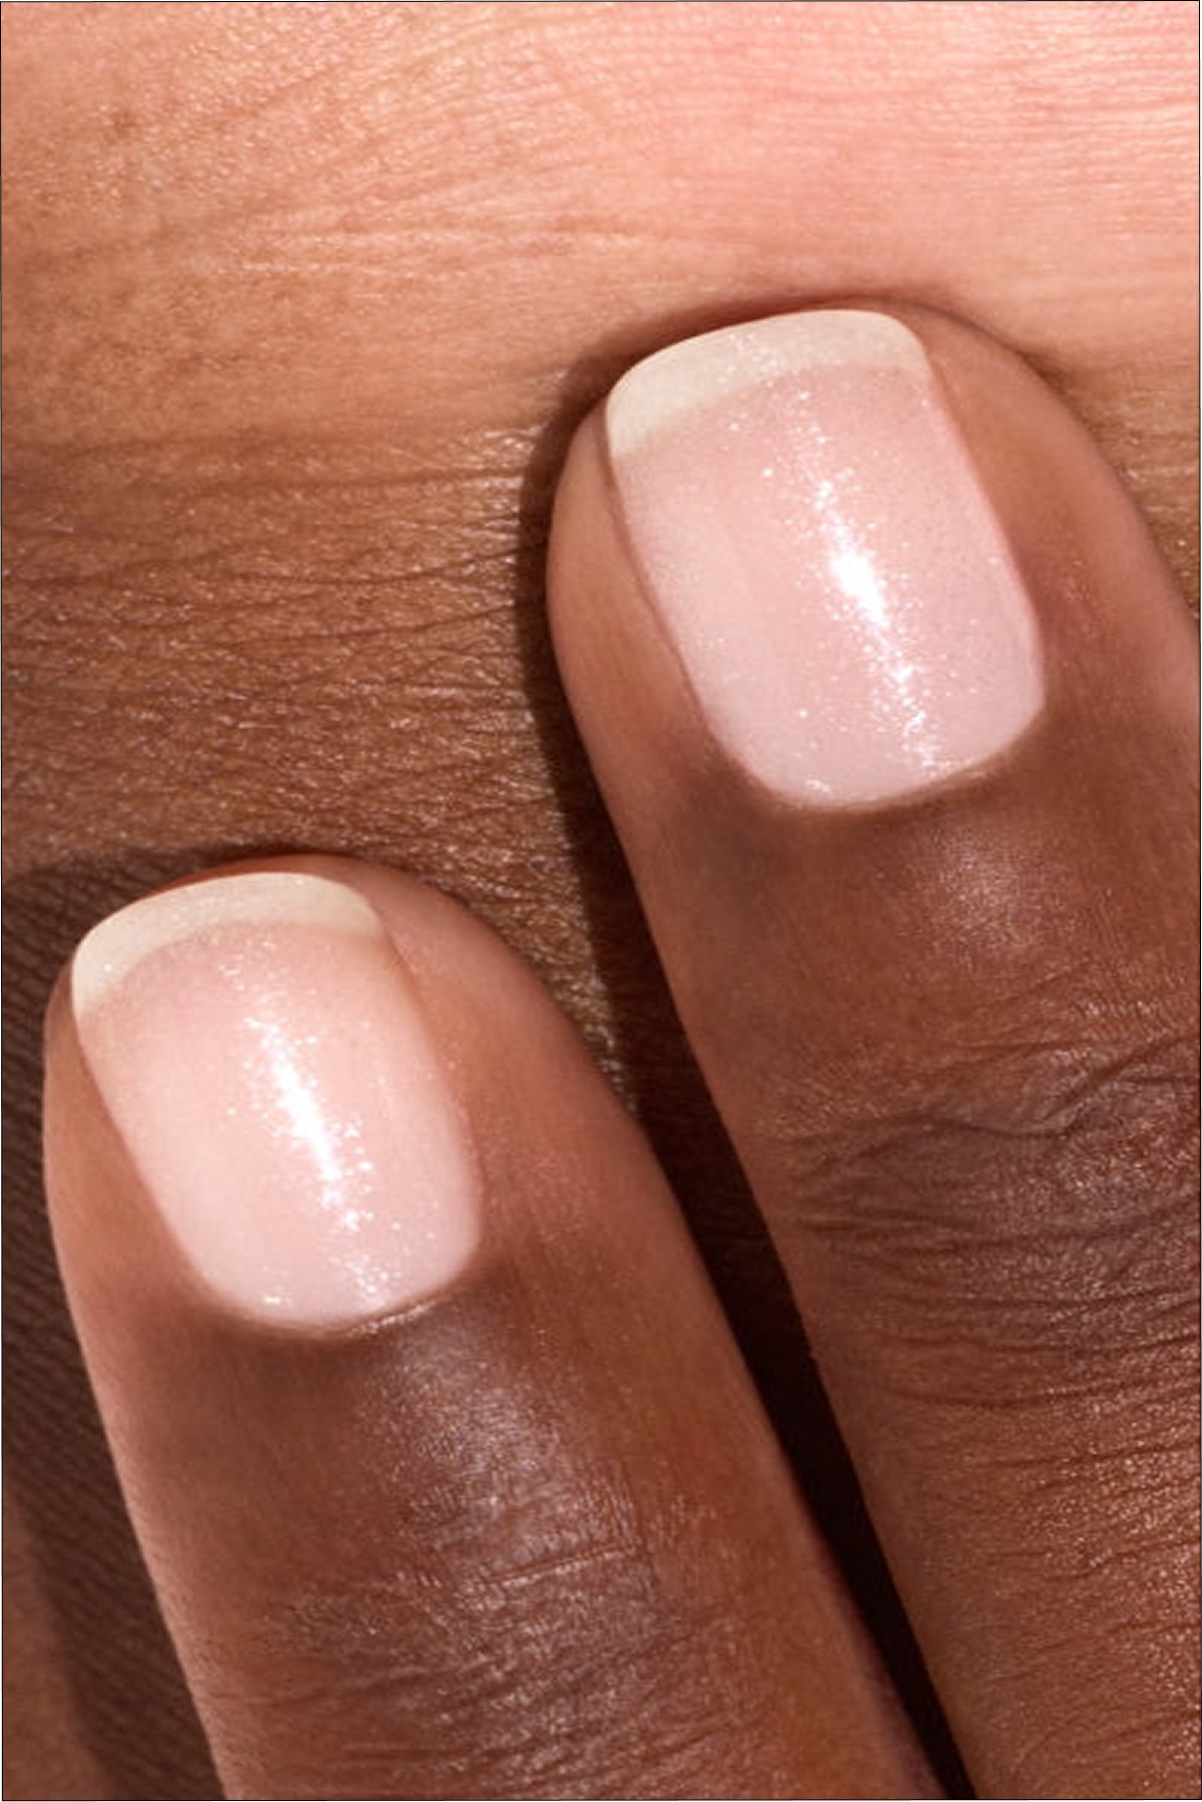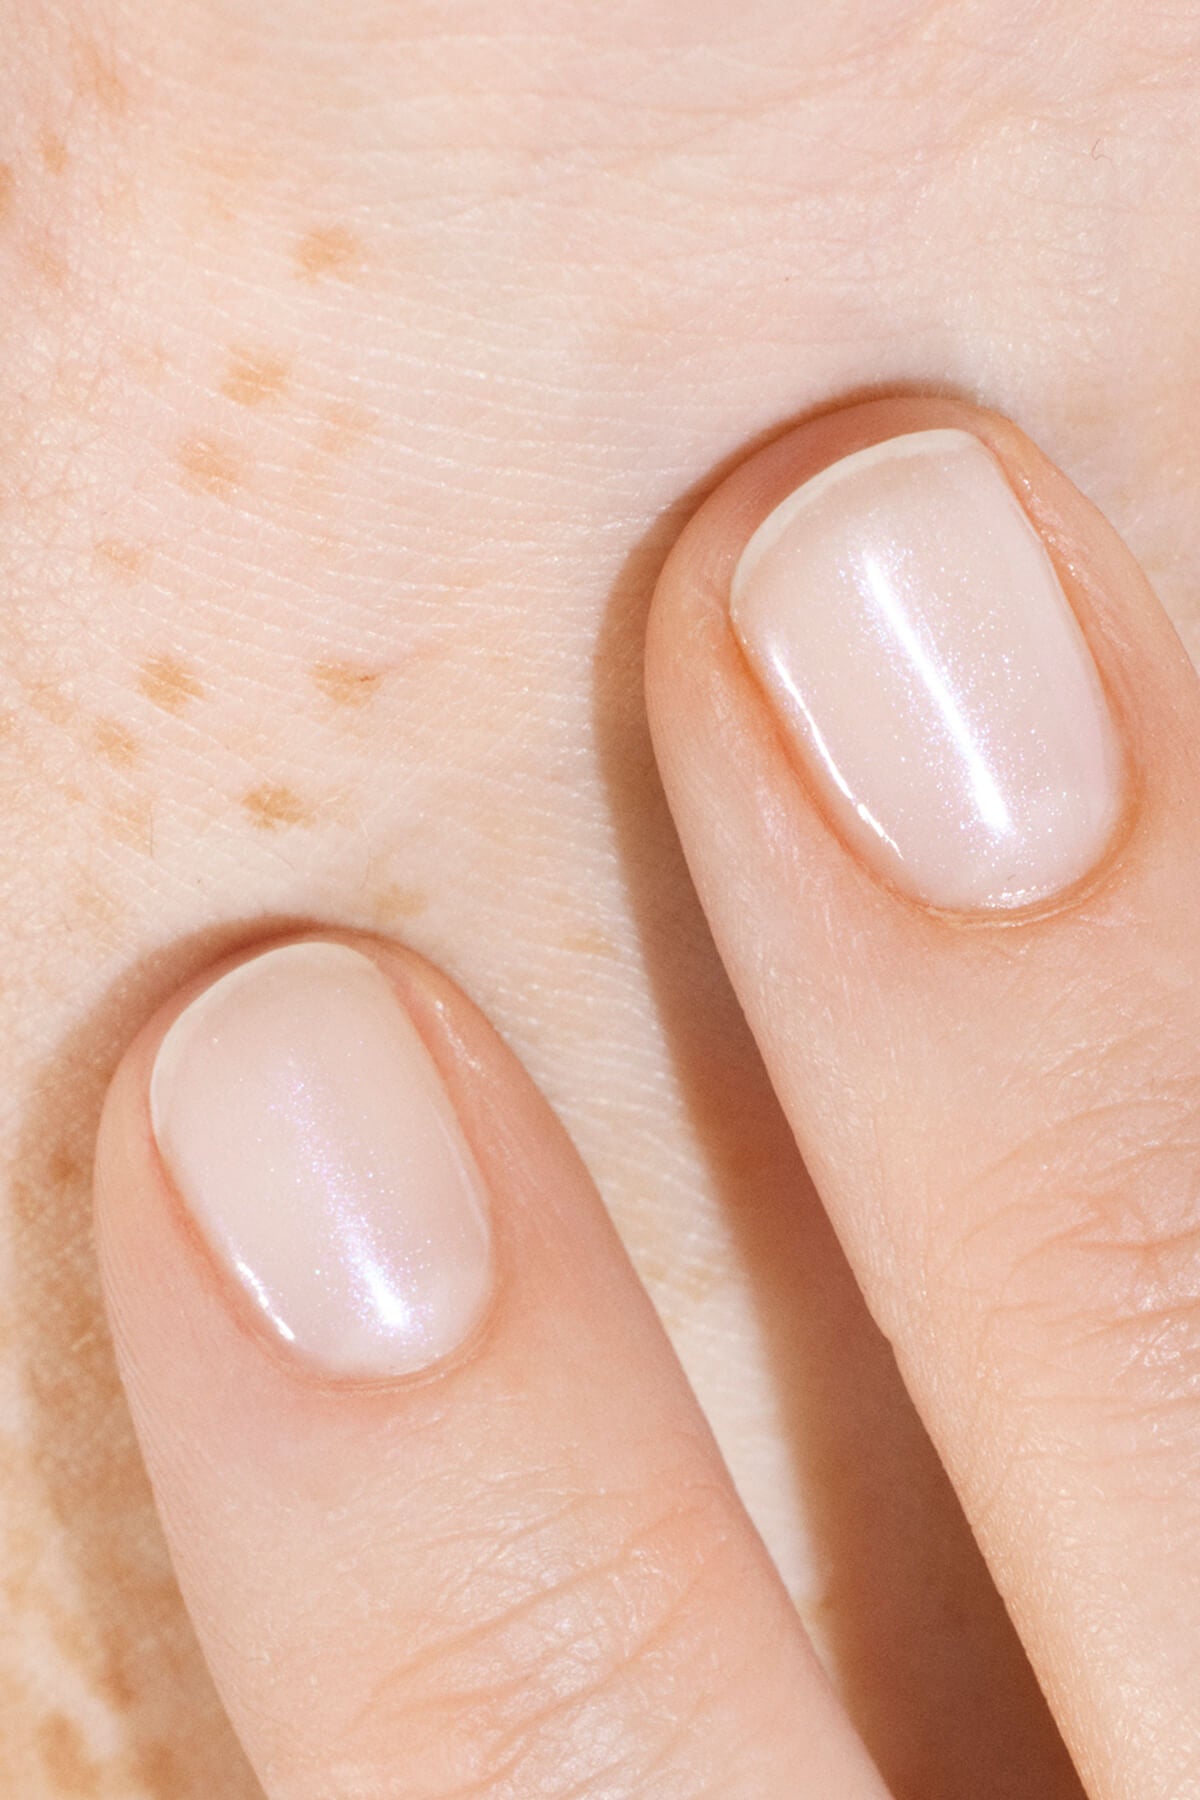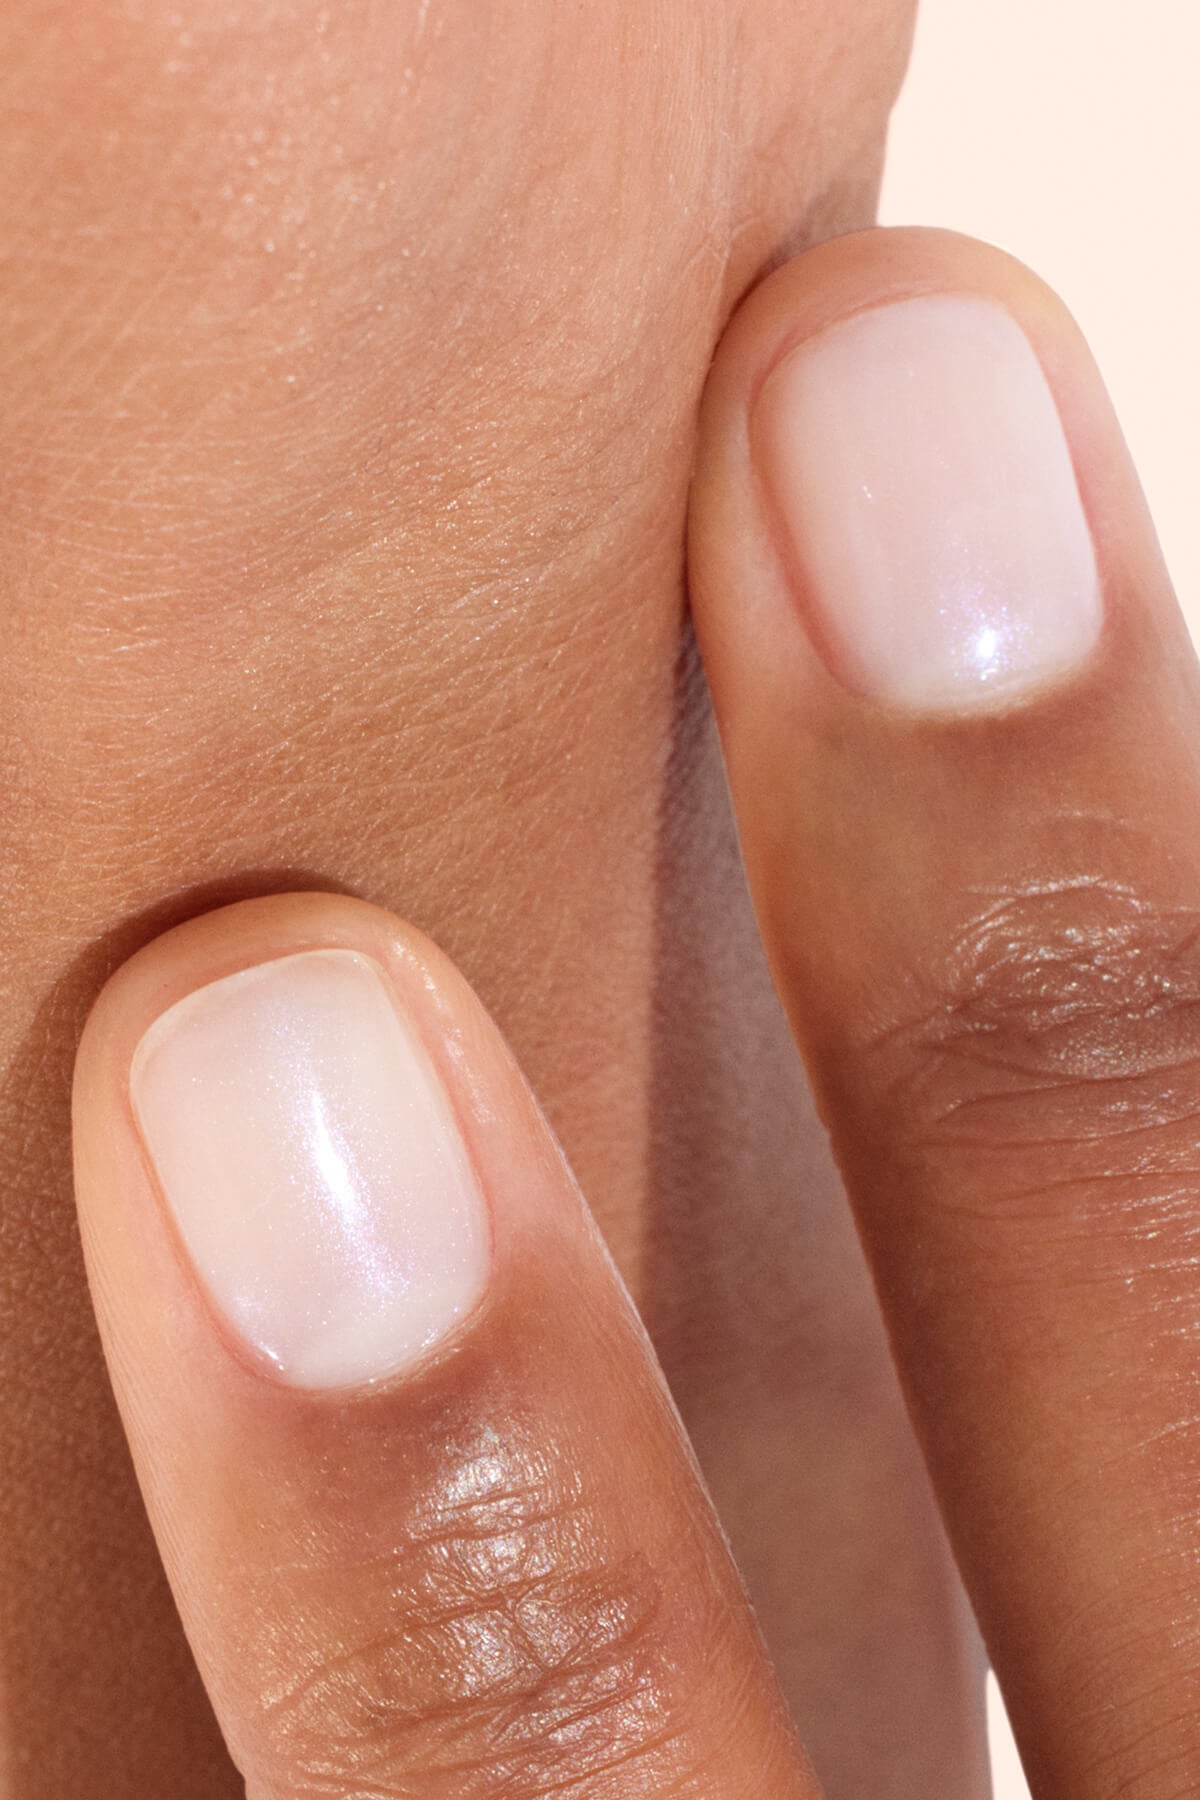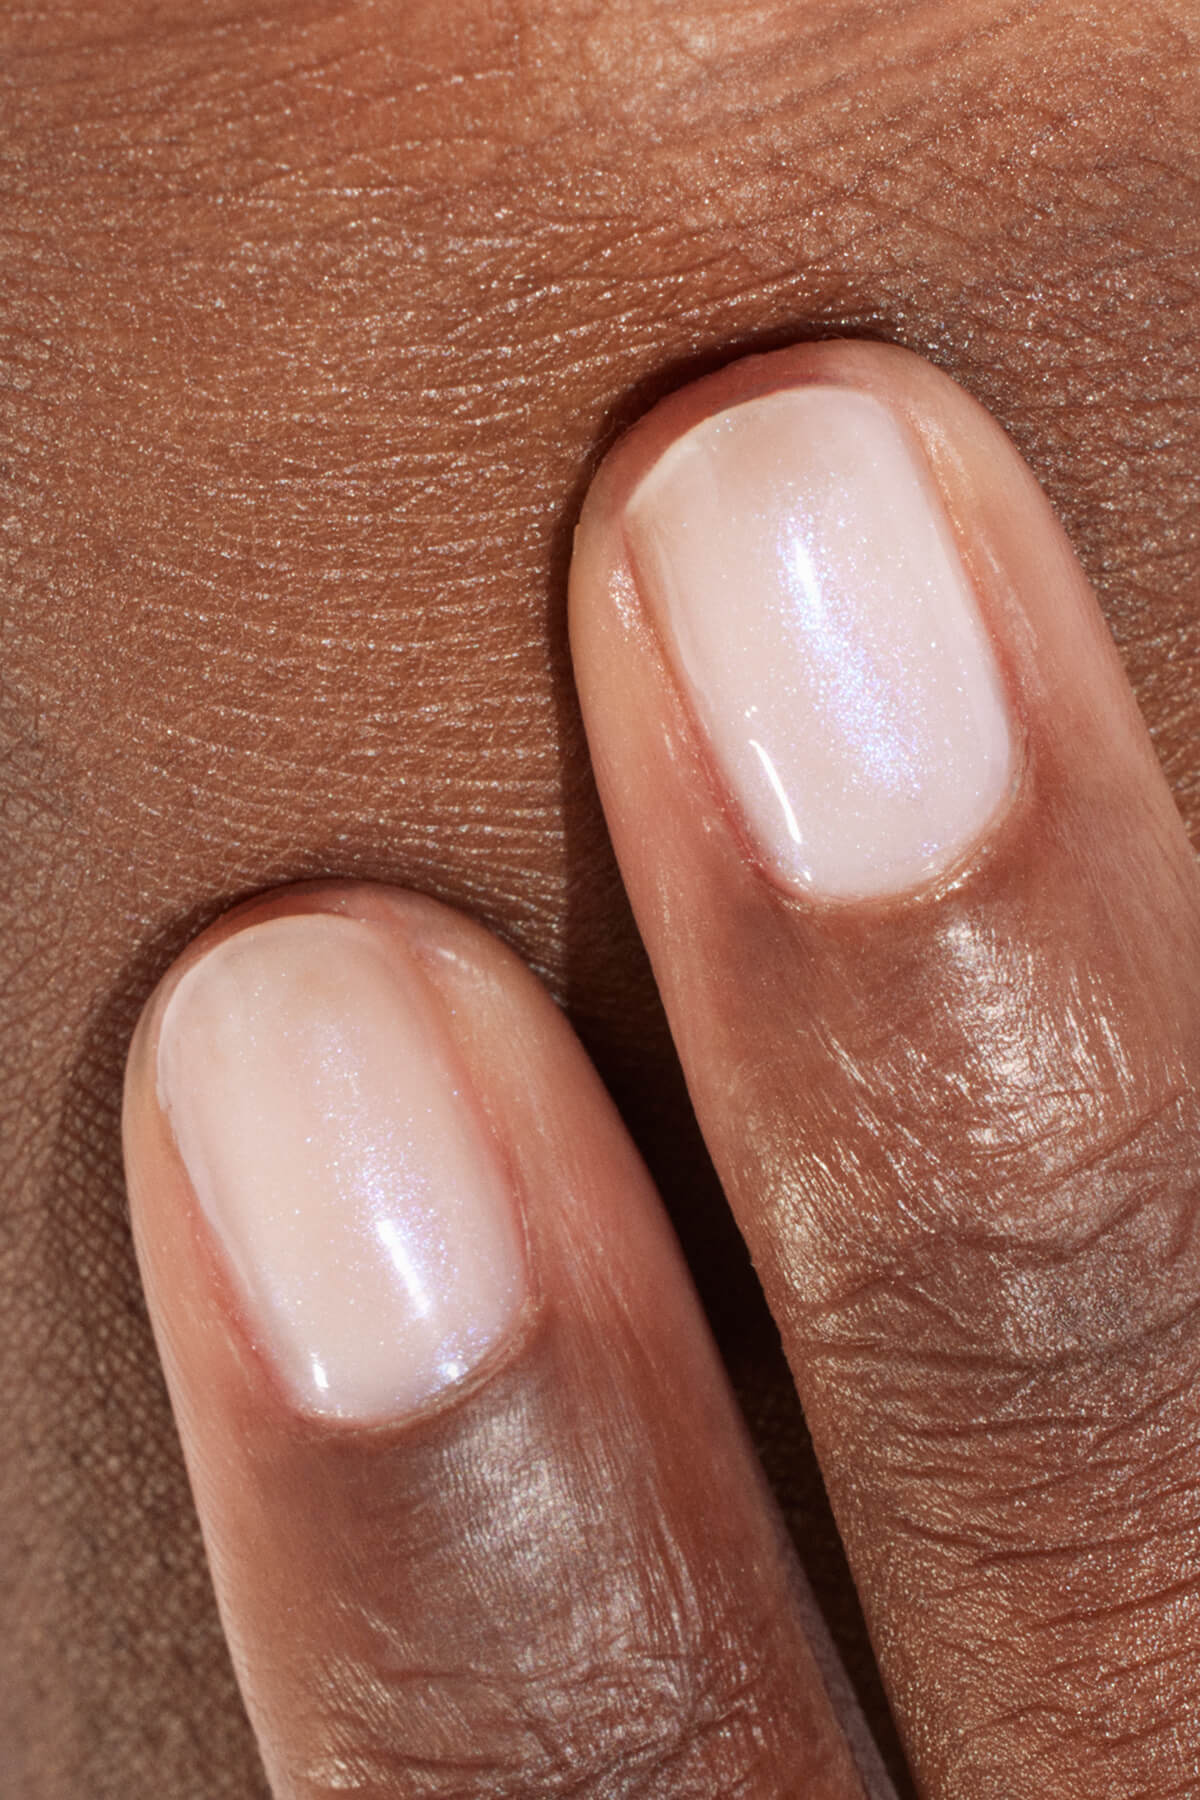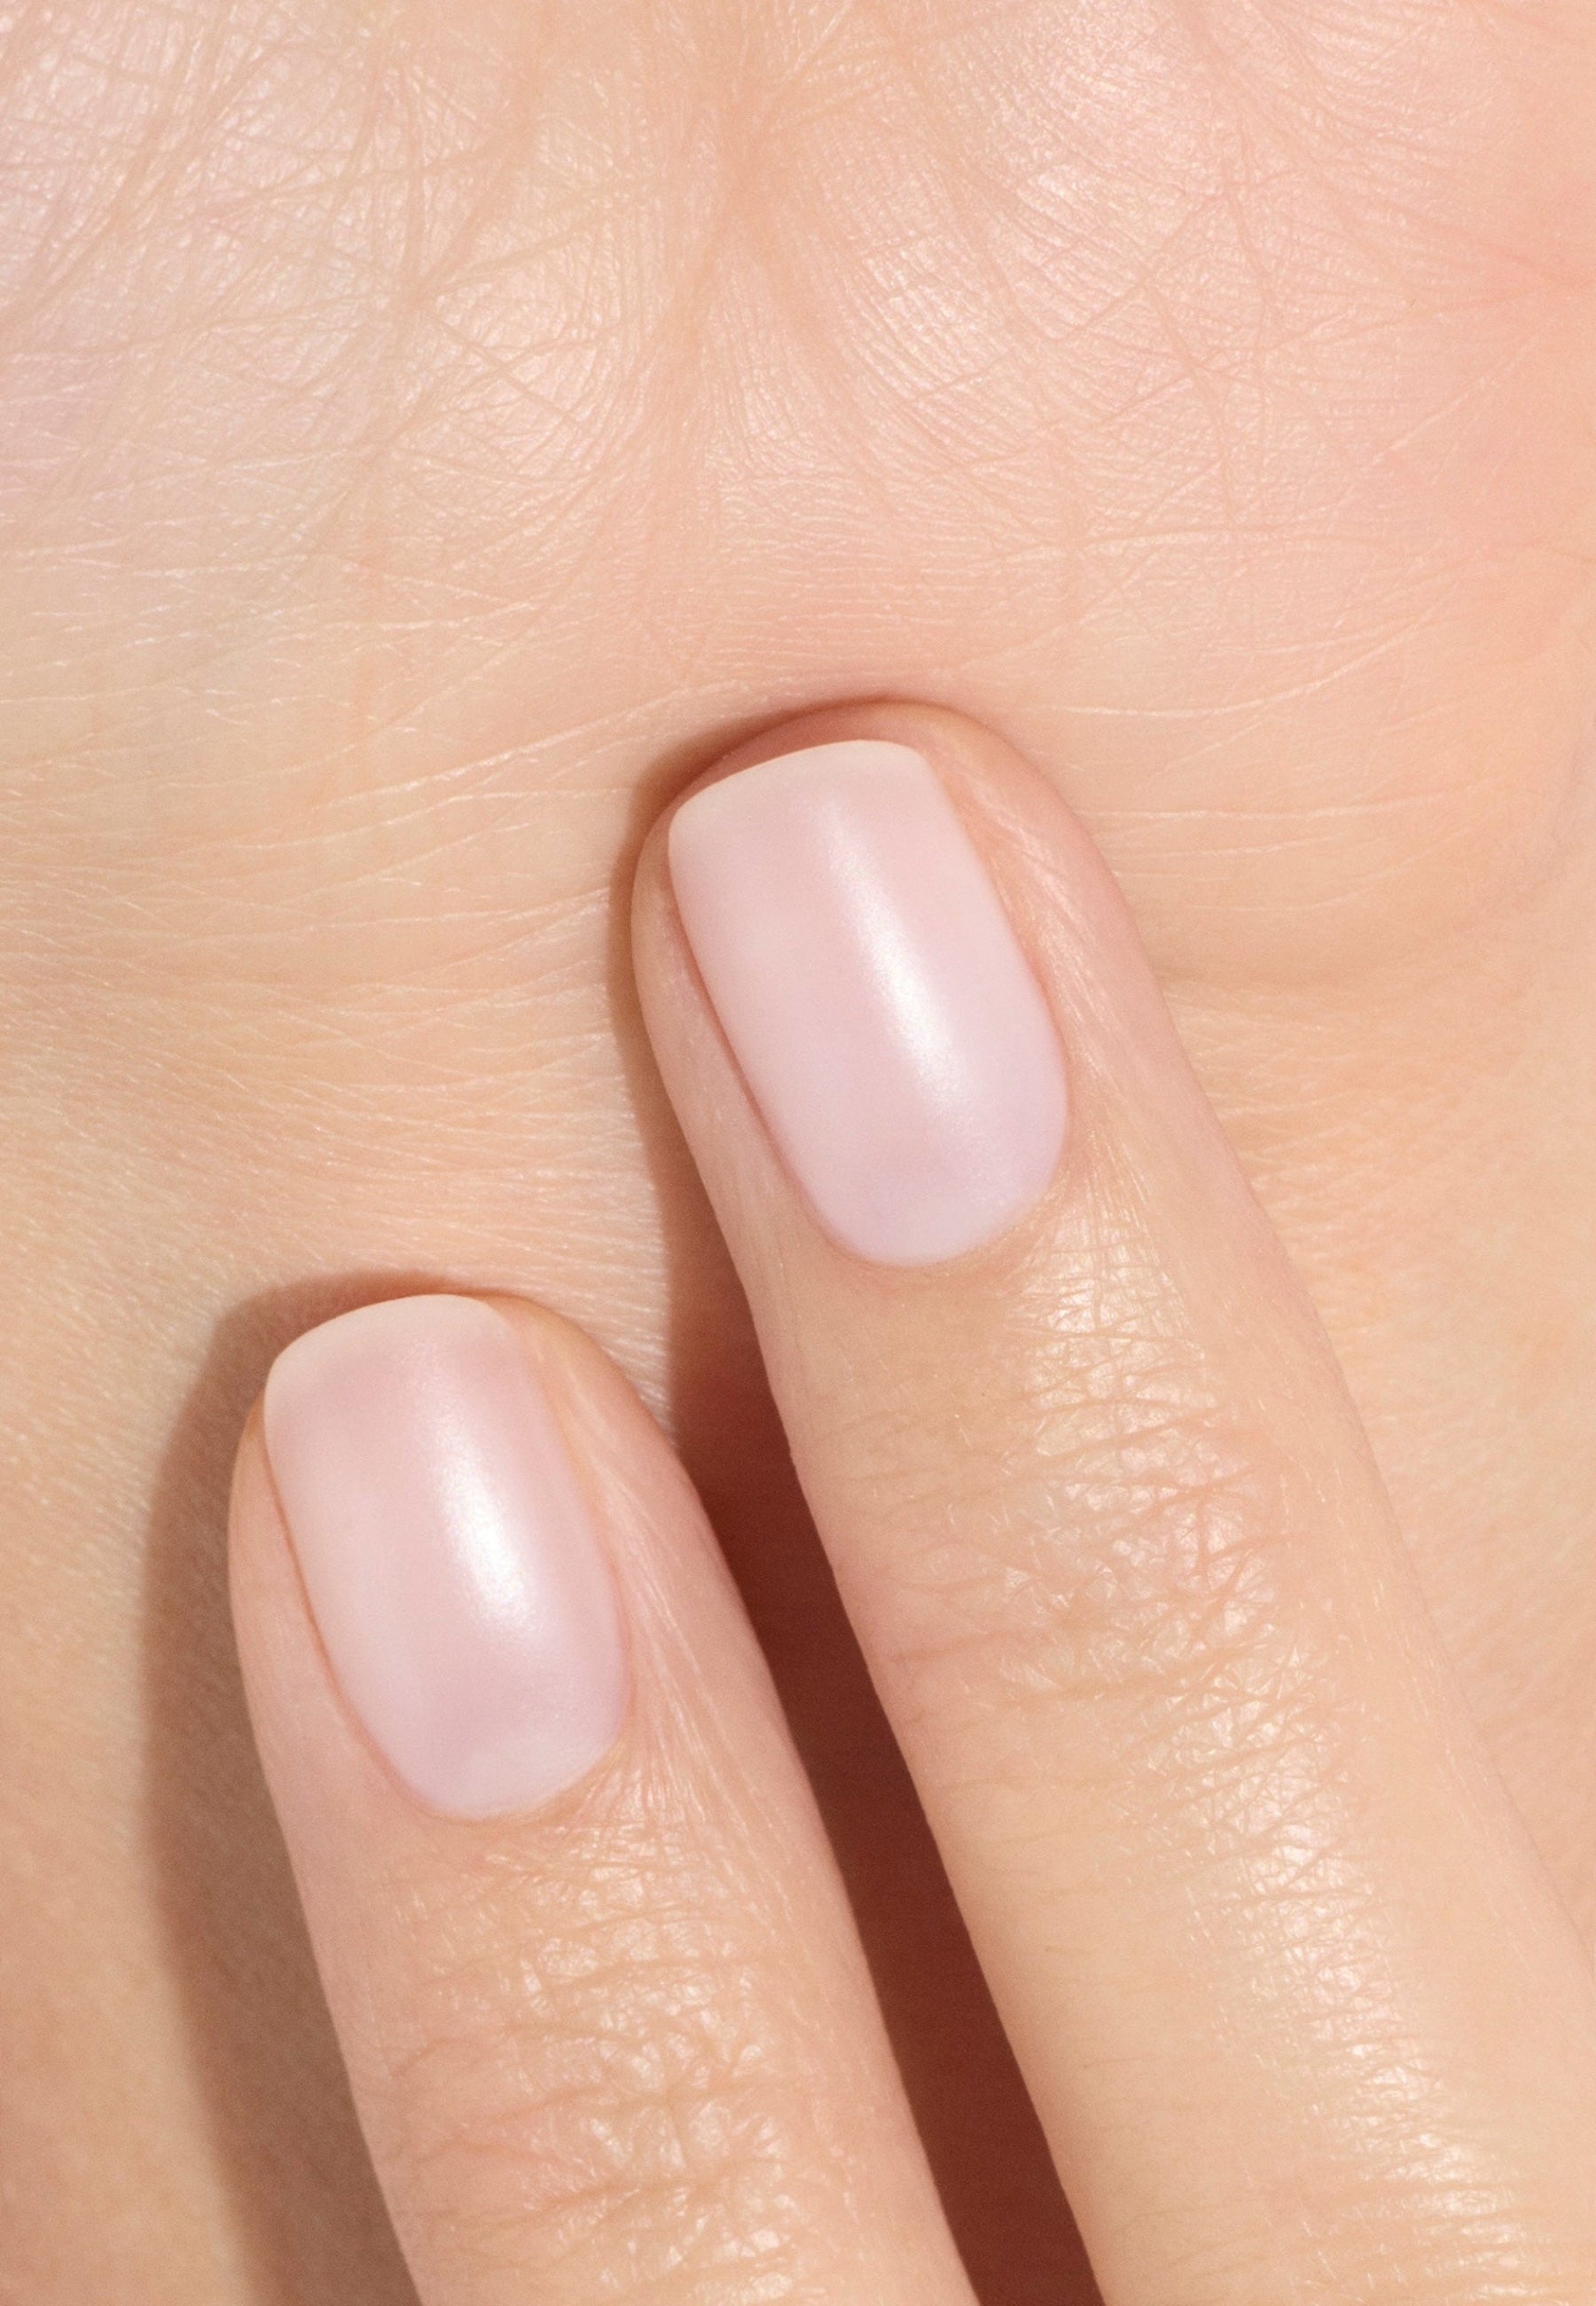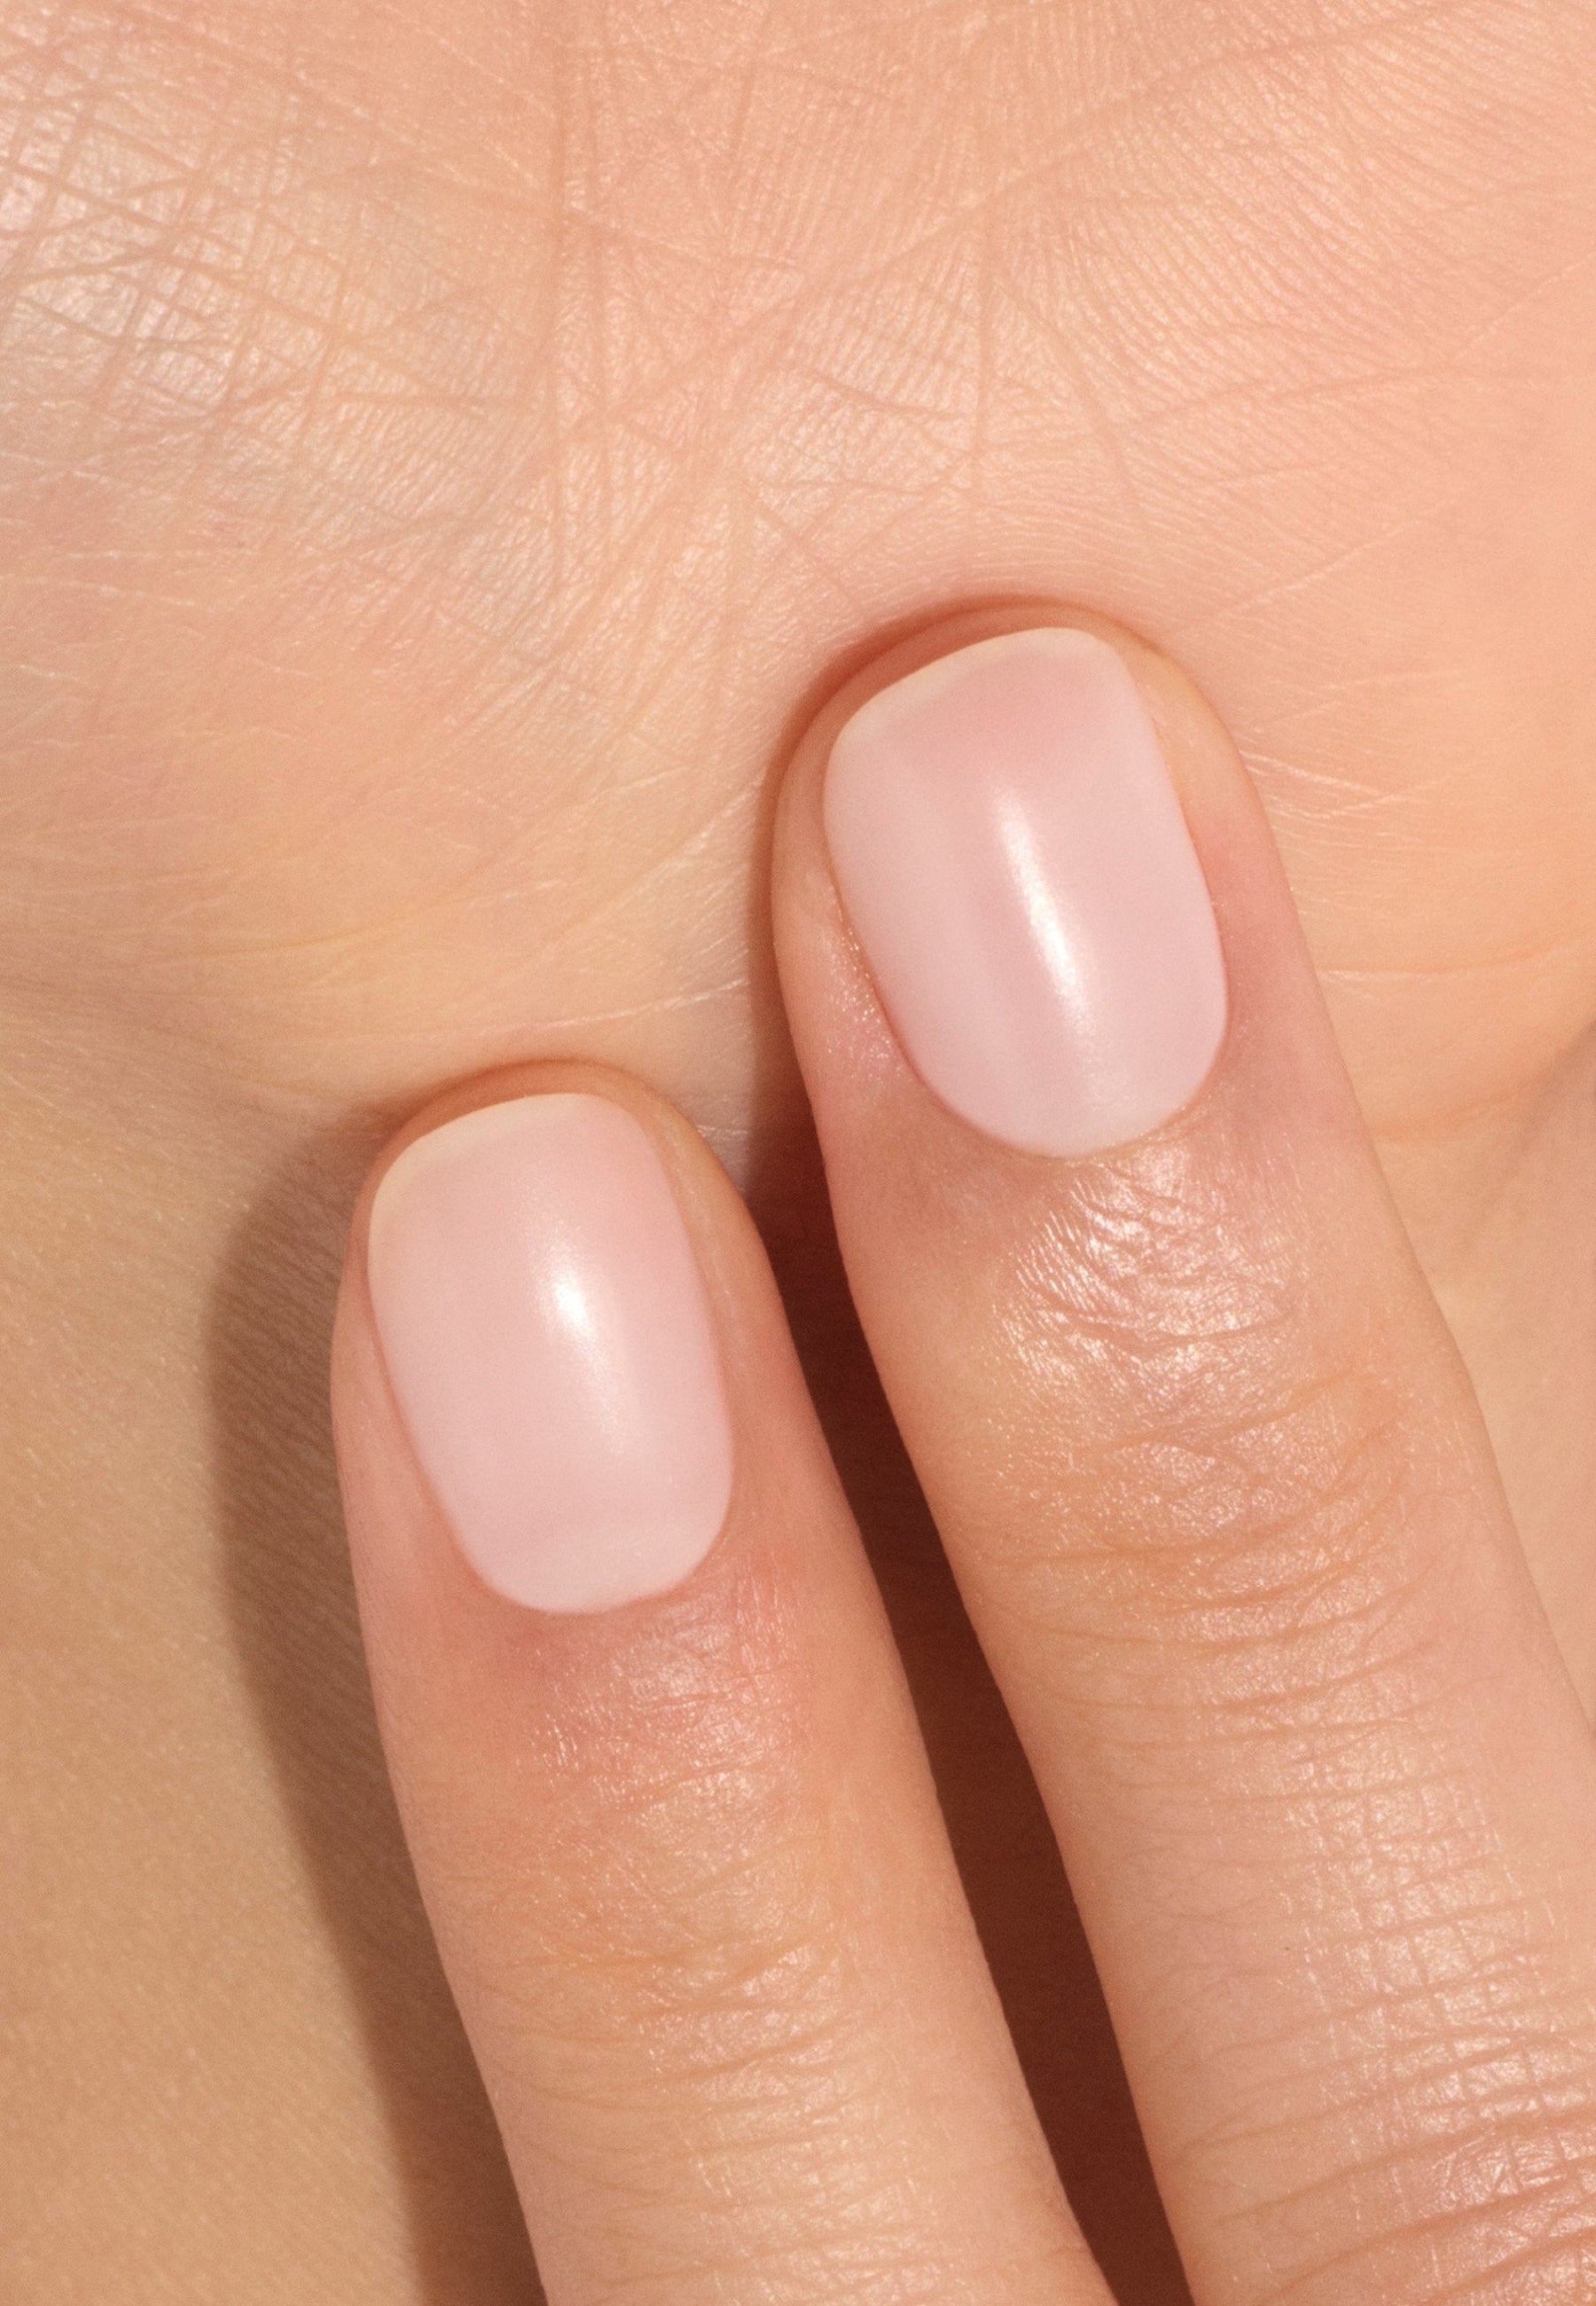


Nothing better than not to worry about her holding her pedicure with a long-lasting varnish, pigmented color and intense shine. We choose without hesitation to semi-permanent varnish, but not just any one: discover all our recommendations for a pose and deposit successful.
What semi-permanent varnish for the feet?
Nothing better than the semi-permanent on toenails to avoid worrying about the holding varnish during the summer. However, not all semi-permanent varnishes respect the Keratin layer of løongle, main barrier against external aggression. The semi-permanent varnish removal may also be traumatizing for nails, because the classic formulas often require removal from the sander in institute.
For the choice of semi-permanent varnish on the feet, it is only recommended that the varnish Green Flash™ : alternative green and clean to semi-permanent varnish. Its bio-based formula up to 84% offers a colour intense, shine mirror up to 10 days and a withdrawal that Don't damage your nails.
This one is done with a dissolvent without acetone, at home and in less than 2 minutes with peel-off technology. More information on Innovation Green Flash™, go to our dedicated page.
How can you succeed in placing semi-permanent varnish on your feet?
Step 1: Line and polish the toenails
Start by cutting off your straight nails. Then use the Natural nail file to slightly round corners for a more harmonious shape. Then blend in with the Preparation file to slightly polish the nail surface and maximize adhesion of the nail semi-permanent varnish on the feet.

Step 2: Nail preparation and care
Before applying your nail polish, Prepare your nails carefully for an impeccable rendering. Use lEfficacy to facilitate the removal of cuticles and dead skins around the nail, softening them. Then gently push the cuticles with the help of Steel cuticles, without necessarily cutting them, for a Netter nail contour.

Step 3: Application of the Base
One protective base is crucial to preparing your nails for color application. Apply a thin layer of Base Green Flash™, before the dry under lamp : 1 minute with the Pro lamp2 minutes with the Slim lamp.

Step 4: Color application
For a impeccable varnish application, prefer several thin layers Rather than a single thick layer. Start with a thin layer at the centre of nail starting at birth, before repeating the operation on the side. This technique allows for theavoid bubbles and striations, in addition to ensuring a uniform and durable colour. Make it Dry under lamp (1 minute for the Pro lamp, 2 minutes for the Slim lamp) then repeat the operation for the second colour layer.

Step 5: Finish
Finish your pedicure with a top coat glossy. The Top Coat Green Flash™ is the final touch that seal your varnish and adds shine. It also protects the varnish of shrapnel and prolongs its Held. Apply it in one thin layer then dry again under the lamp: 2 minutes for the Pro lamp, 3 minutes for the Slim lamp.

Step 6: hydration, nutrition and maintenance
At the end of the year pedicure, apply a drop ofGreen oil on each nail to feed its outline, prolong the hold of the varnish and Avoid breakage This will also allow you to stick the varnish to the socks if you have to put on closed shoes.
Finish by massage your feet with a hazelnut Botanical cream for Feed deep. Repeat the operation the days after your pedicure to take care of your nails and your feet.

FAQ
Does semi-permanent varnish fit the nails of the feet?
The semi-permanent varnish is perfectly suitable for toenails. However, we recommend that you use a semi-permanent green and clean varnishes to protect your nails and health. The varnish semi-permanent Green Flash™ is the ideal alternative to semi-permanent classic varnish, bio-sourced up to 84% and retreats like a classic varnish, without damaging nails. Discover our semi-permanent varnish kits Green Flash™, just click Here. And for a seasonal pedicure, find our selection of winter colours in Green™ and Green Flash™.
Is it good to put on varnish all the time?
It is not not recommended wear varnish on the nails of your feet permanently: you are invited to pause between each nailing of varnishes taking nail care, e.g. using a basis.
How long do you keep the varnish on your feet?
Even if it is tempting to keep the varnish on your feet for a long time, we recommend that you not to exceed 3 weeks to let the nail breathe.