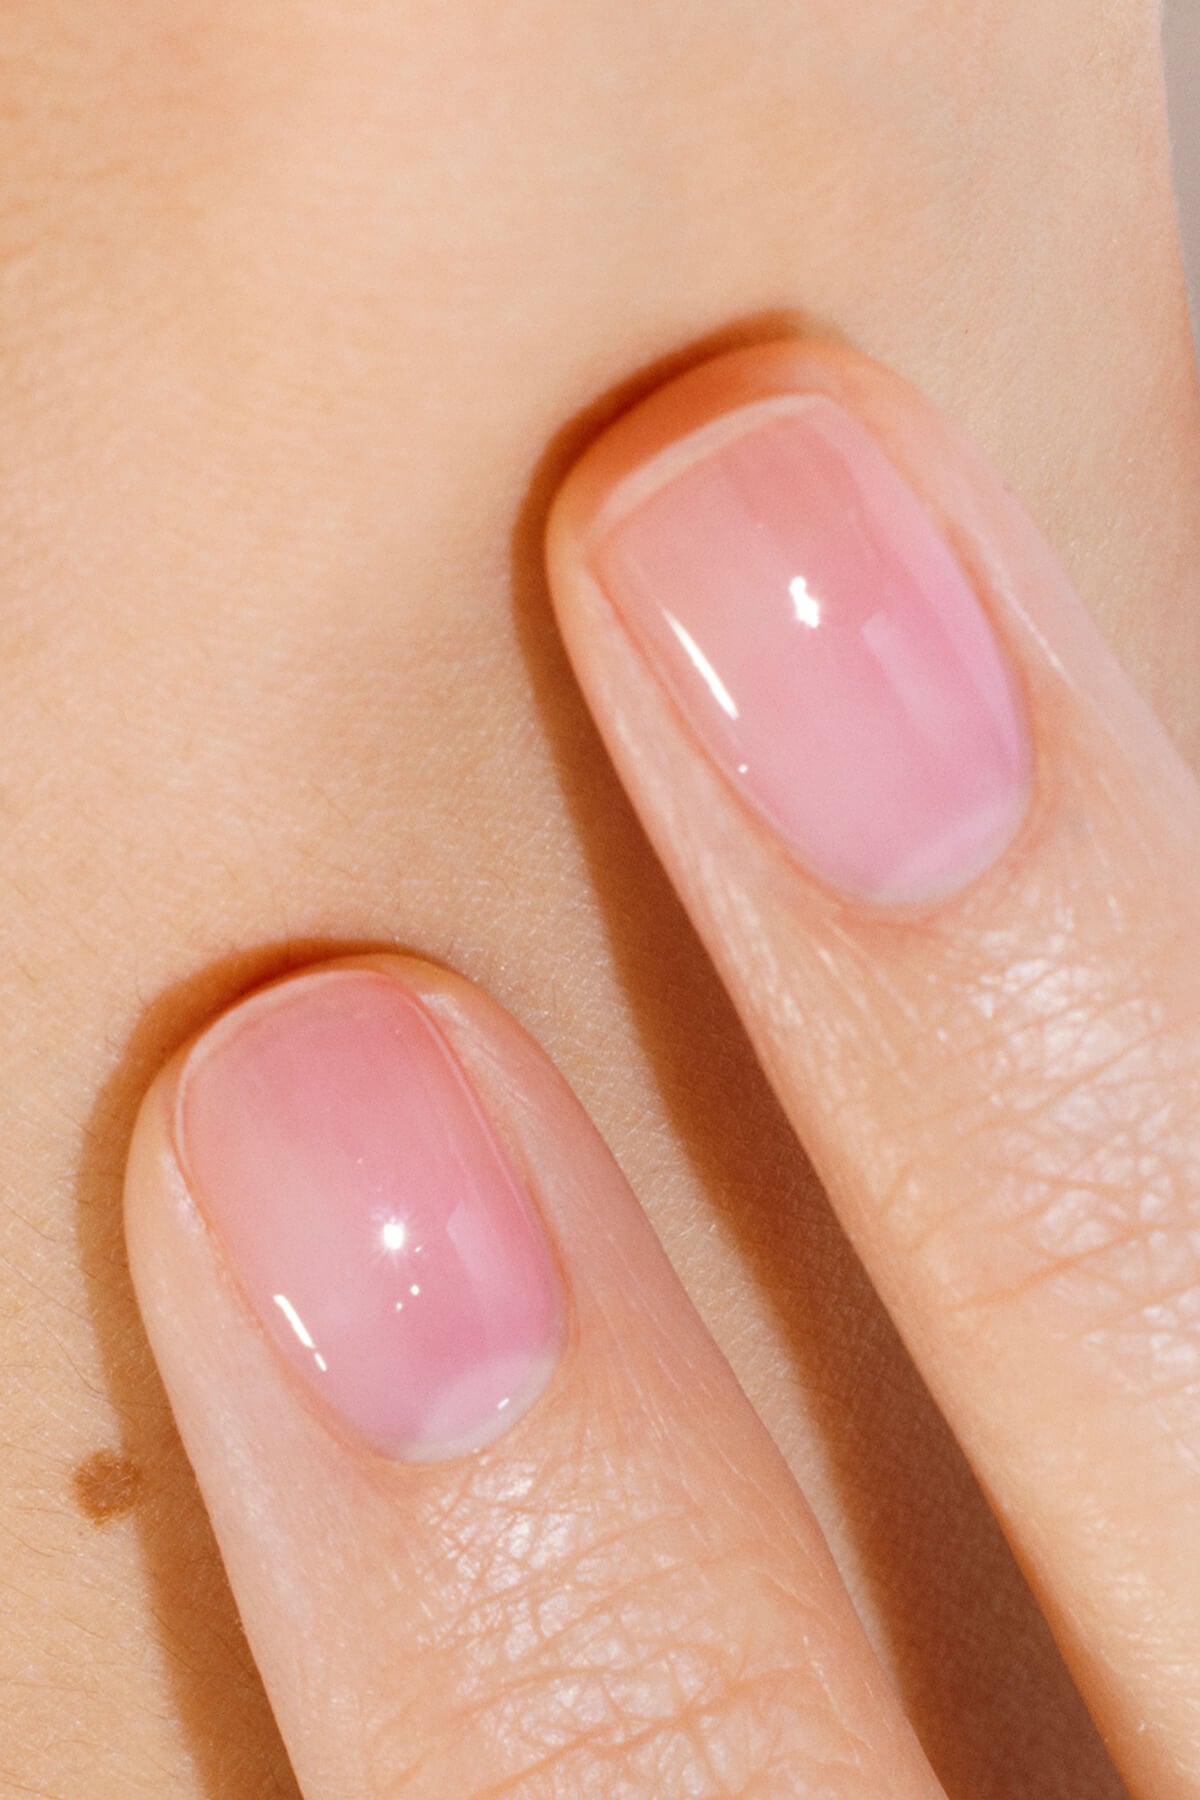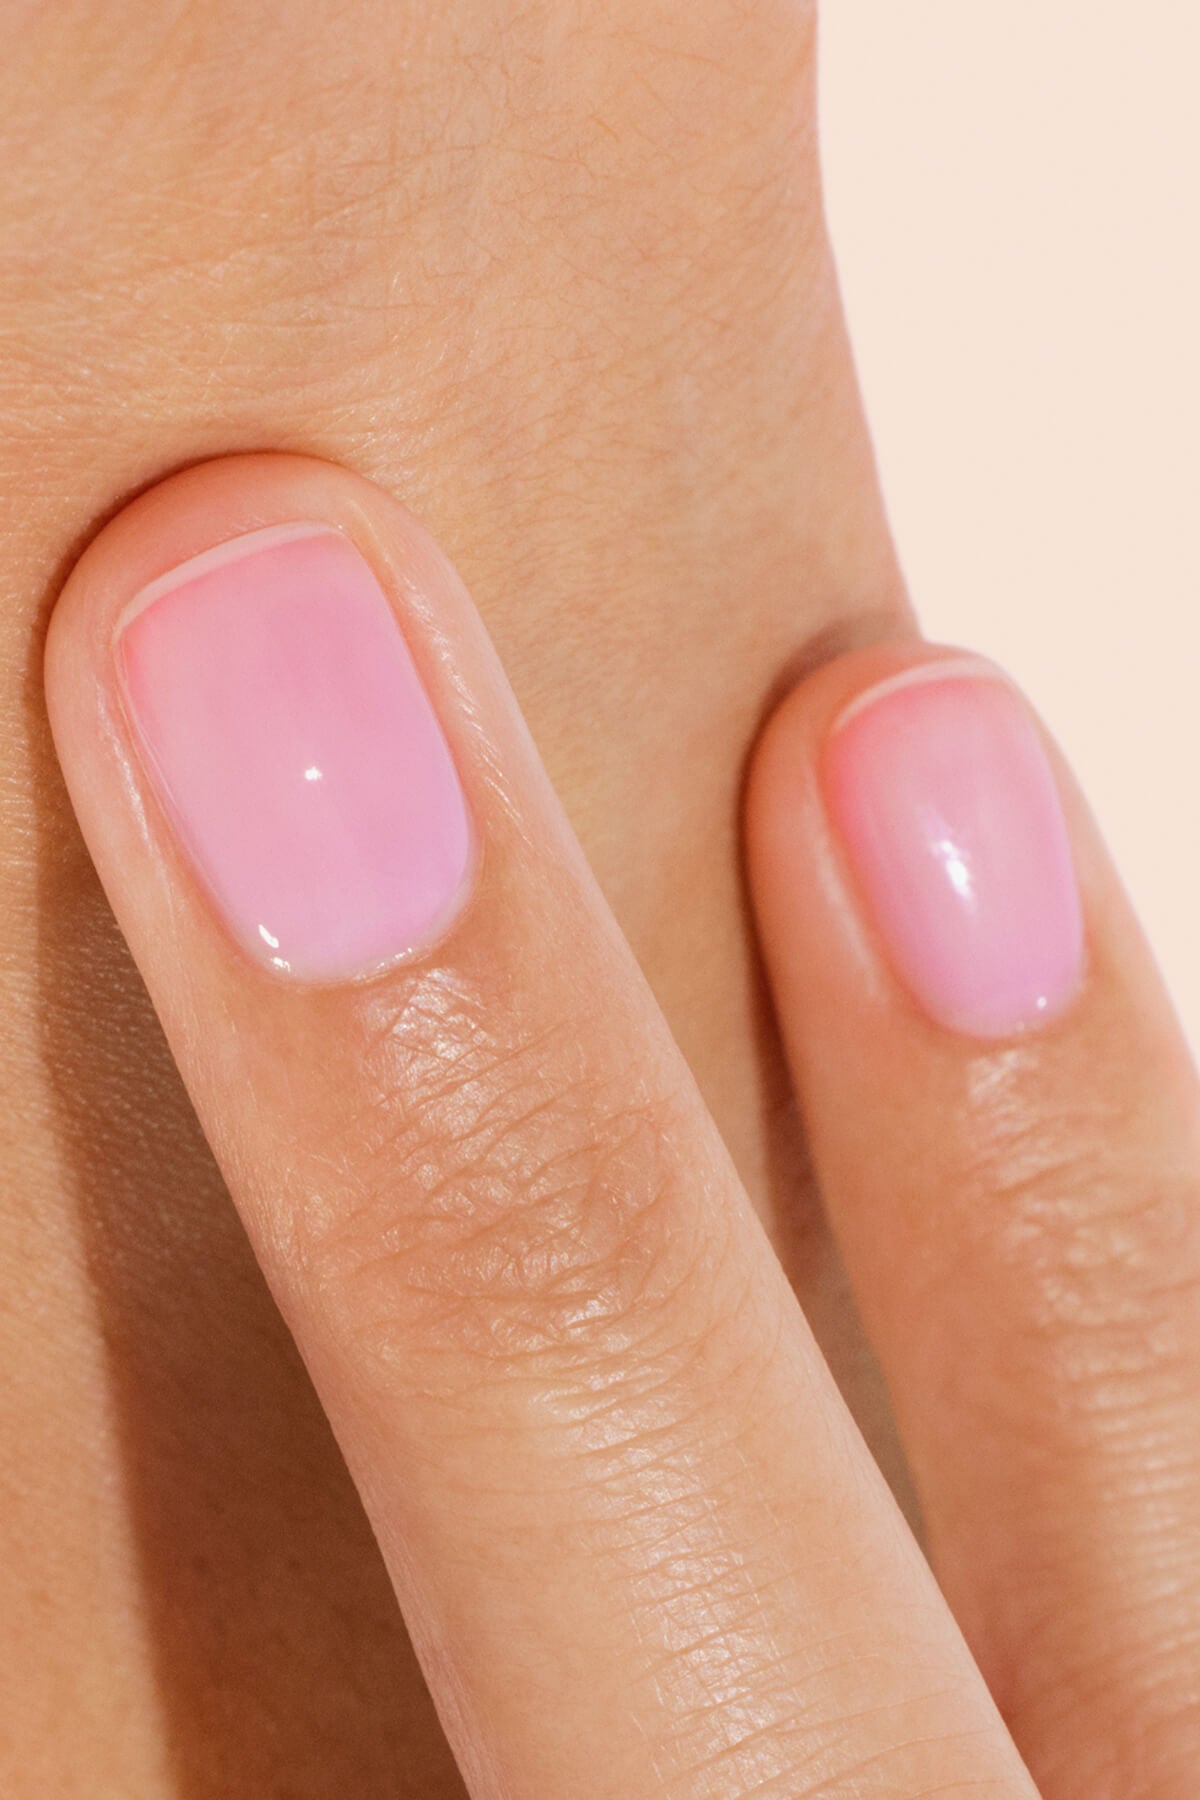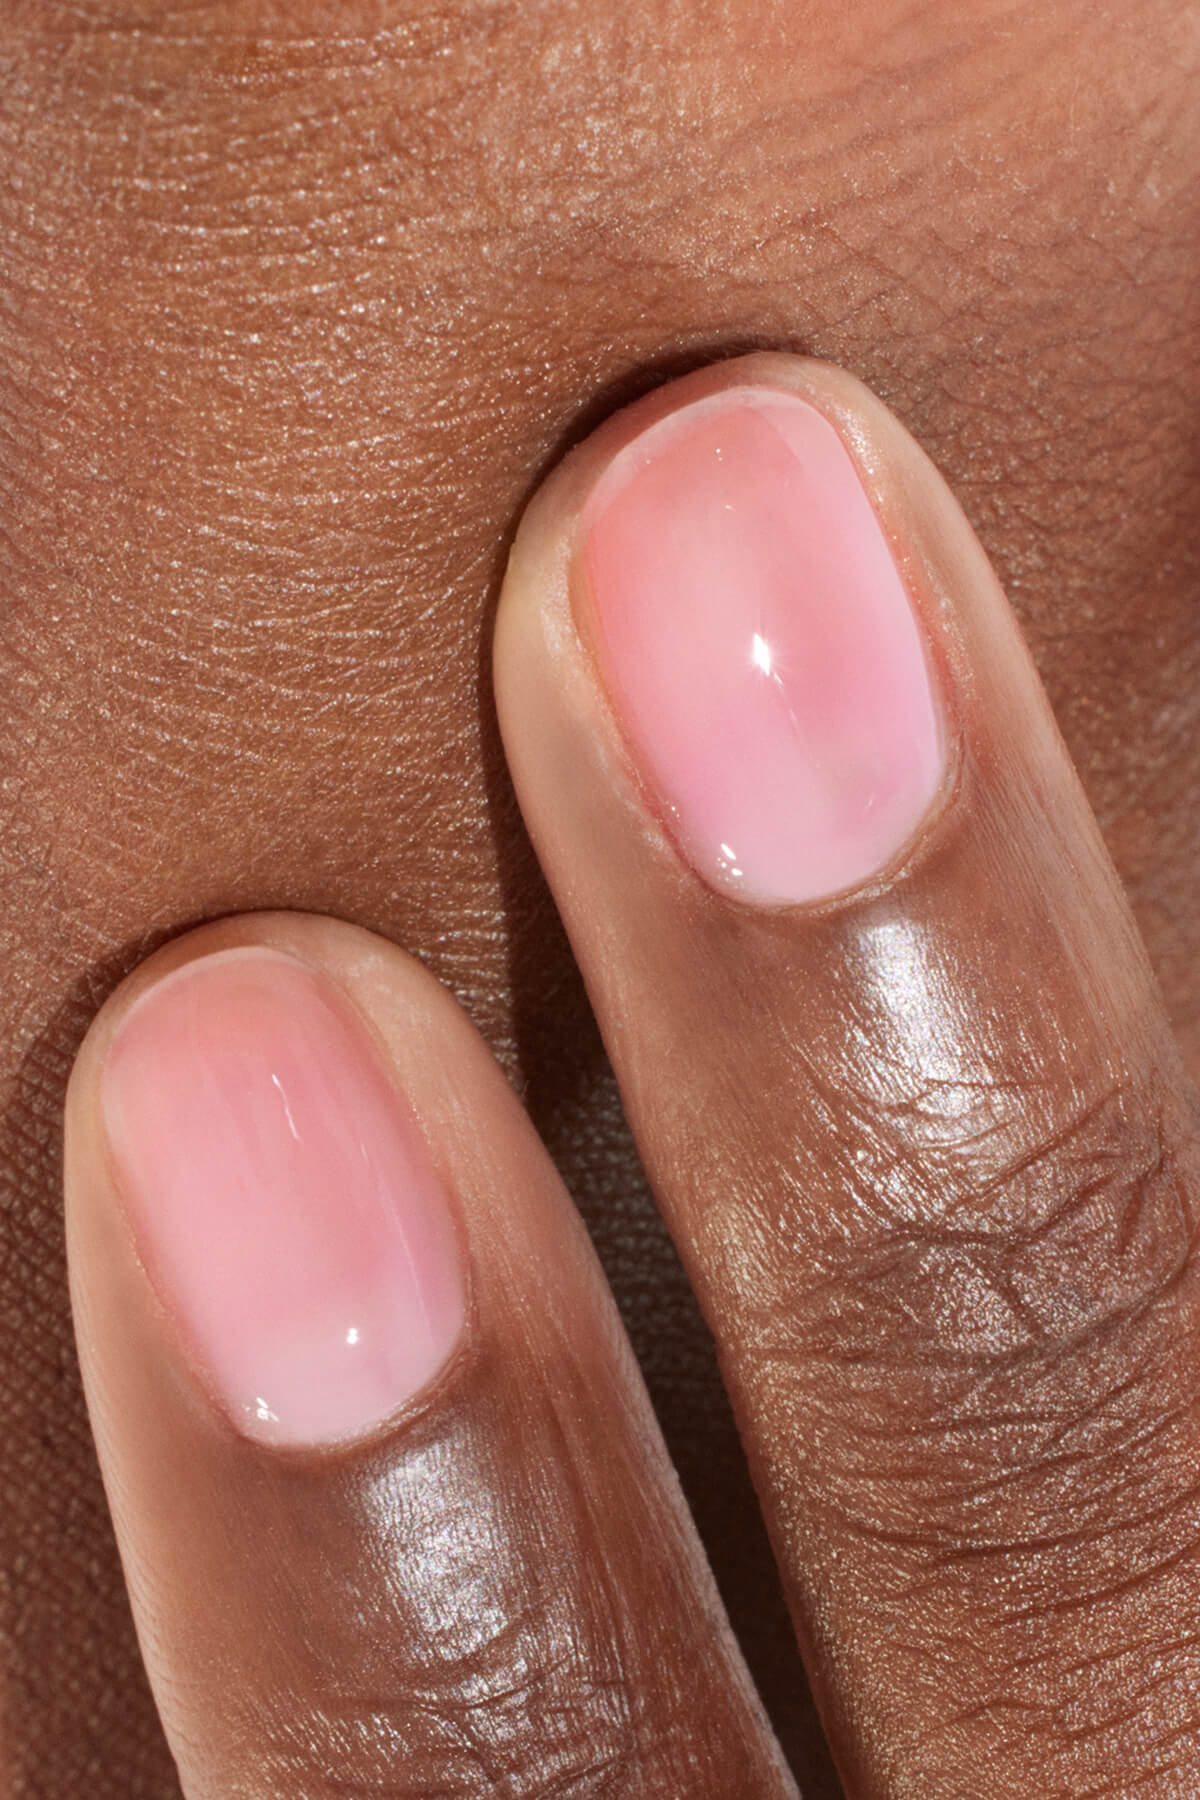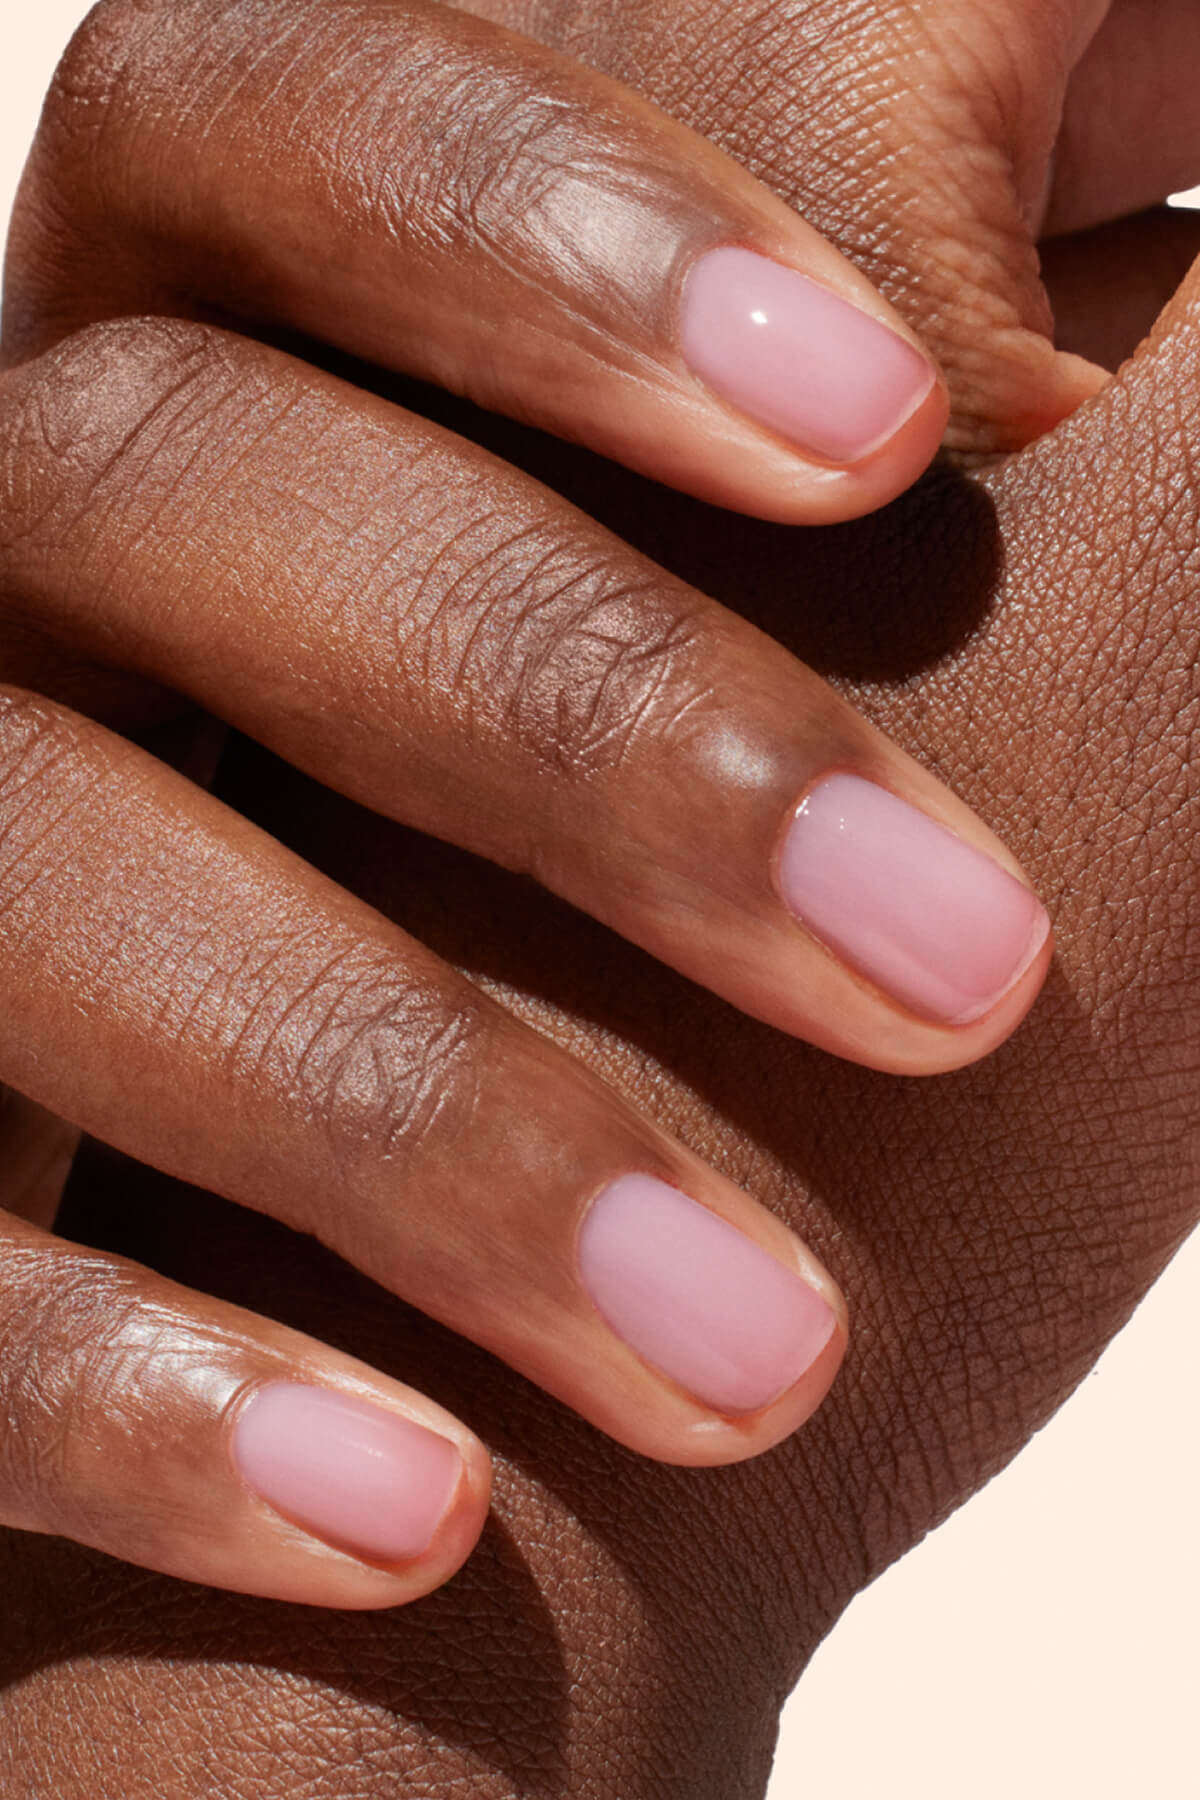


Your nail polish is squeaking as fast as a fresh paint in the rain? Fragile nails, express preparation or even small gestures of everyday life that seem anodizing... all the factors that sabotage the holding of a beautiful manicure. Keep cool! Here is a guide to understand why and how the varnish is scalding, with valuable tips to enjoy a bright color that resists everything!
To be noted:
- A varnish that splinters almost always comes from a neglected detail at one of the 3 stages: before, during or after laying.
- Before: soft, brittle or split nails (weak keratin) prevent the varnish from adhering.
- During: insufficient preparation or incorrect application compromises the holding.
- After: hot water, household products and micro-shocks accelerate the scooping.
The parade: careful preparation + expert application (lays in 4 layers) + daily protection.
Why is my varnish squeaking?
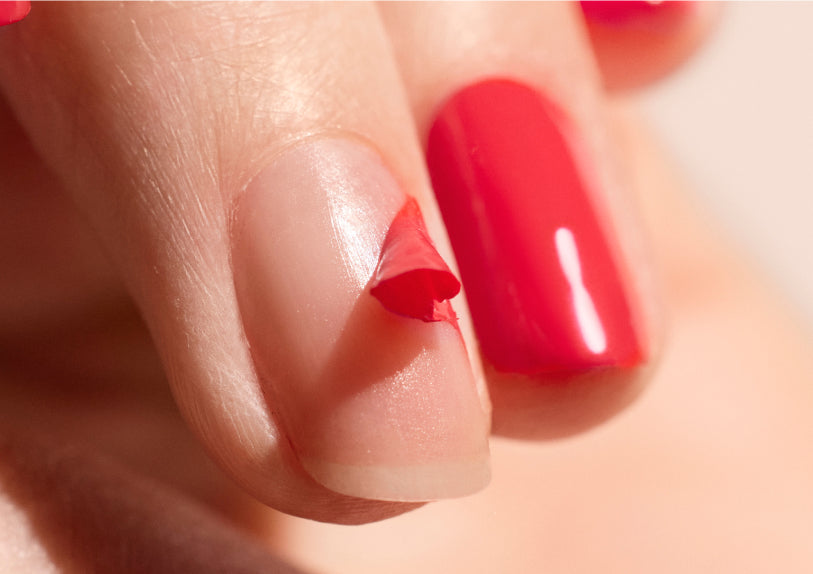
A varnish that scalves after only a few days is often the result of a neglected detail at one of these three stages: before, during or after laying.
Before laying: weak nails
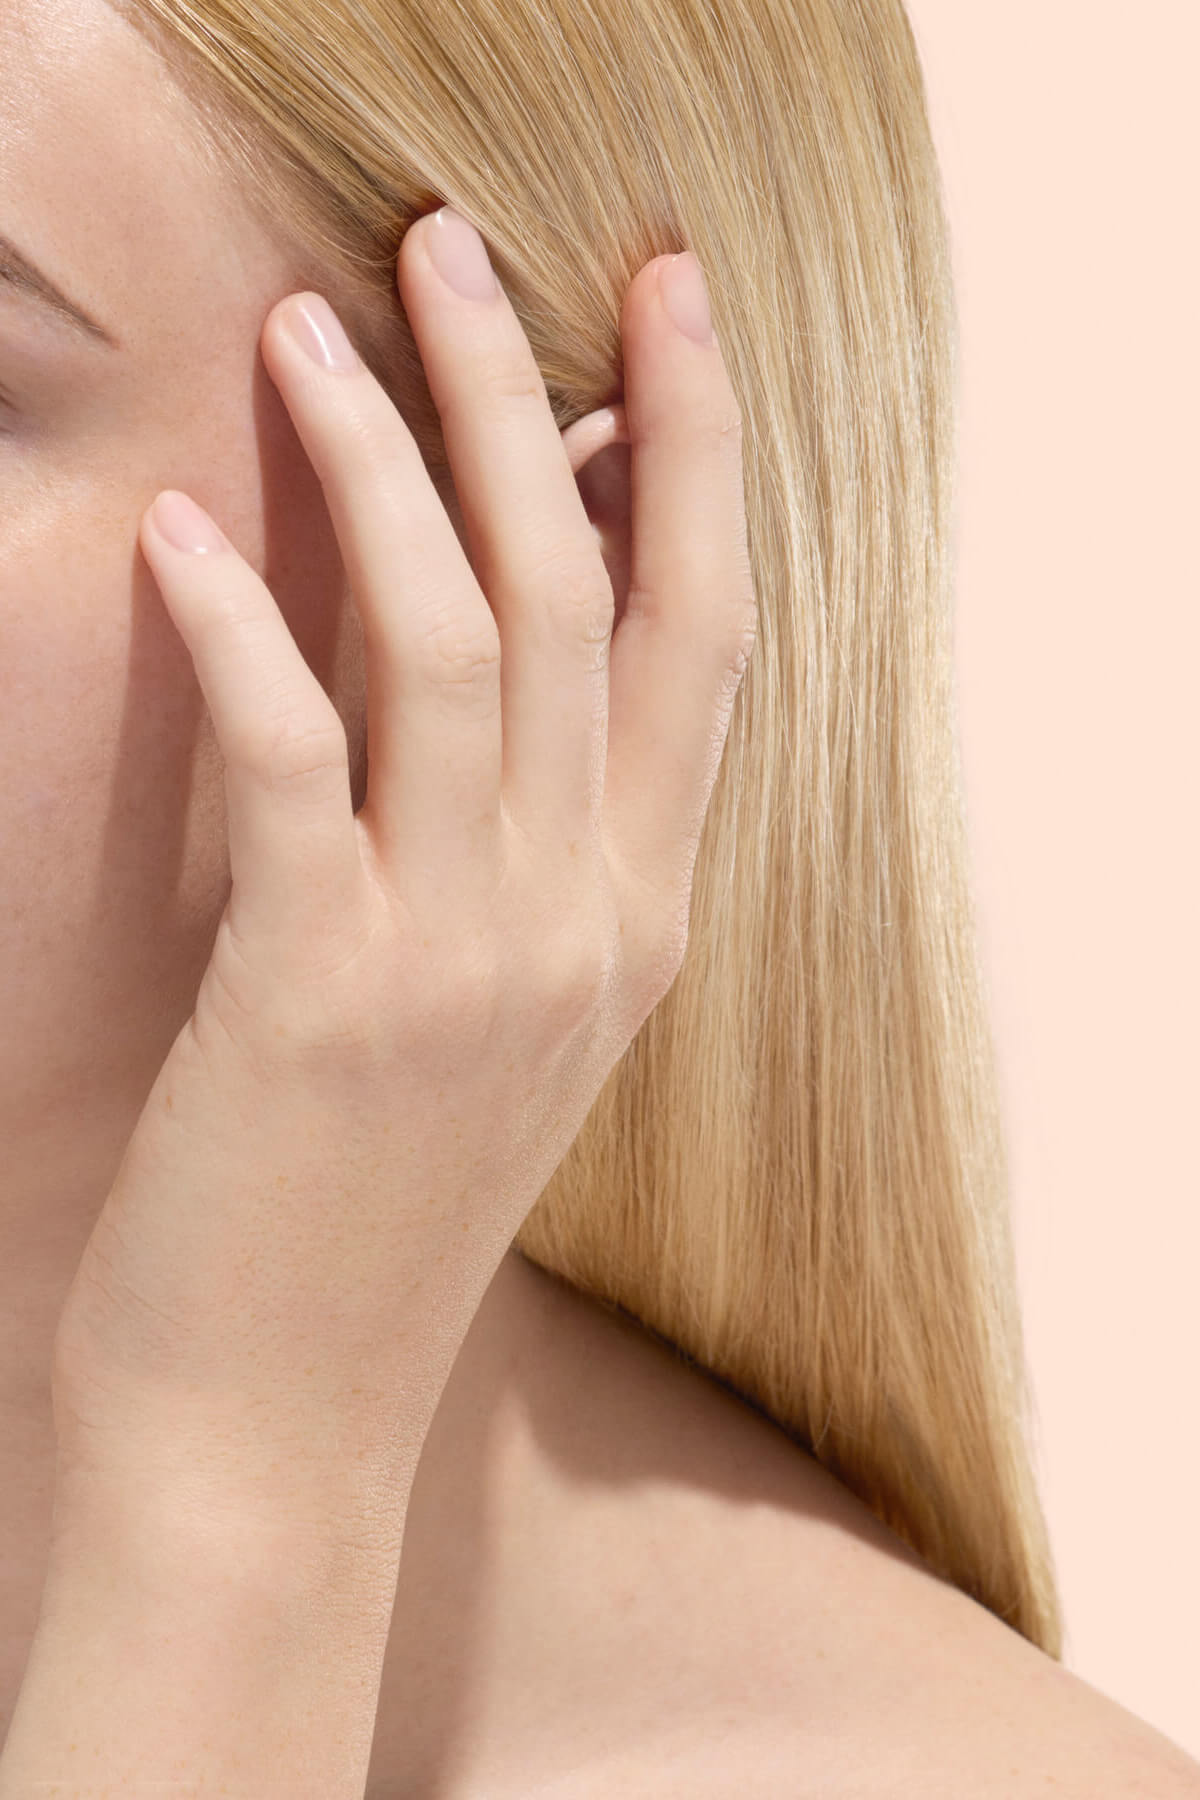
The soft nailsOne of the first causes of a nail polish that scalves prematurely is break or split. What's the matter? The keratin, essential protein which structures nails, may be weakened by various factors:
- a deficiency in vitamins or minerals, in particular zinc, iron or vitamin B,
- of the small repeated shocks or Rodent nails,
- lack of hydration which promotes the appearance of micro-cracks, invisible to the naked eye, that prevent the varnish from adhering correctly.
To go further: our article dedicated to the Keratin of nails, to better understand its role and how to strengthen it.

Need to boost your keratin proteins to regenerate your nails? Opt for the Keratine Booster.
(@look8thenails)
During installation: insufficient prep nail or poorly applied varnish
Keep in mind that the coating is played before the first layer! Several elements can disrupt your plans:
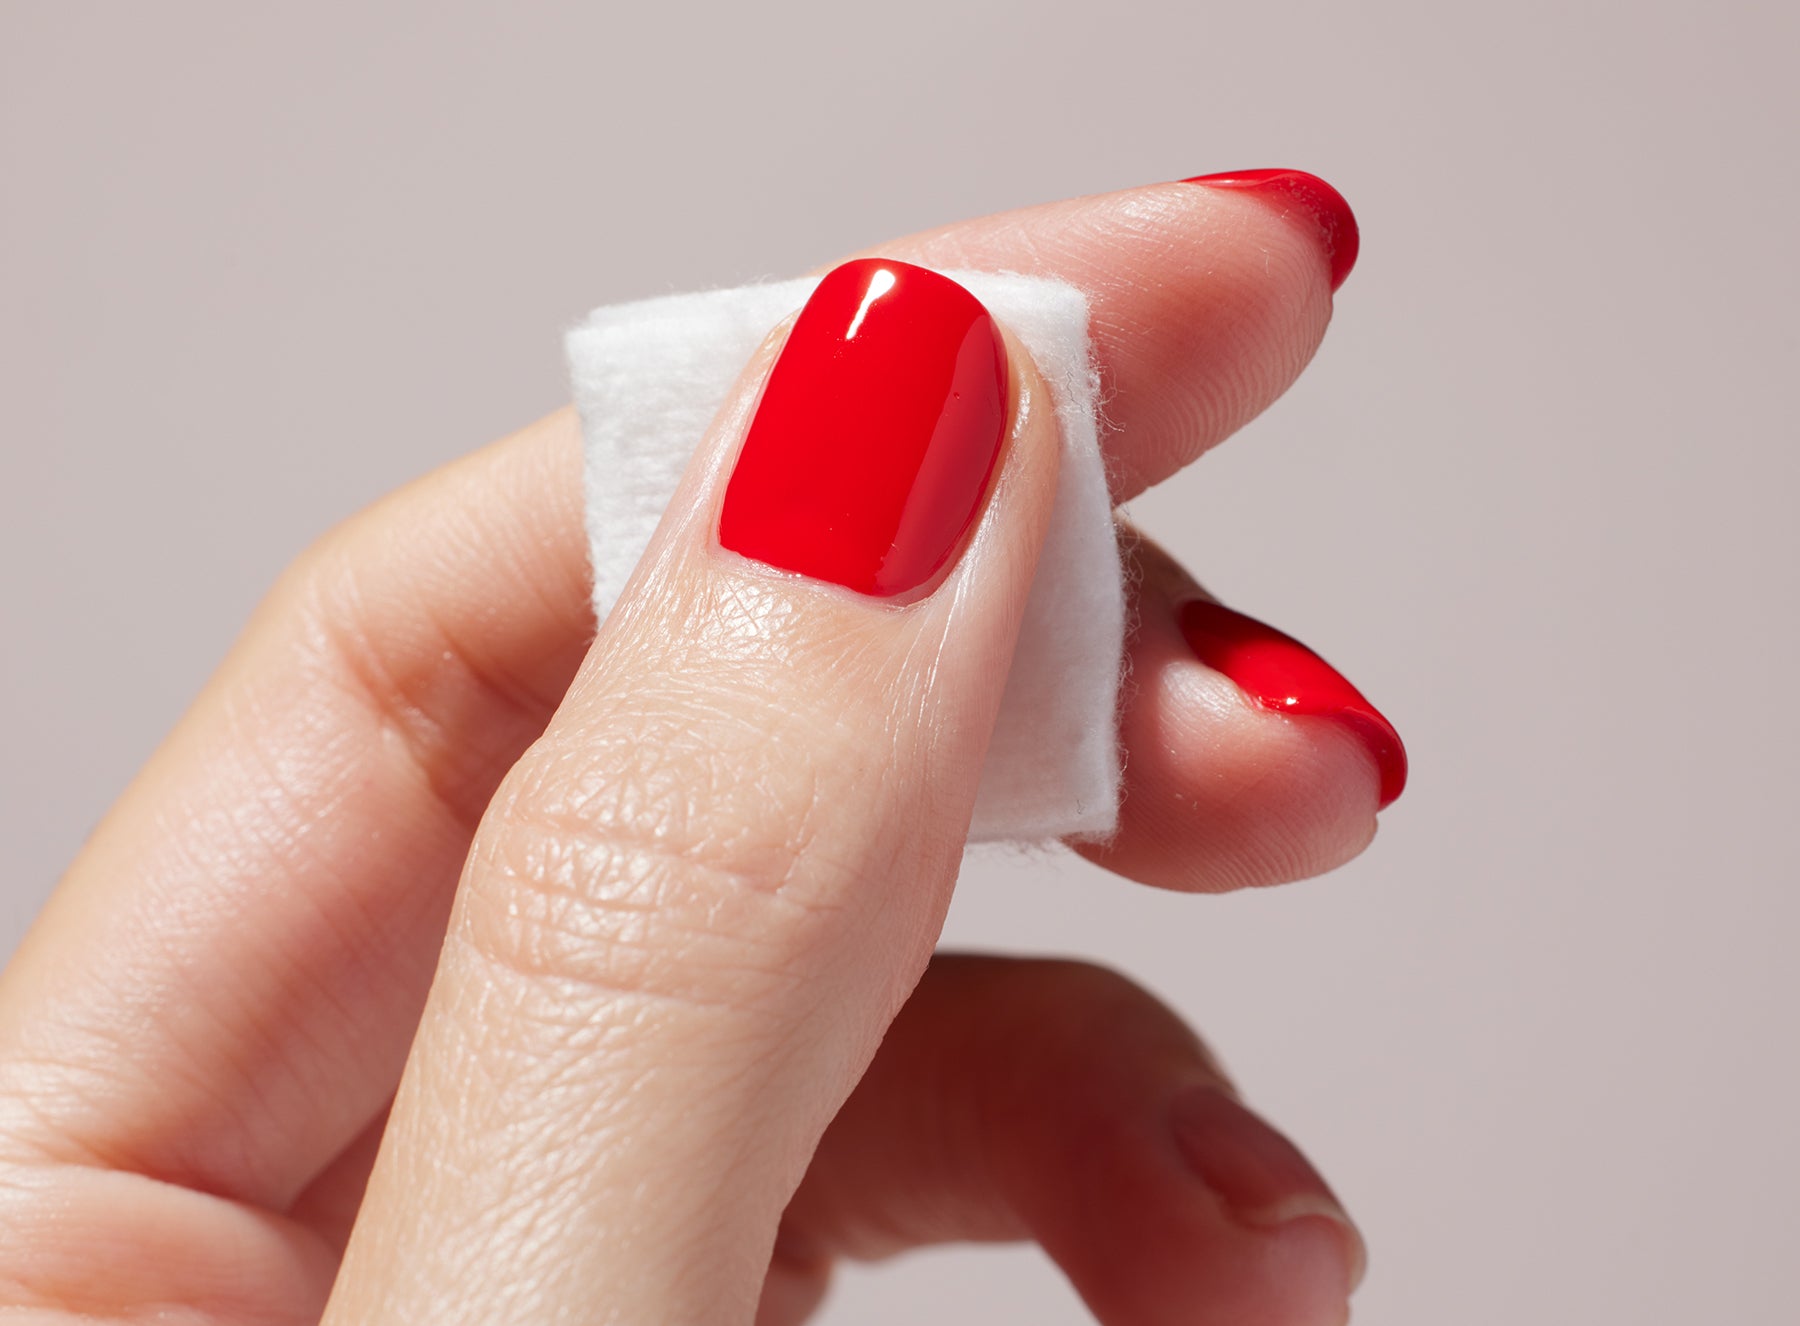
- Insufficient preparation : cuticles that encroach on the surface of the nail, a plate not defatted or not sufficiently depoliticated, this is what can prevent the color from adhering.
- An inappropriate application of varnish : too thick coats of varnish, insufficient drying time in the open air or under LED lamp, absence of base coat and top coat, all of the mistakes to avoid if you want to succeed your manicure in the rules of art.
- Uncoordinated outputs : Mixing several marks can damage the holding. Within each range, product formulas are designed to work in perfect synergy and optimize their performance.

A clean and uniform surface is the key to optimal hold of your varnish.
After pose: gestures to avoid
Even a perfect pose can scalar if the manicure is not protected. The following is what should be avoided at all costs:
- prolonged exposure to hot water (dishwasher, hot bath or hot shower) can dilate slightly nail and remove the varnish layer,
- household products may affect the surface of the varnish,
- micro-shocks (such as opening a box or typing on a keyboard) can damage the edges of the nail.

Hot water, cleaning, sudden gestures: protect your manicure every day. (@Unsplash)
How can we avoid the varnish squeaking?
The good news? A few easy gestures are enough to prolong the brilliance of your pretty manicure.
Prepare her nails like a pro
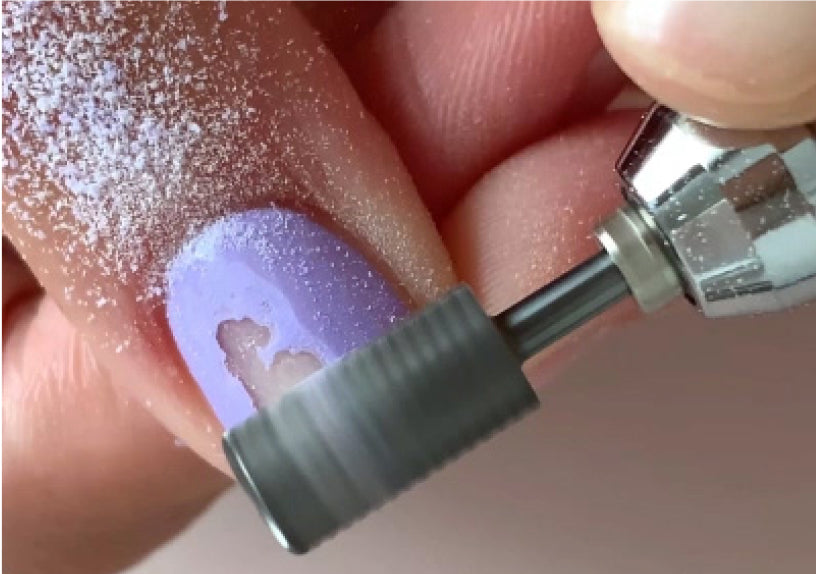
Before you draw your nail polishGive your nails a little time. After bound your nails, take care of your cuticles Apply a little emollient to soften them and then gently push them back. With a suitable file or polisher, make sure to polish the nail surface to uniformize and open keratin scales to promote adhesion of the varnish. Finally, remember to degrease your nails with a degreaser or a soft solvent.
We're telling you more about this in our article on the nail preparation !

Before the color: place good reflexes for perfect adhesion.
To sum up:
- Before installation: nails weakened by deficiency (zinc, iron, vitamin B), repeated shocks, rodent nails or lack of hydration that creates micro-cracks preventing adhesion.
- During the installation: cuticles impinging on the plate, nail not degreased or not sufficiently depolicated, layers too thick, insufficient drying, lack of base or top coat, or mixing several marks.
- After laying: prolonged exposure to hot water, contact with household products and micro-shocks.
Good pose routines
Whether you're a fan of classic varnish or semi-permanent varnishthe basic rule is the same: a 4 layer coating of varnish.
With a classic varnish
- Apply a layer of base to smooth the surface and improve the hold of the varnish.
- Put it down. two thin layers Colour, in bordering nail (a brush stroke on the slice to seal the color).
- Finish with a thin layer of top coat to protect the manicure from shocks and bring shine.
- Leave it dry each layer 1-2 minutes in the open air, checking that the last layer is no longer sticky before applying the next layer.

Base coat, two color layers, top coat: the perfect formula for a successful manicure.
With semi-permanent varnish
- Put it down. a layer of protective base (coat base) adapted and made dry under LED or UV lamp the time indicated.
- Apply the varnish in two thin layers, by ensuring that the nail is lined, and Dry each layer under lamp within the indicated time (1 to 3 minutes depending on the lamp's power).
- Protect with a layer of top coat to seal the color and shine, without omitting to do dry this last layer under UV or LED lamp.
To combine base, color, top coat and lamp, you can also start from a semi-permanent varnish kit Green Flash™.

With semi-permanent varnish, even routine with UV or LED light drying at each step.
Take care of your nails every day
Nothing like this to extend the life of your manicure than offering your nails a regular care that makes them more resistant.
Make sure that the moisturize daily with cuticle oil, such as l-Green oil, which nourishes and hydrates the nail and its contour in depth.
If your nails are fragileIf they tend to be soft, brittle or split, choose a suitable treatment, to define by performing a Nail diagnostics. One 2 week routine care You will be advised to find solid nails on which the varnish lasts longer.
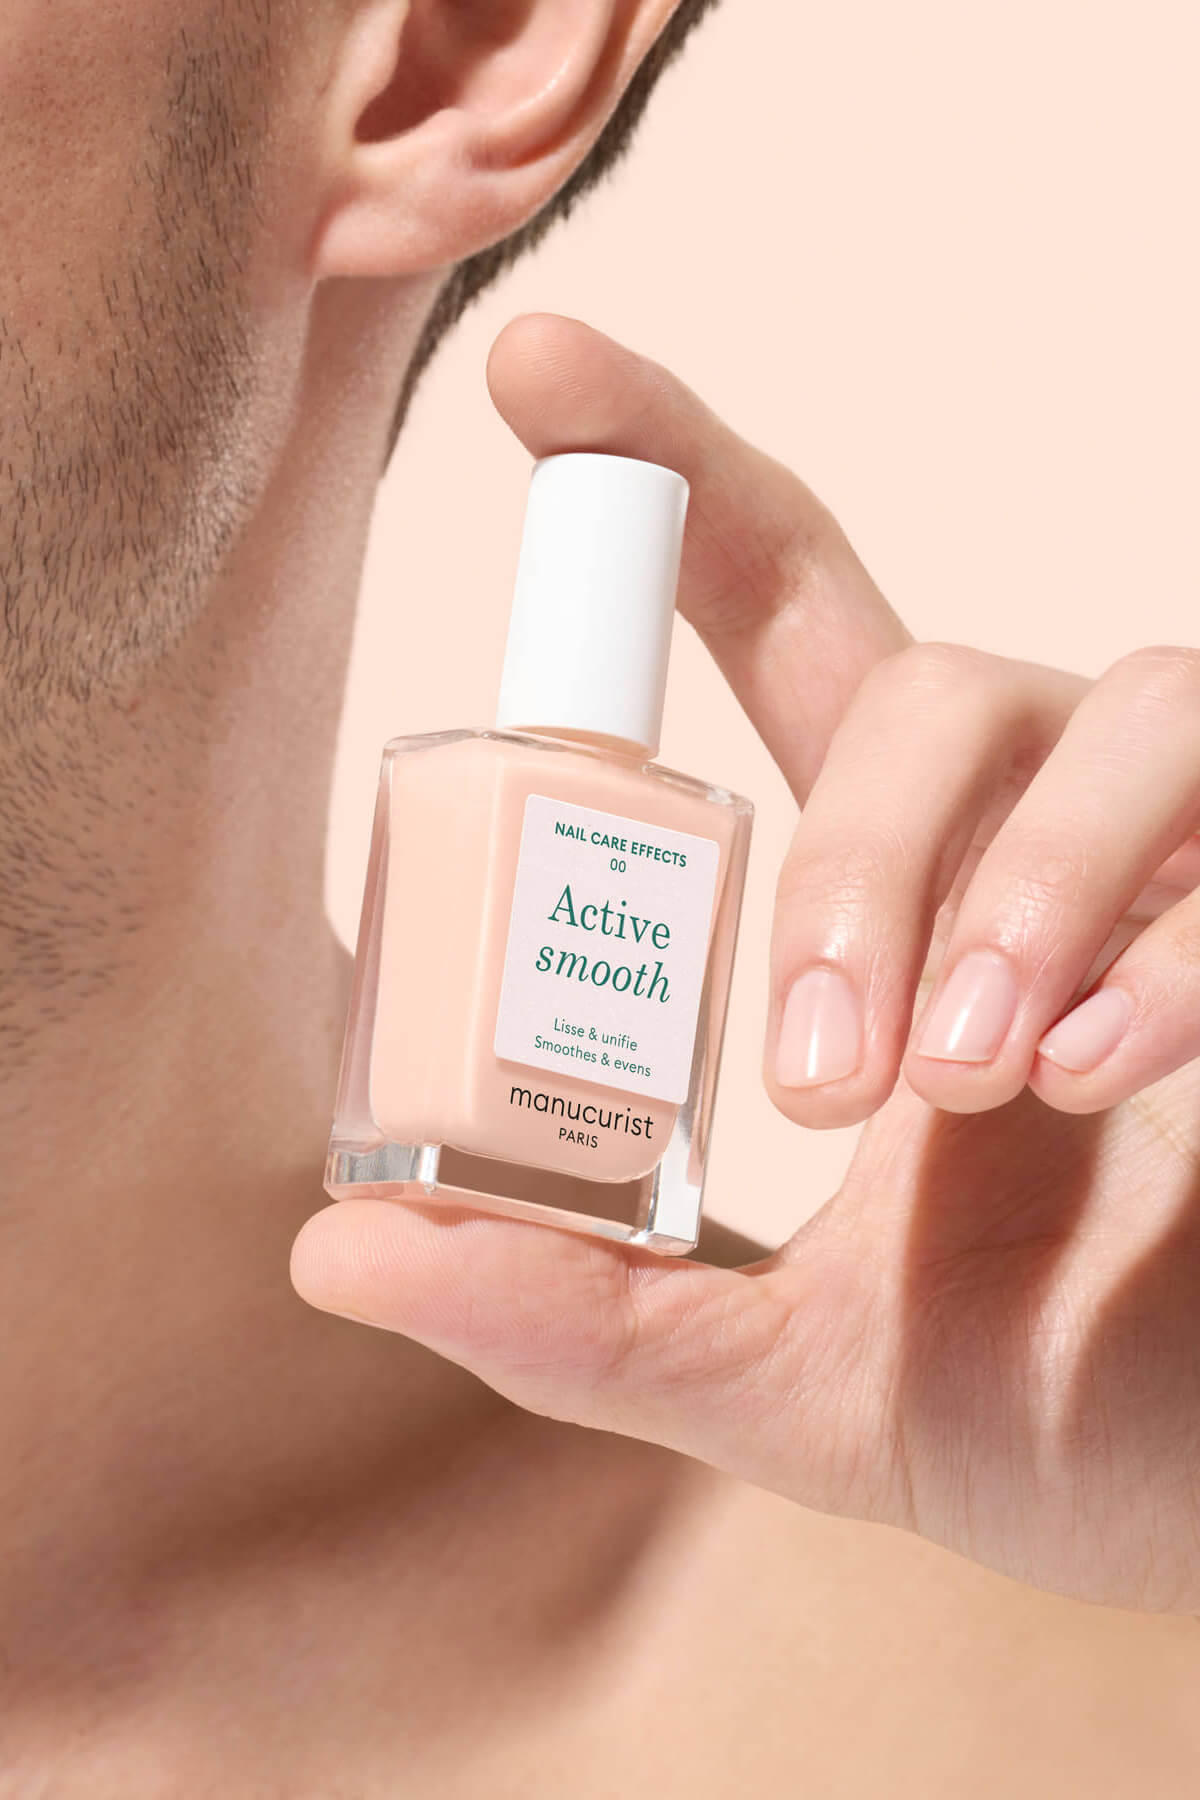
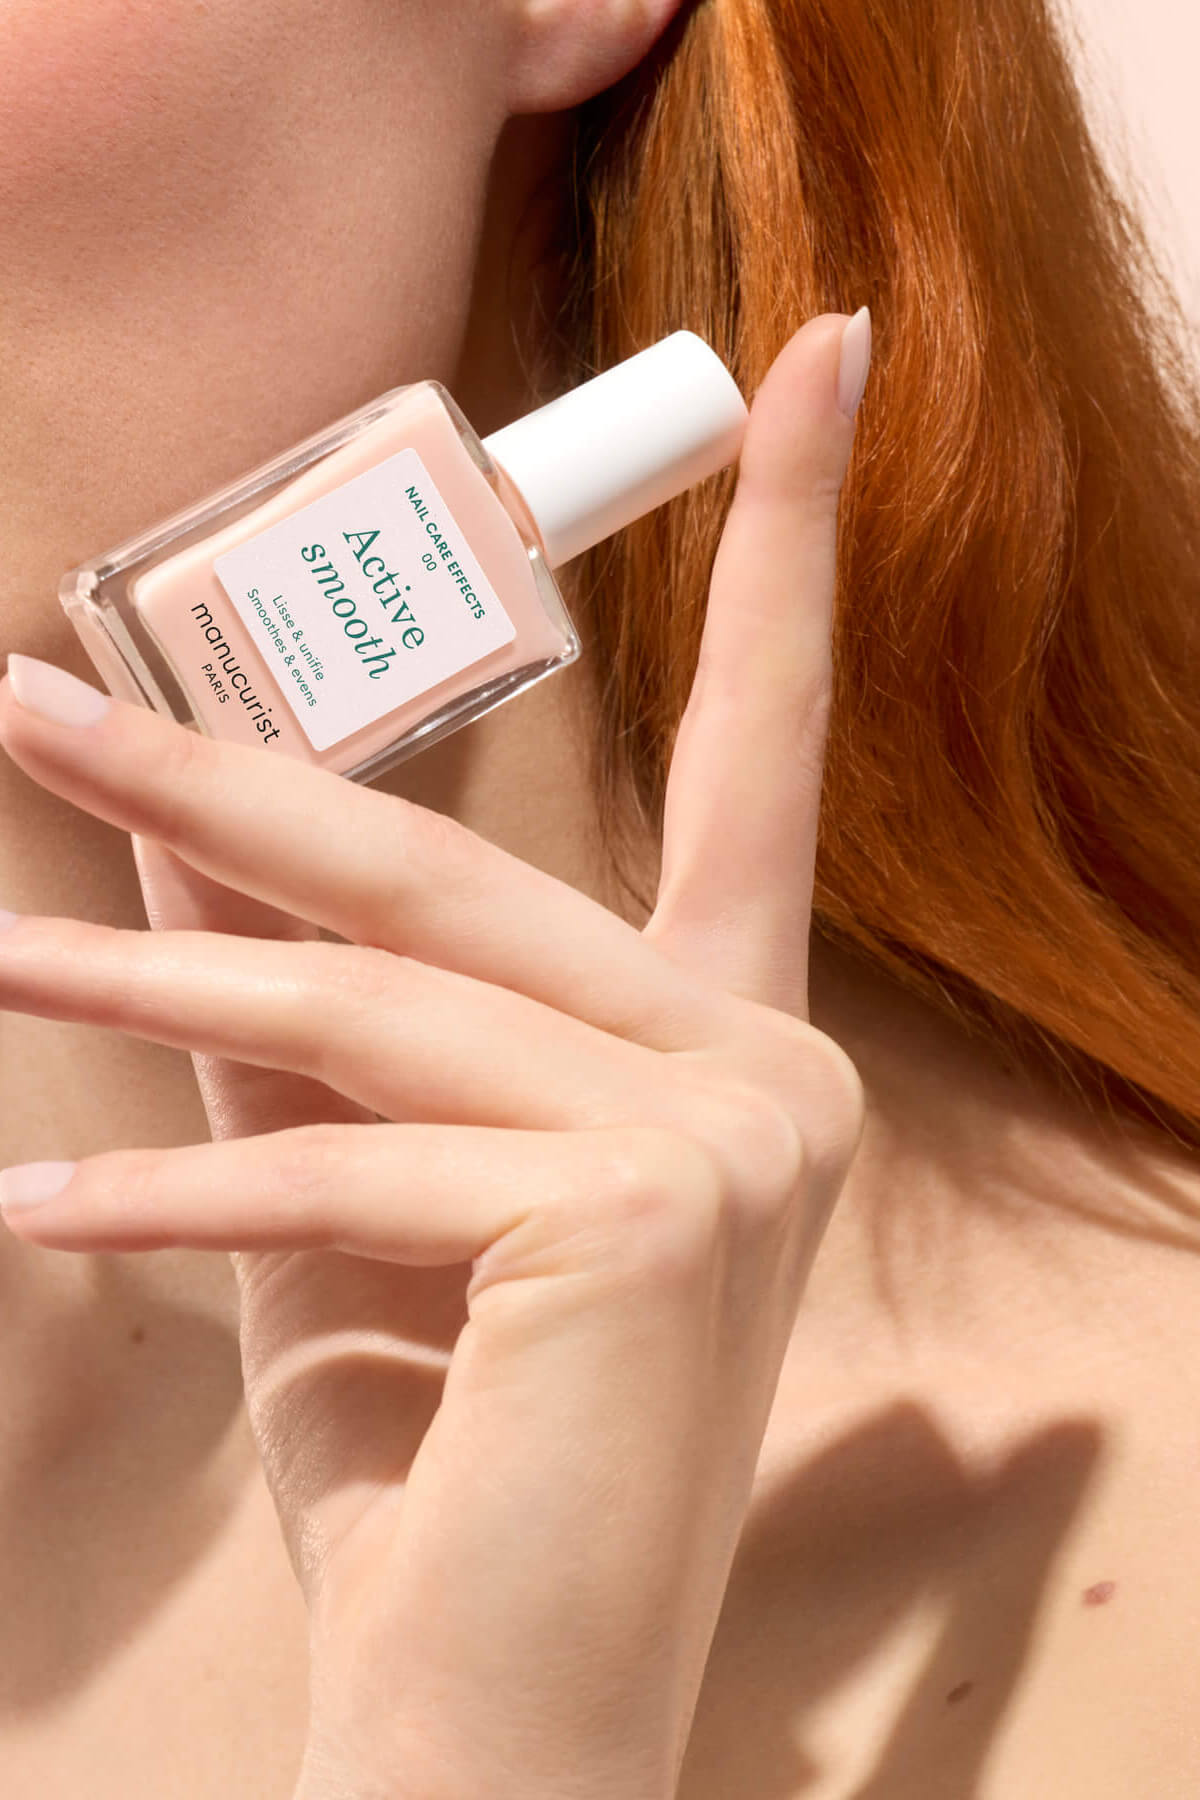
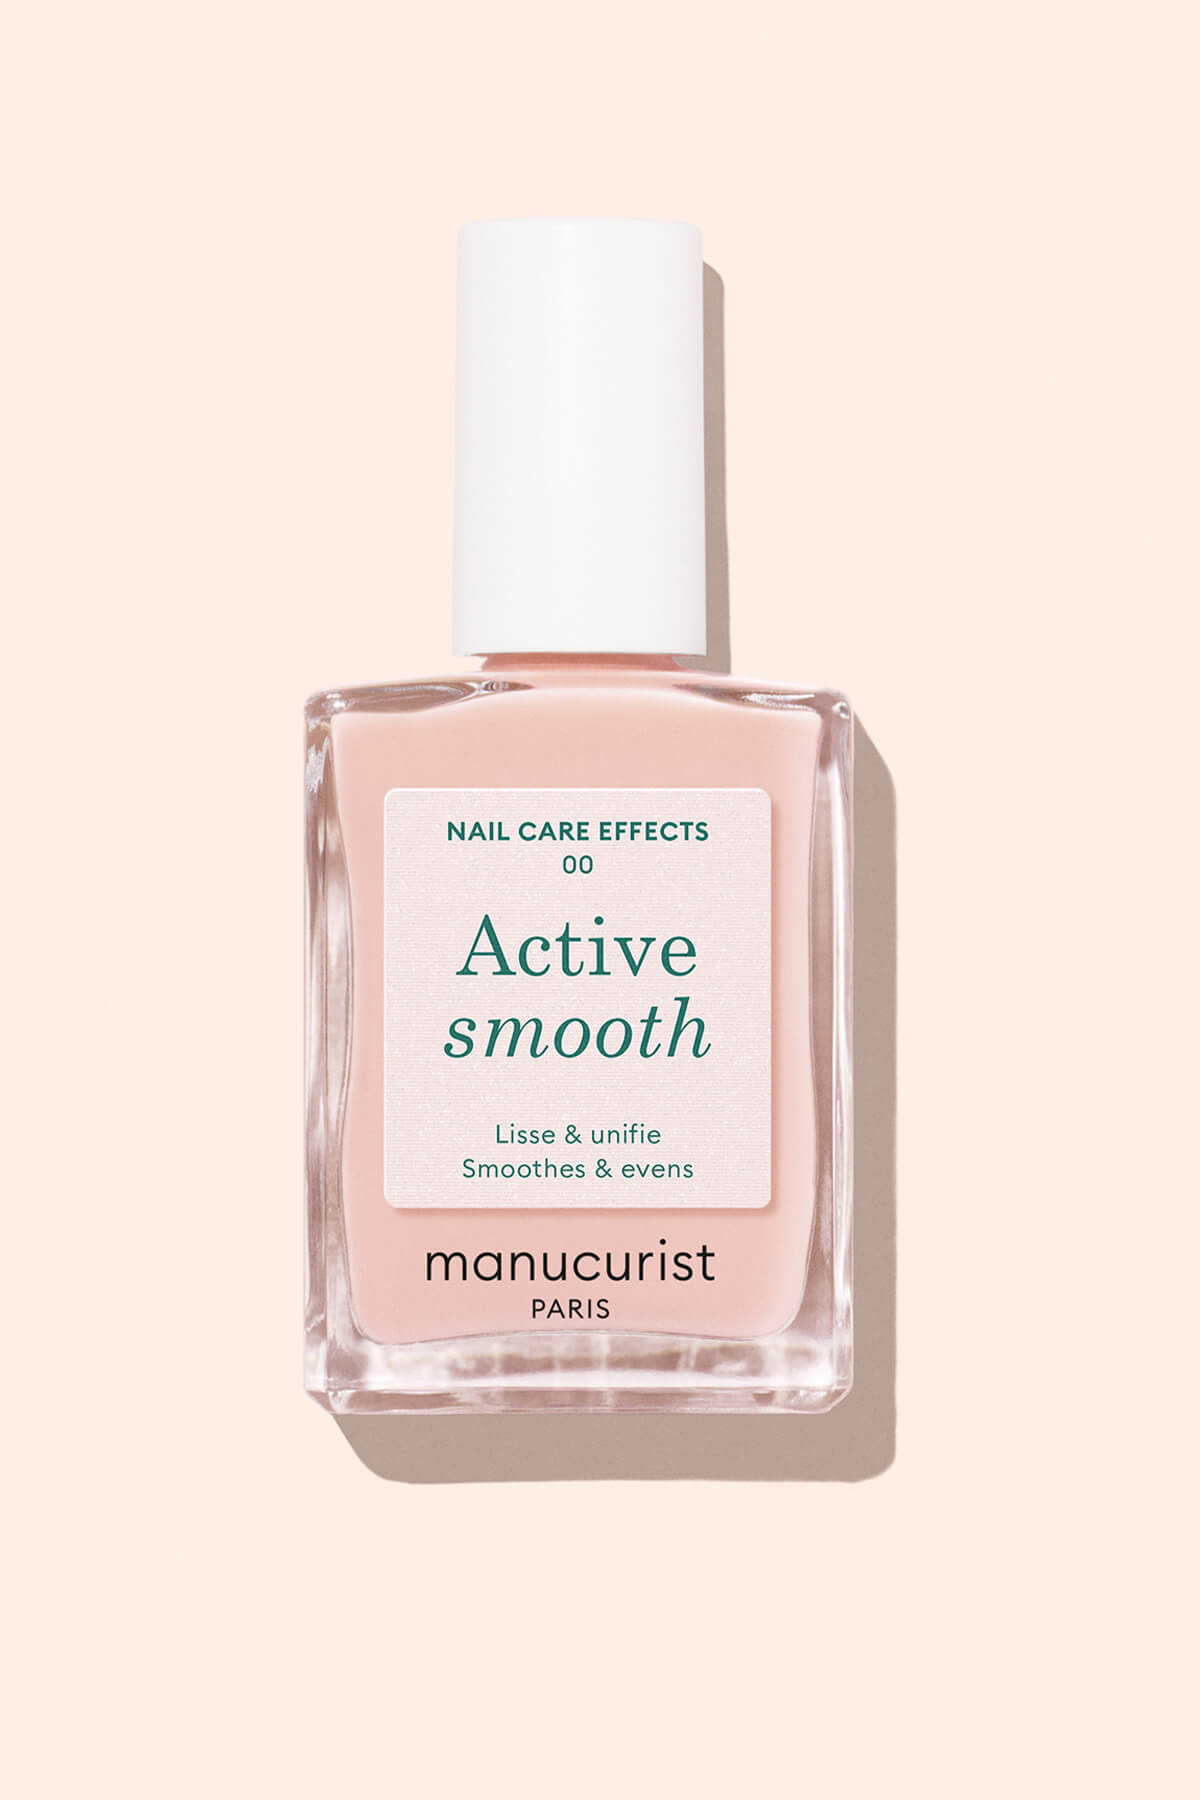
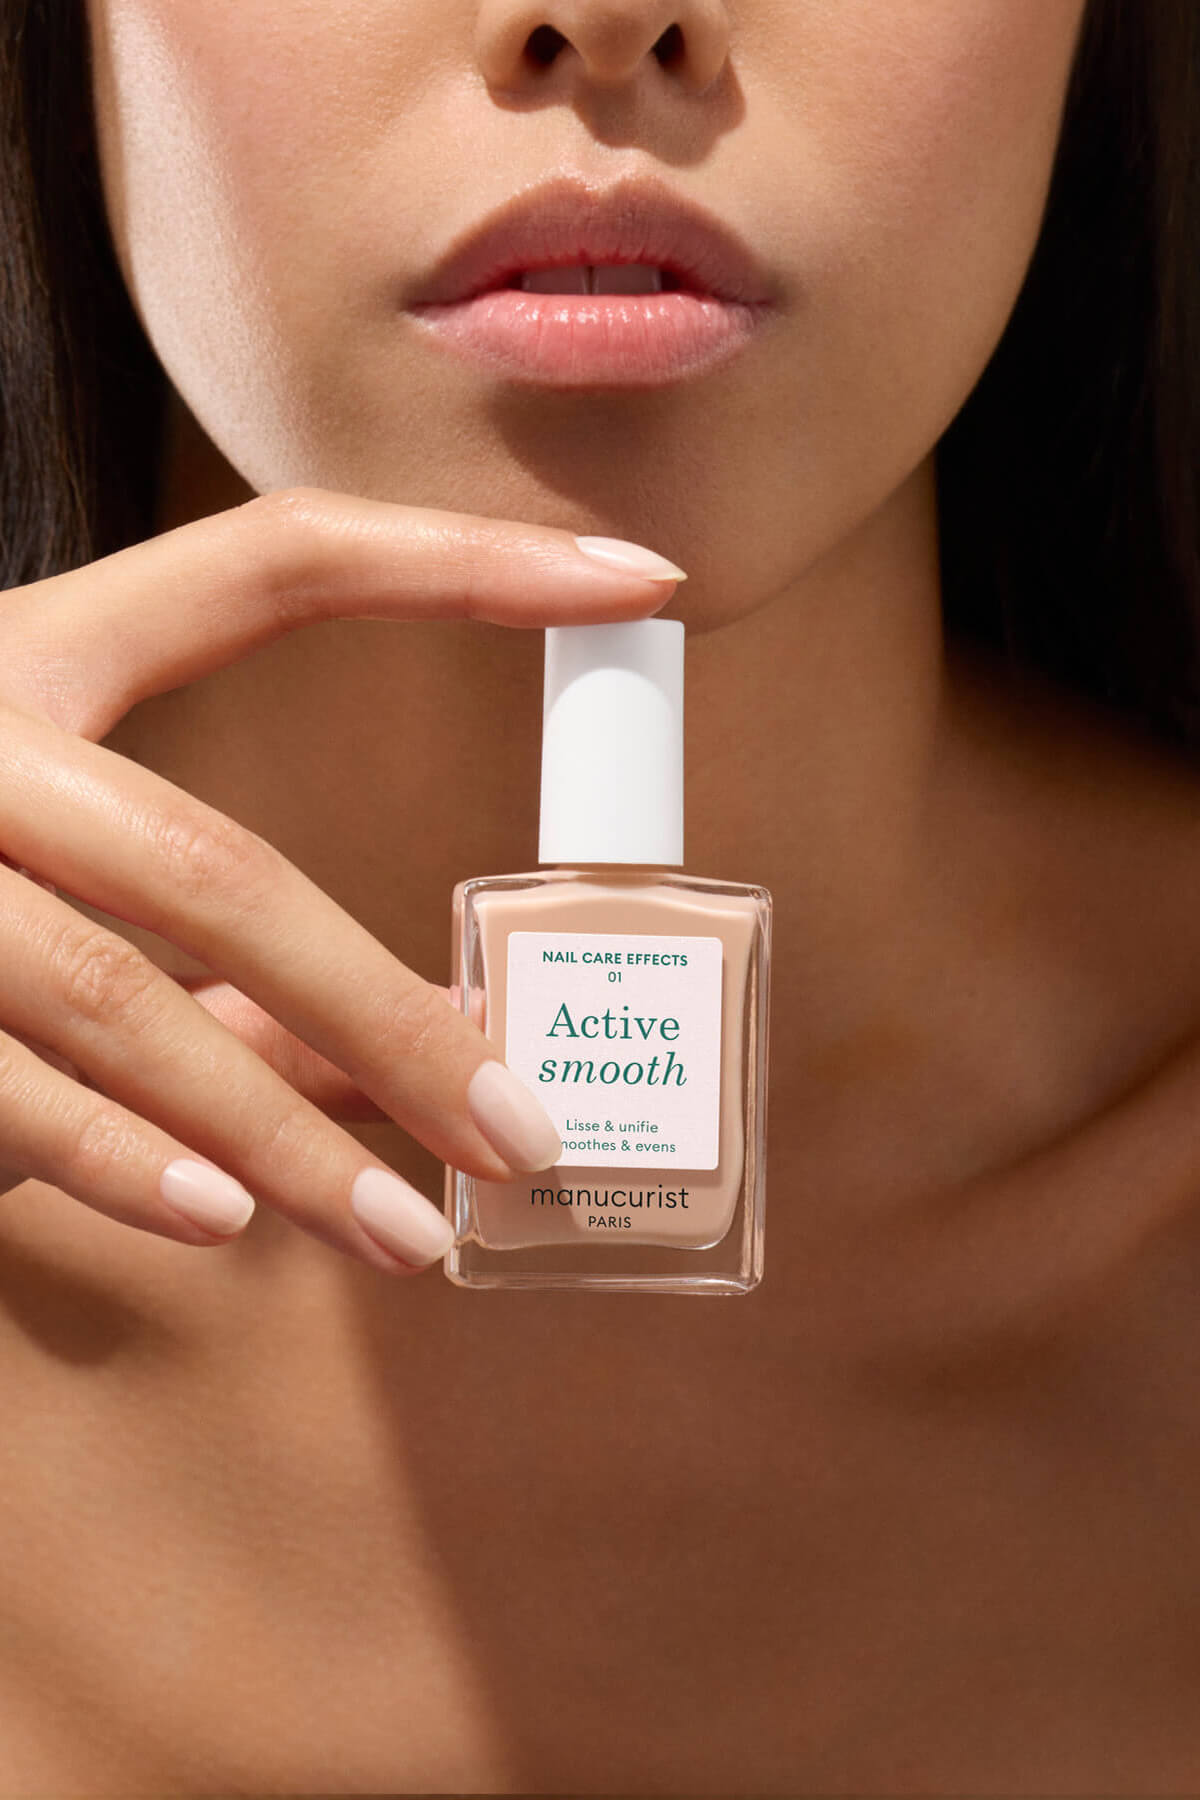
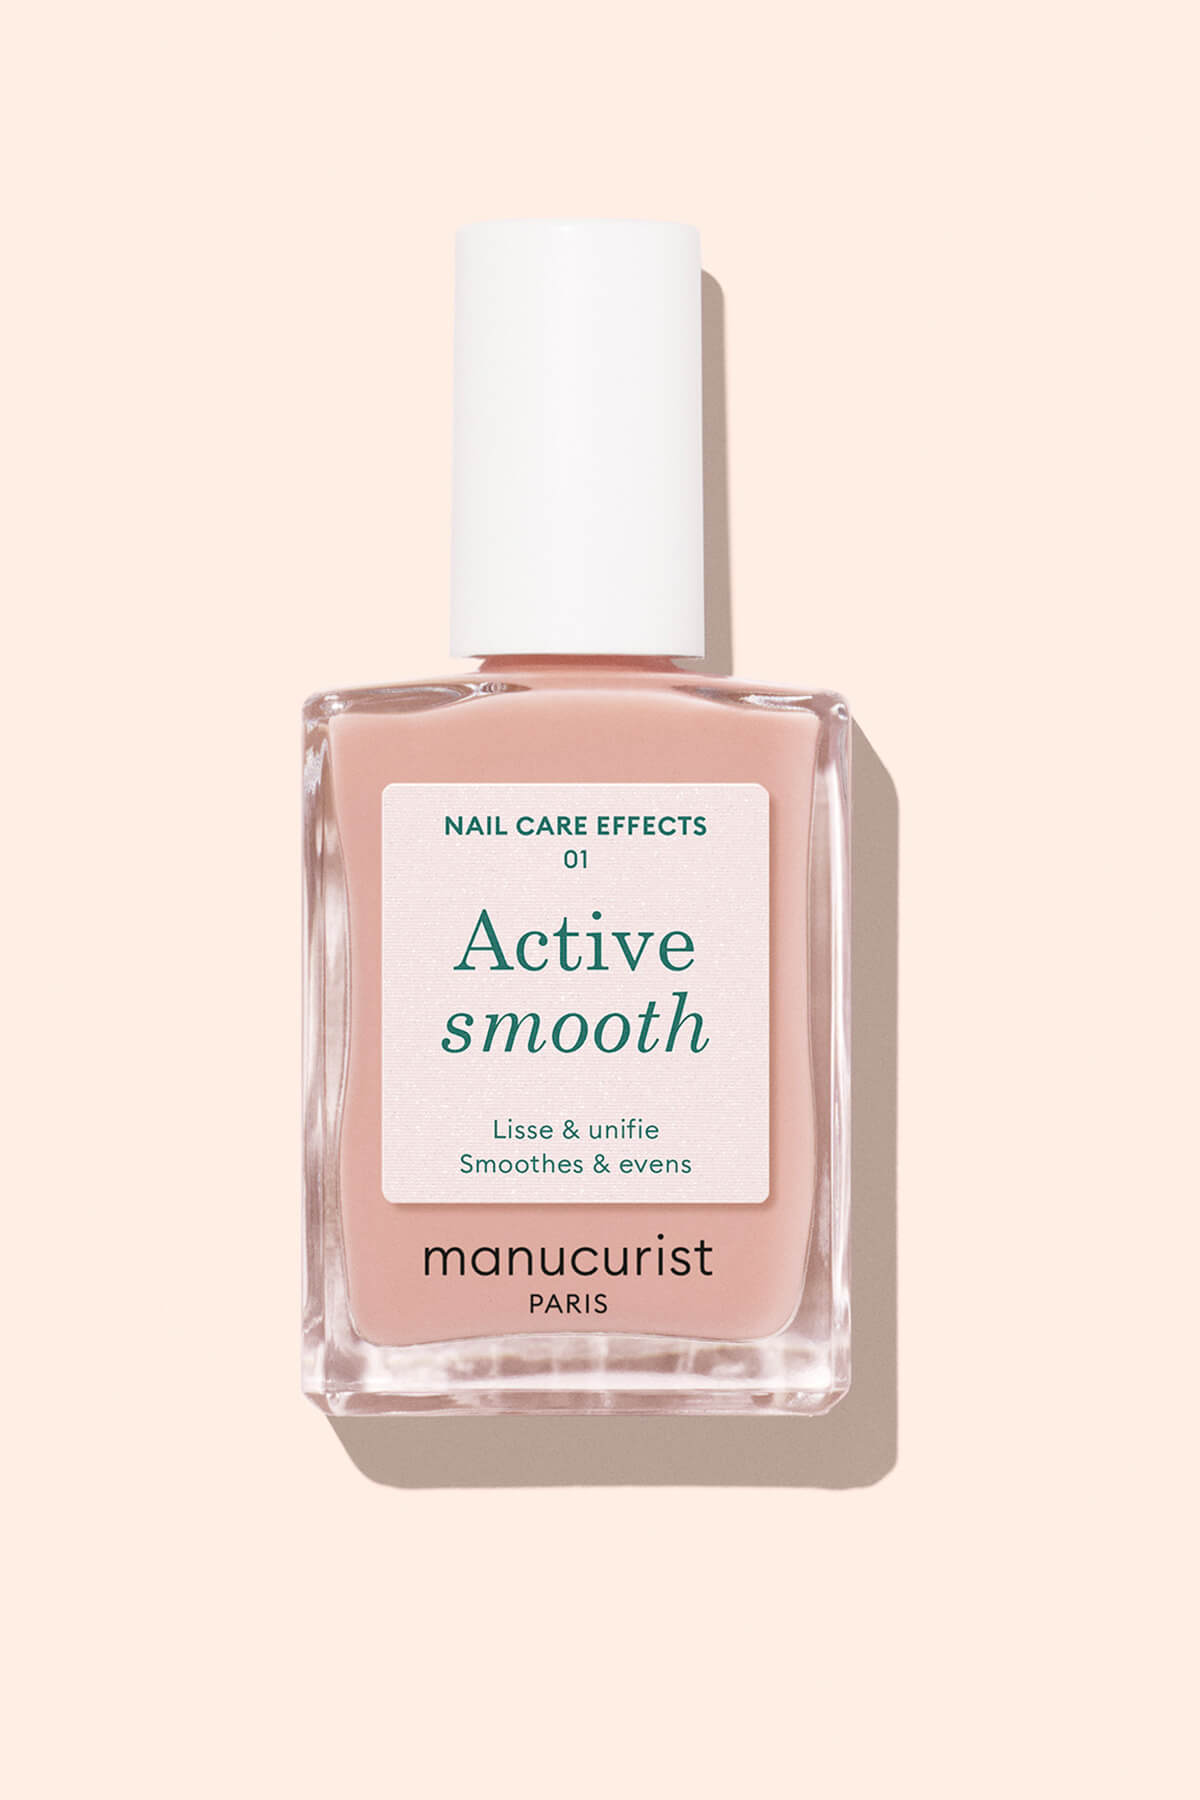
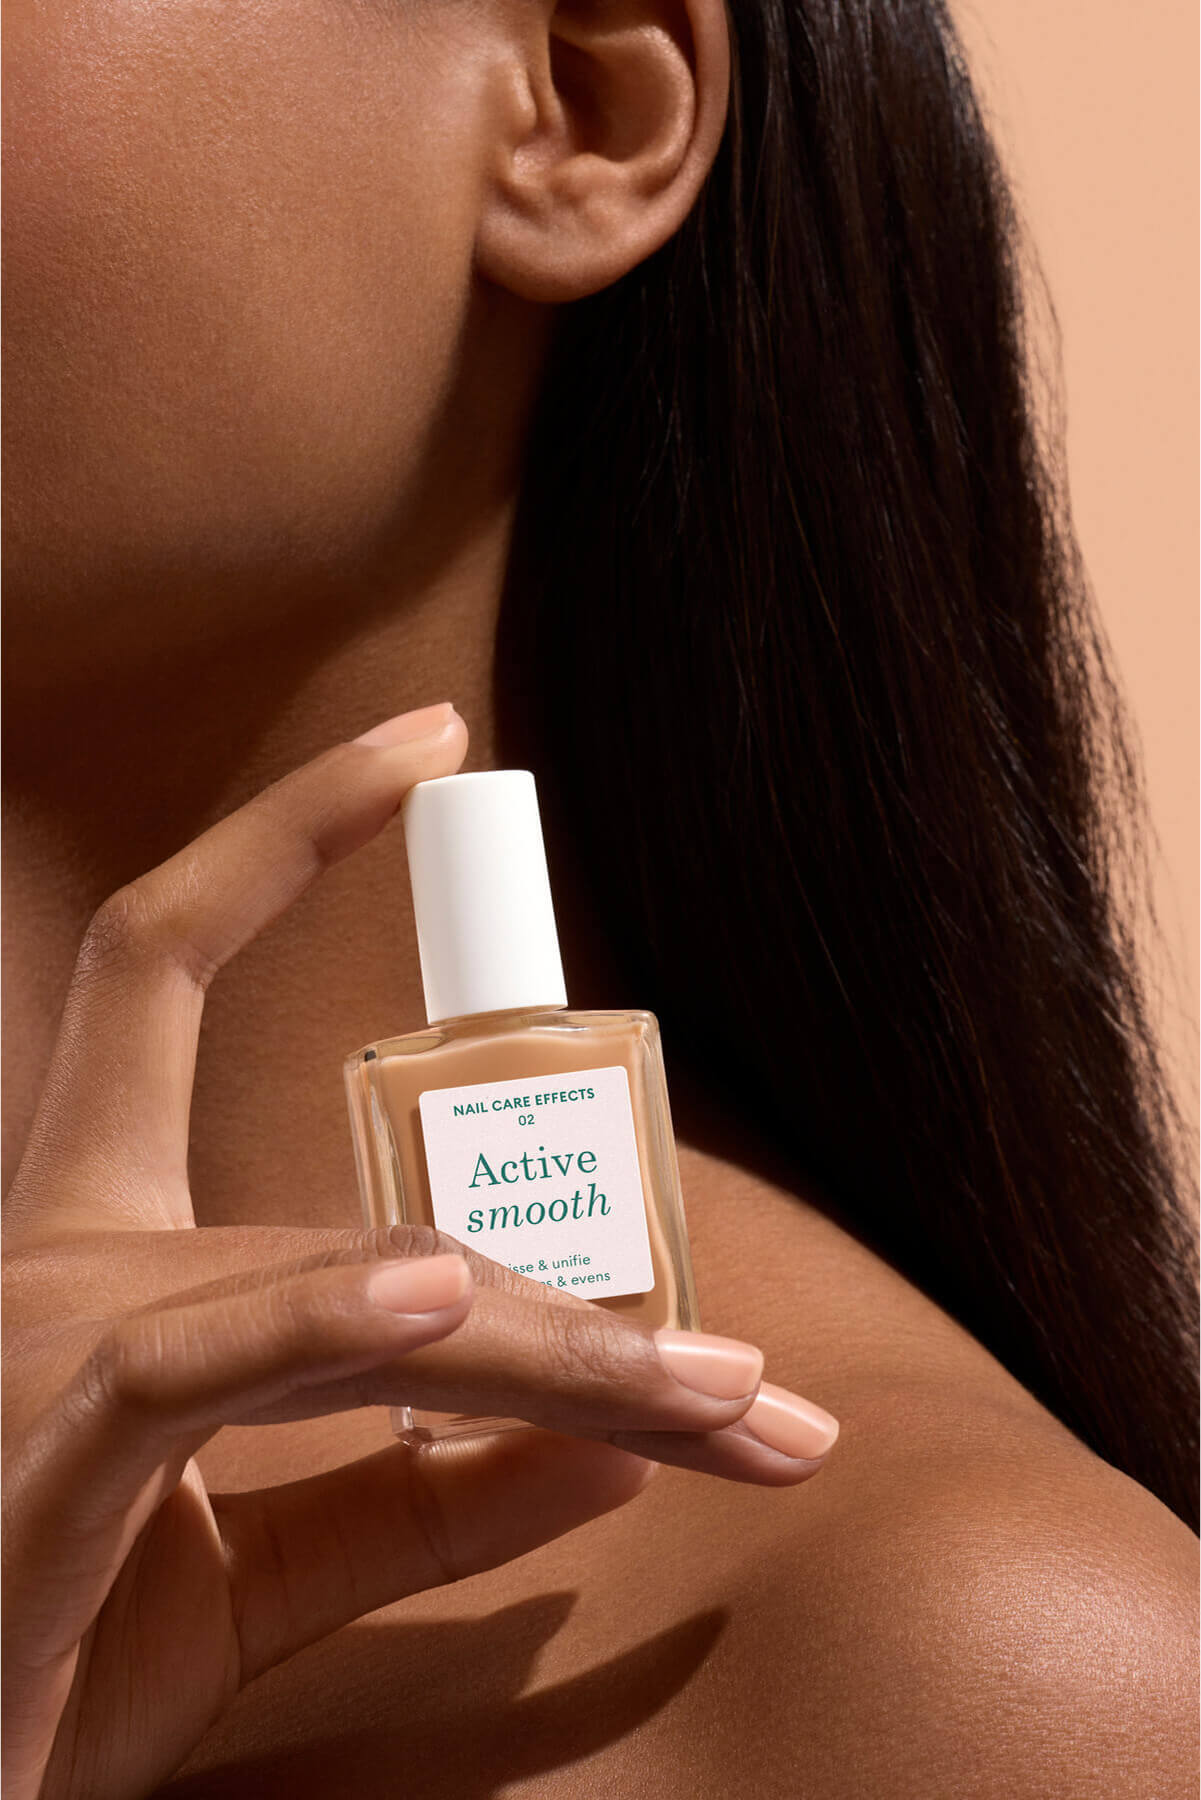
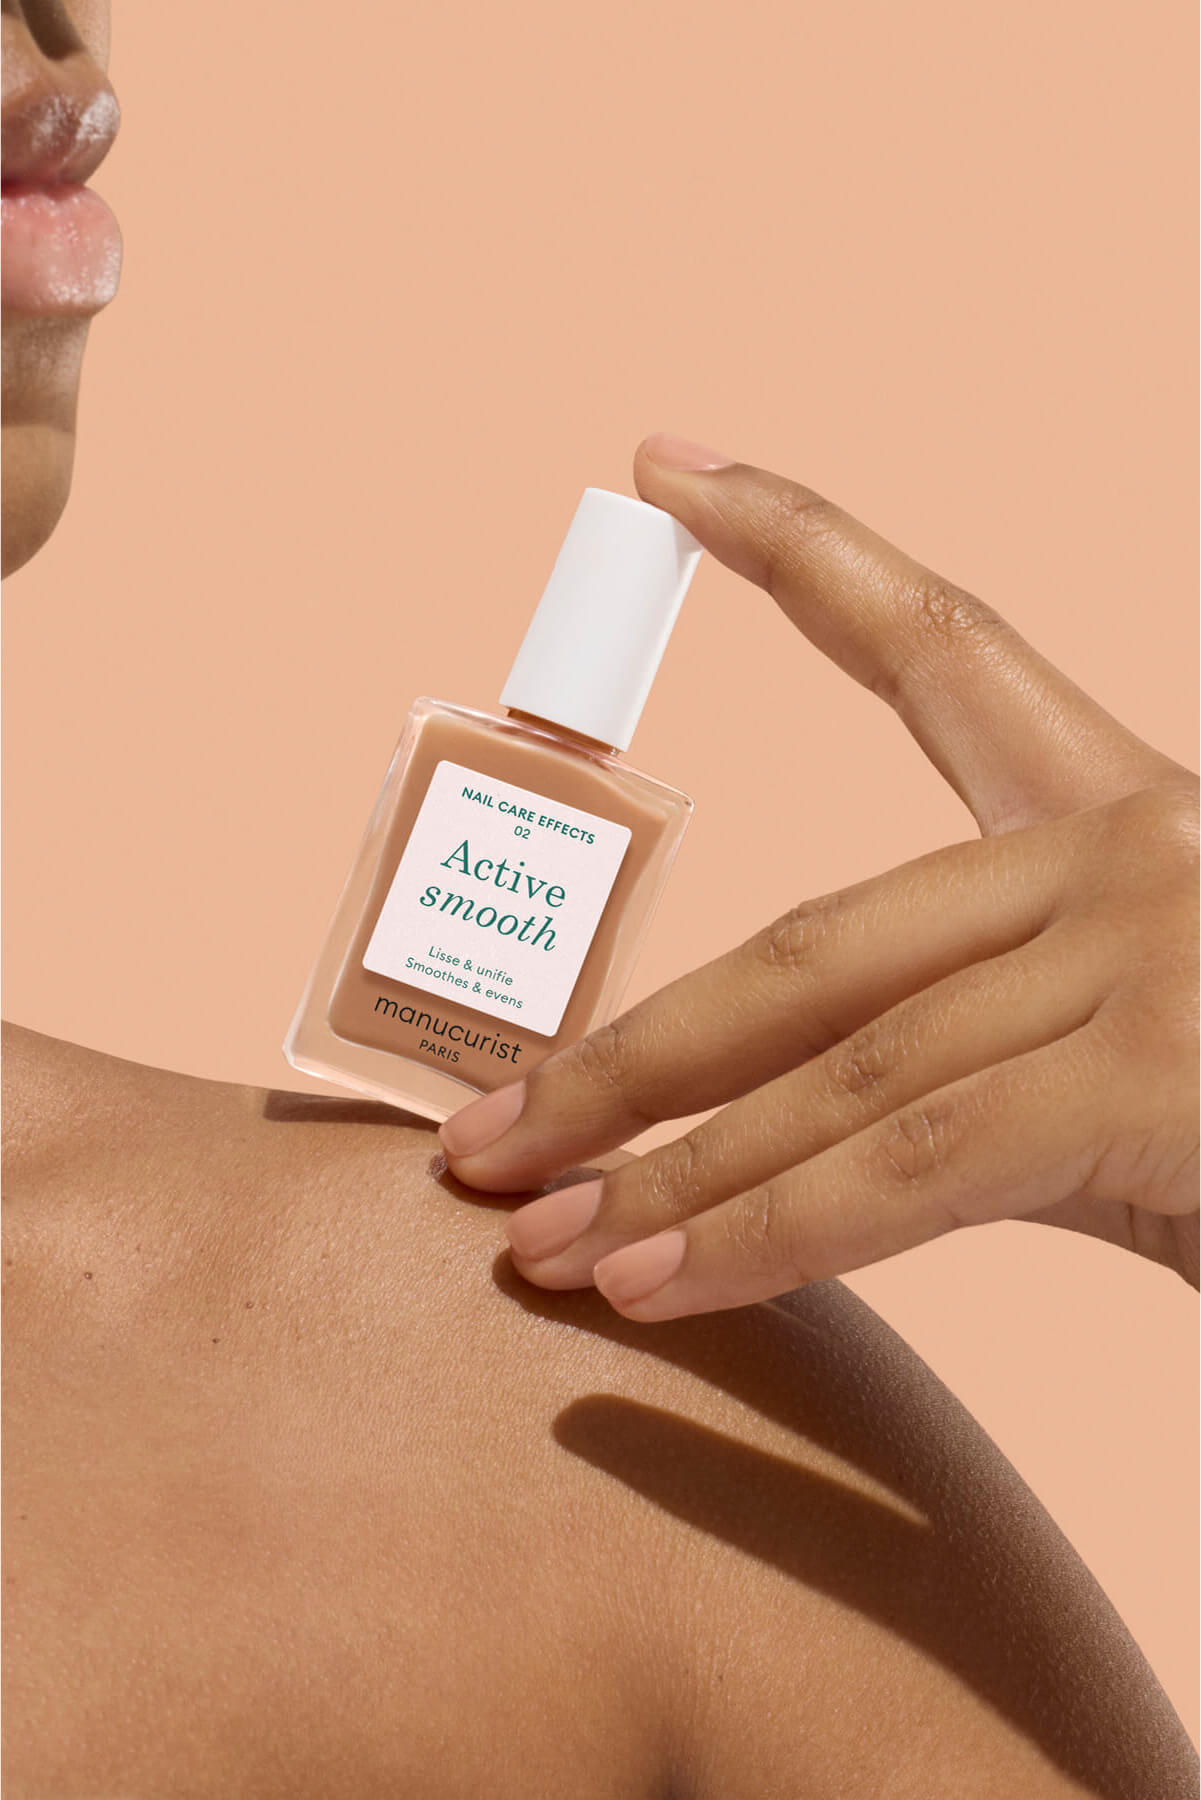
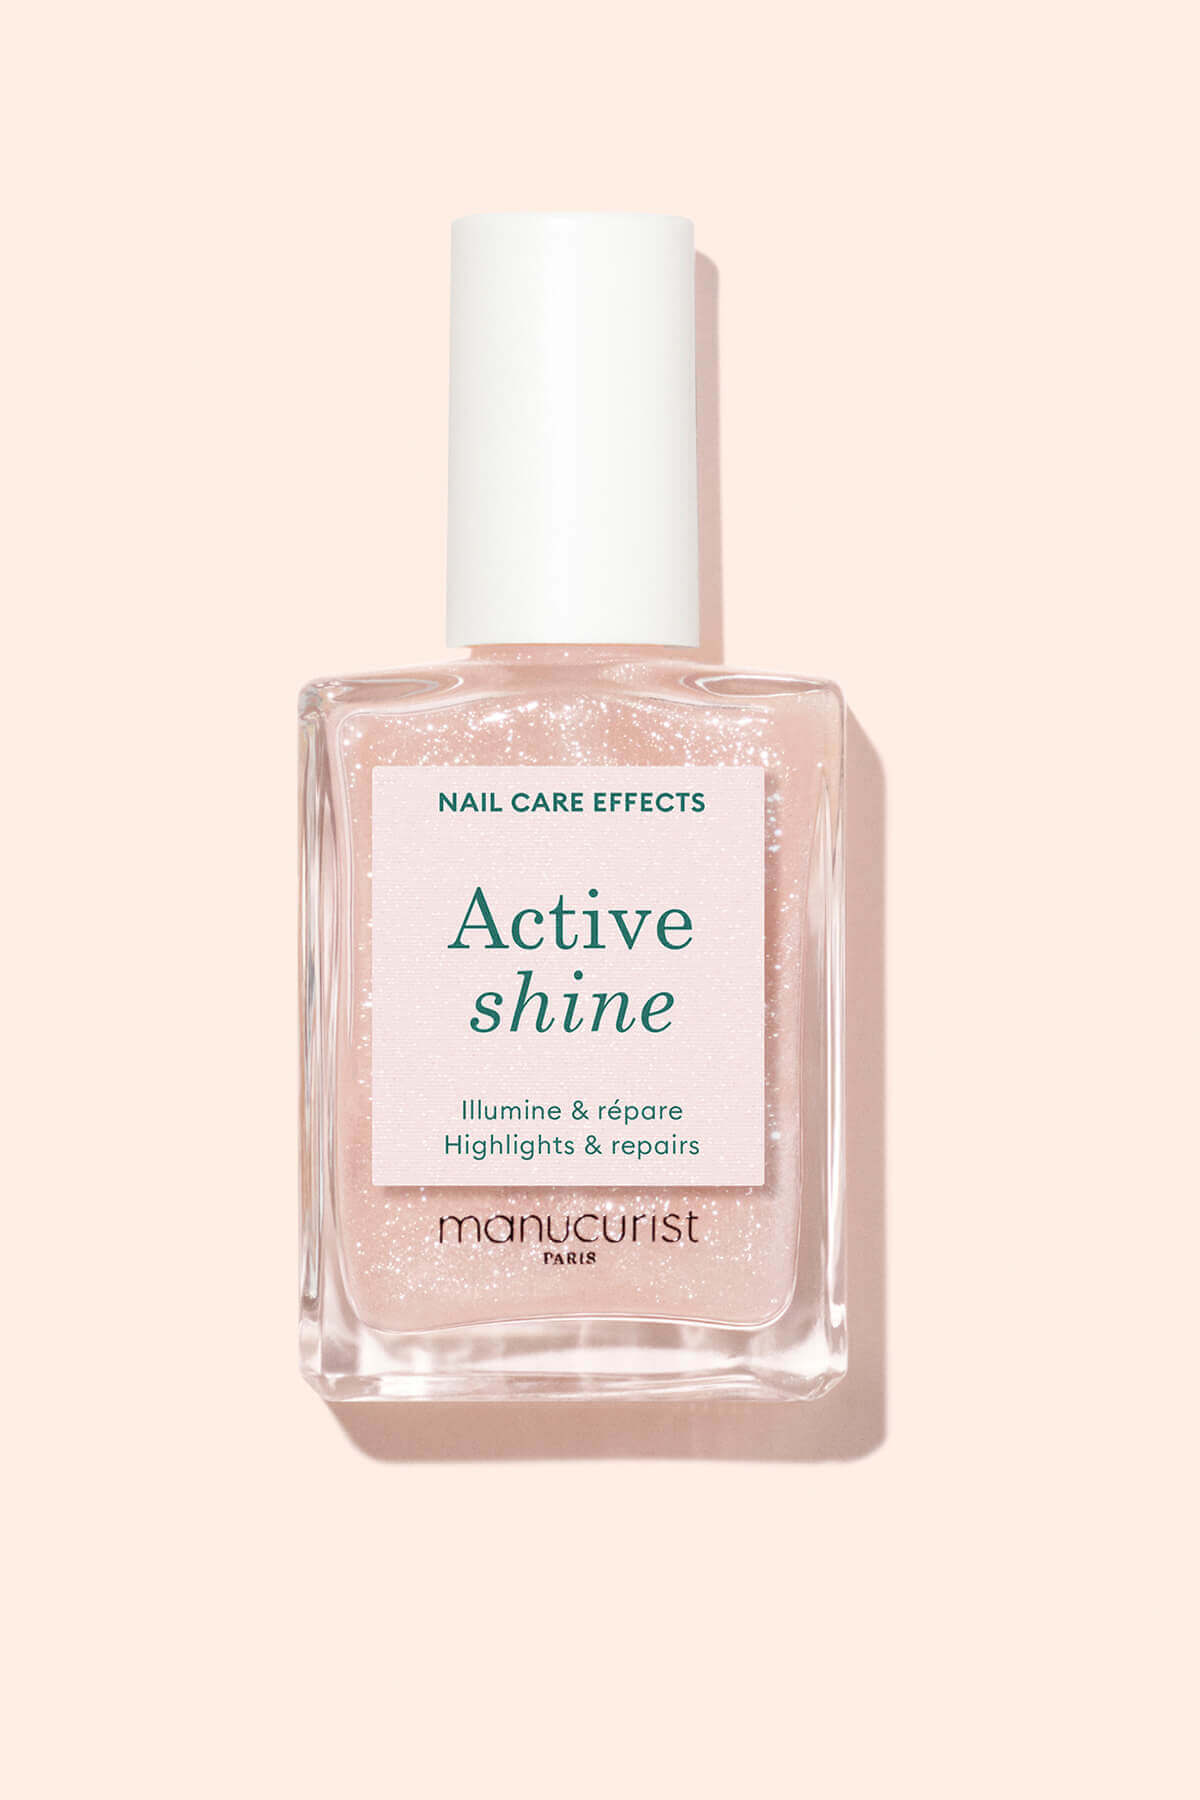
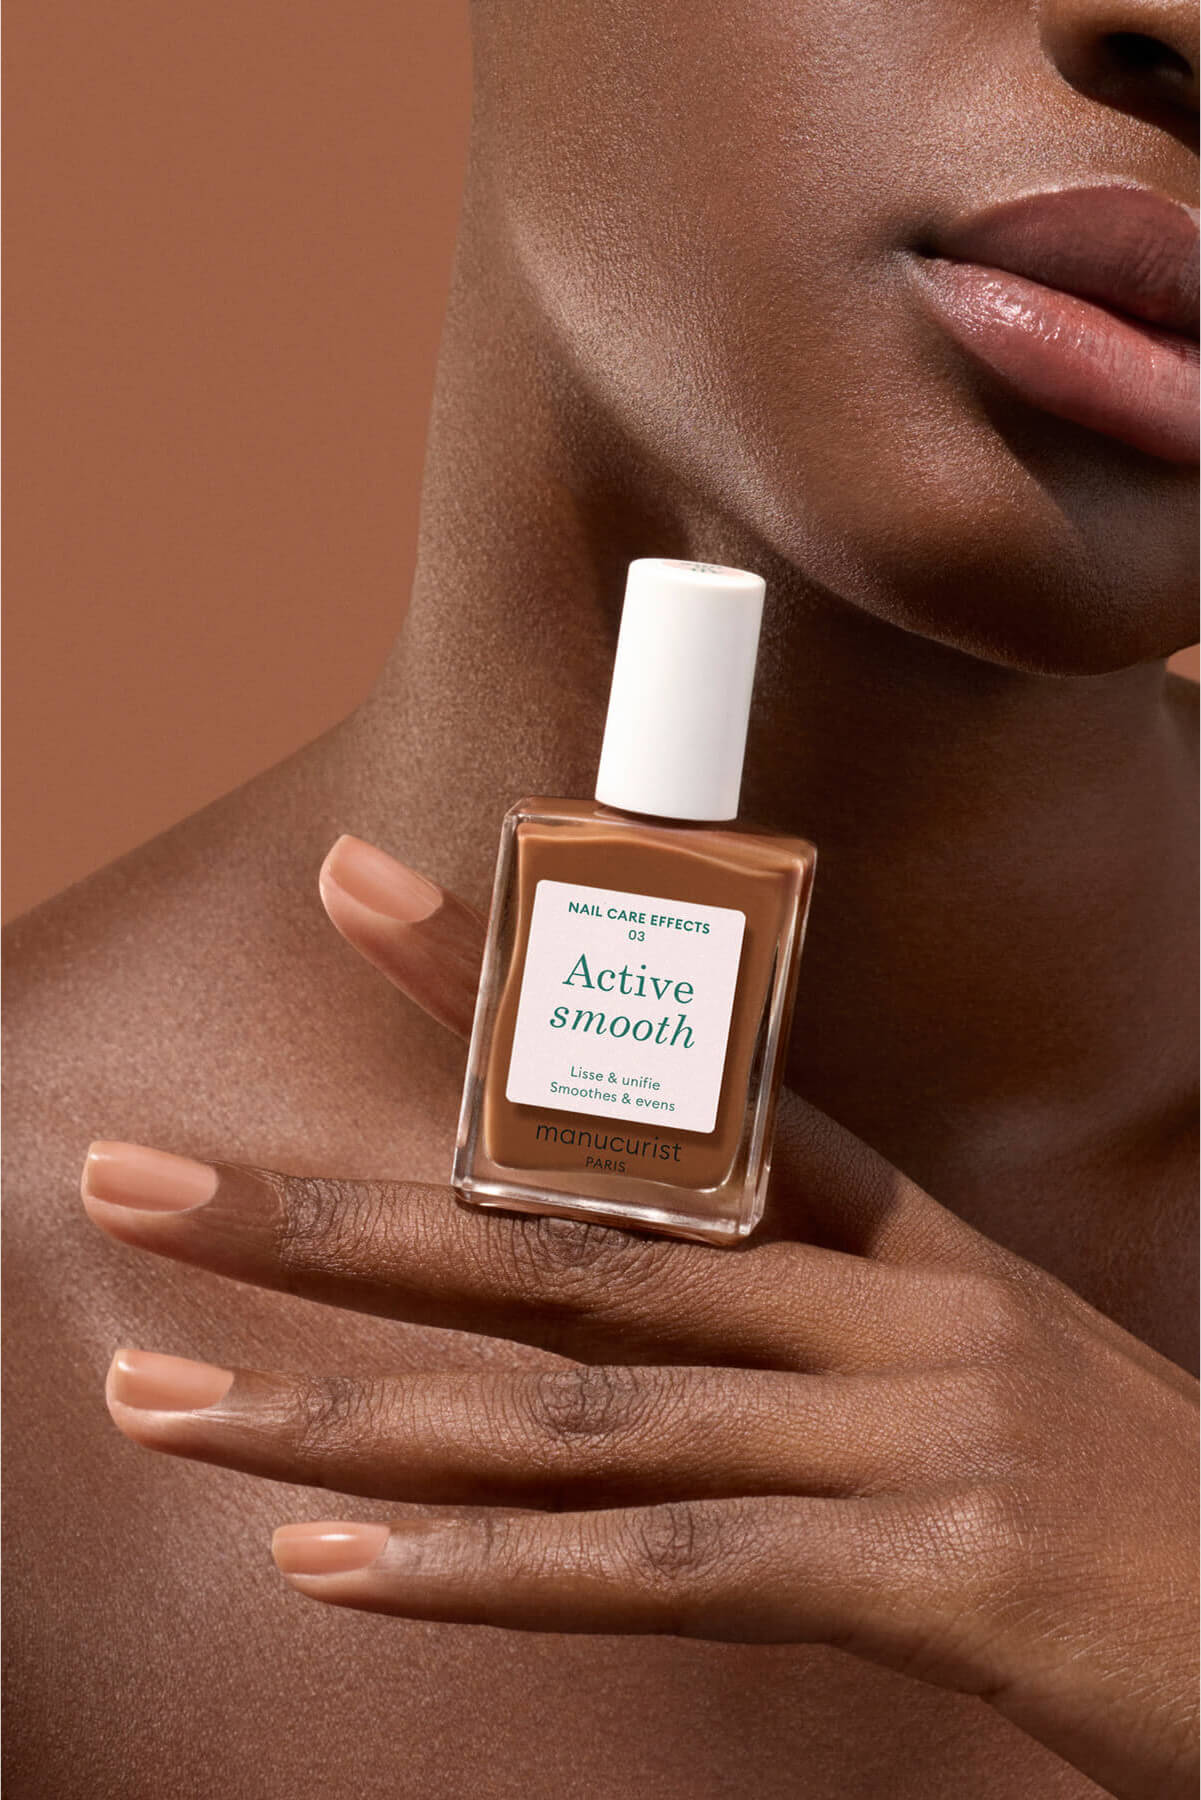
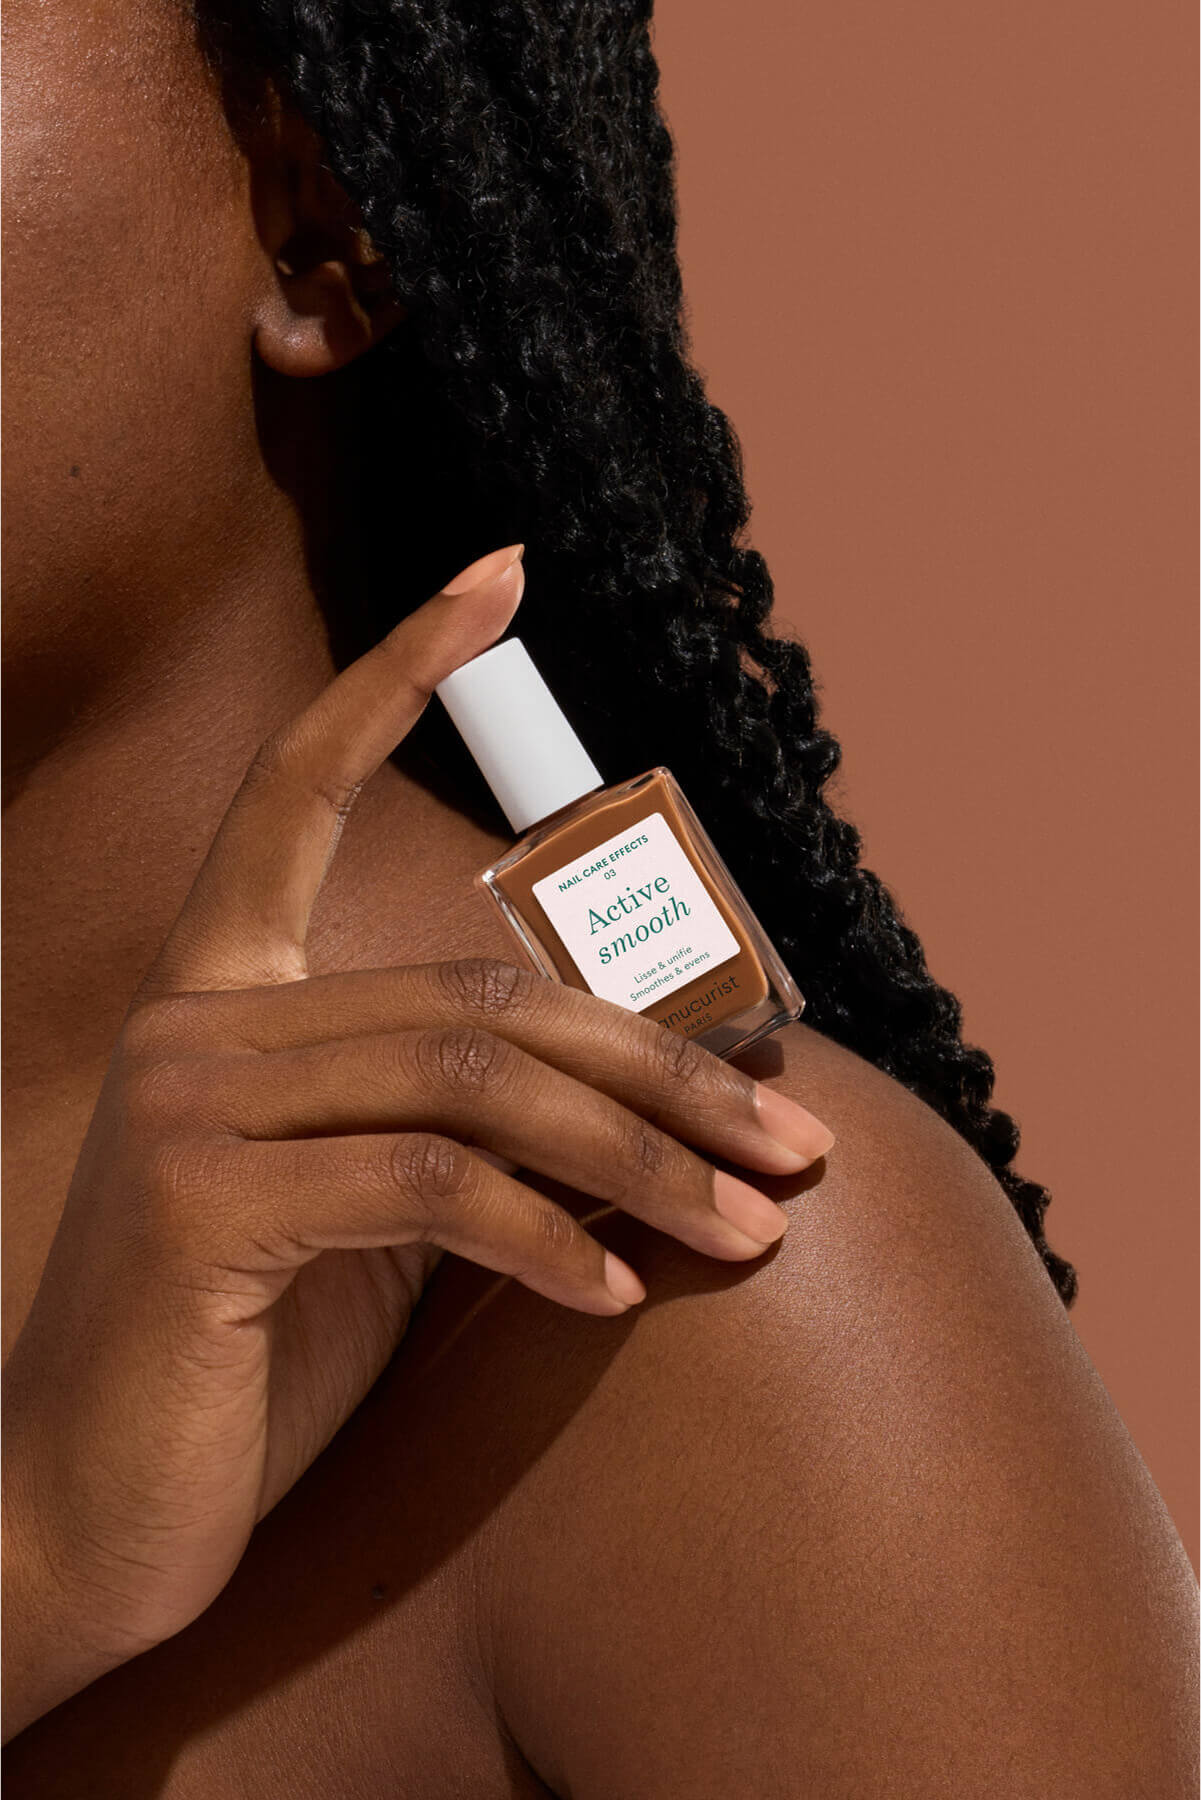
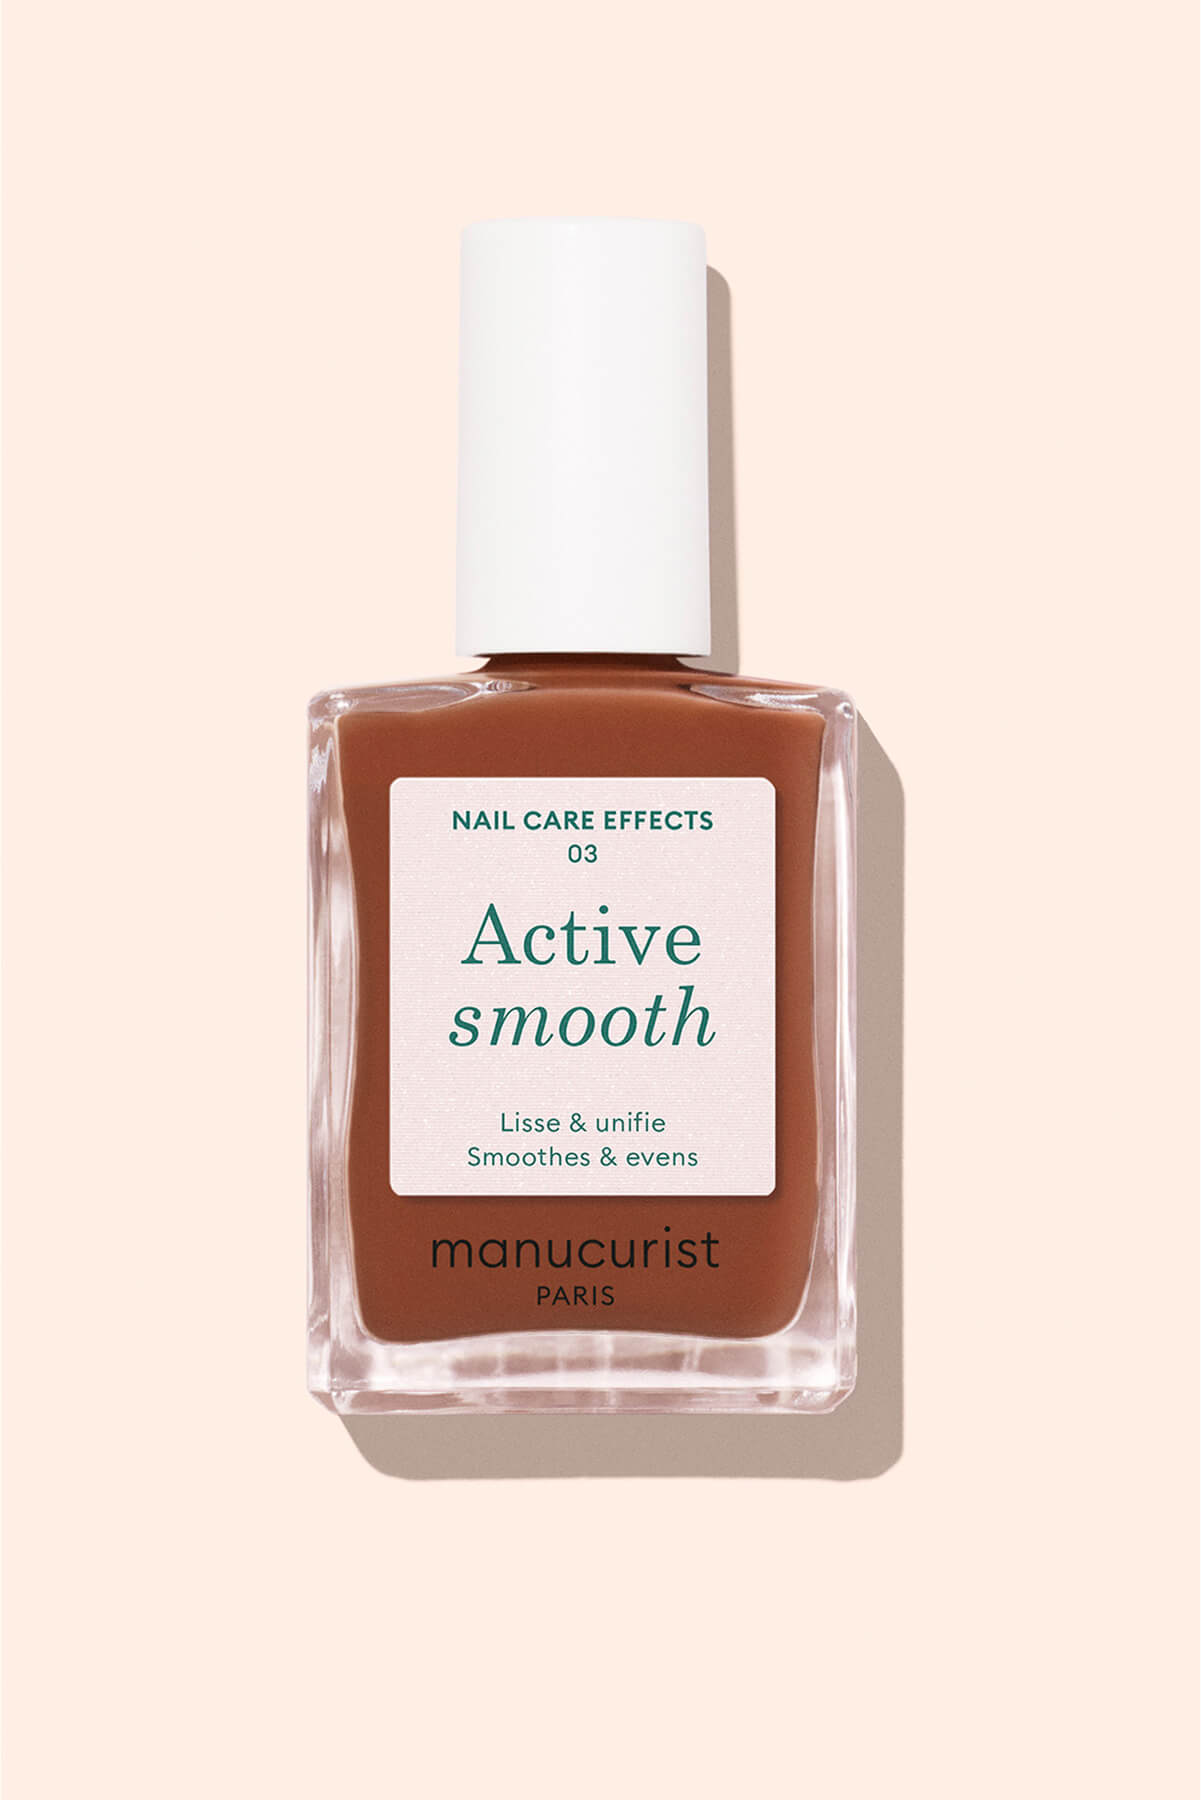
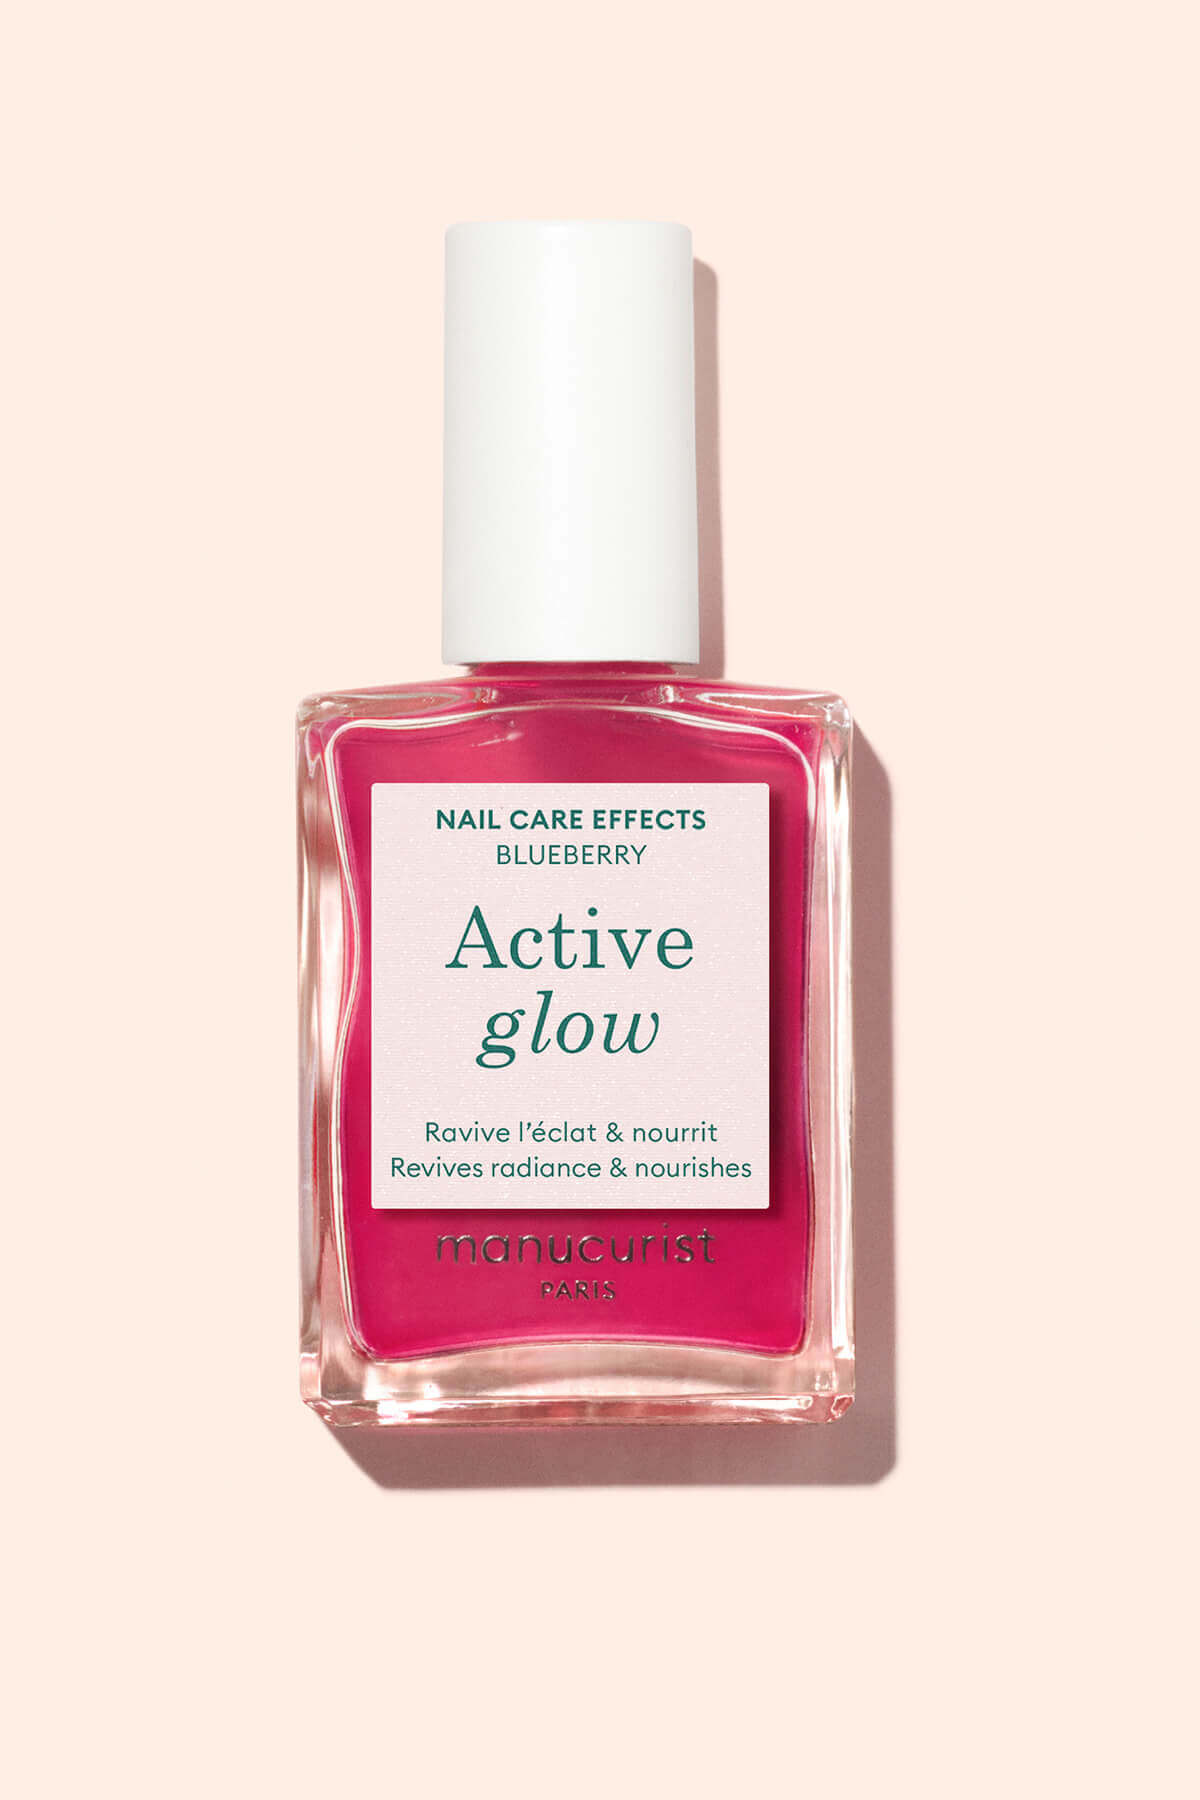
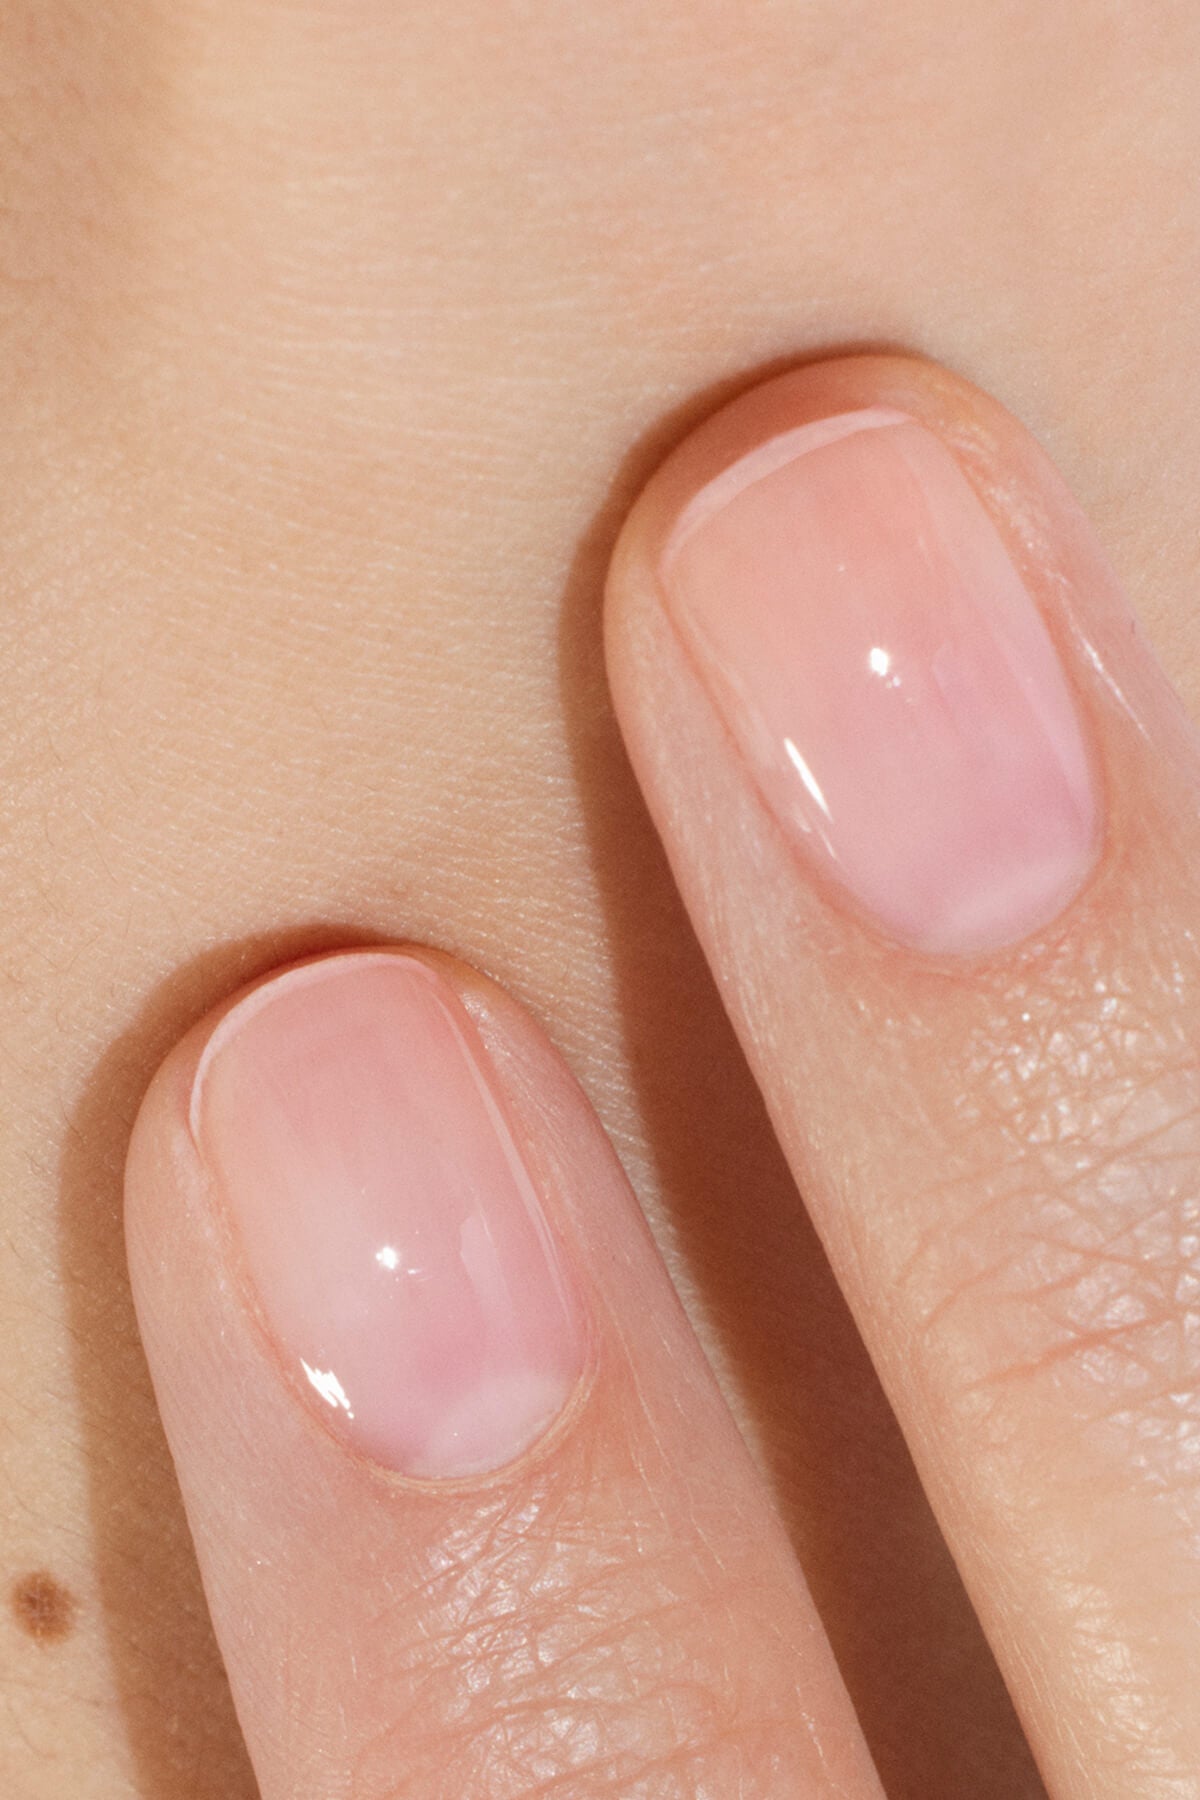
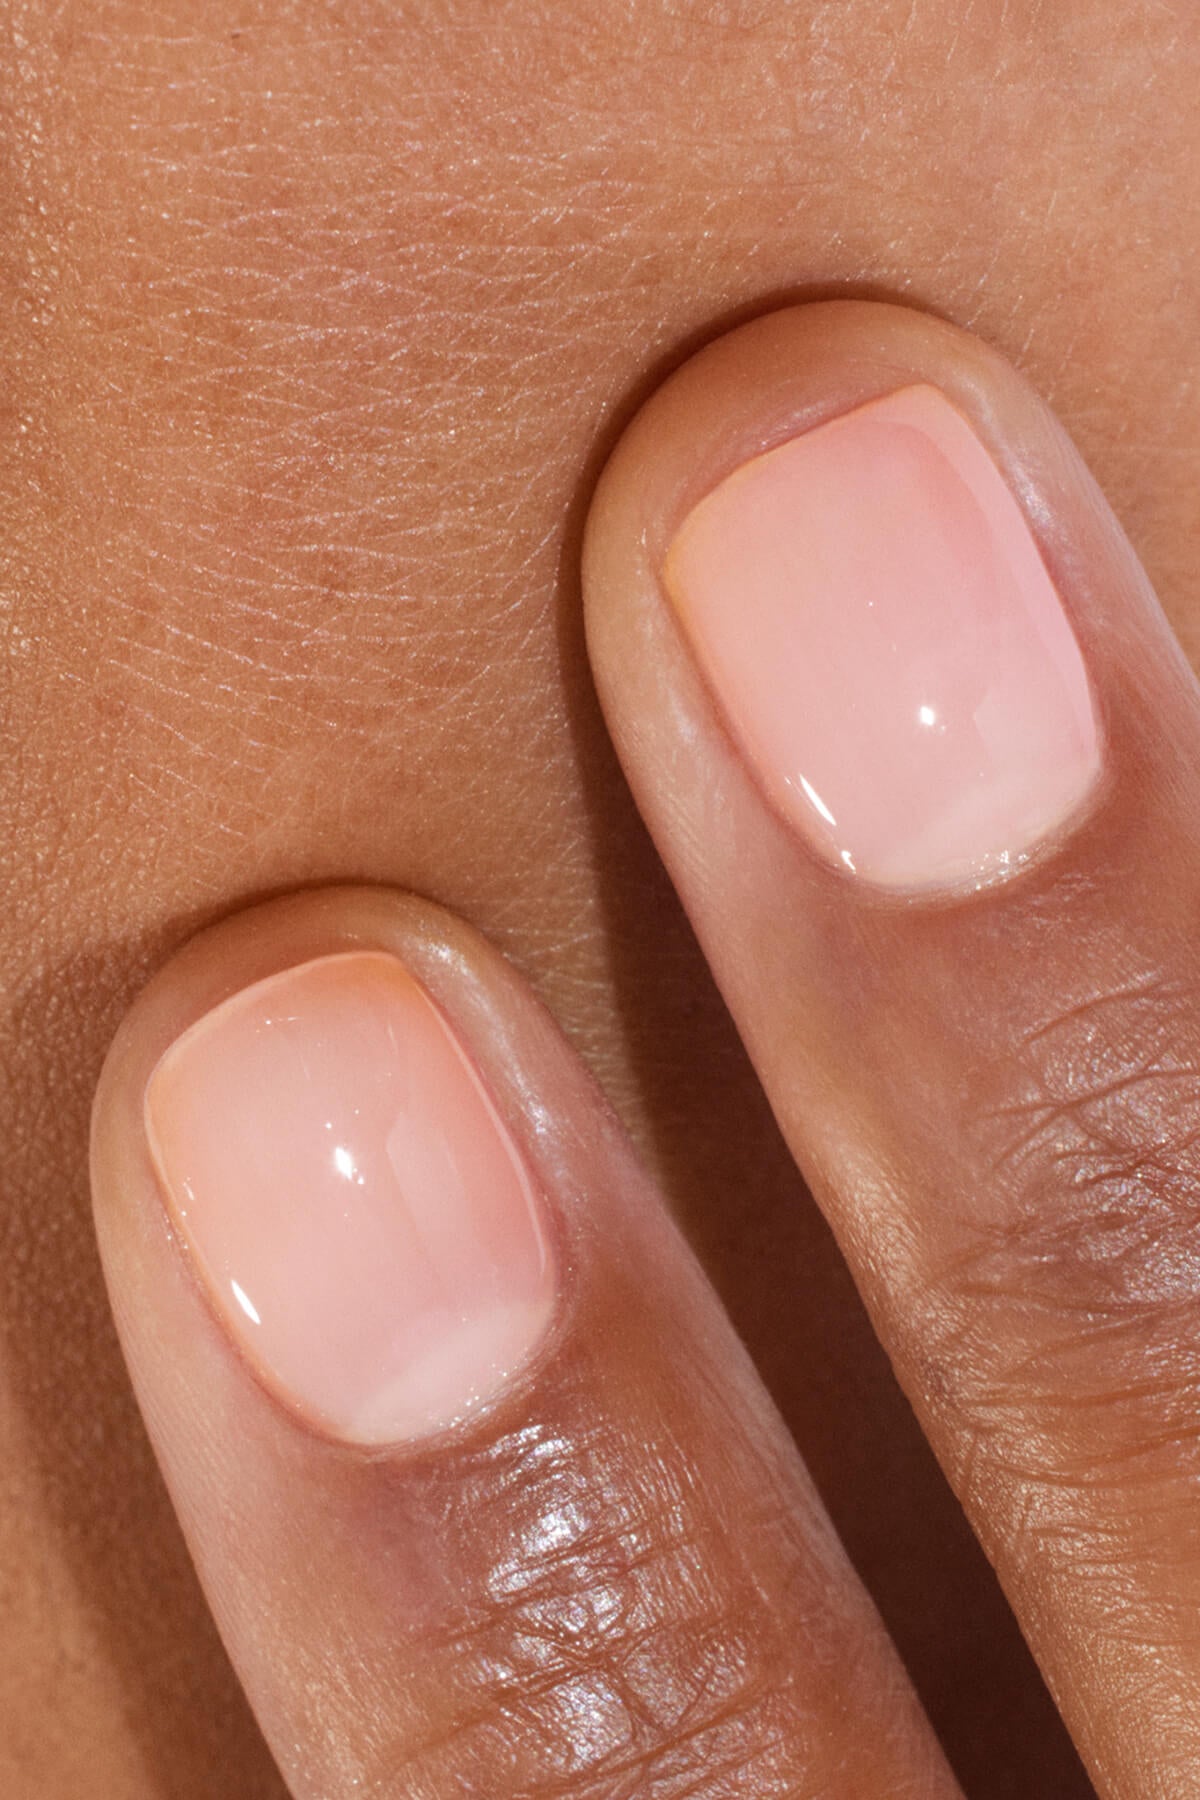
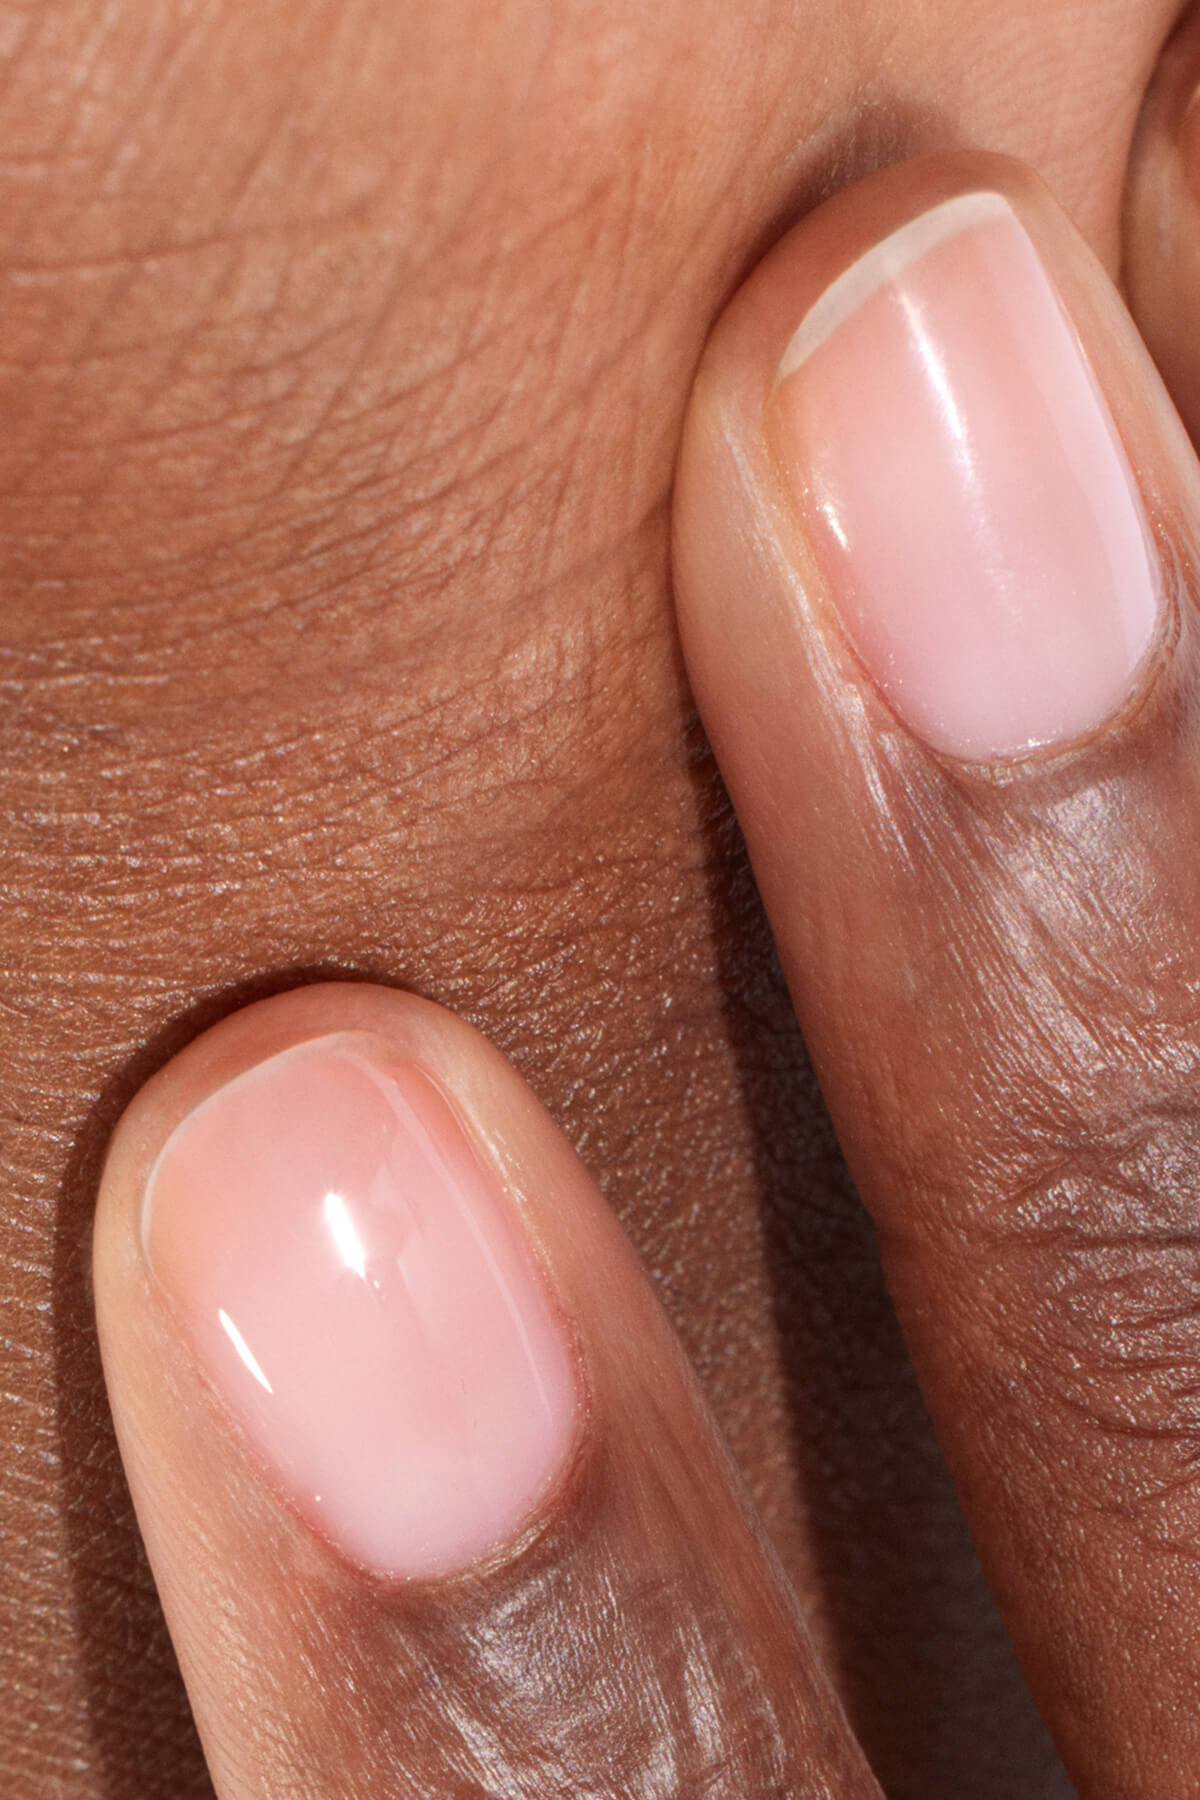
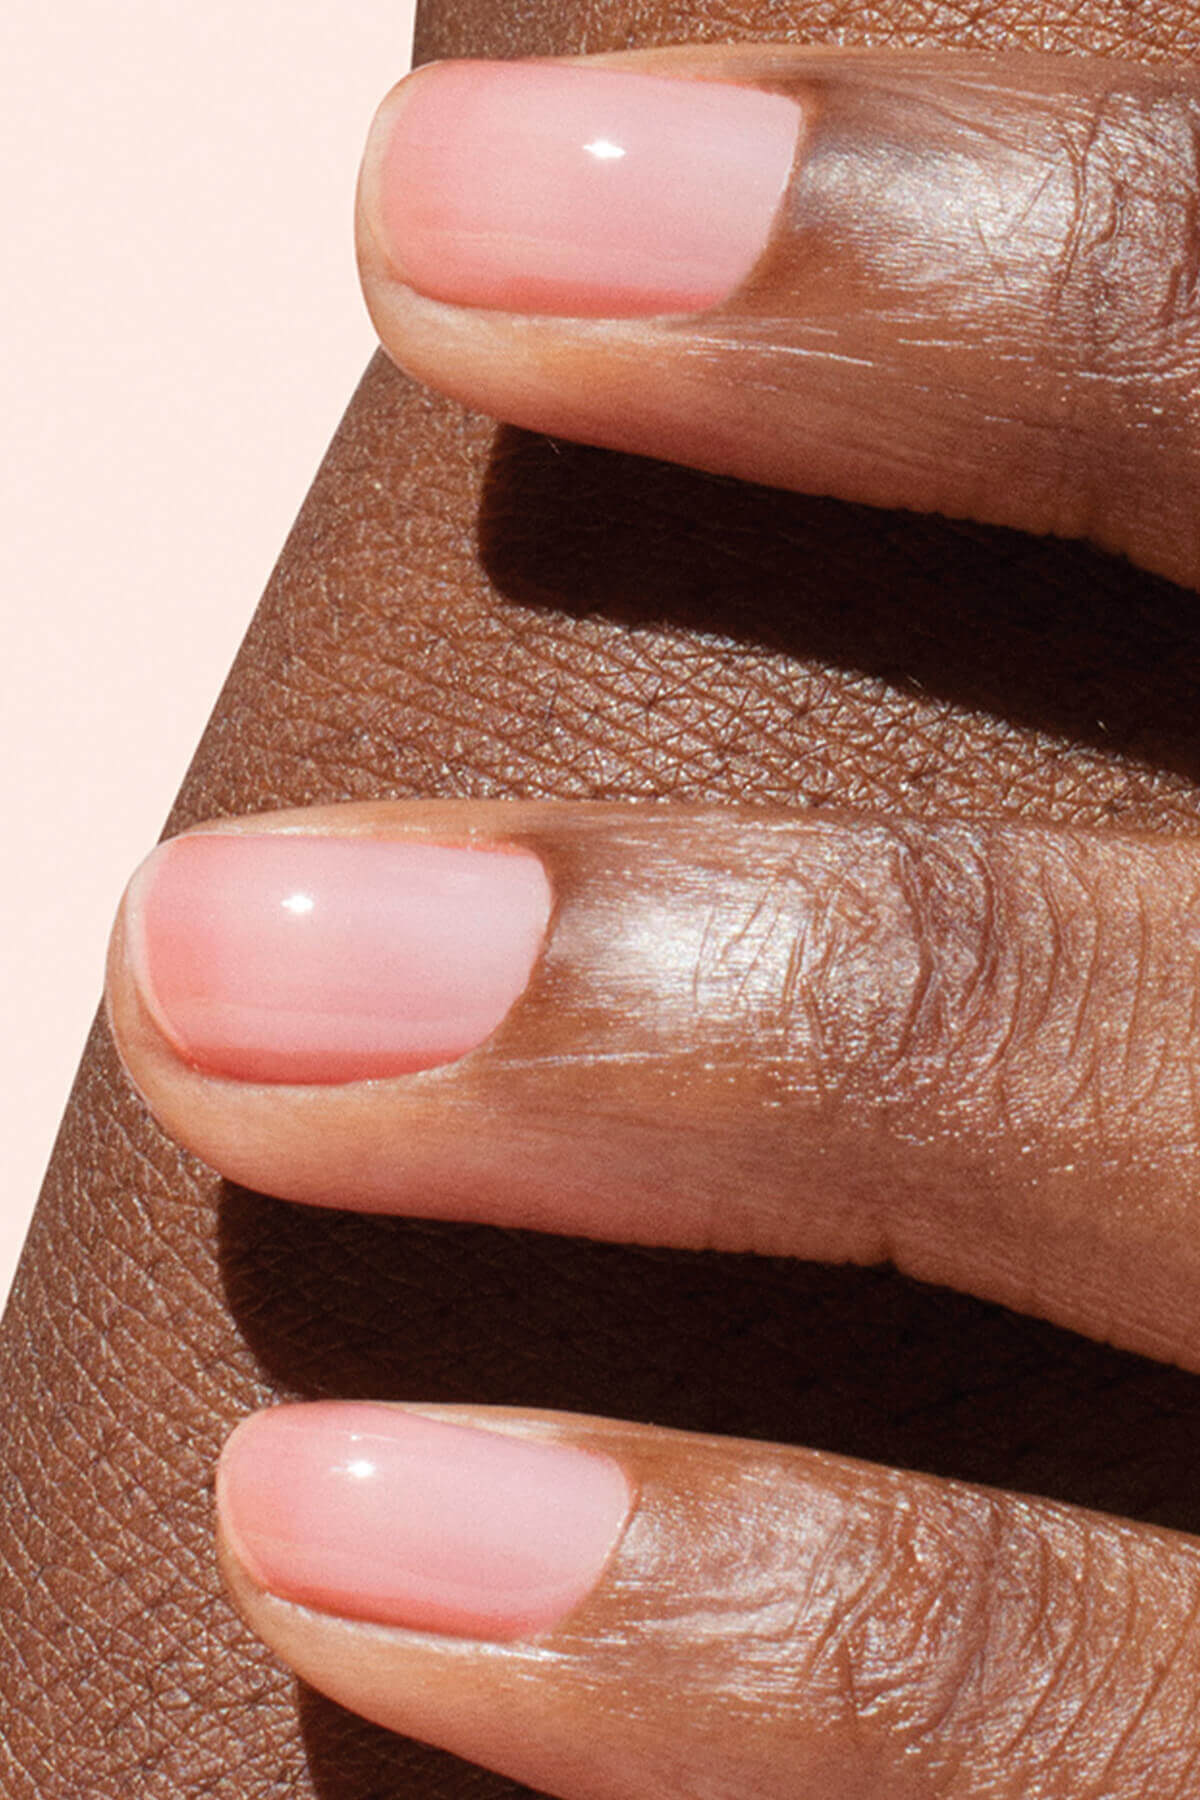
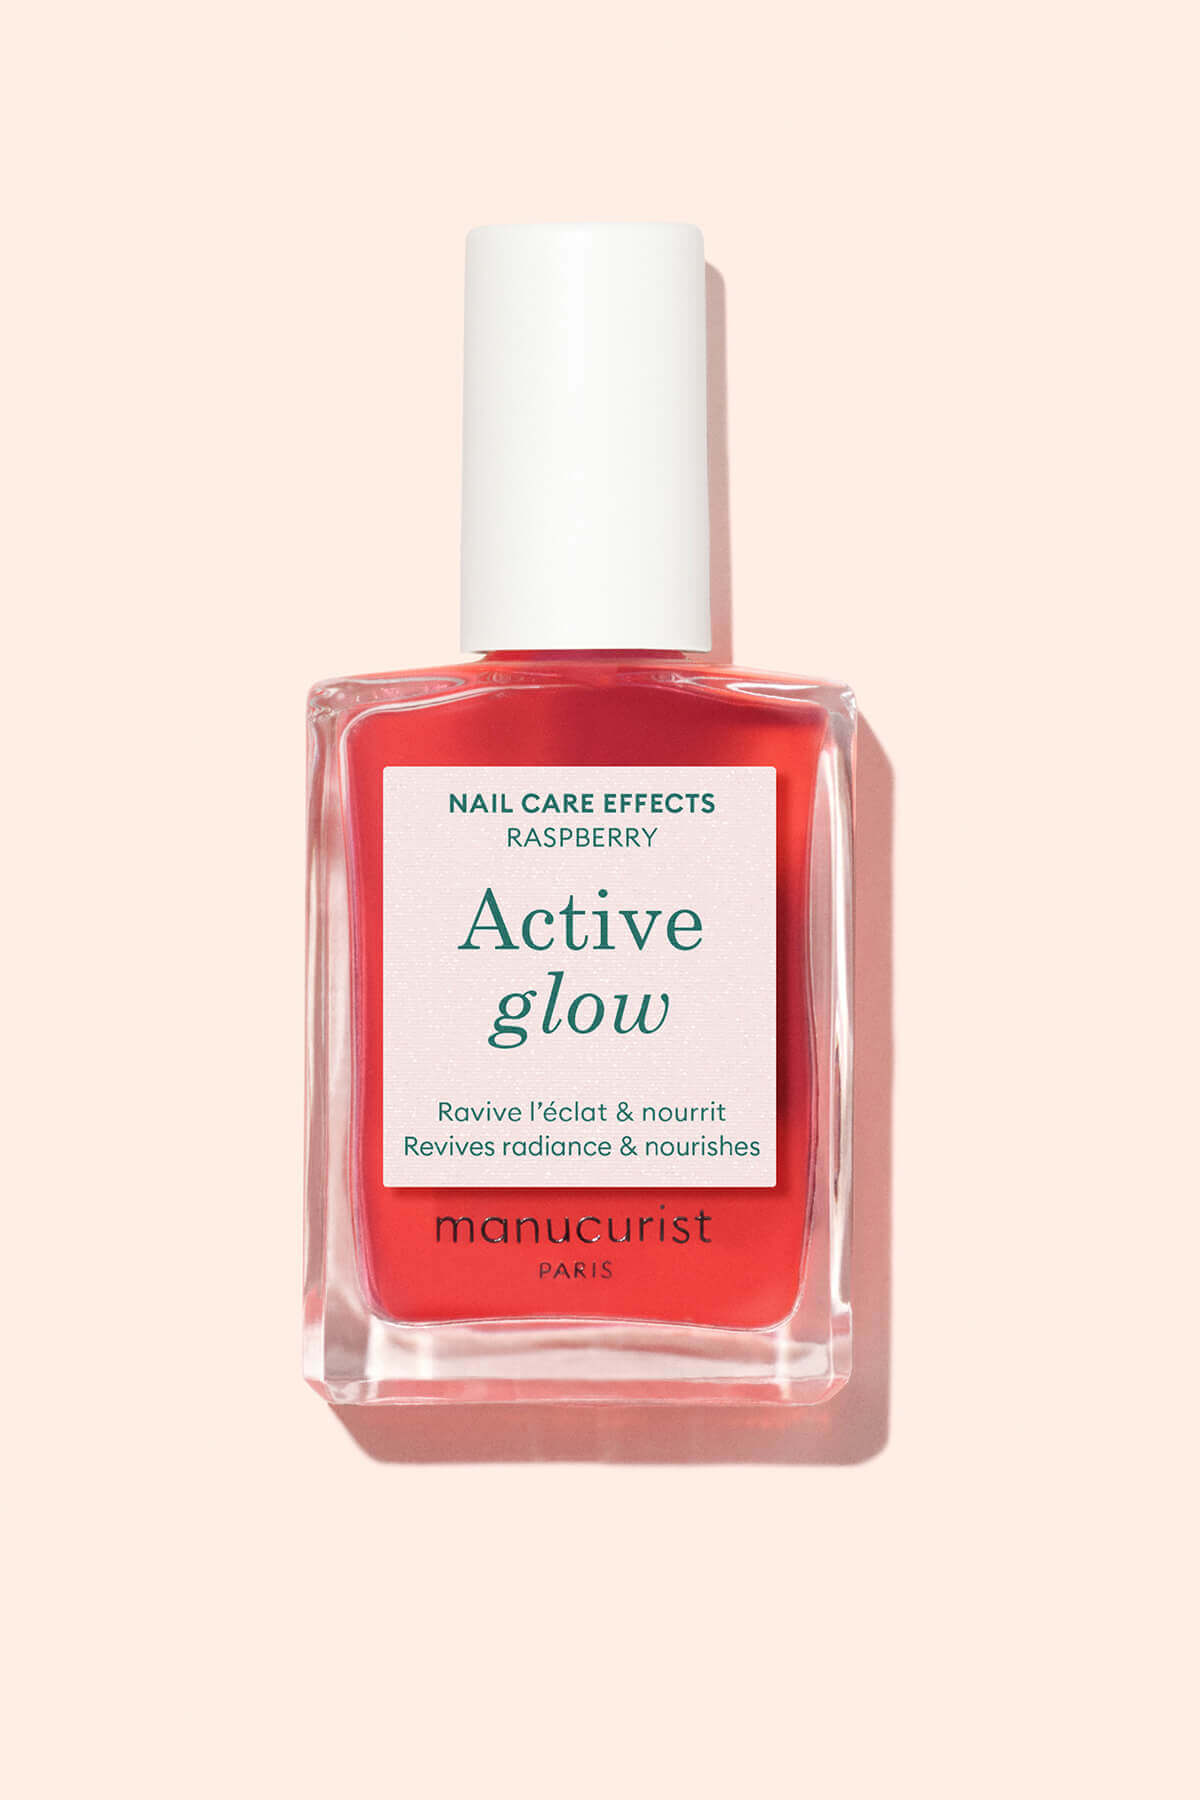
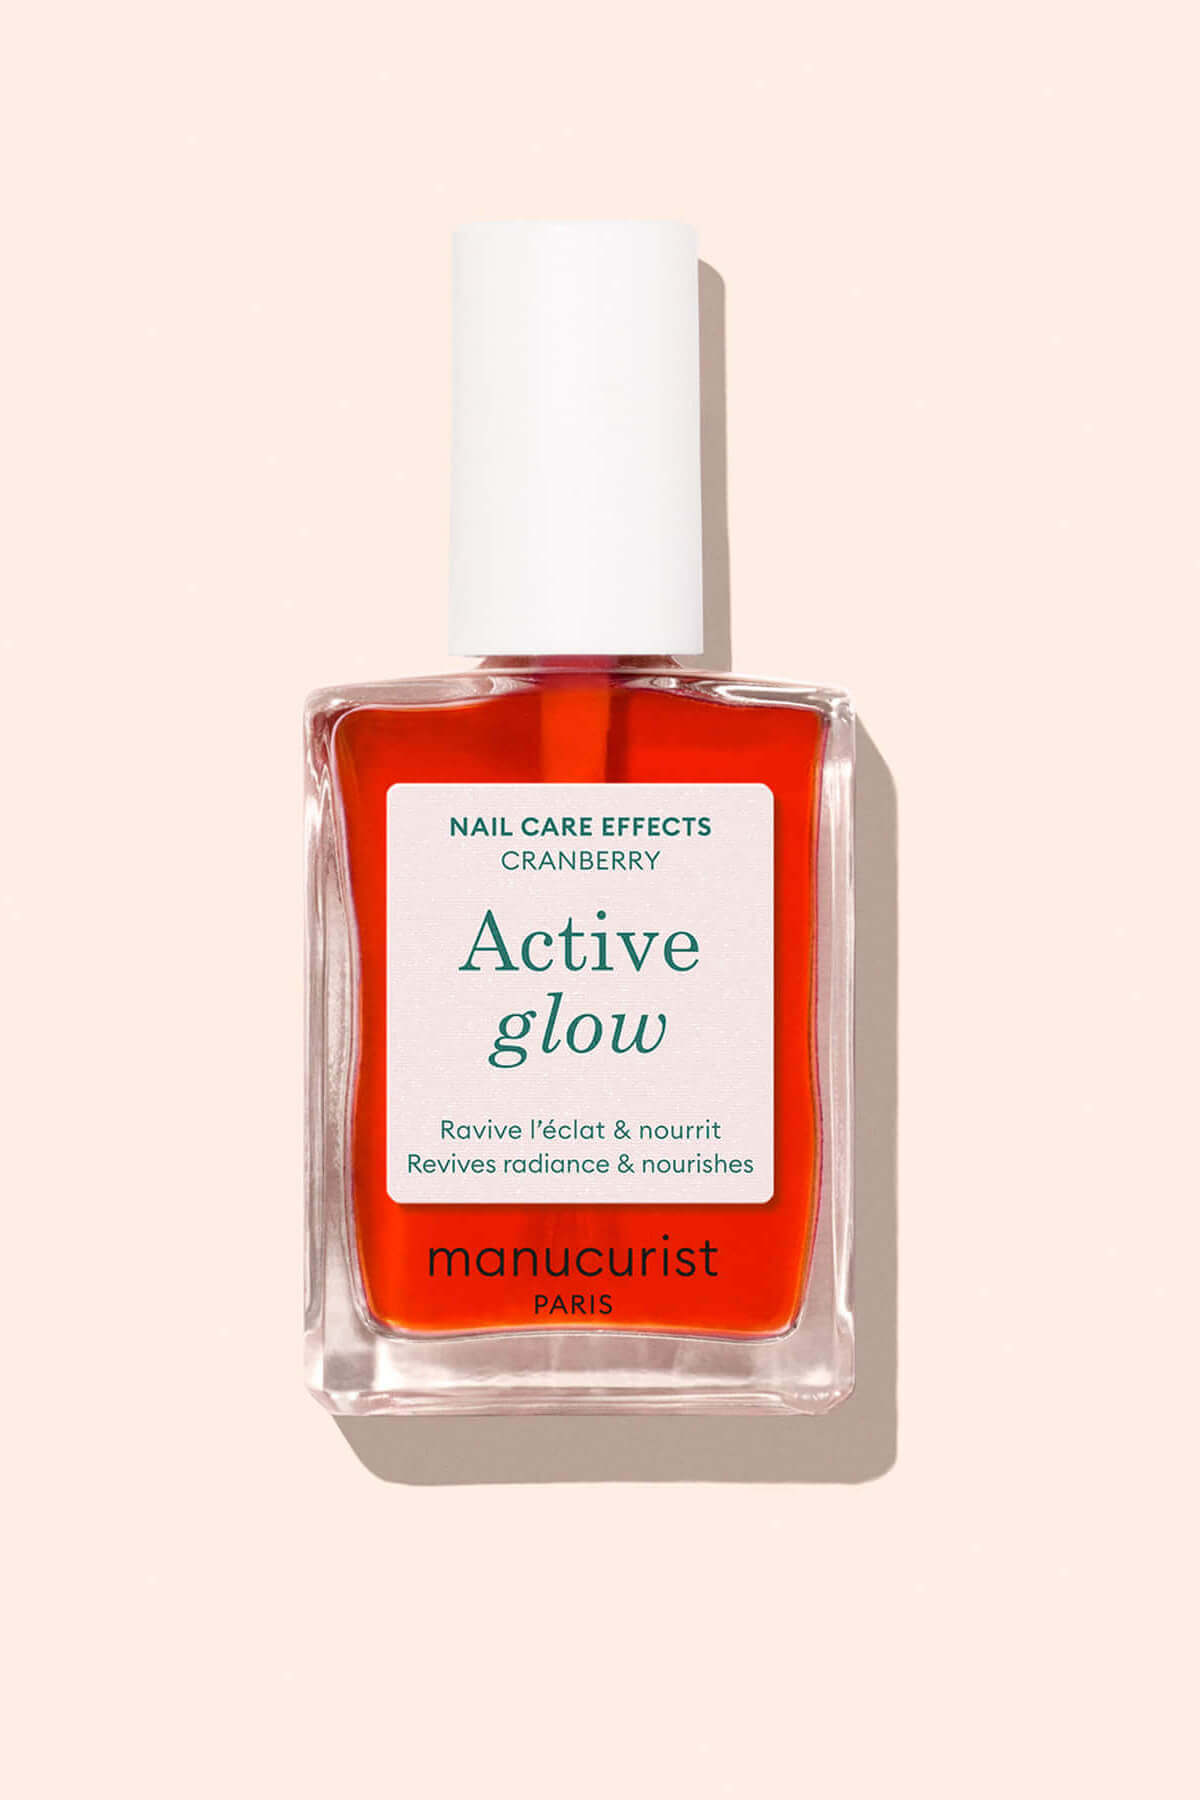
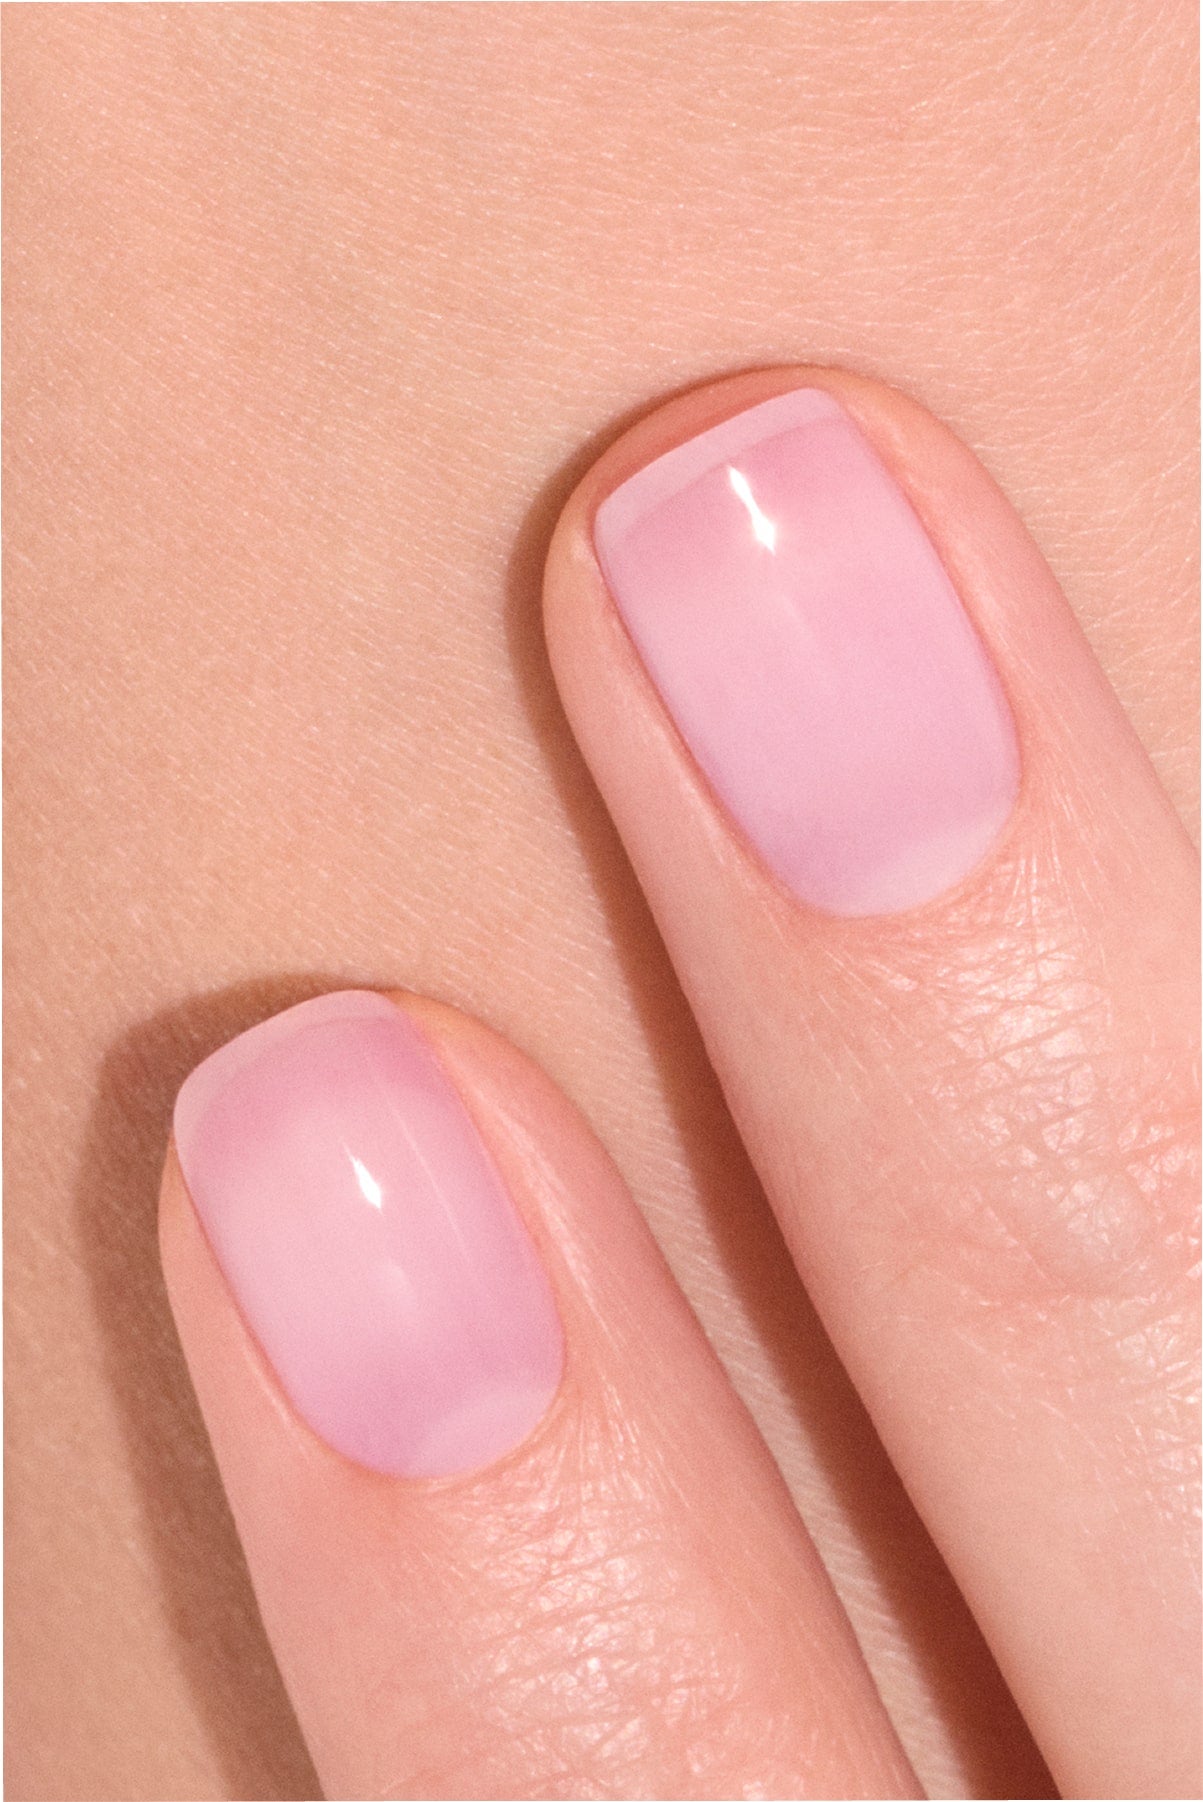
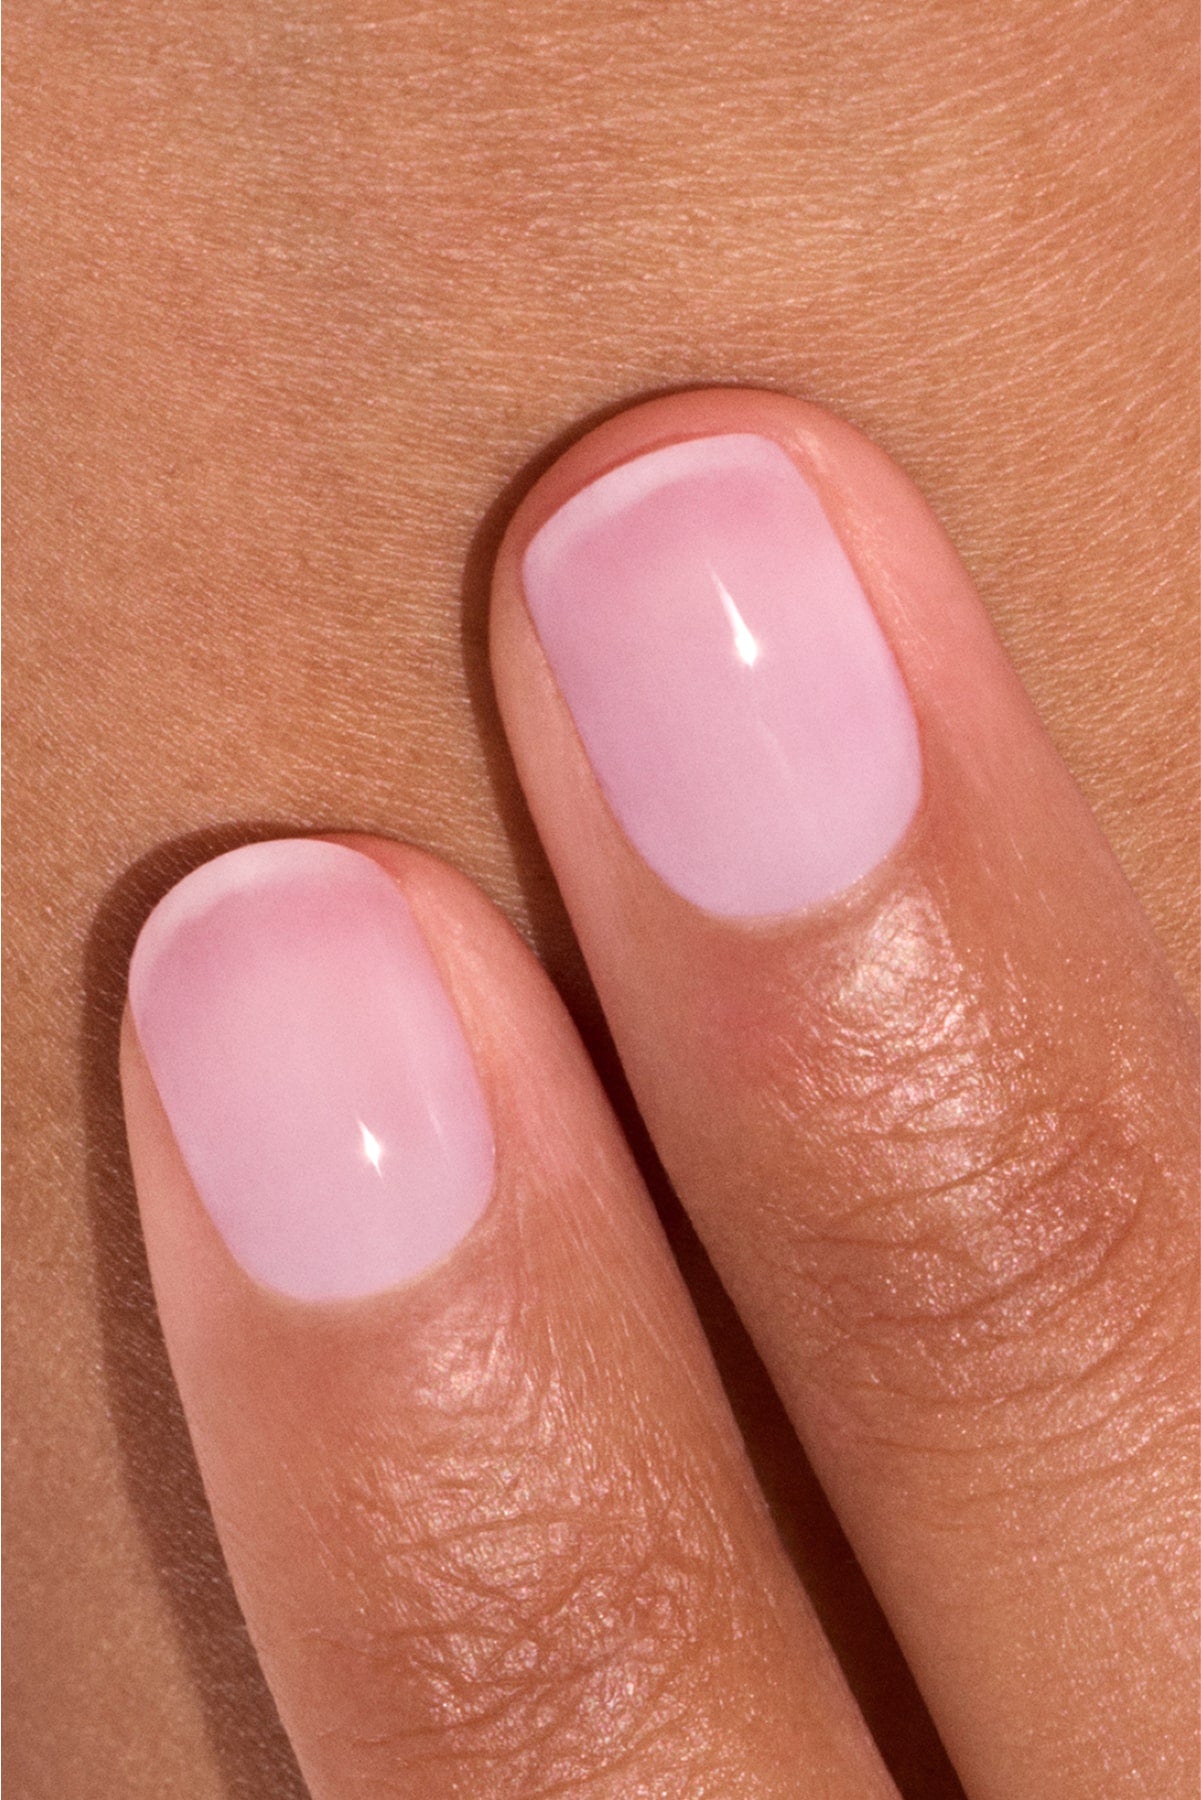
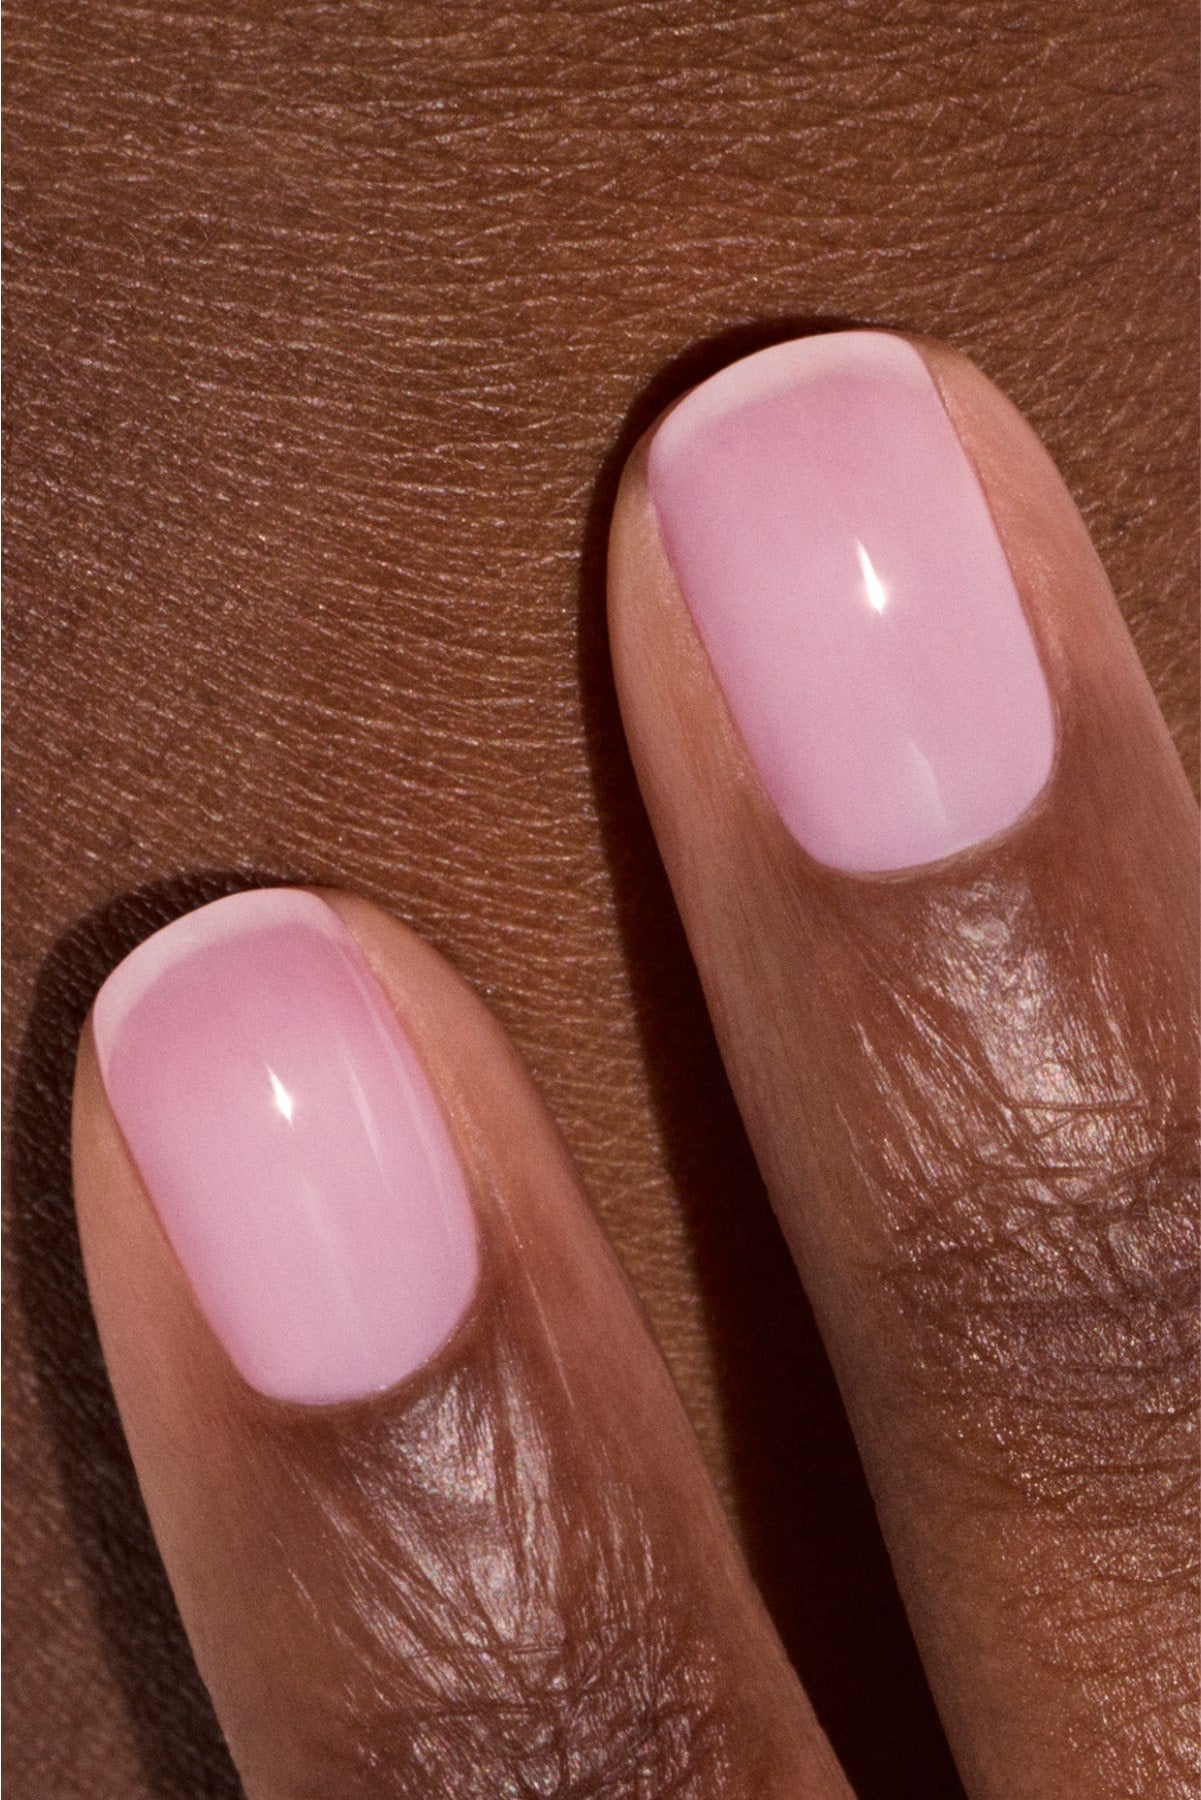
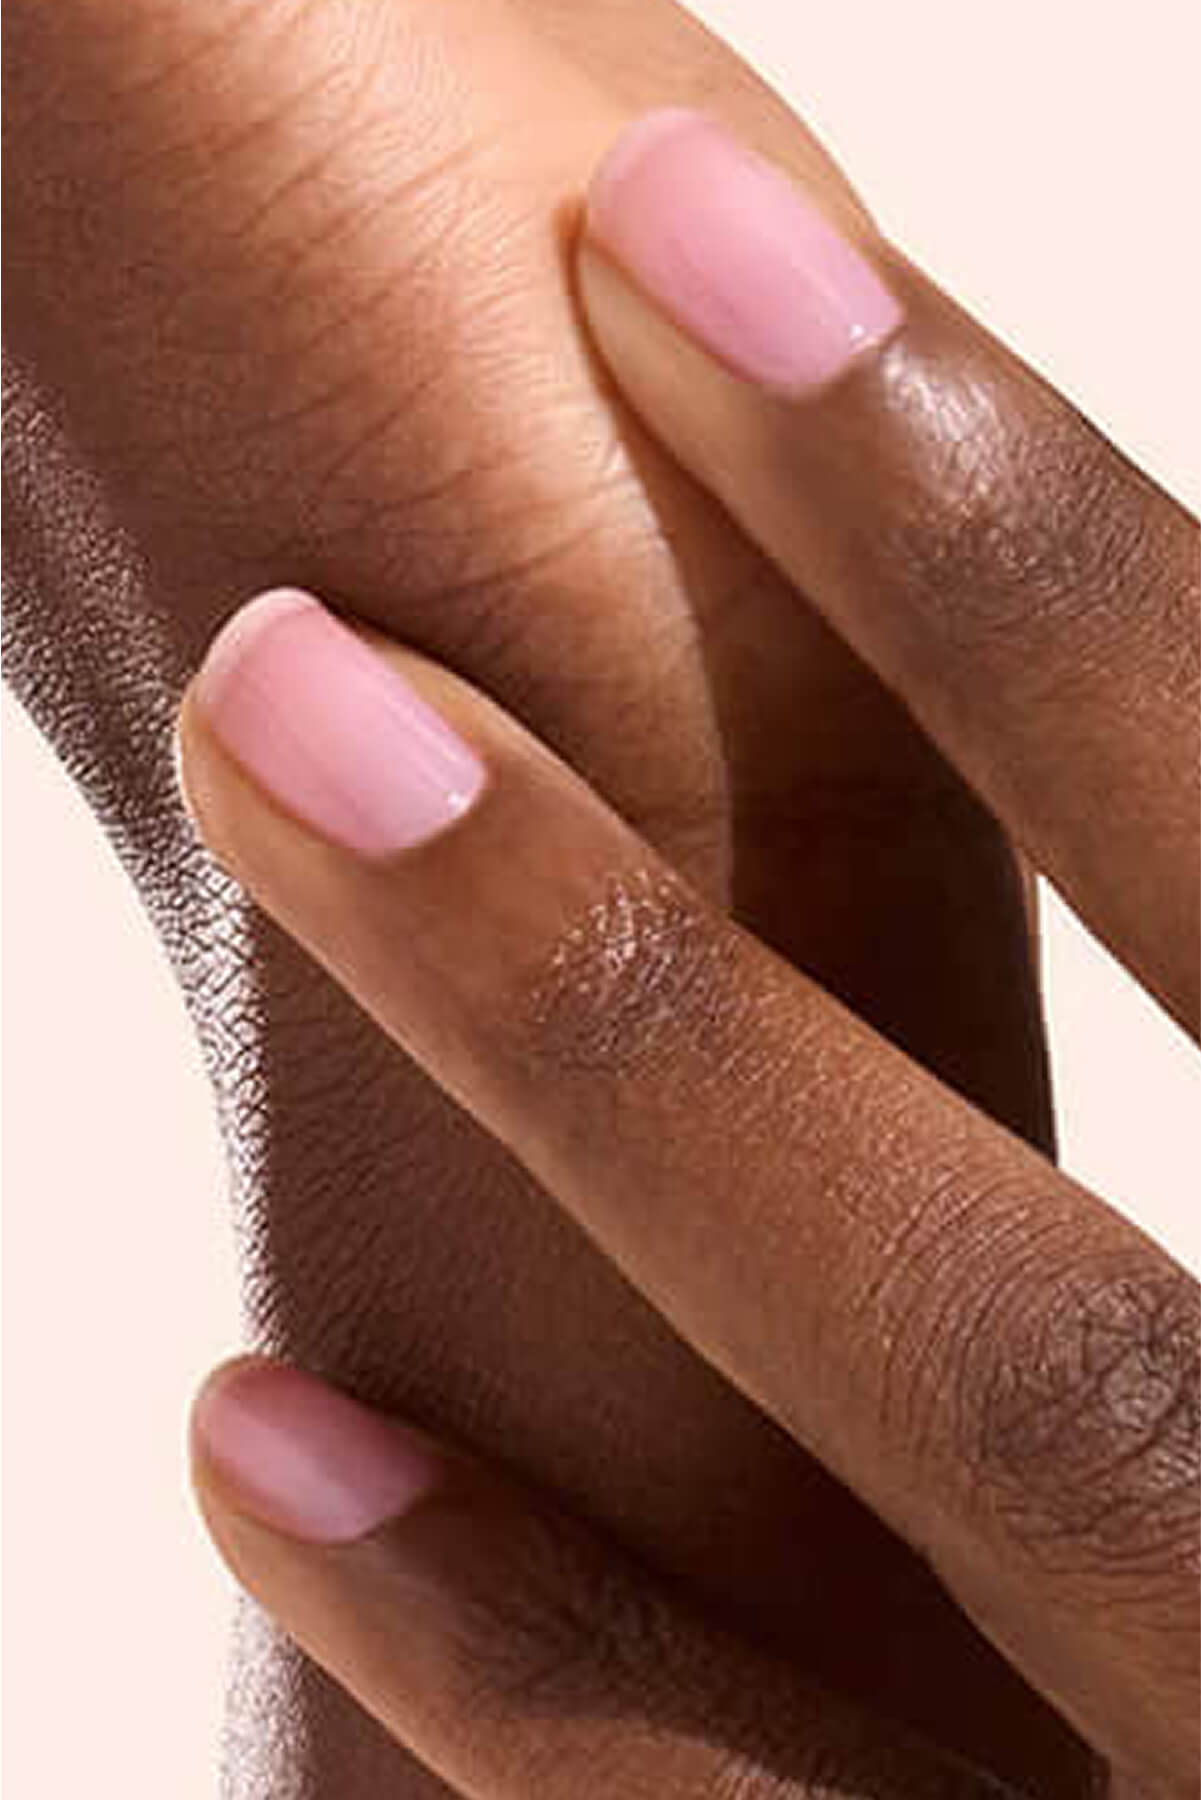
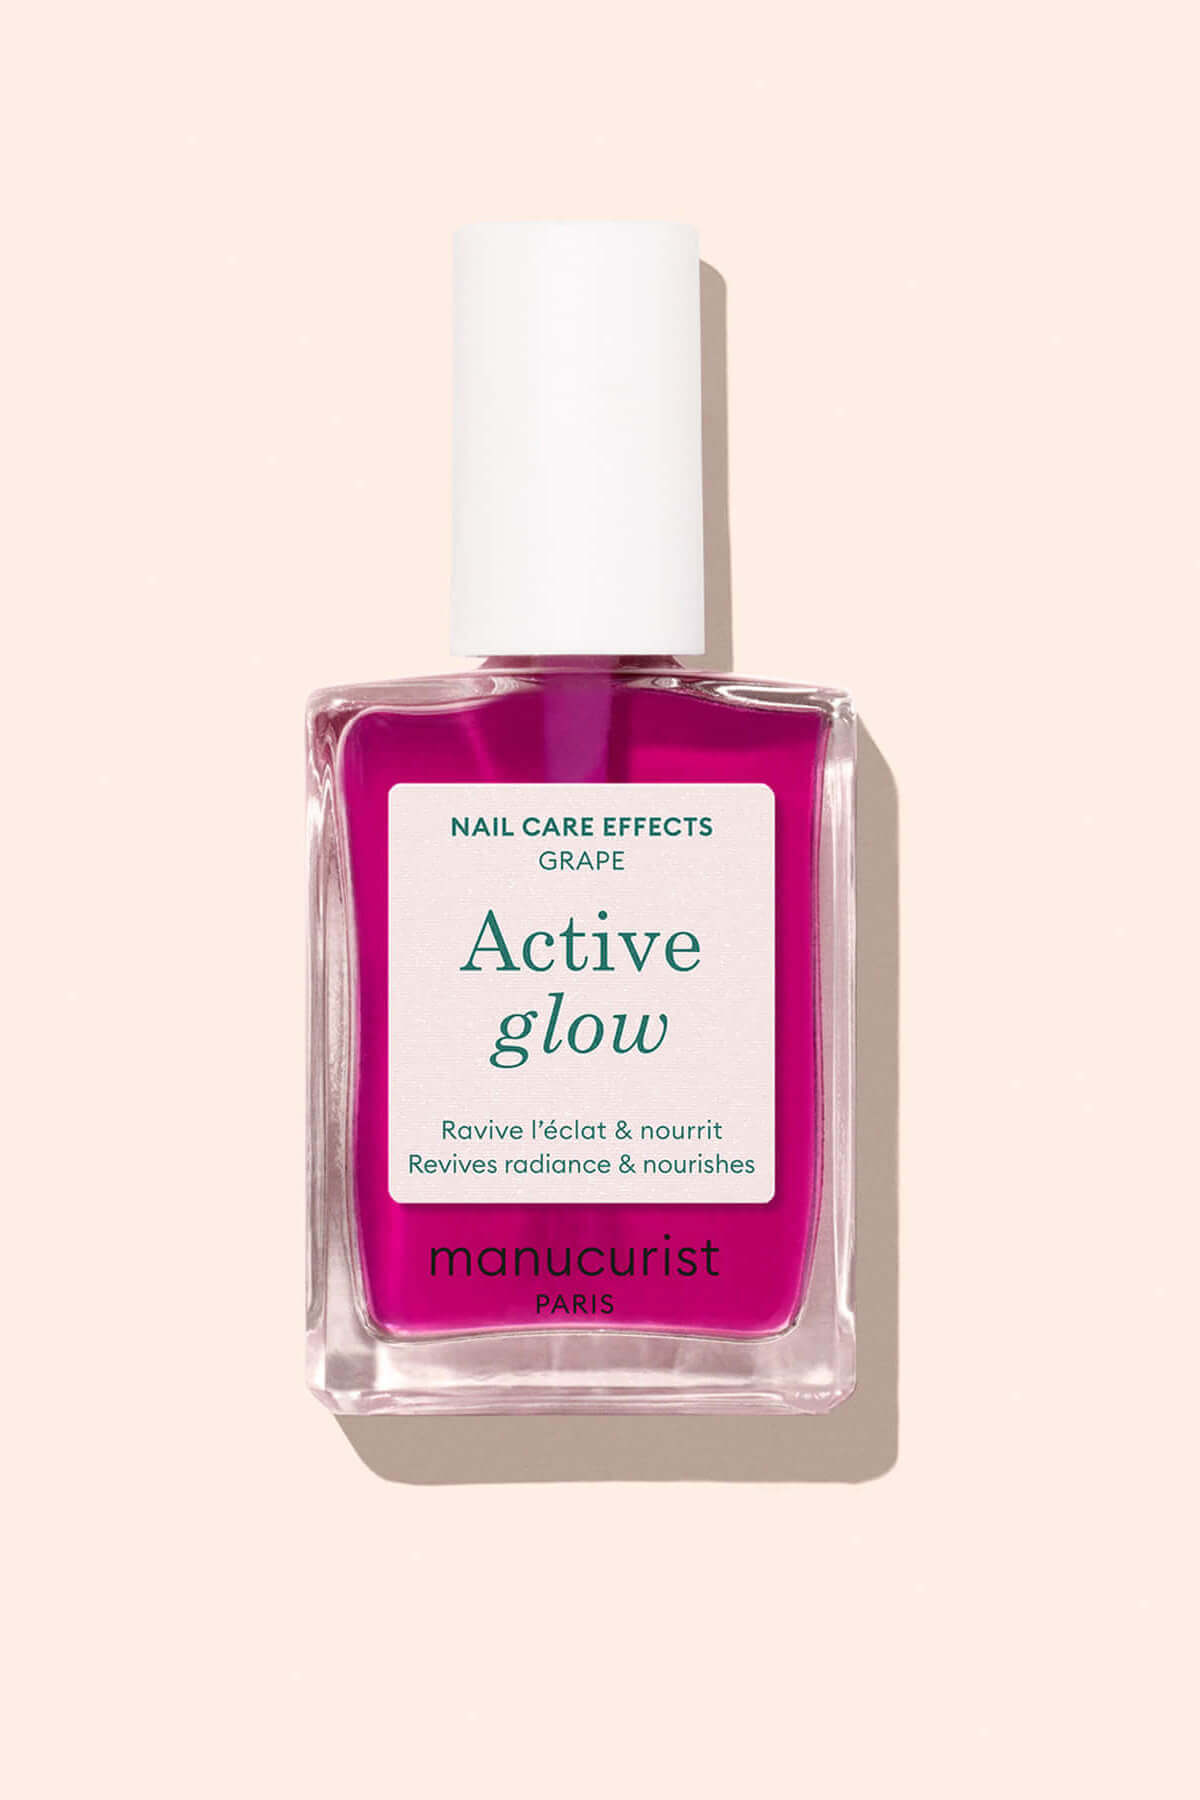
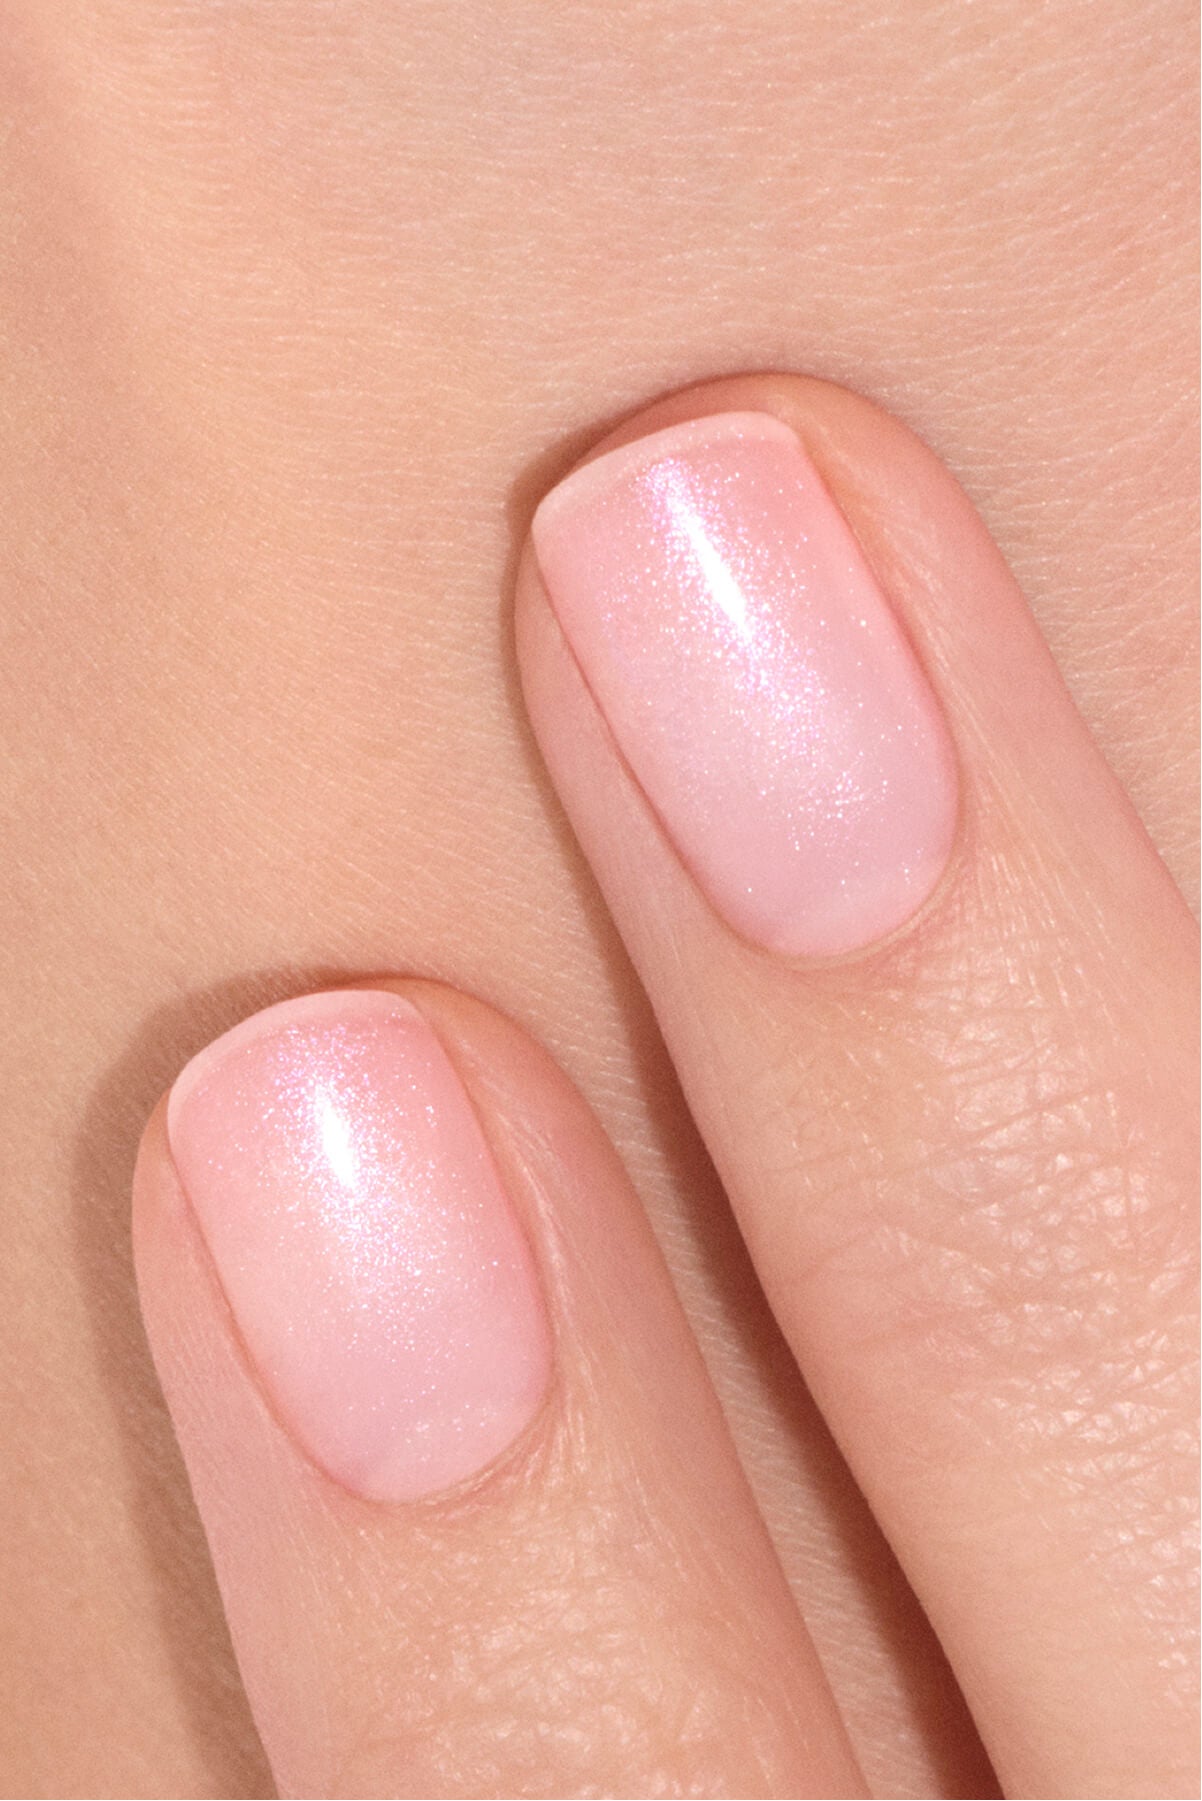
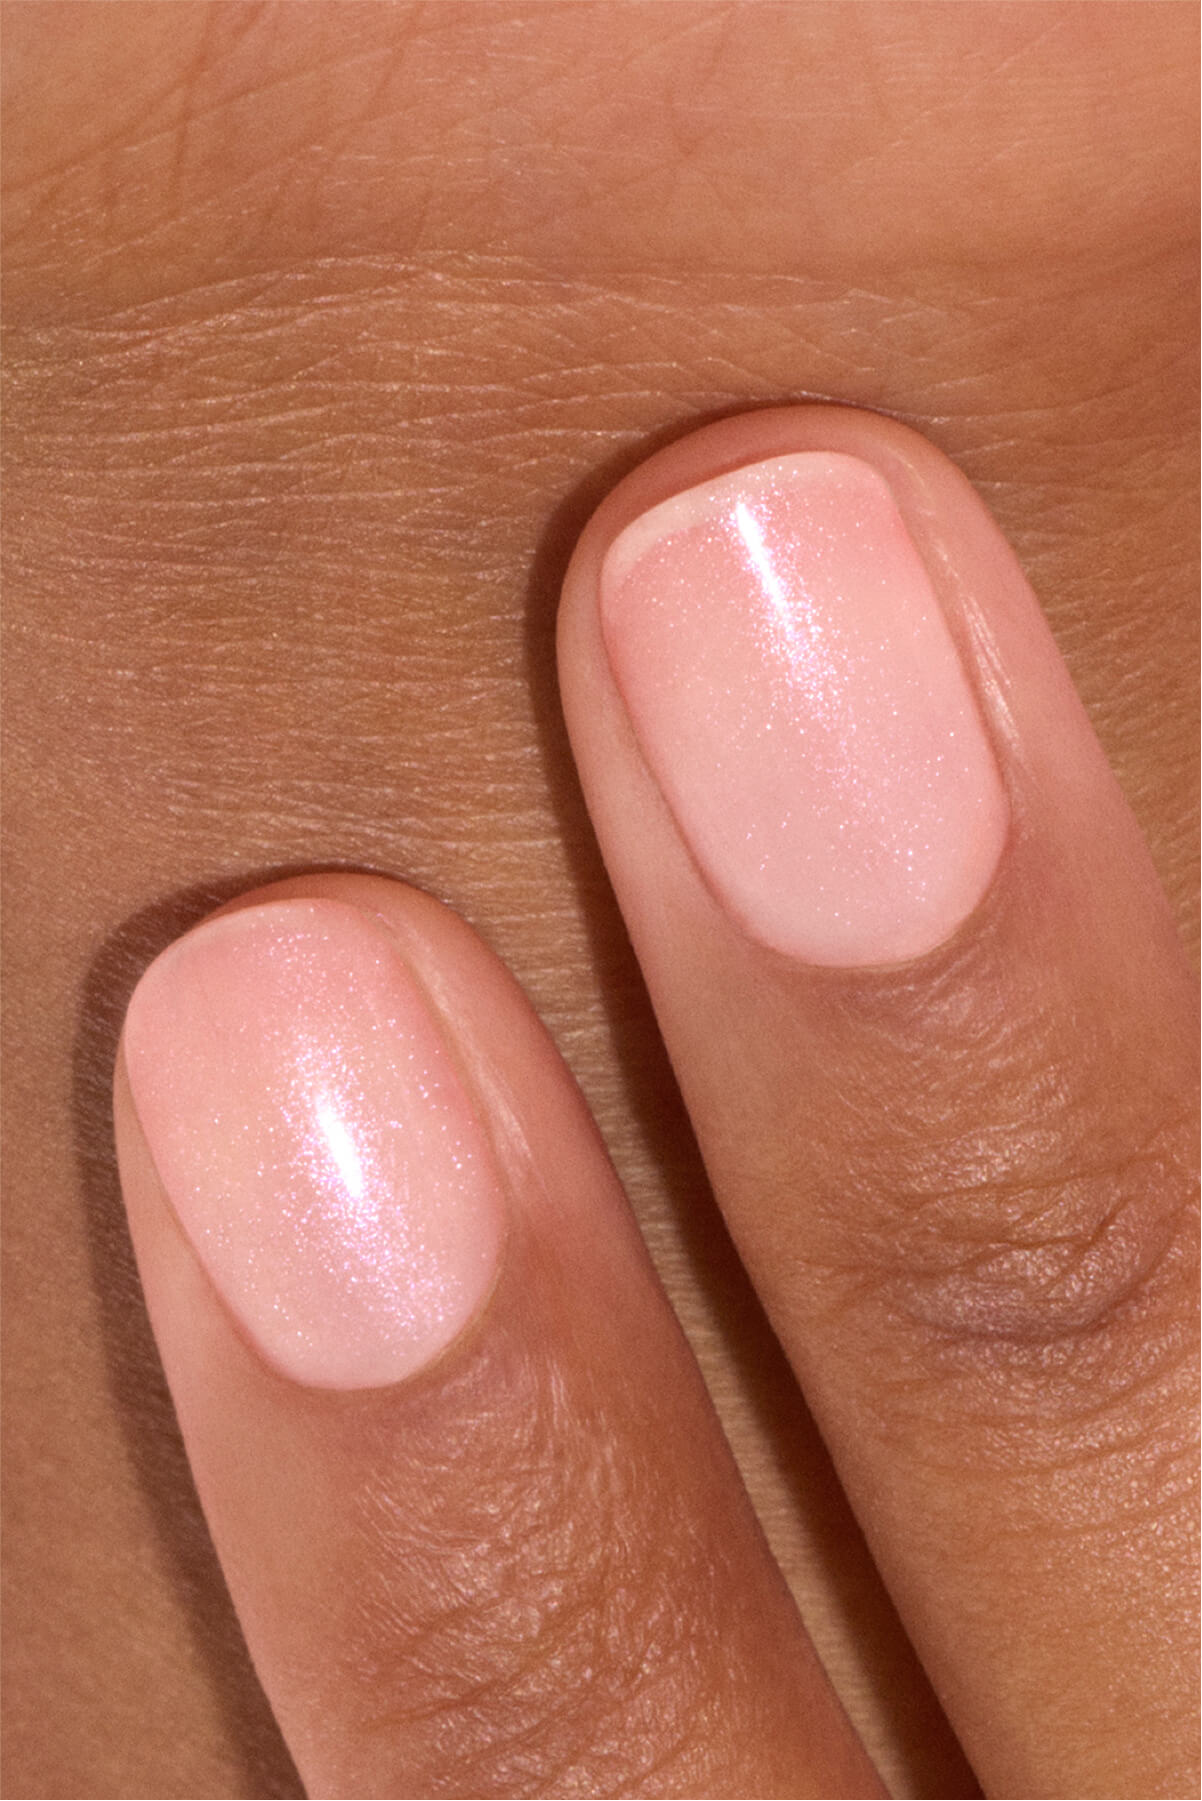
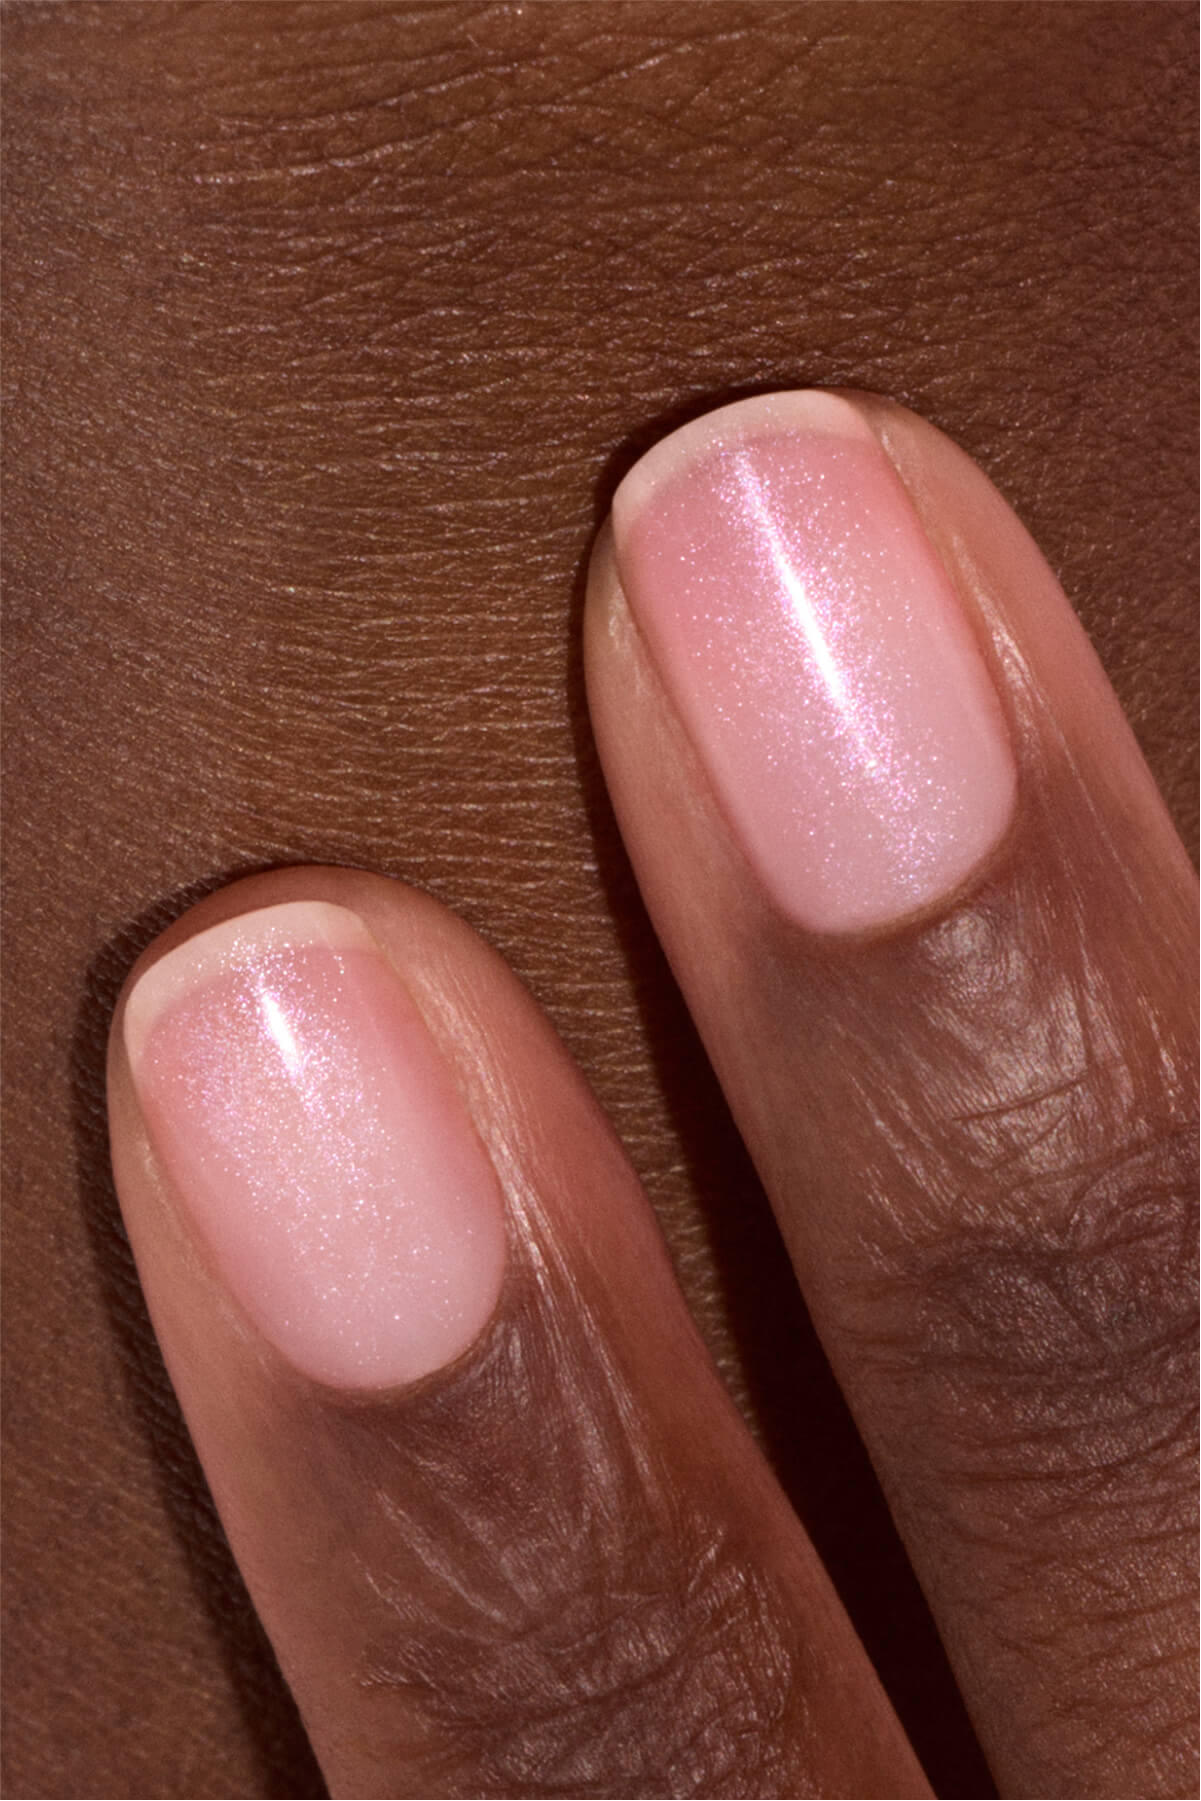
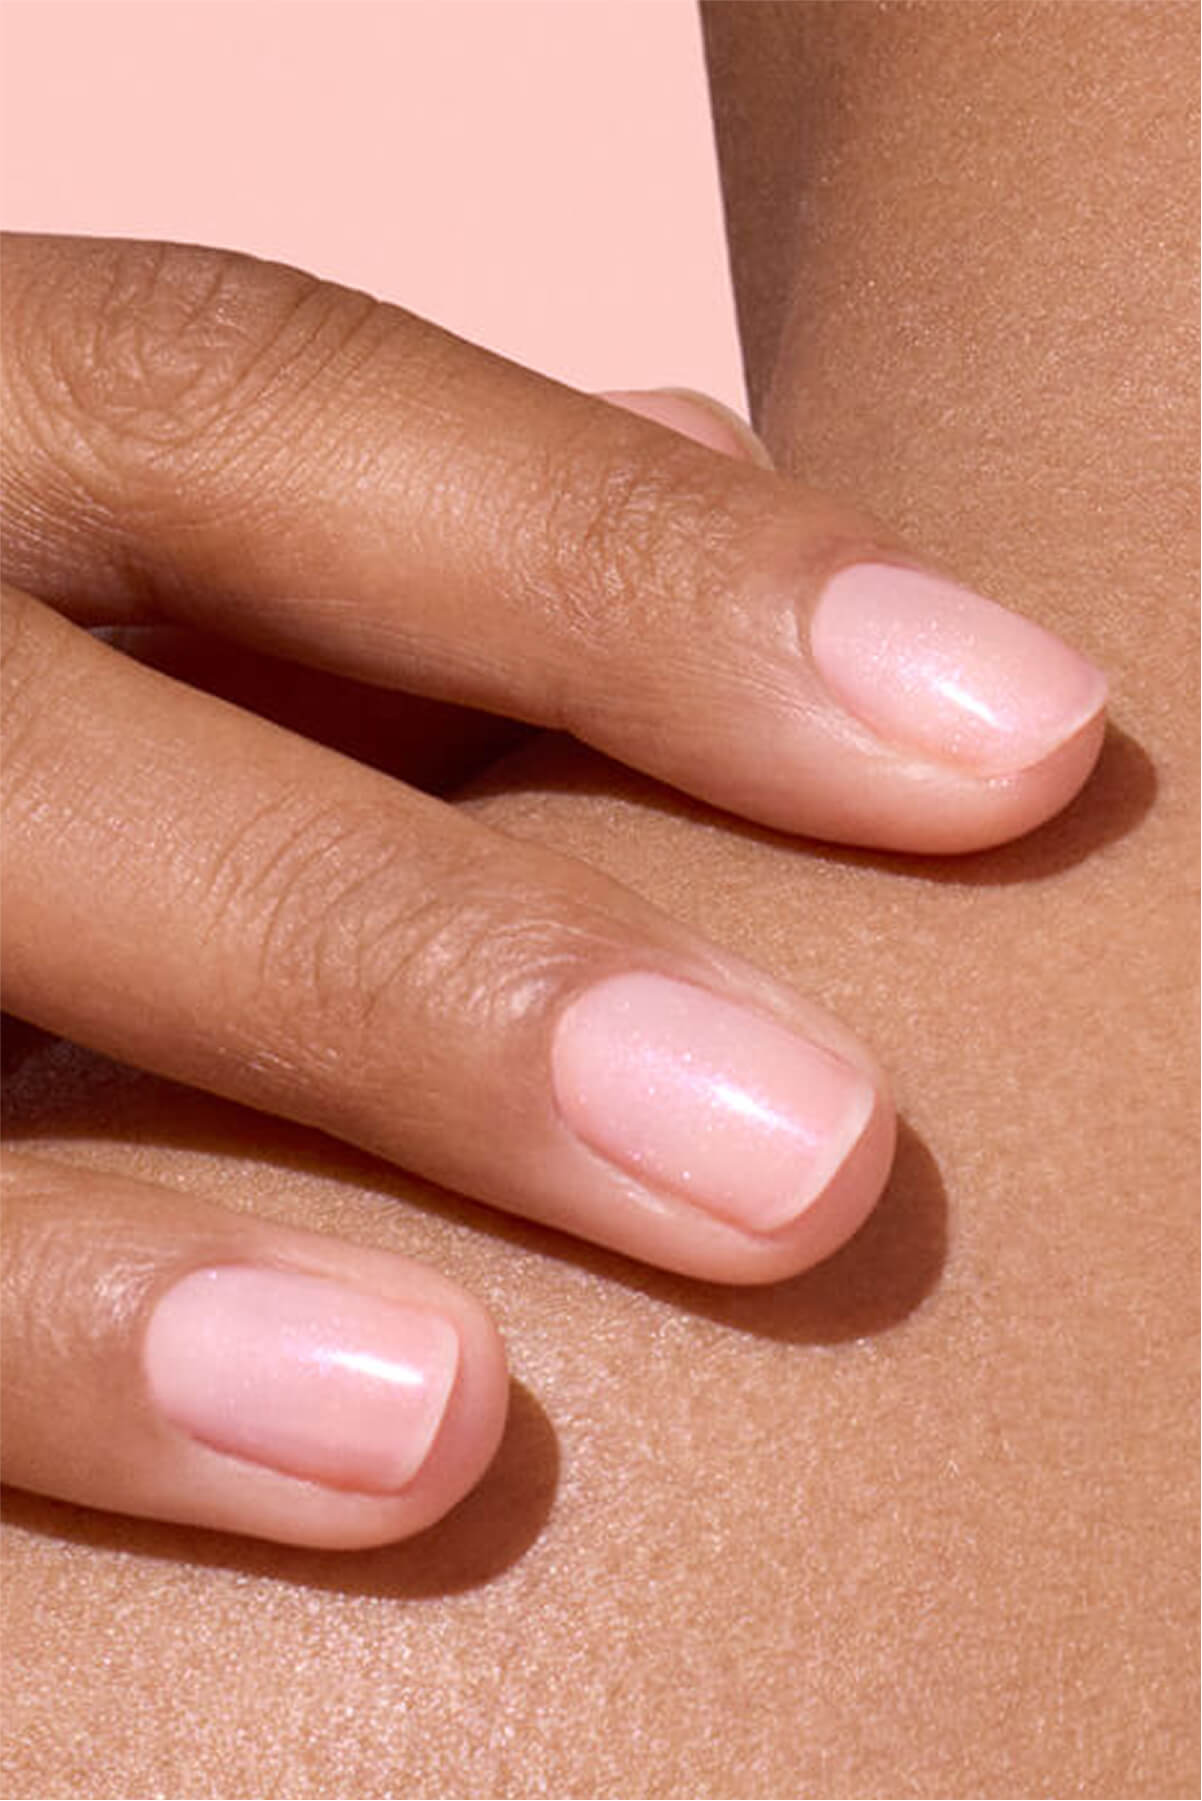
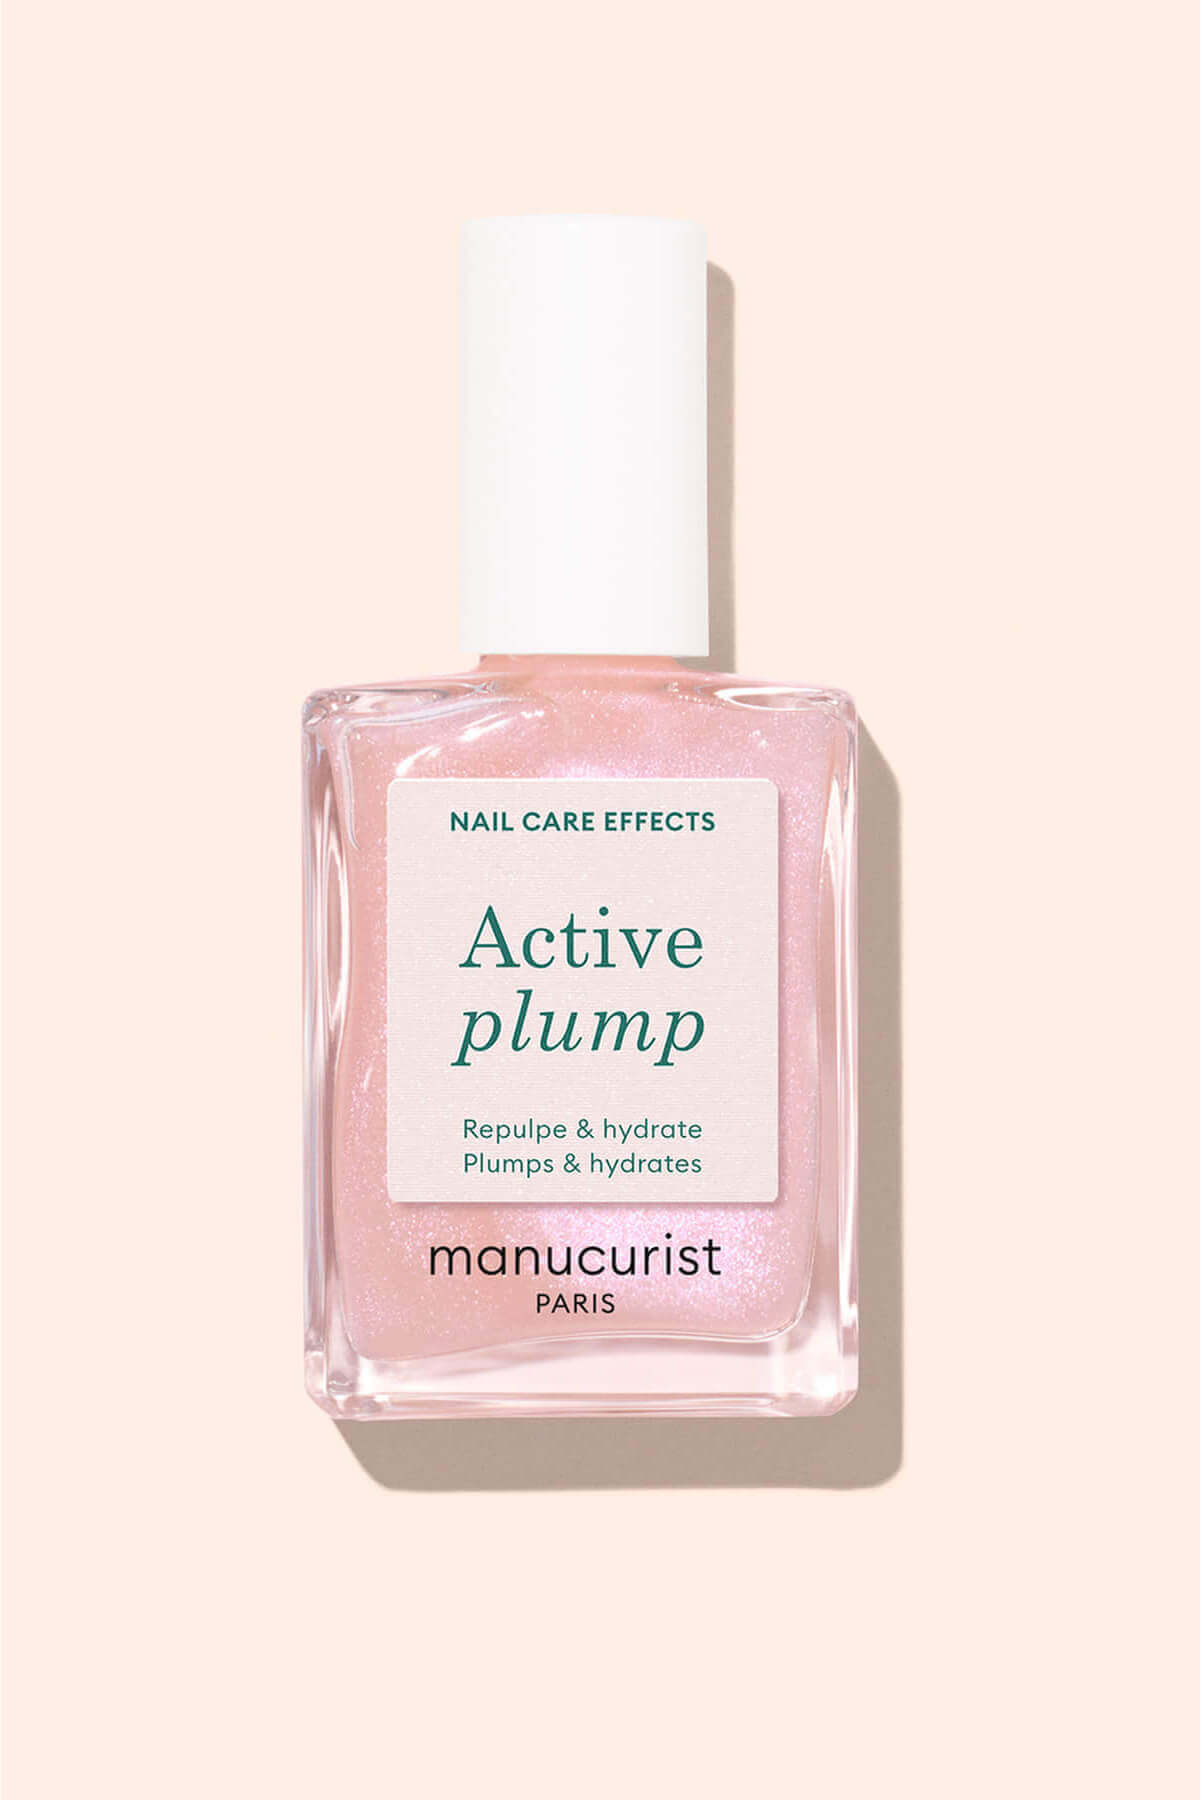
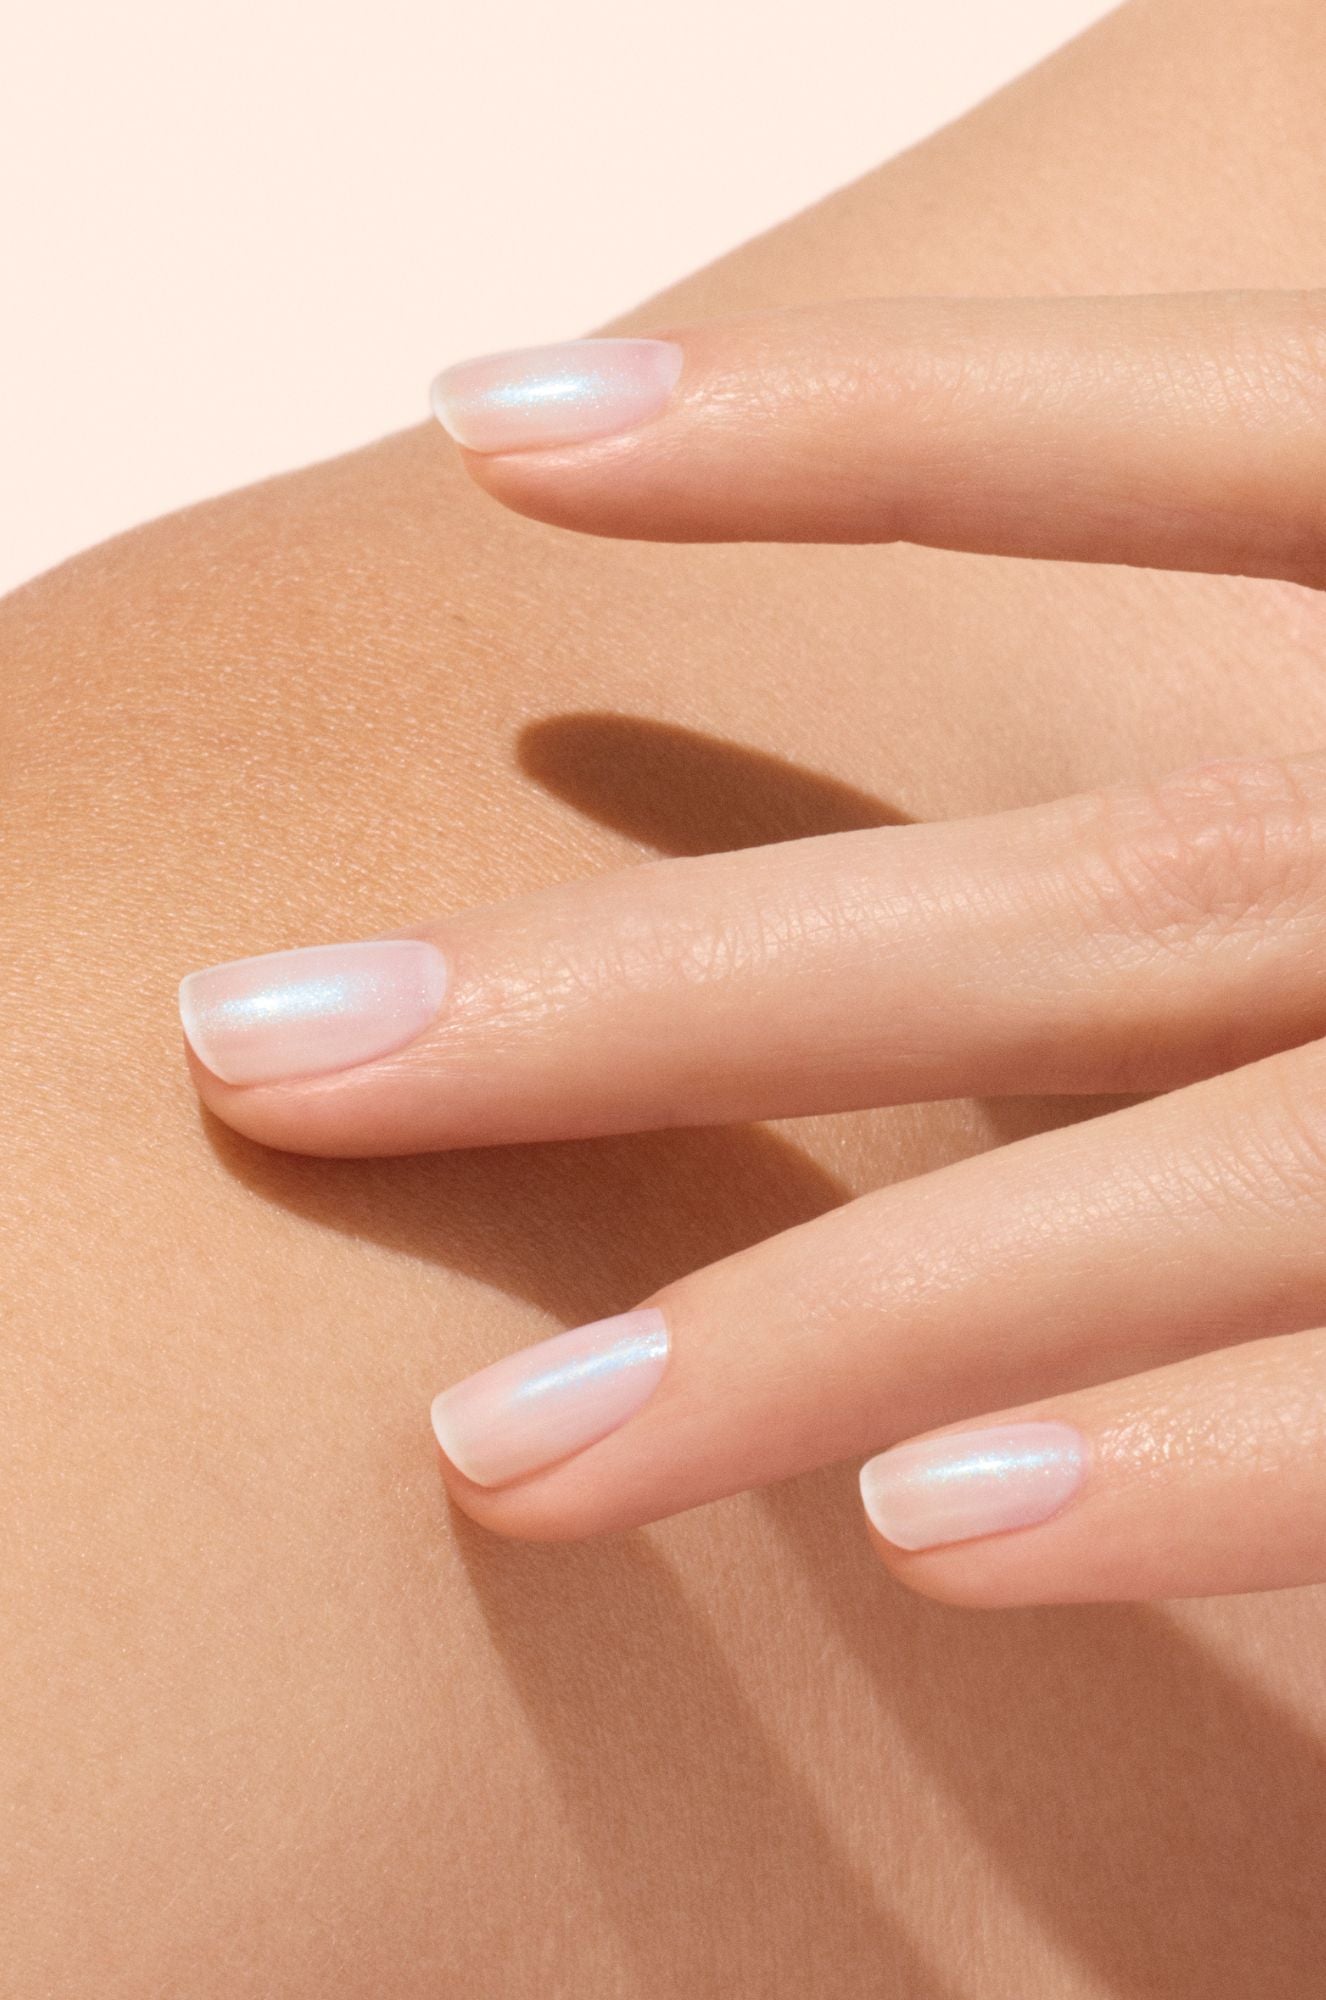
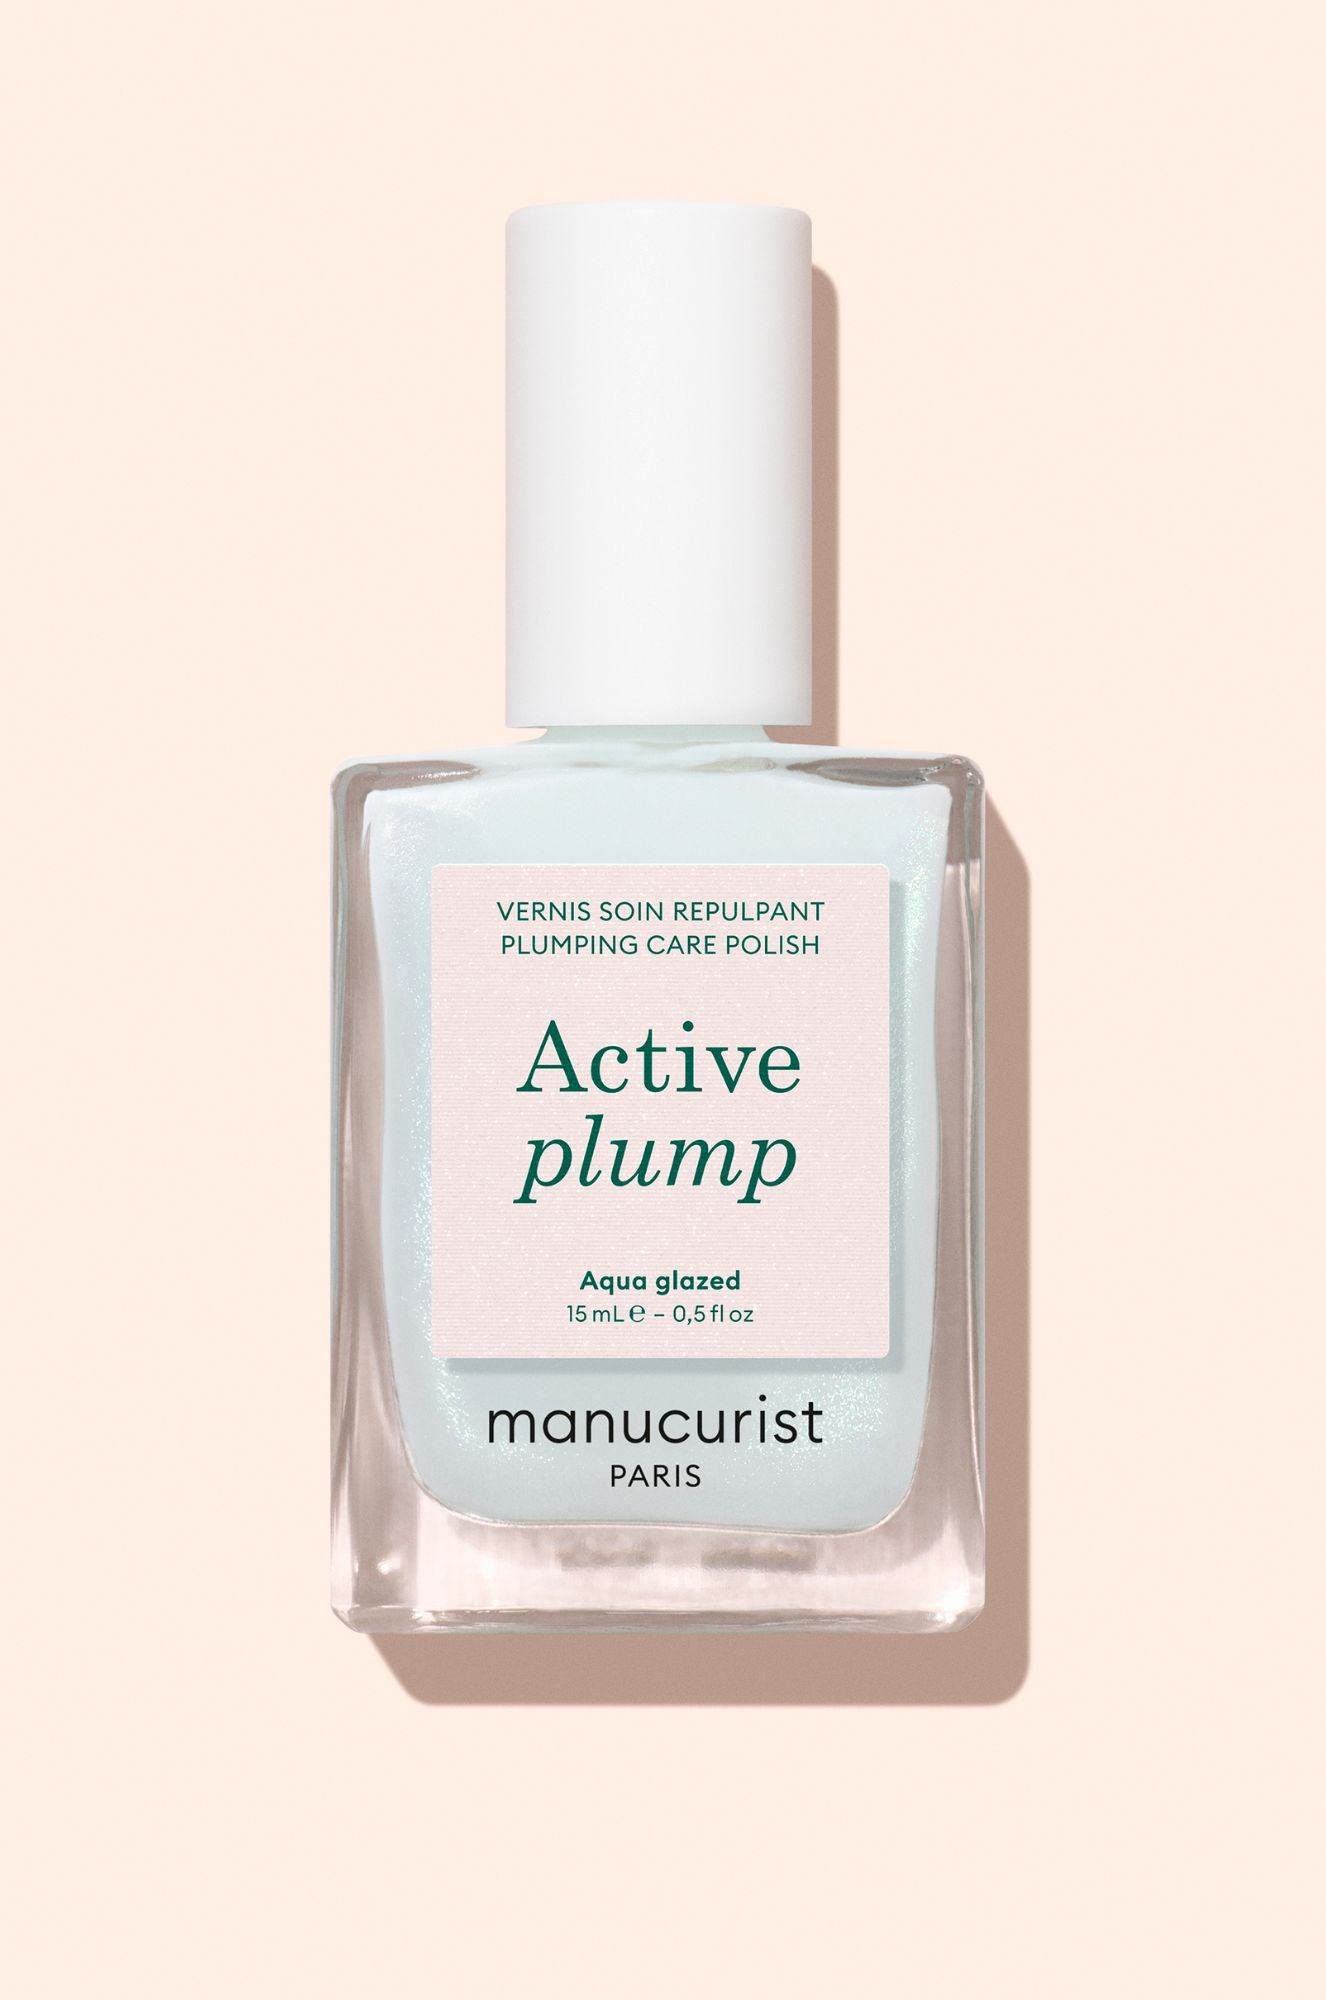
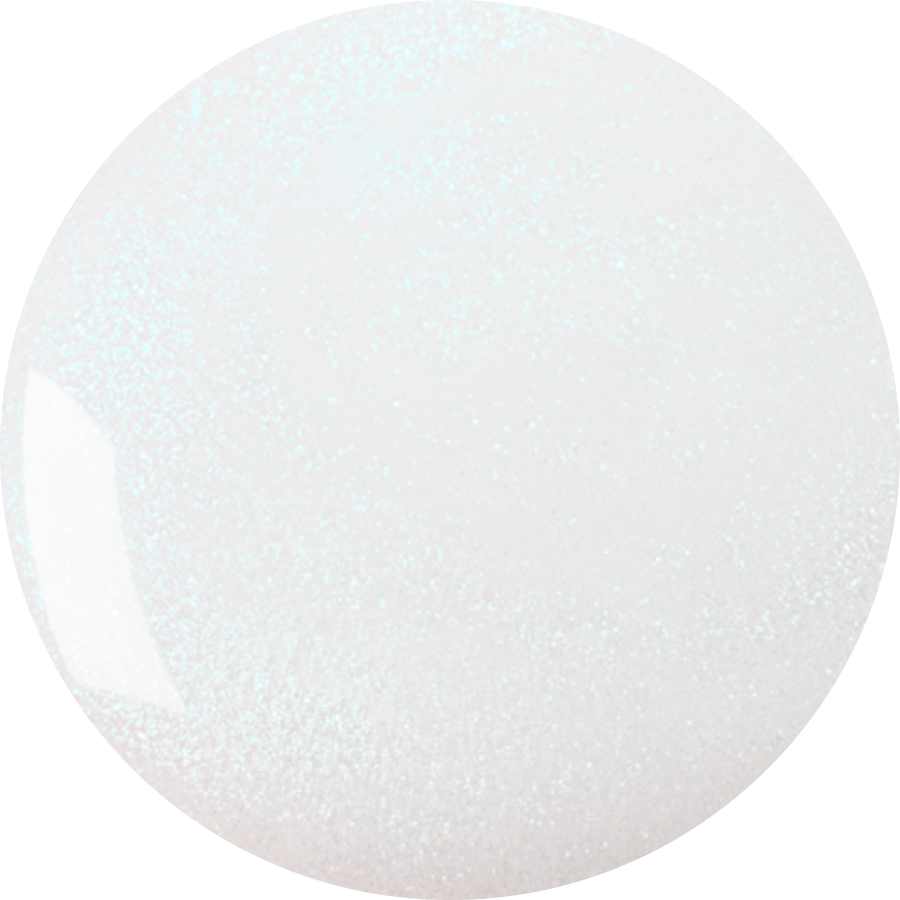
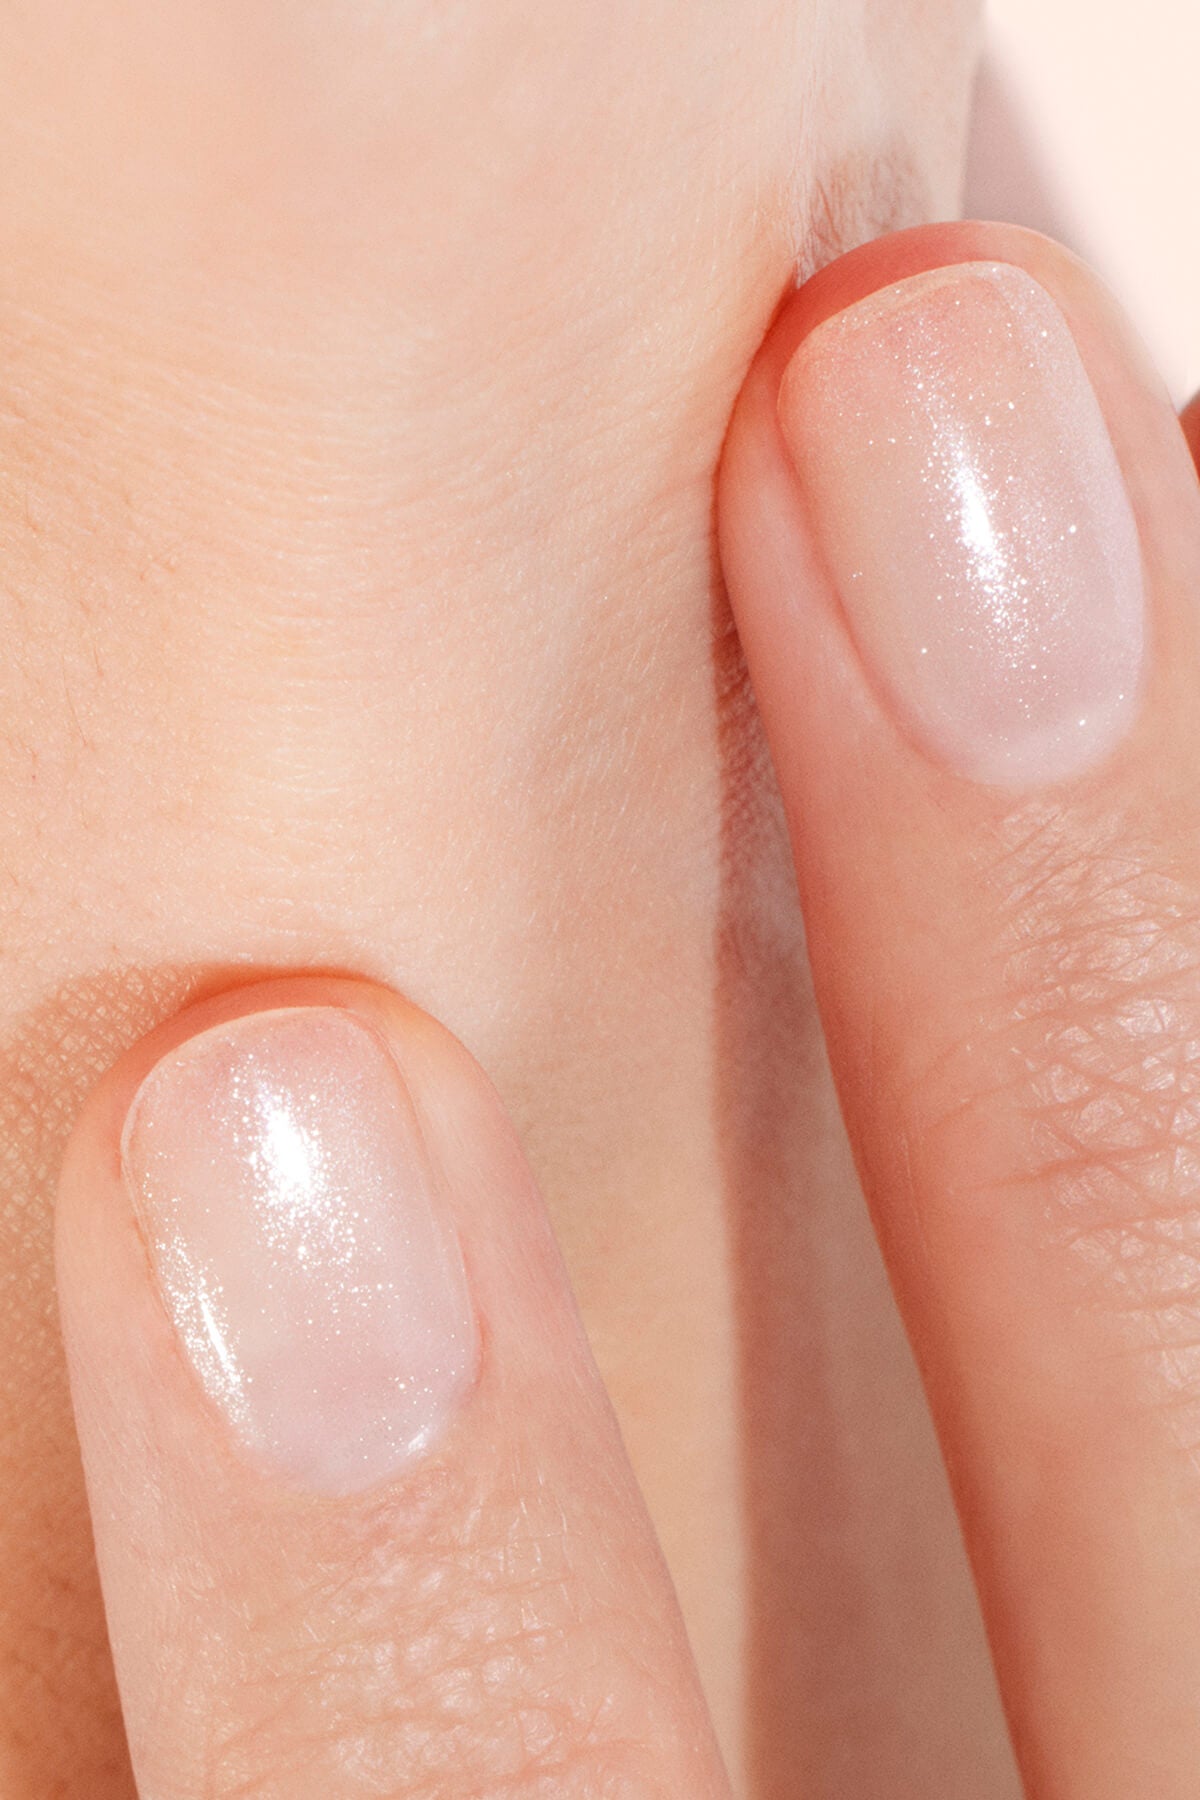
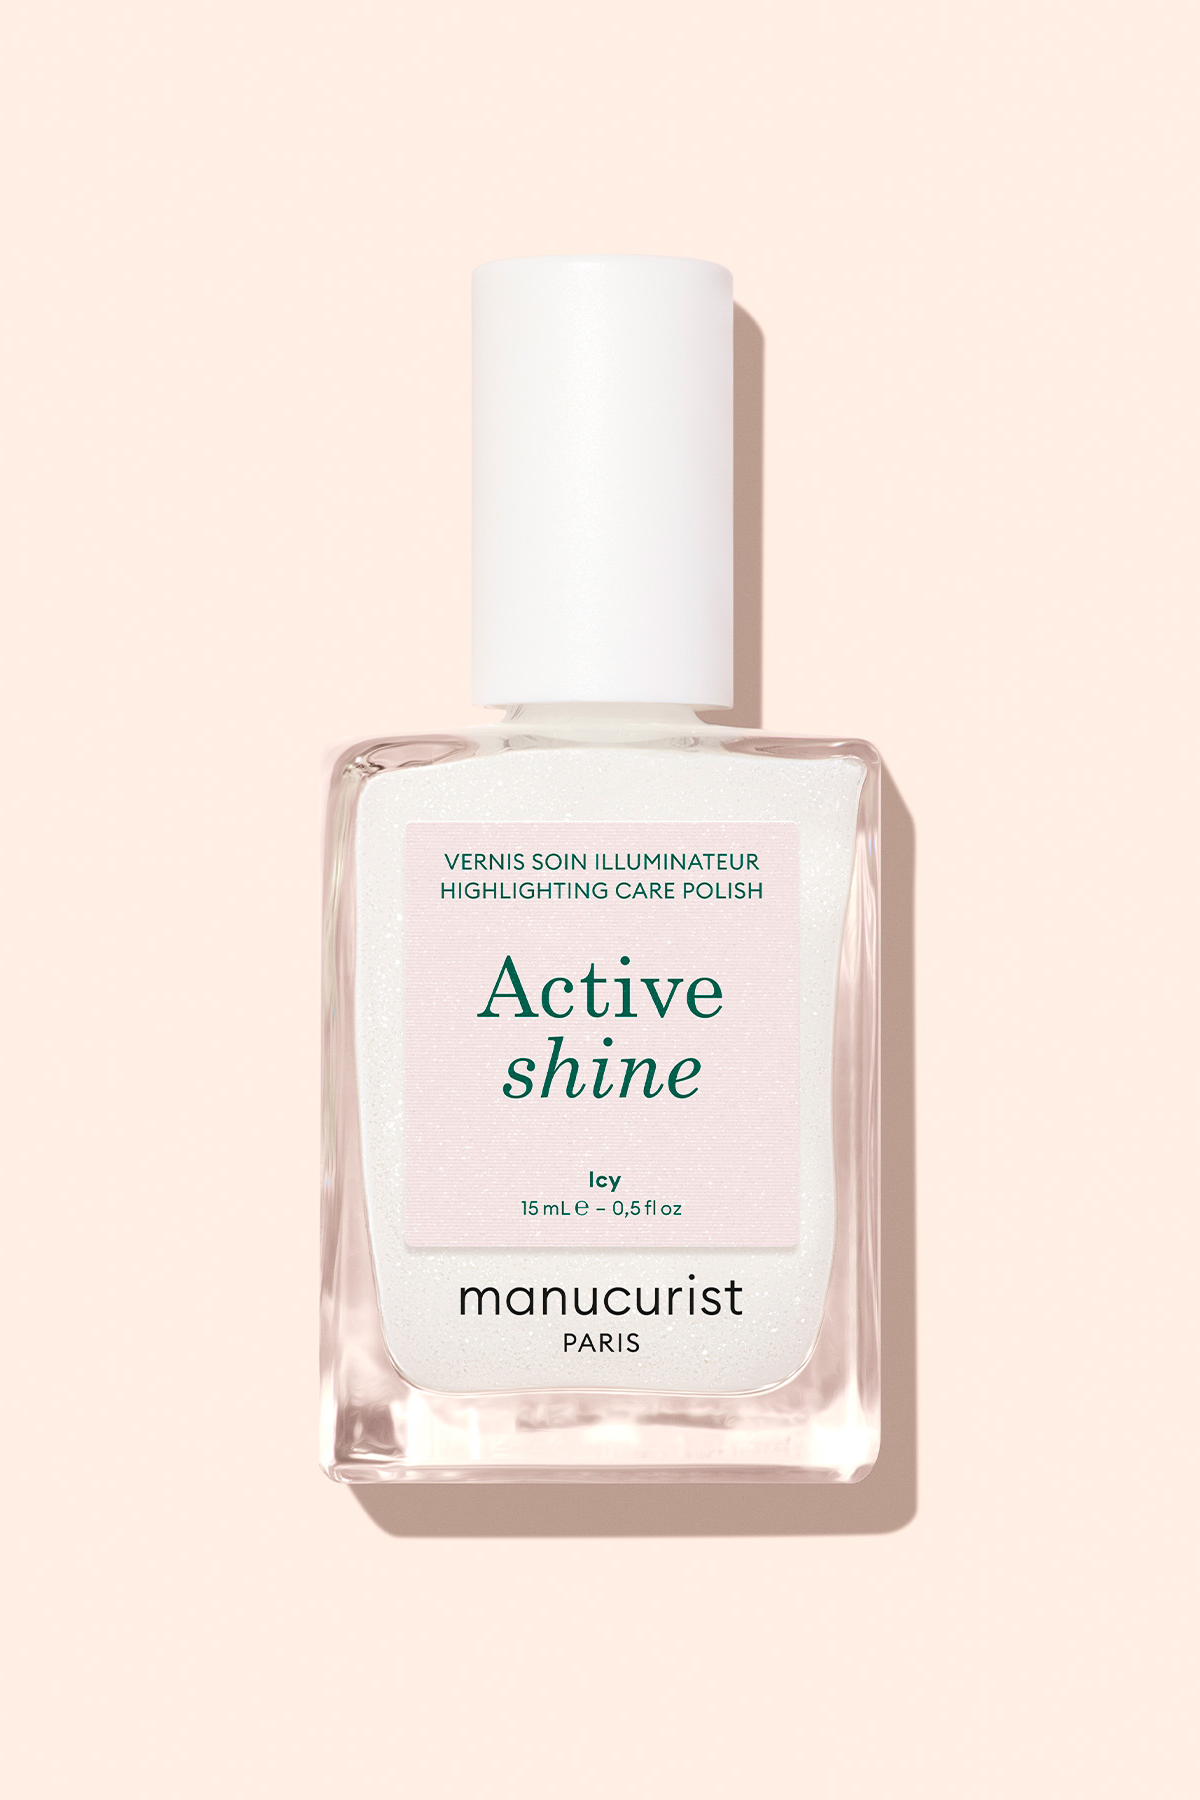
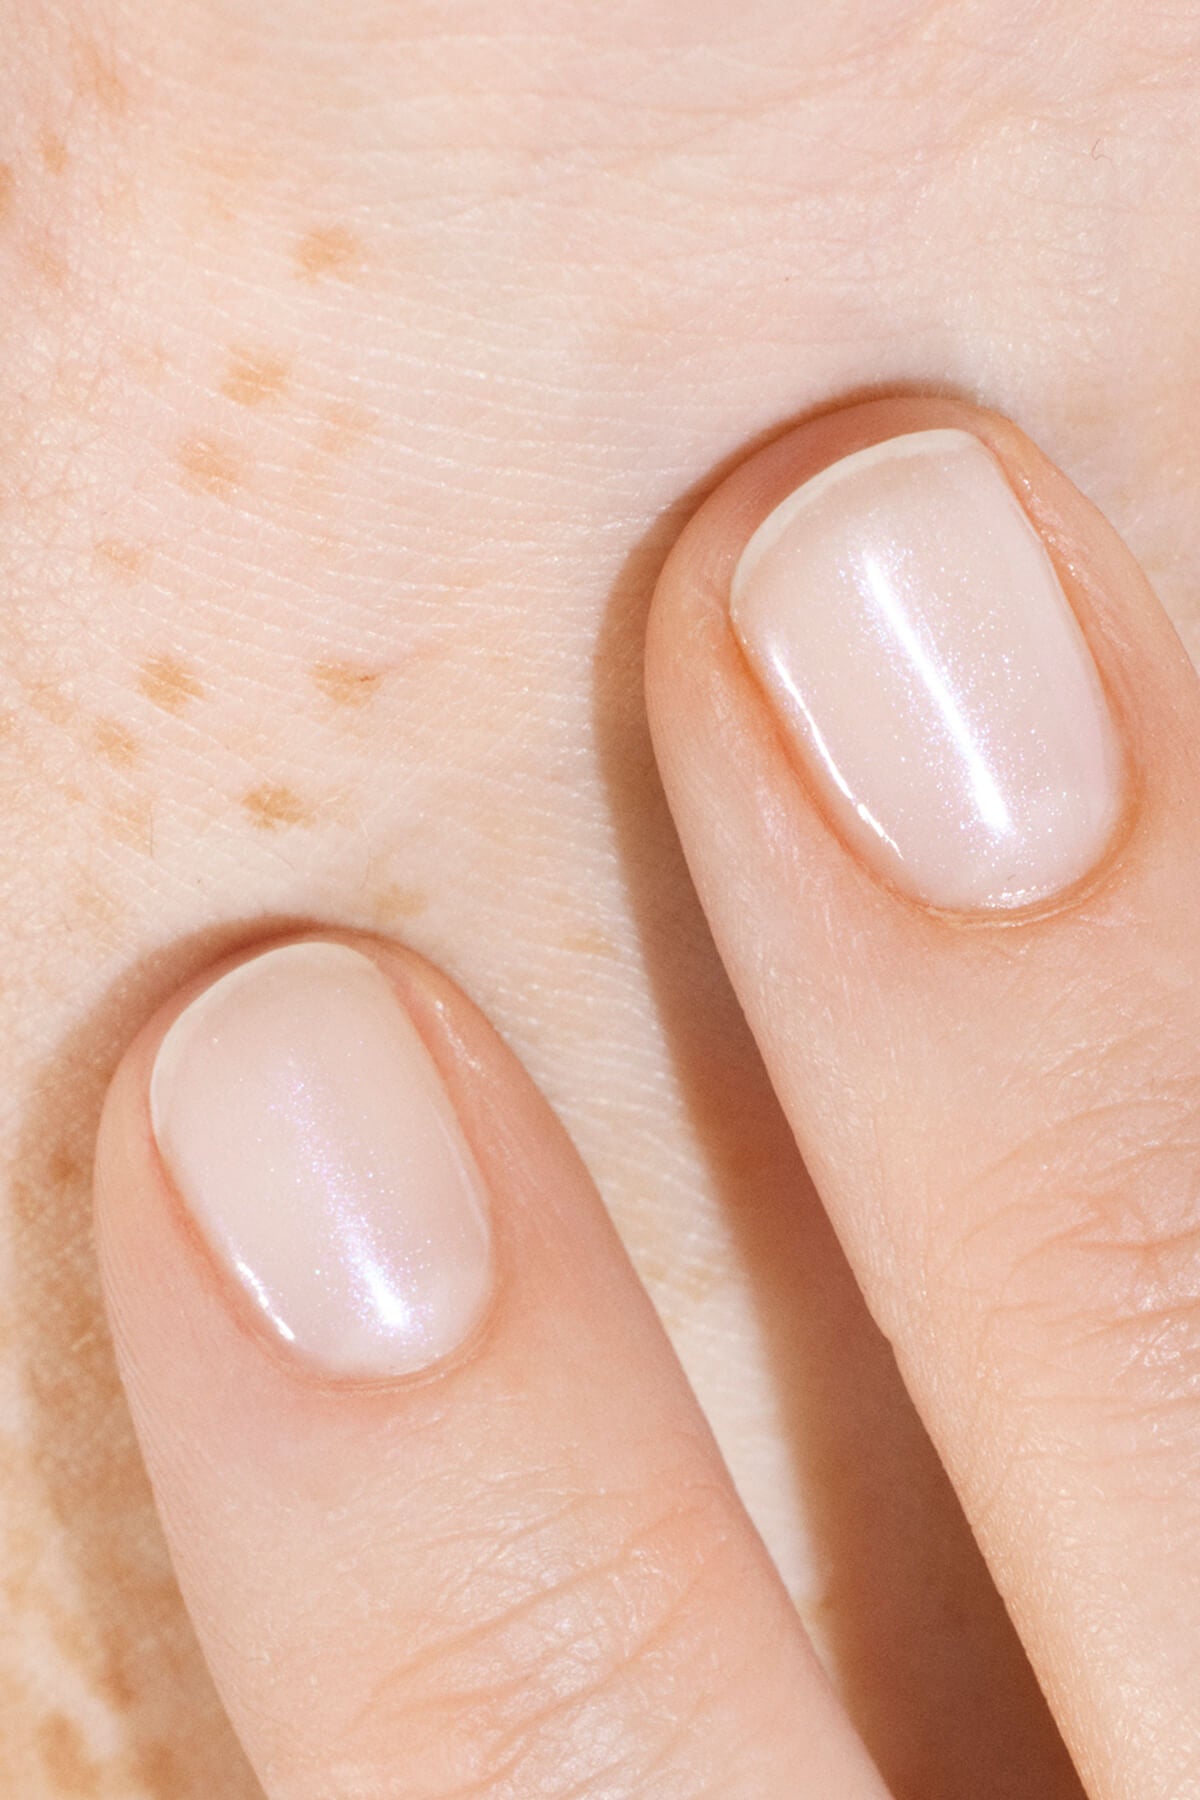
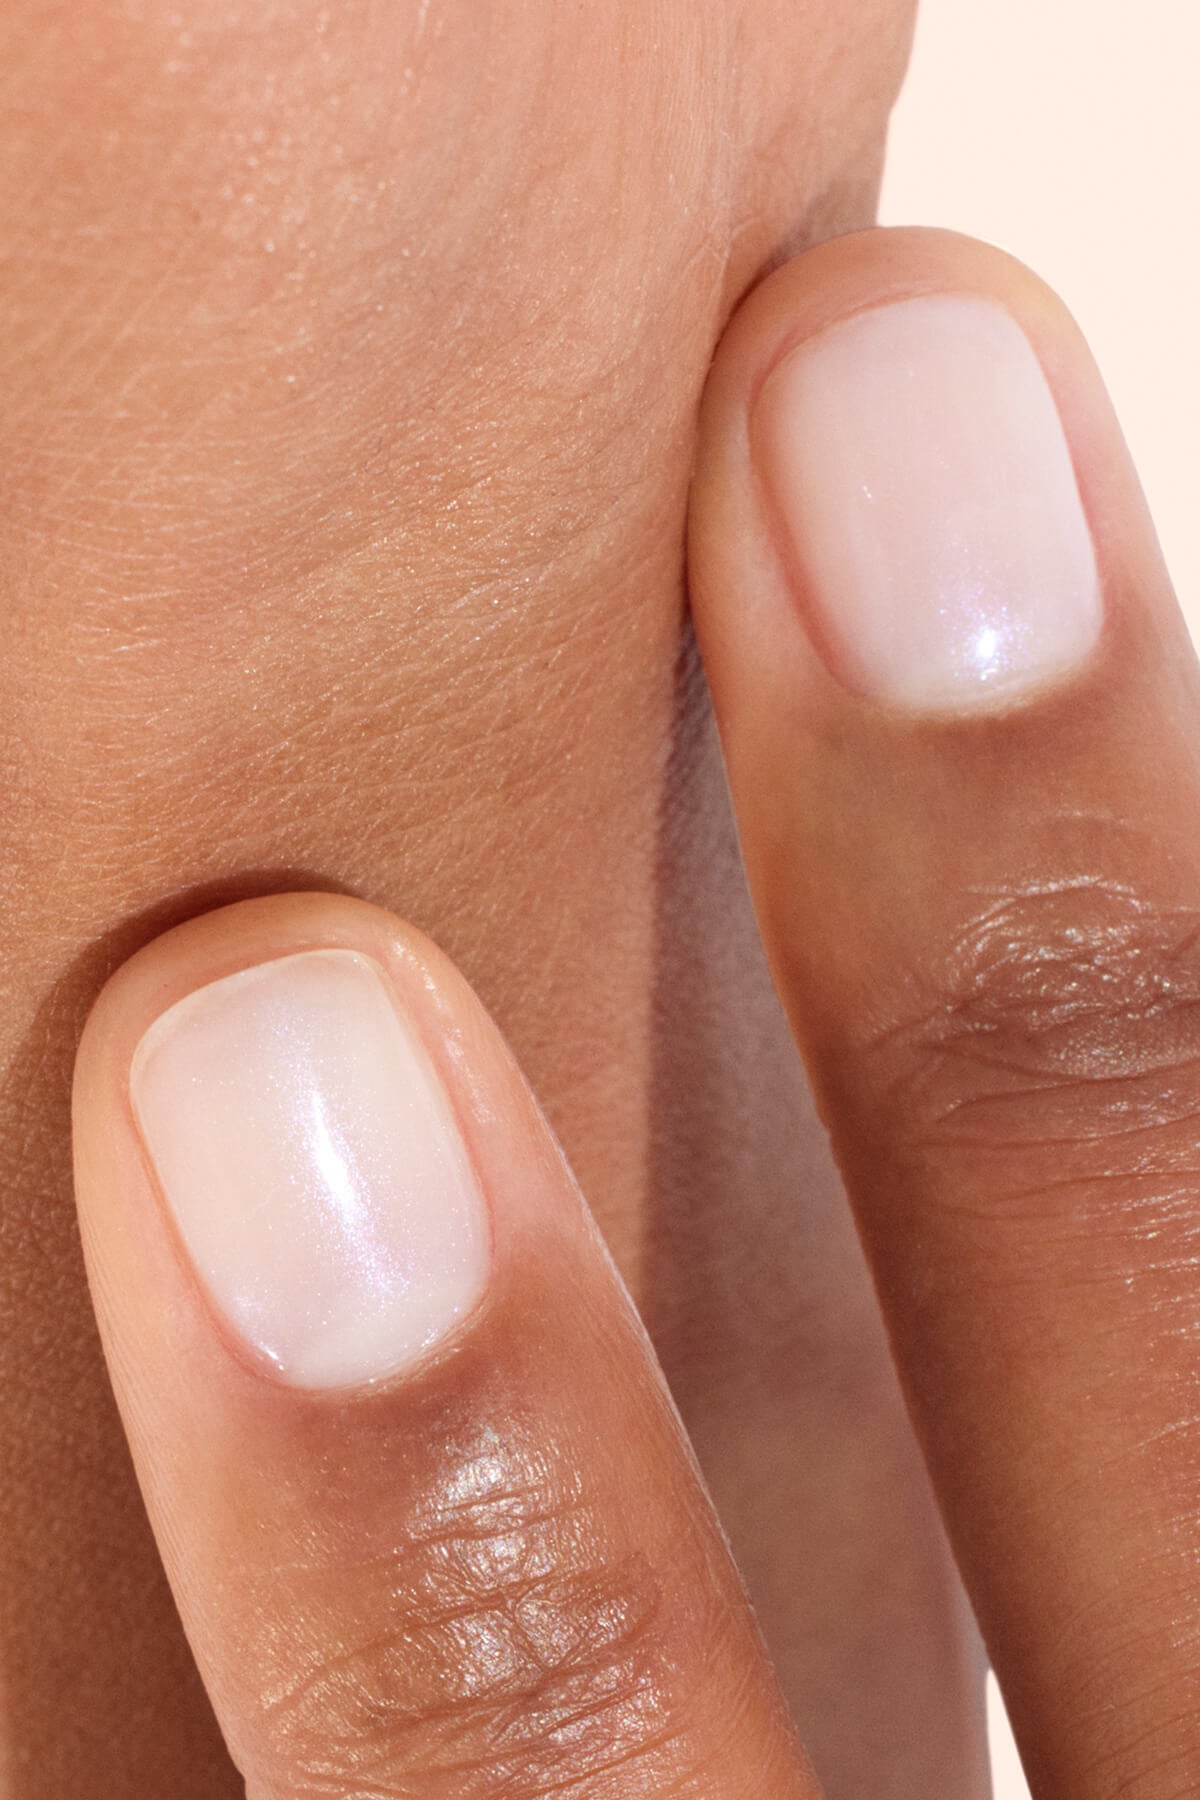
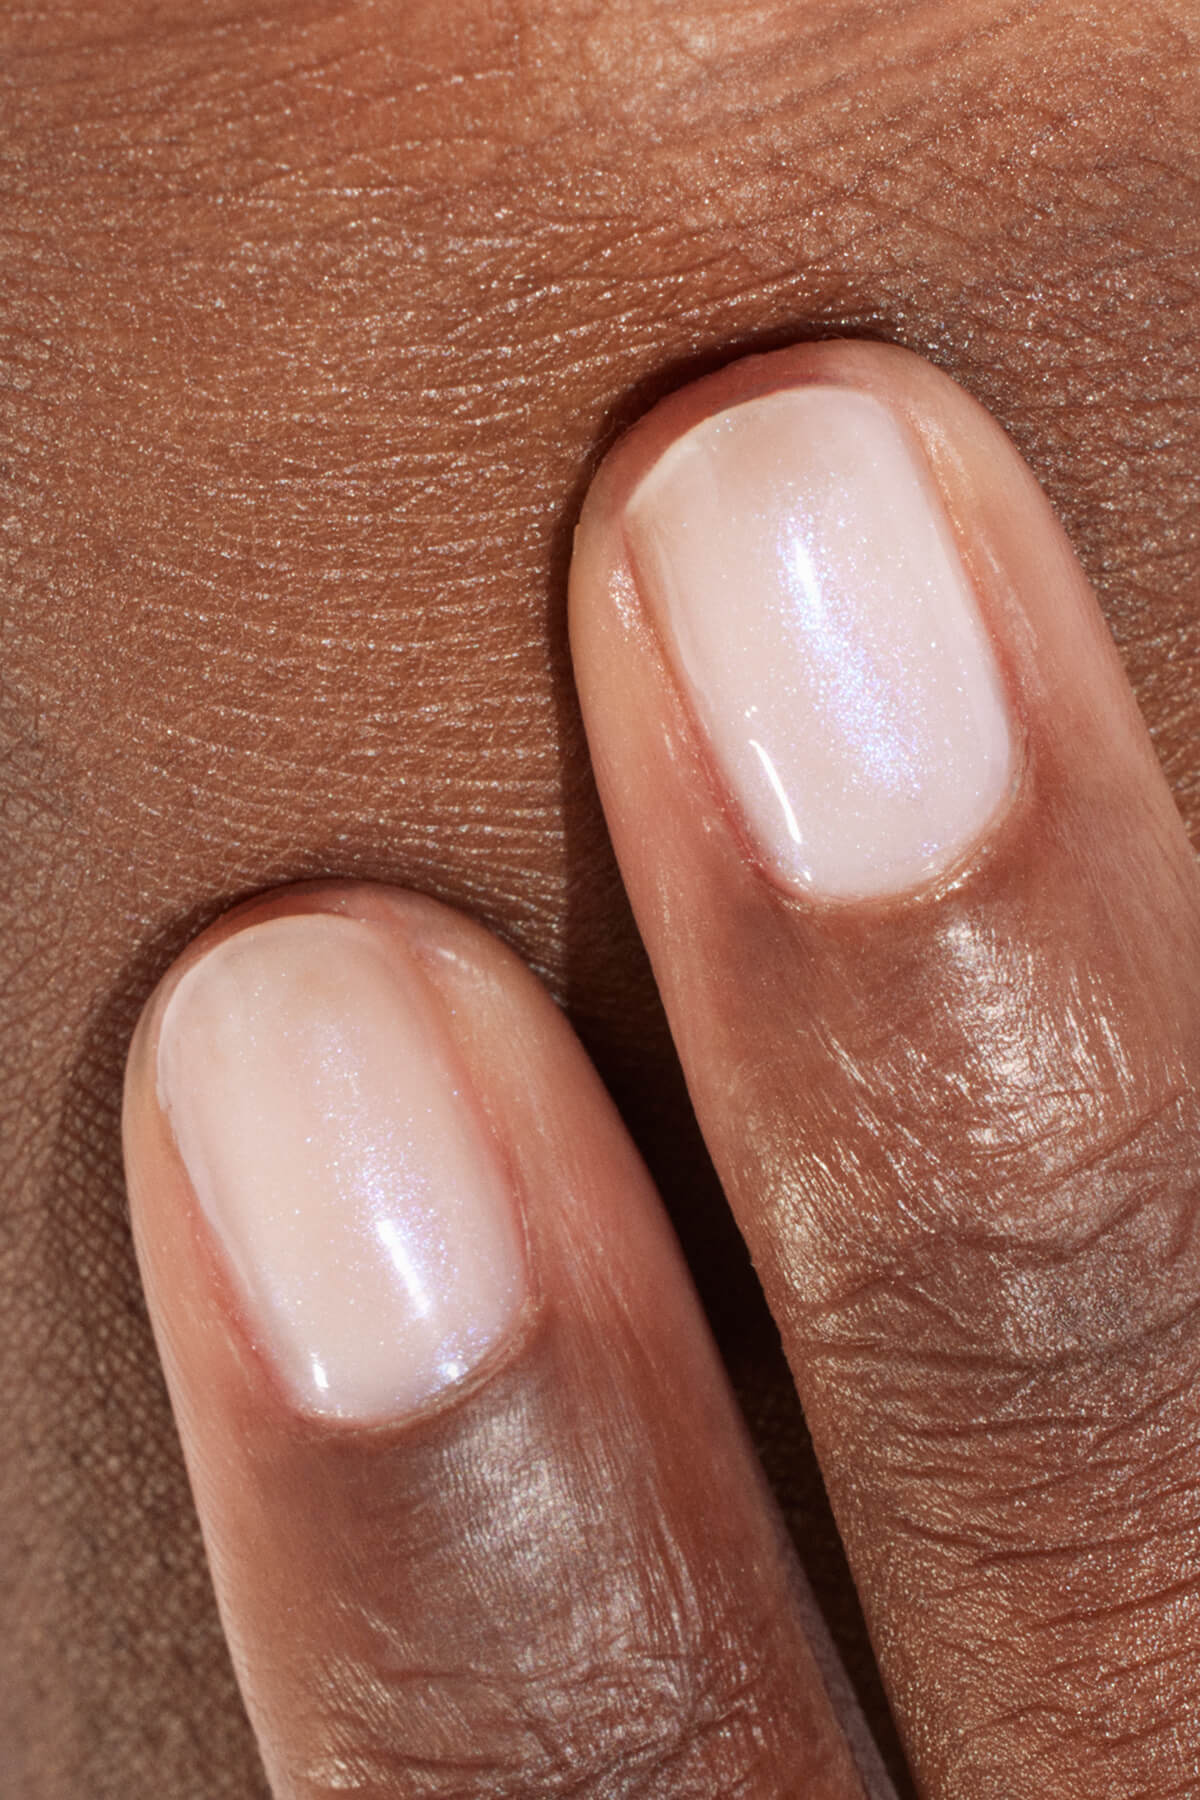
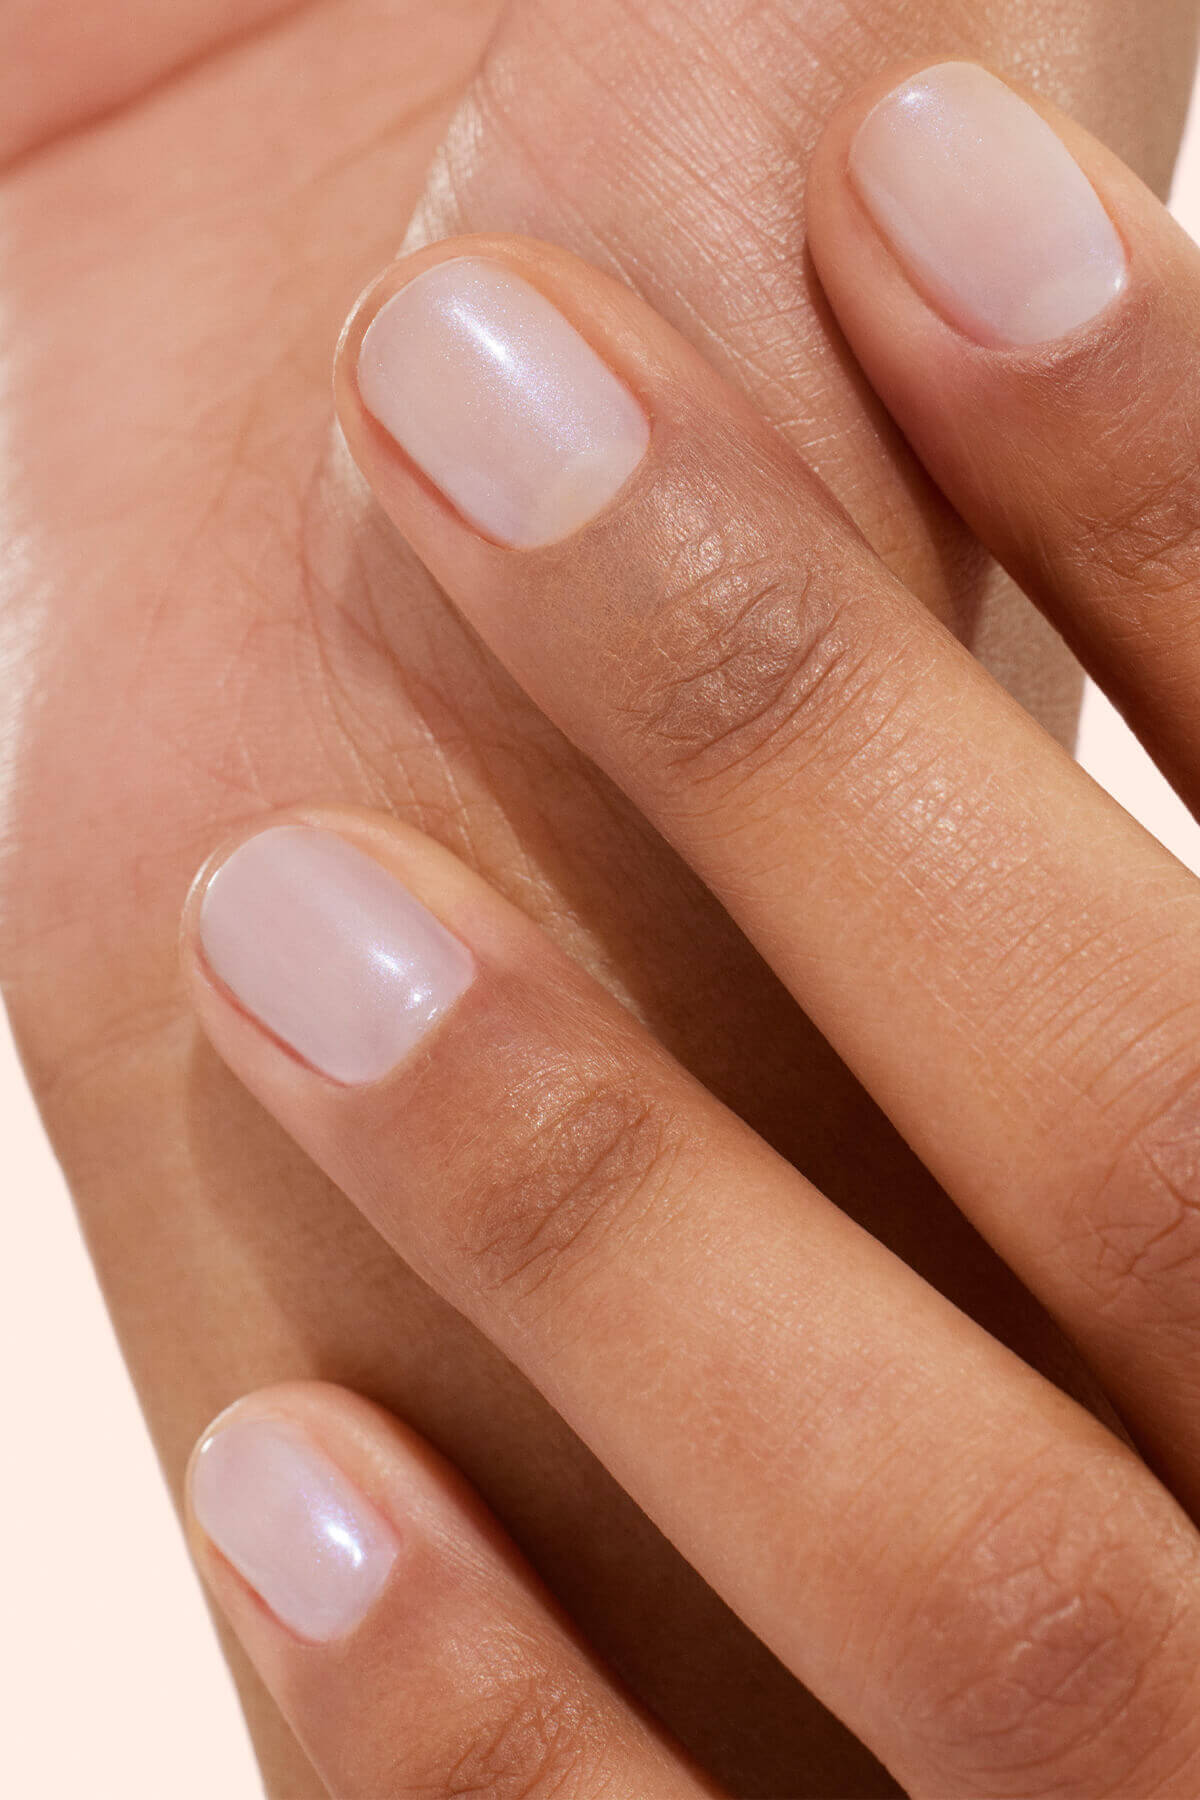
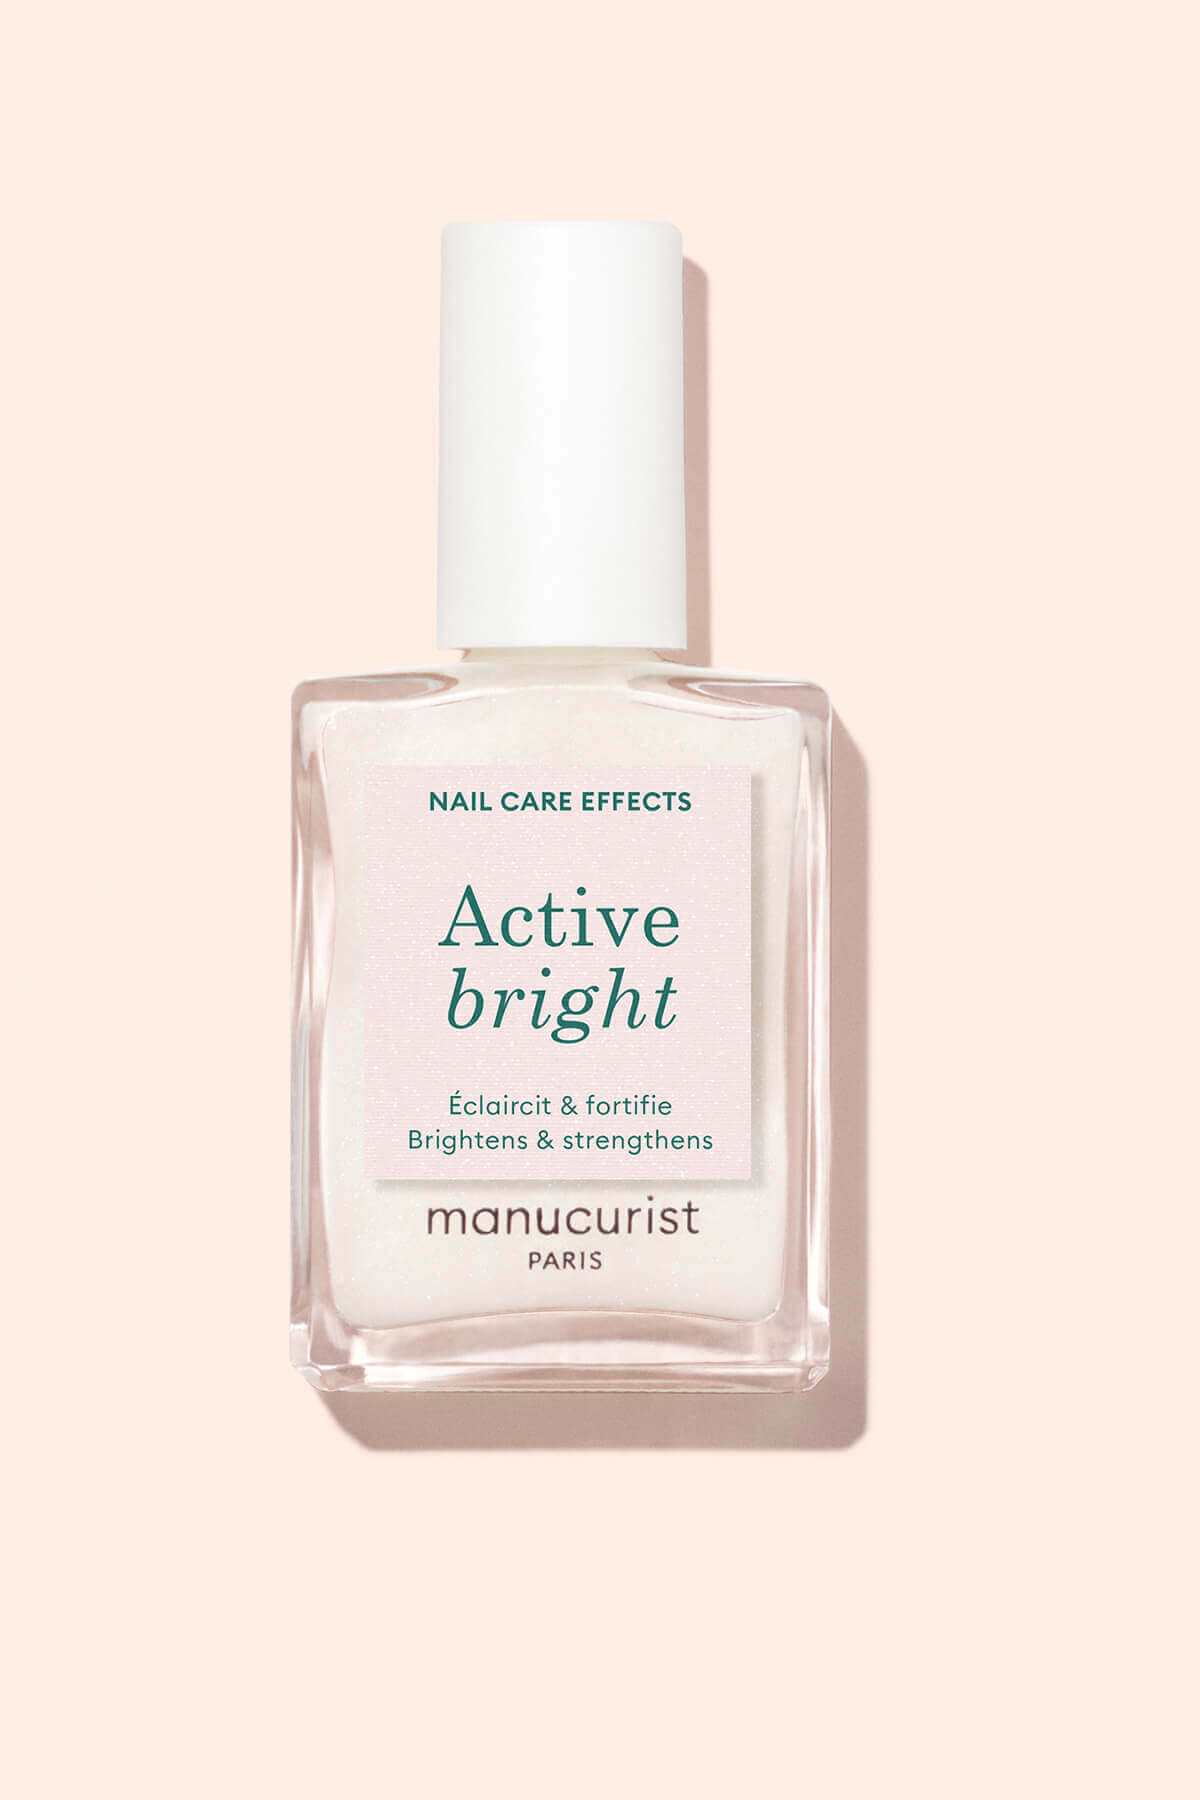
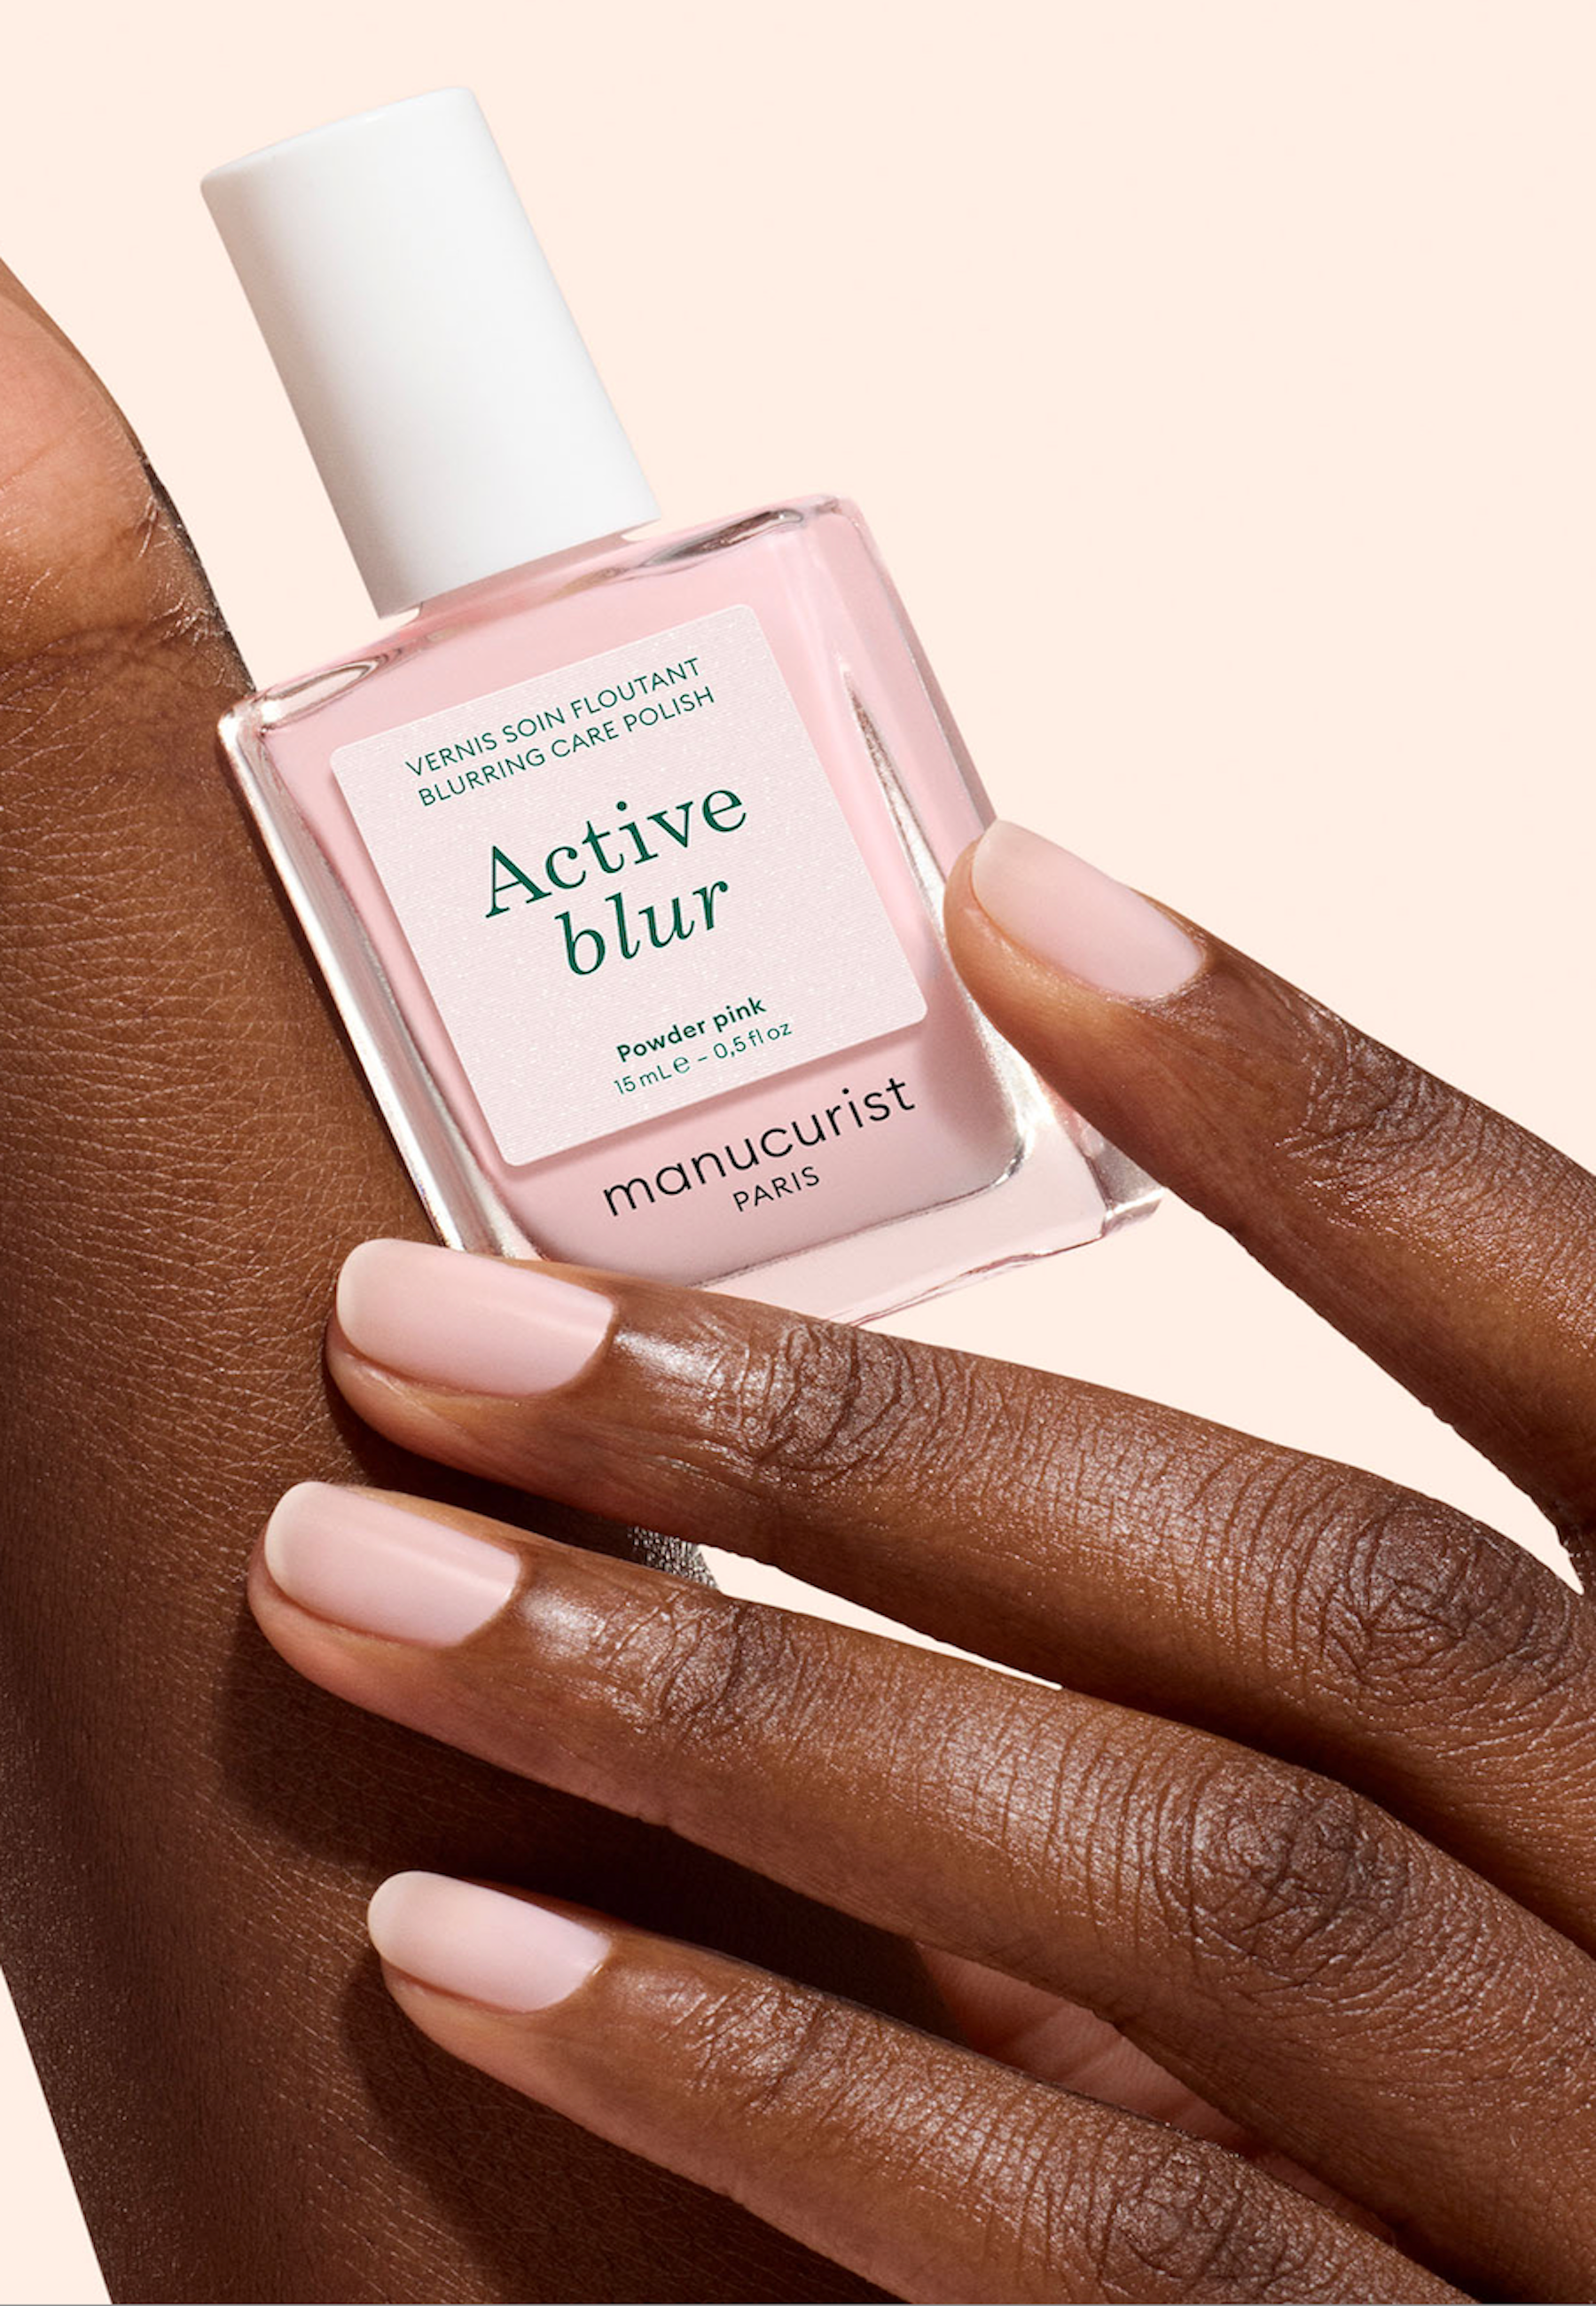
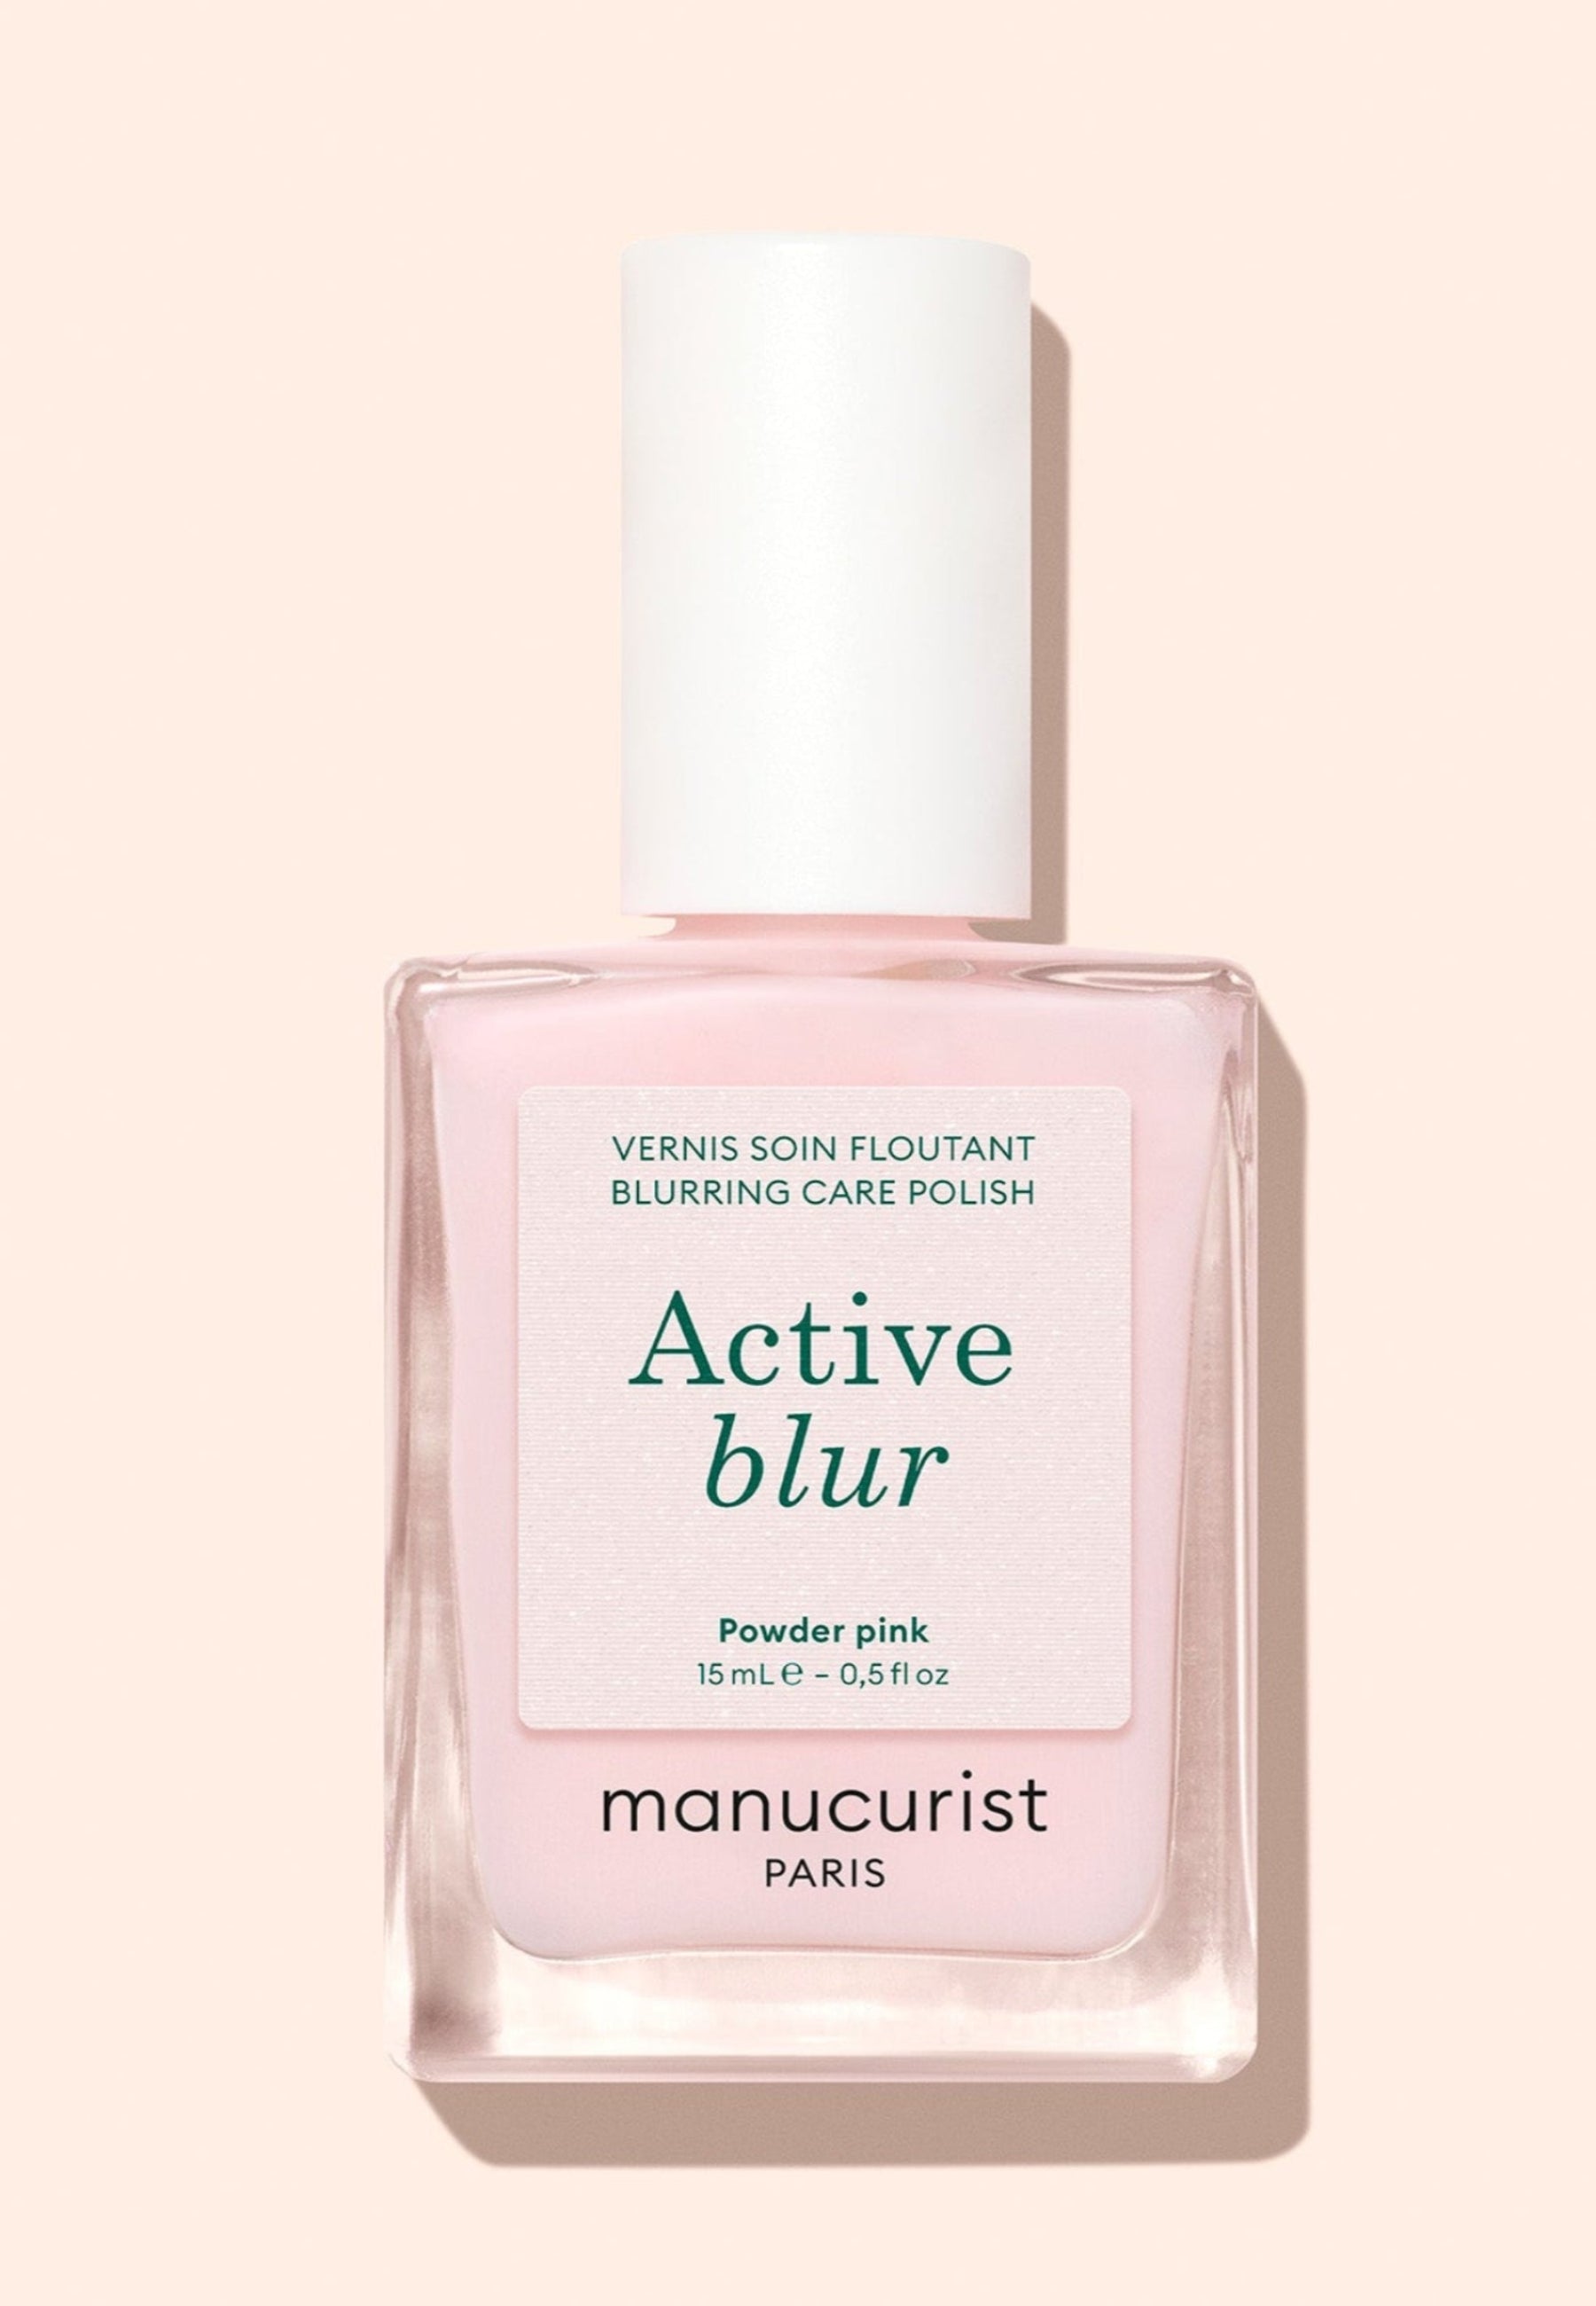
And to feed and sublimate your nails in one gesture, turn to the varnish care Active™. Unique formulas, hybrids between care and make up, which treat natural nails in depth while providing a embellishing effect. These varnishes are very easily installed, without base or top coat, dry quickly and each target a specific action. & Approved!

Green oil, active nail polish: even without varnishes, your nails deserve a custom-made routine.
Protecting your manicure every day
Finally, to extend the outfit and all the shine of your mani, here are some simple and effective tips to apply day to day:
- Wear some gloves for dishes, cleaning, DIY or gardening.
- Apply a new one layer of top coat (Green™ or Green Flash™) every 2-3 days.
- Limit prolonged contact with hot water.
Also read: How to improve the holding of my varnish

Prepare, protect, make lasting: the Starter kit Green™ & Starter kit Green Flash™ have everything you need.
A varnish that scalves is not a fatality. By combining careful preparation + expert application + daily protection, you will get a resplendent AND durable manicure. Our bio-sourced & vegan varnishes are designed to work in perfect synergy, from the base to the top coat. Result: a manicure bright & shiny that lasts long, without hooks
To sum up:
- Preparation: Loop, soften cuticles with emollient and then push back, polish the surface to open keratin scales, and degrease the nail.
- Lays in 4 layers: base coat, two thin layers of color (by bordering the nail), then top coat — with a drying of 1 to 2 min in the open air (classic varnish) or 1 to 3 min under LED/UV lamp (semi-permanent).
- Daily care: moisturize with Huile Verte or use Active™ nail care polishes, which require neither a base coat nor a top coat.
- Protection: wear gloves for household tasks, reapply a top coat every 2-3 days, limit contact with hot water.
- Bio-sourced and vegan varnishes Green™ and Green Flash™ are designed to work in synergy, from the base to the top coat.