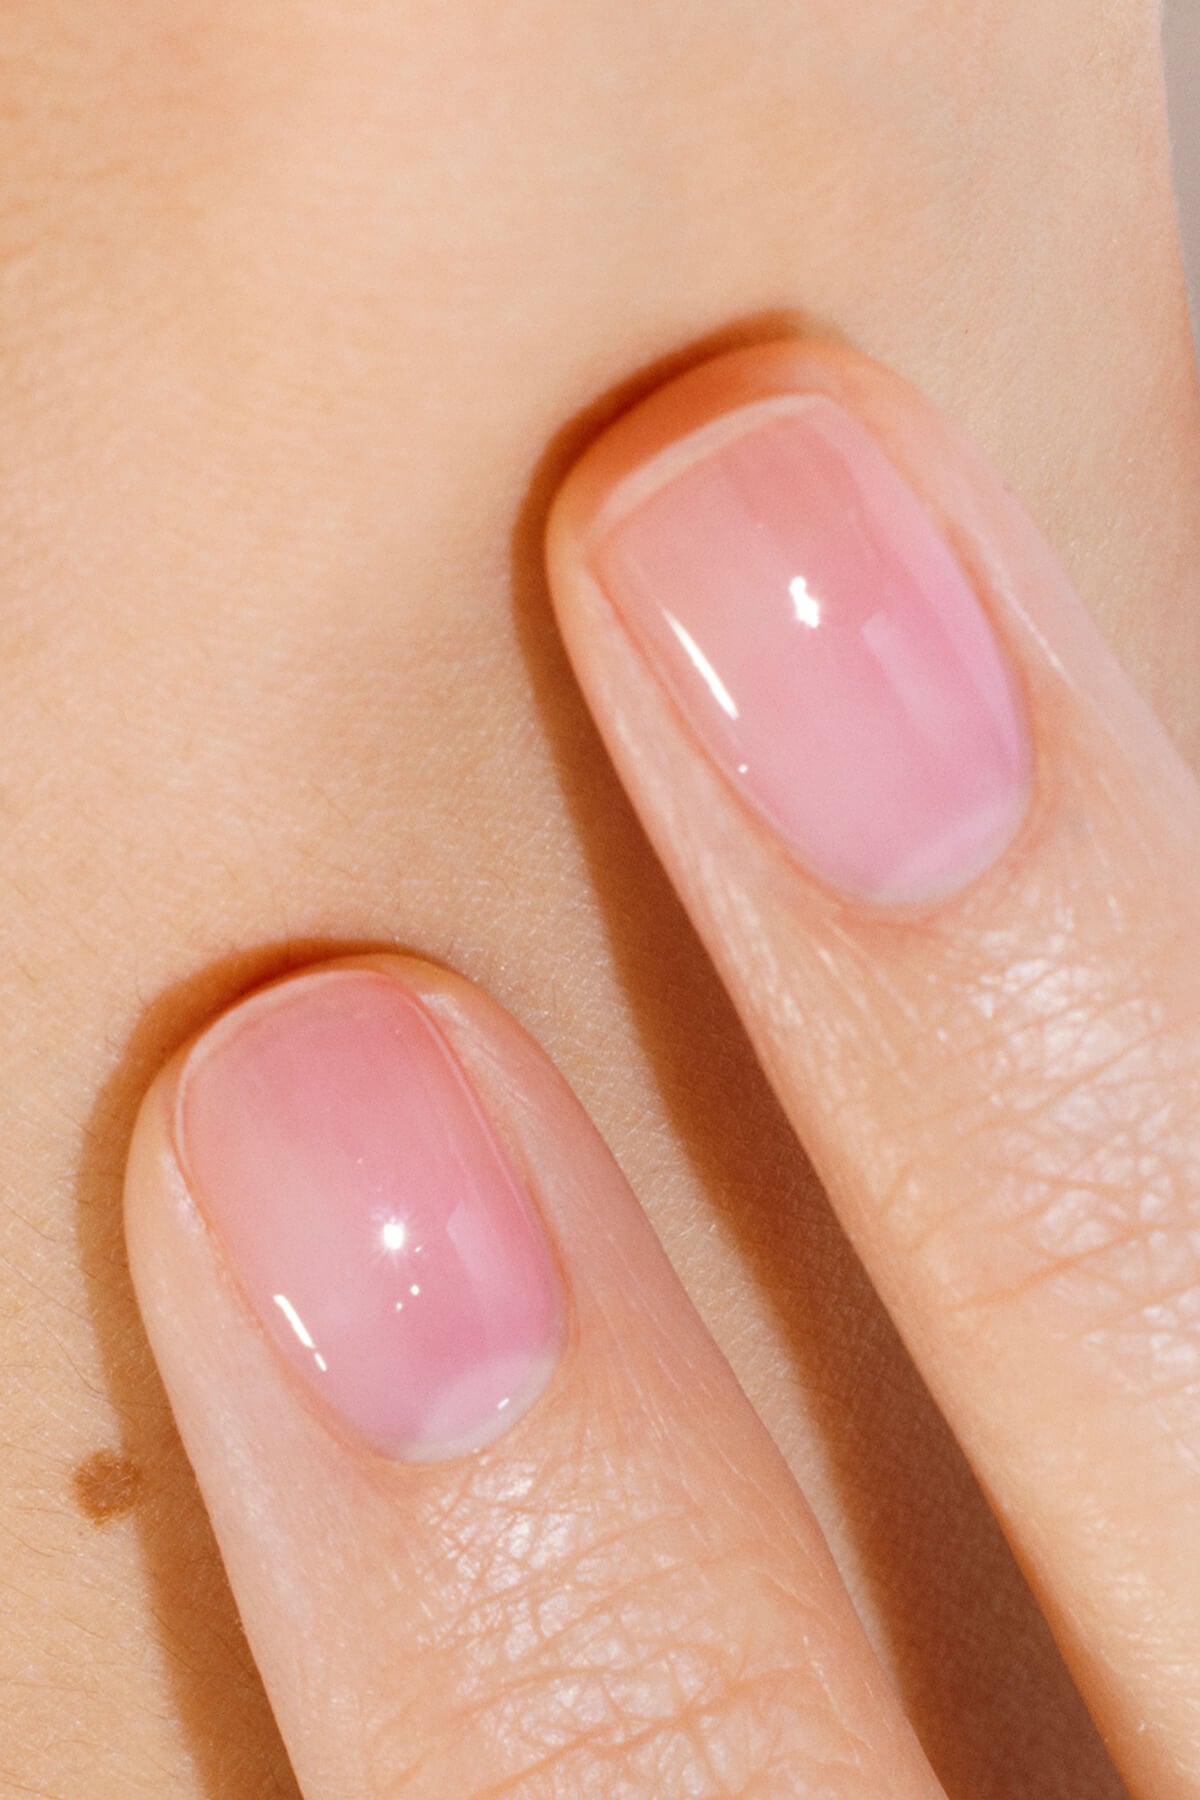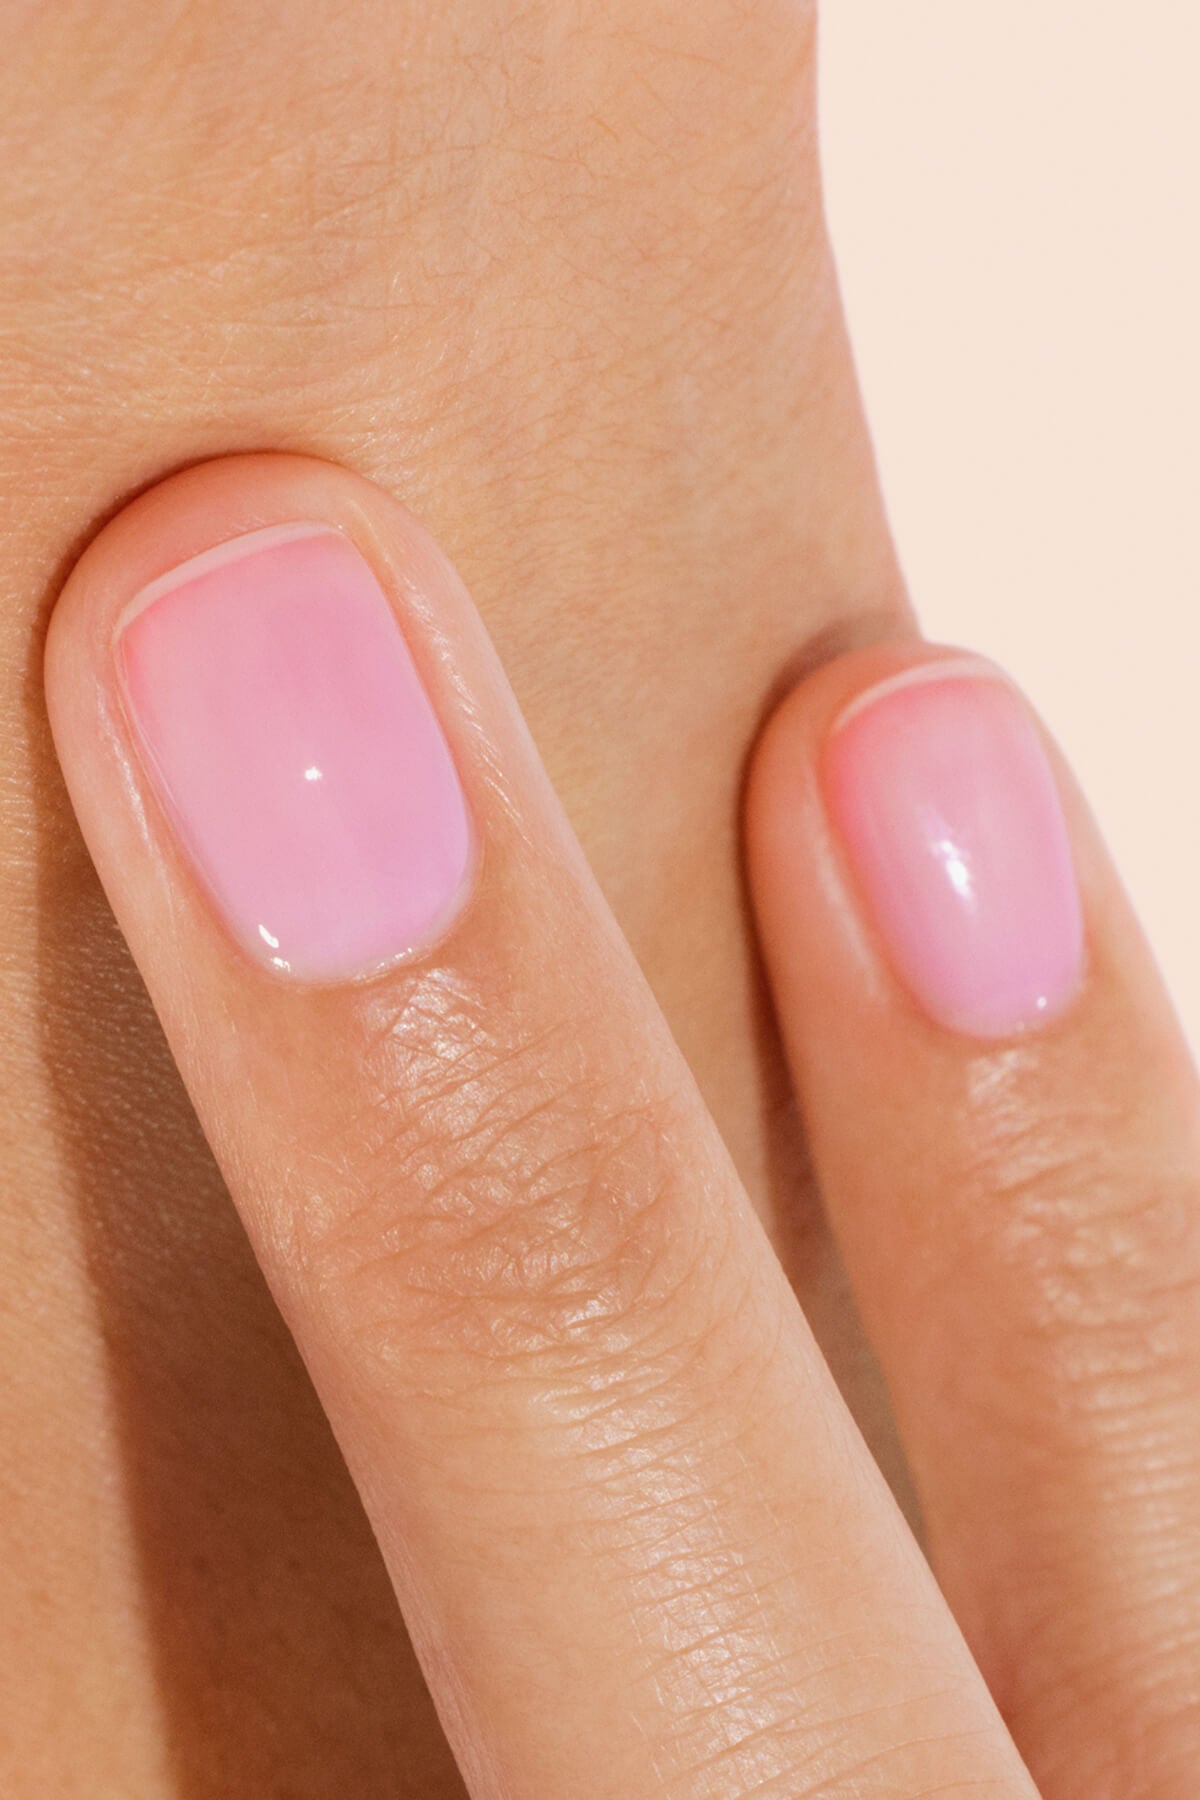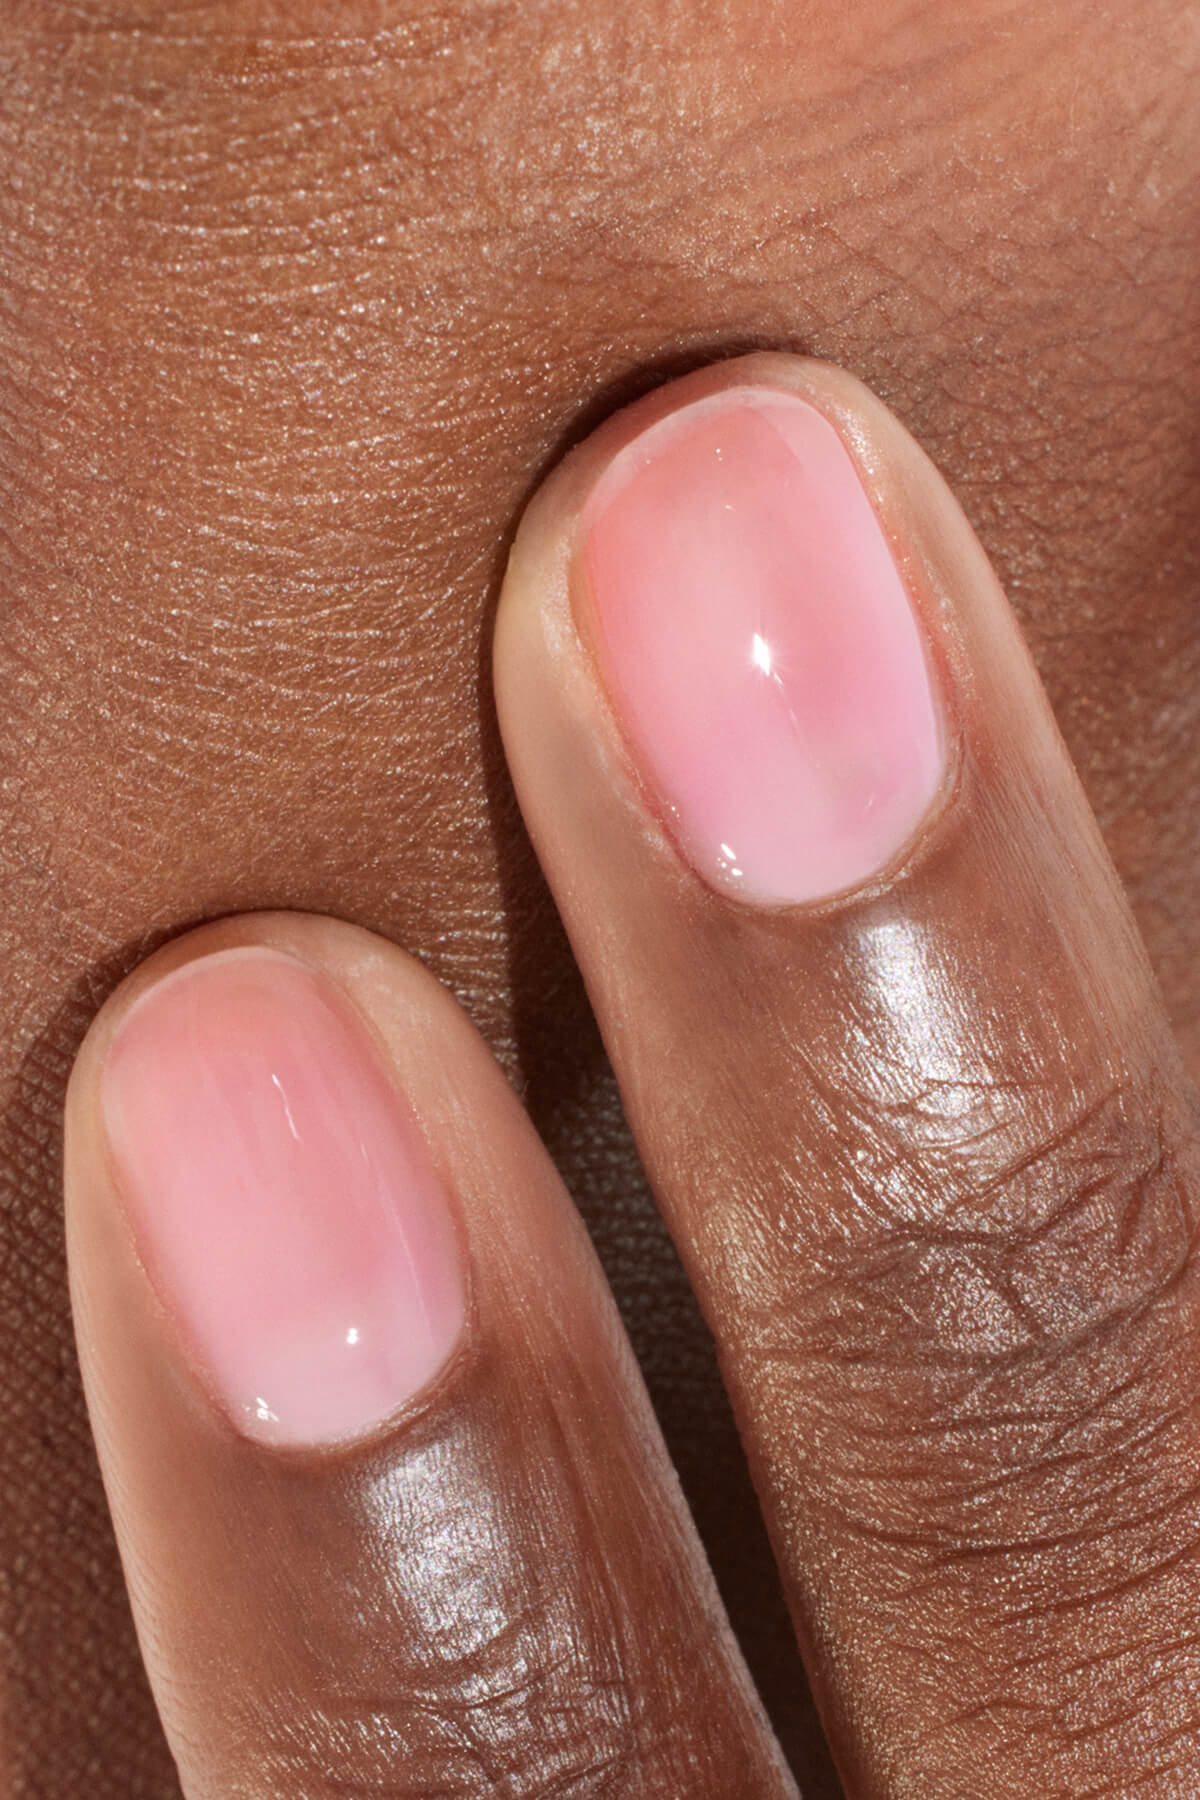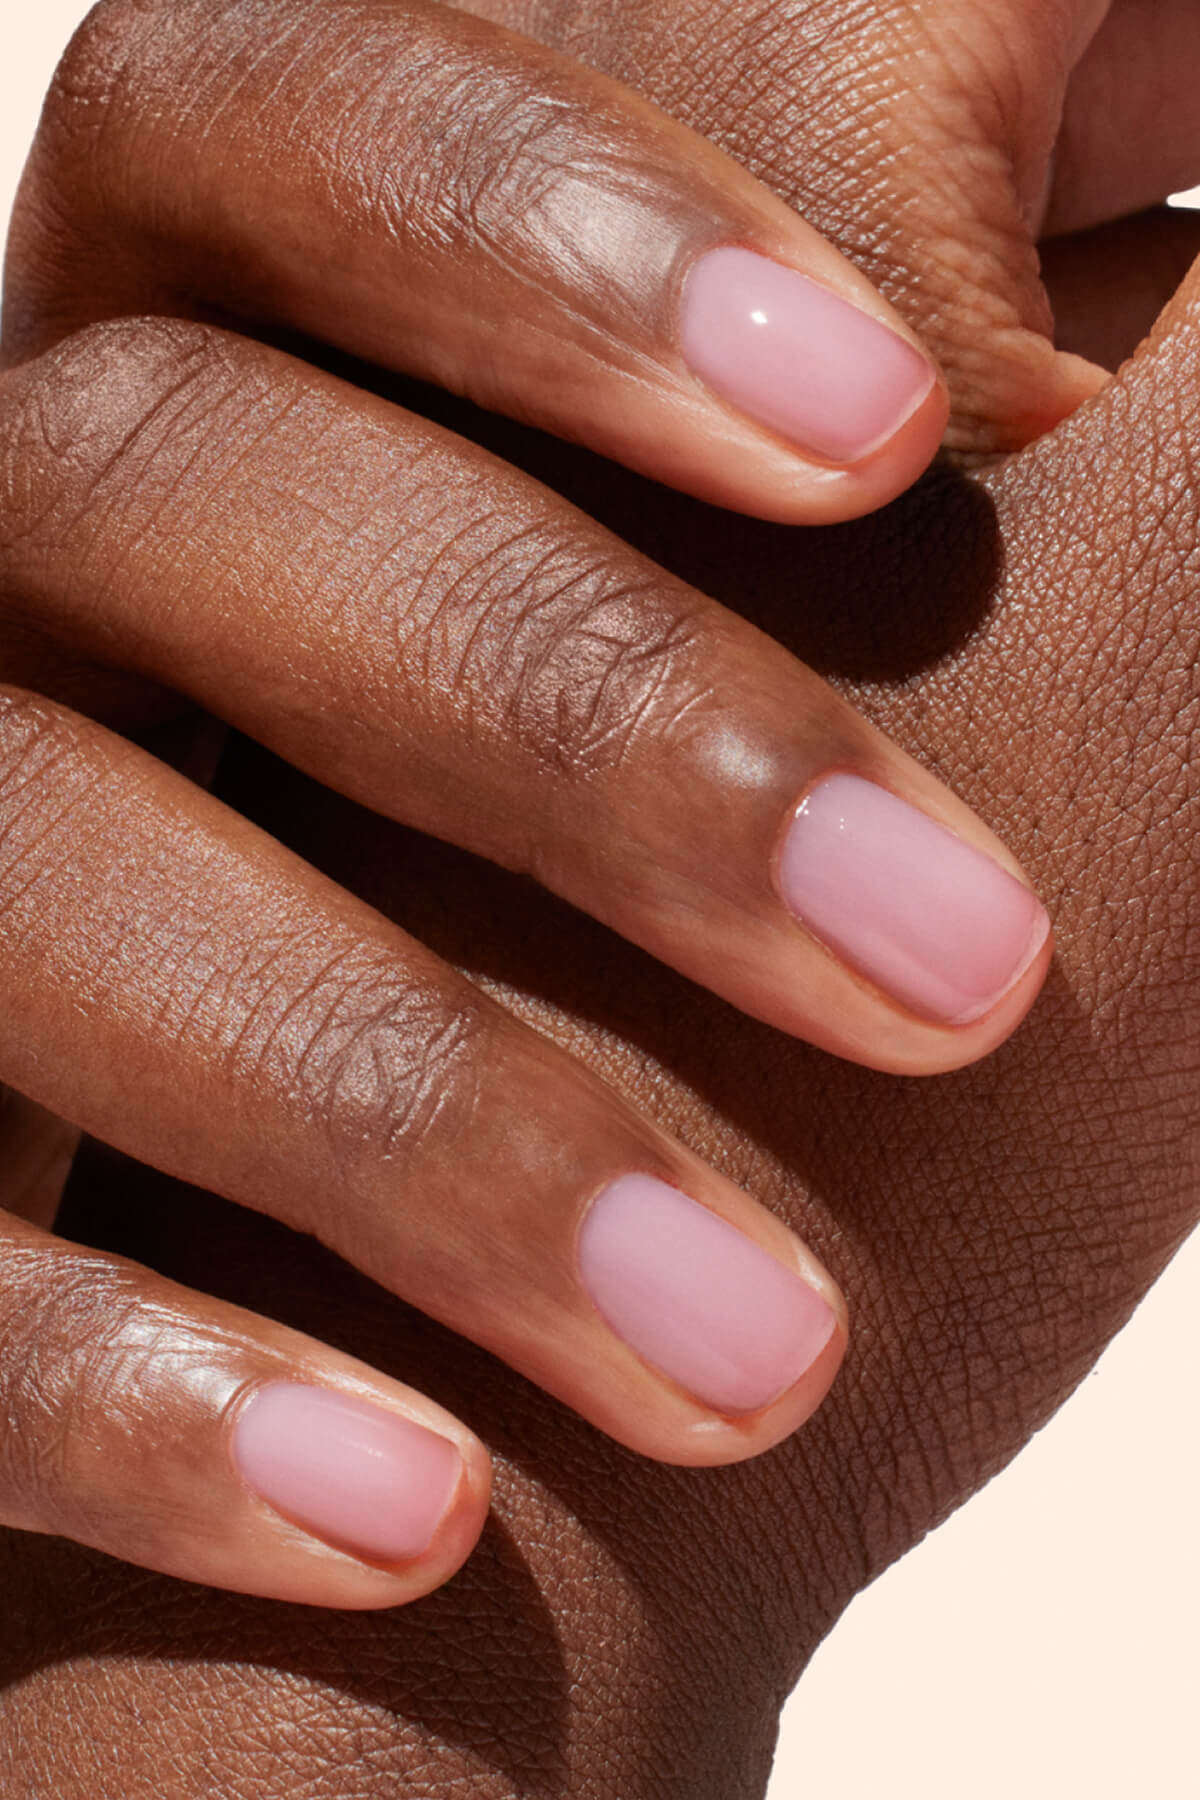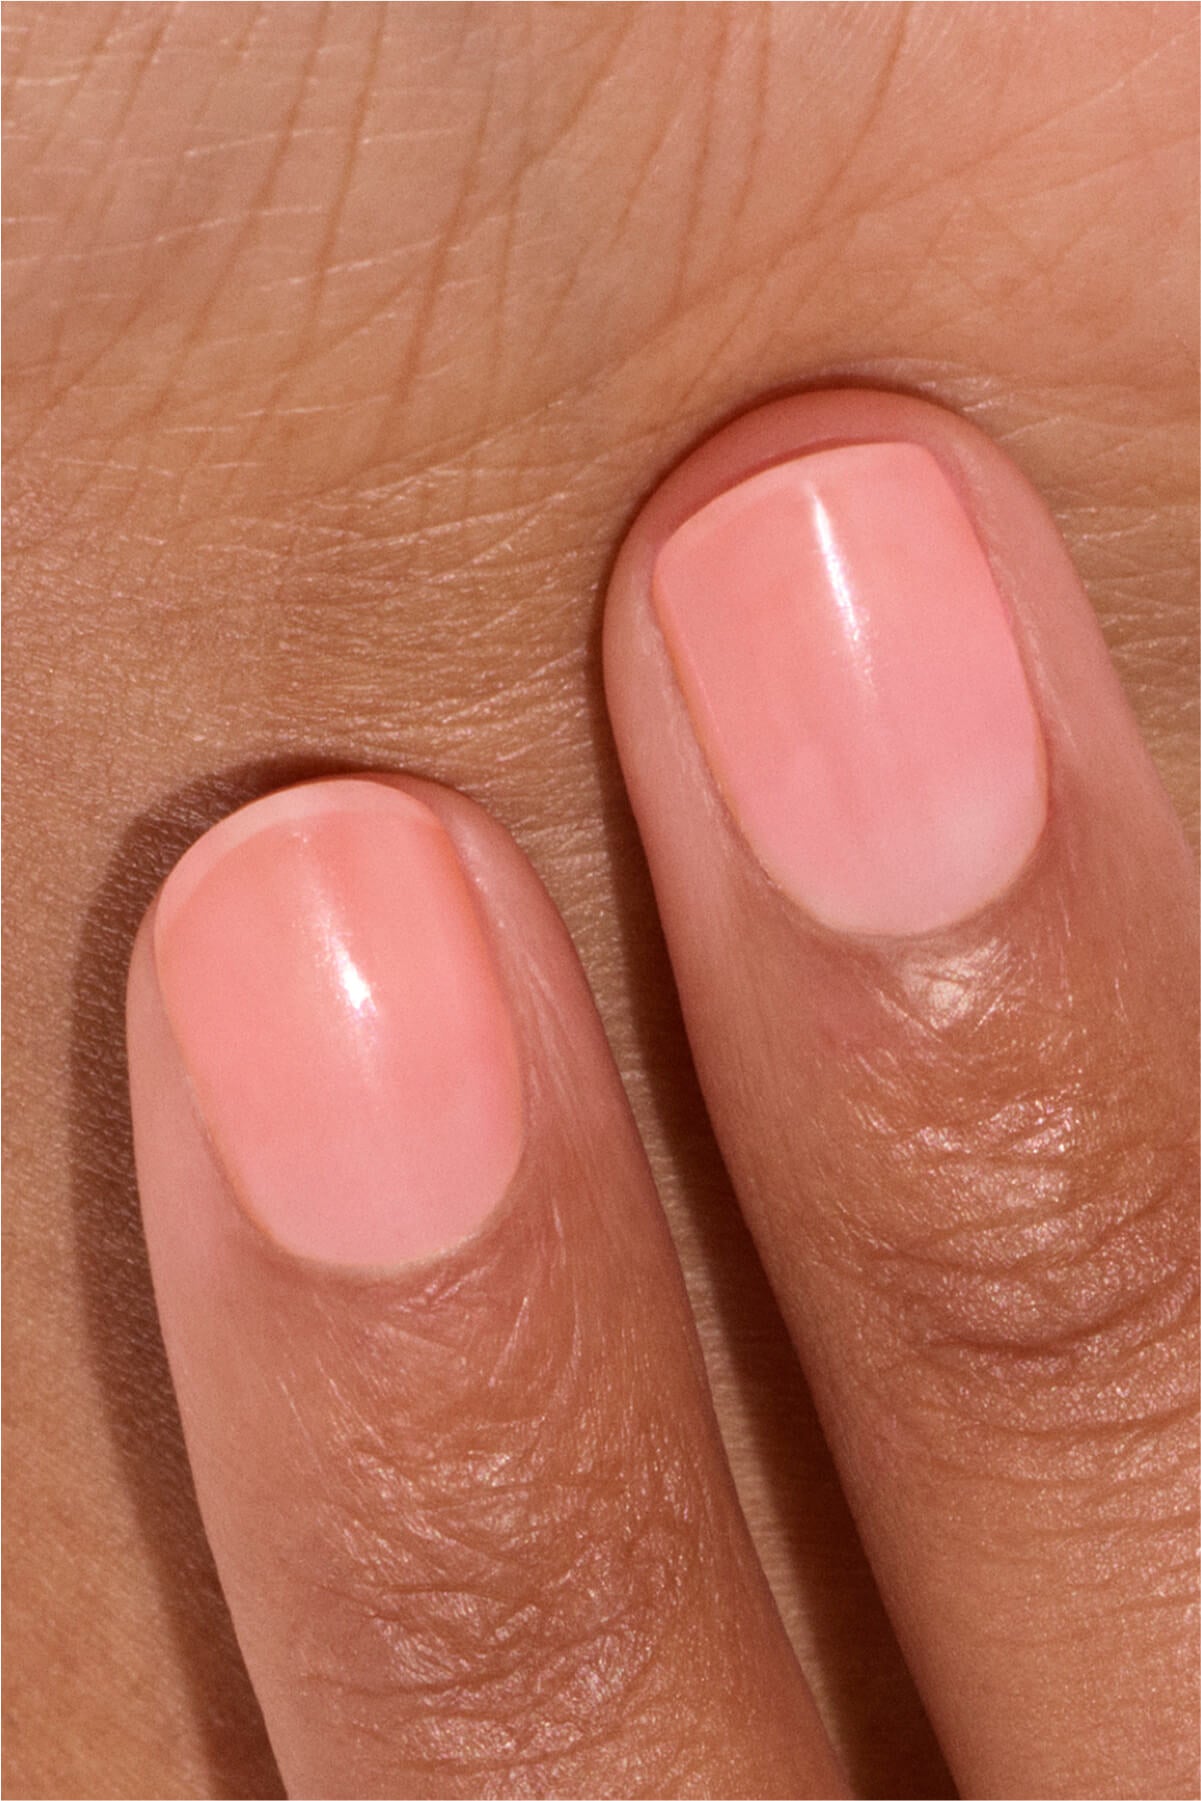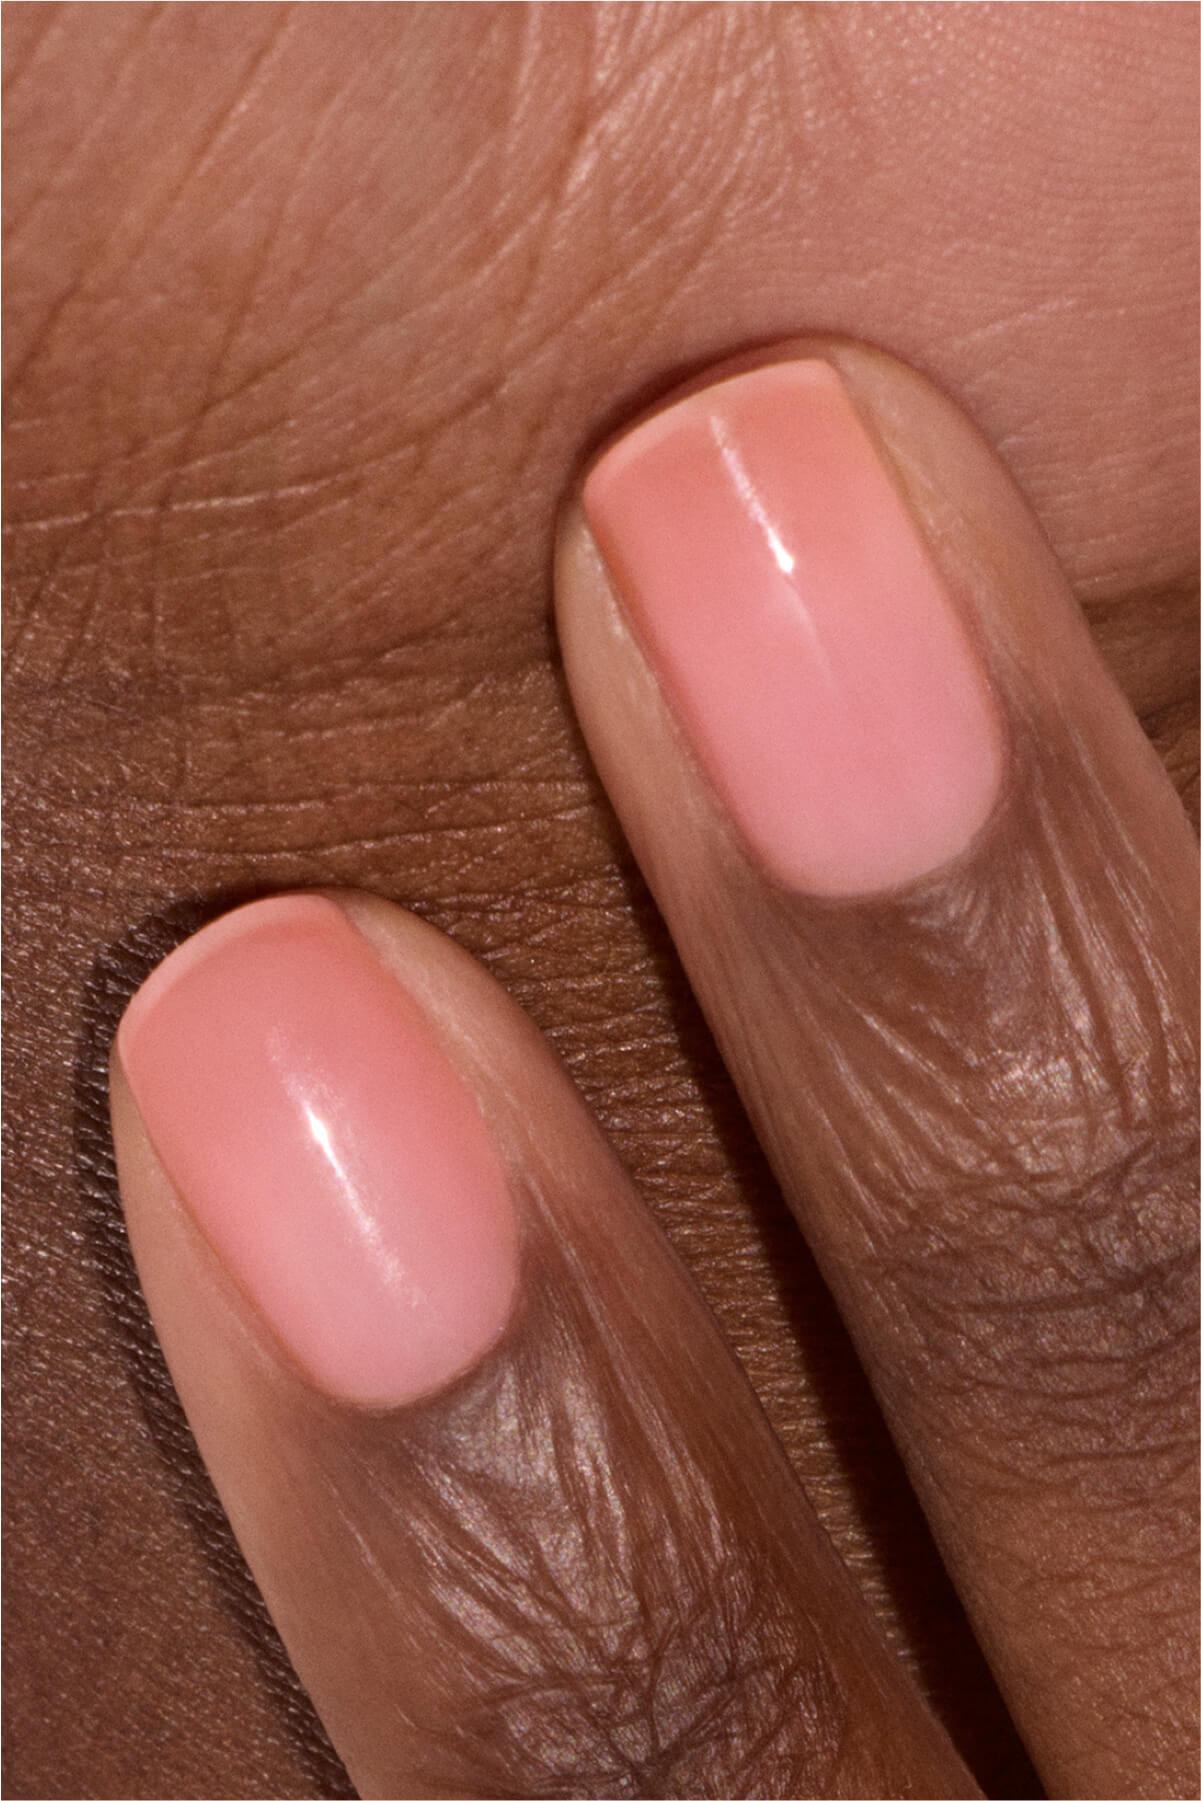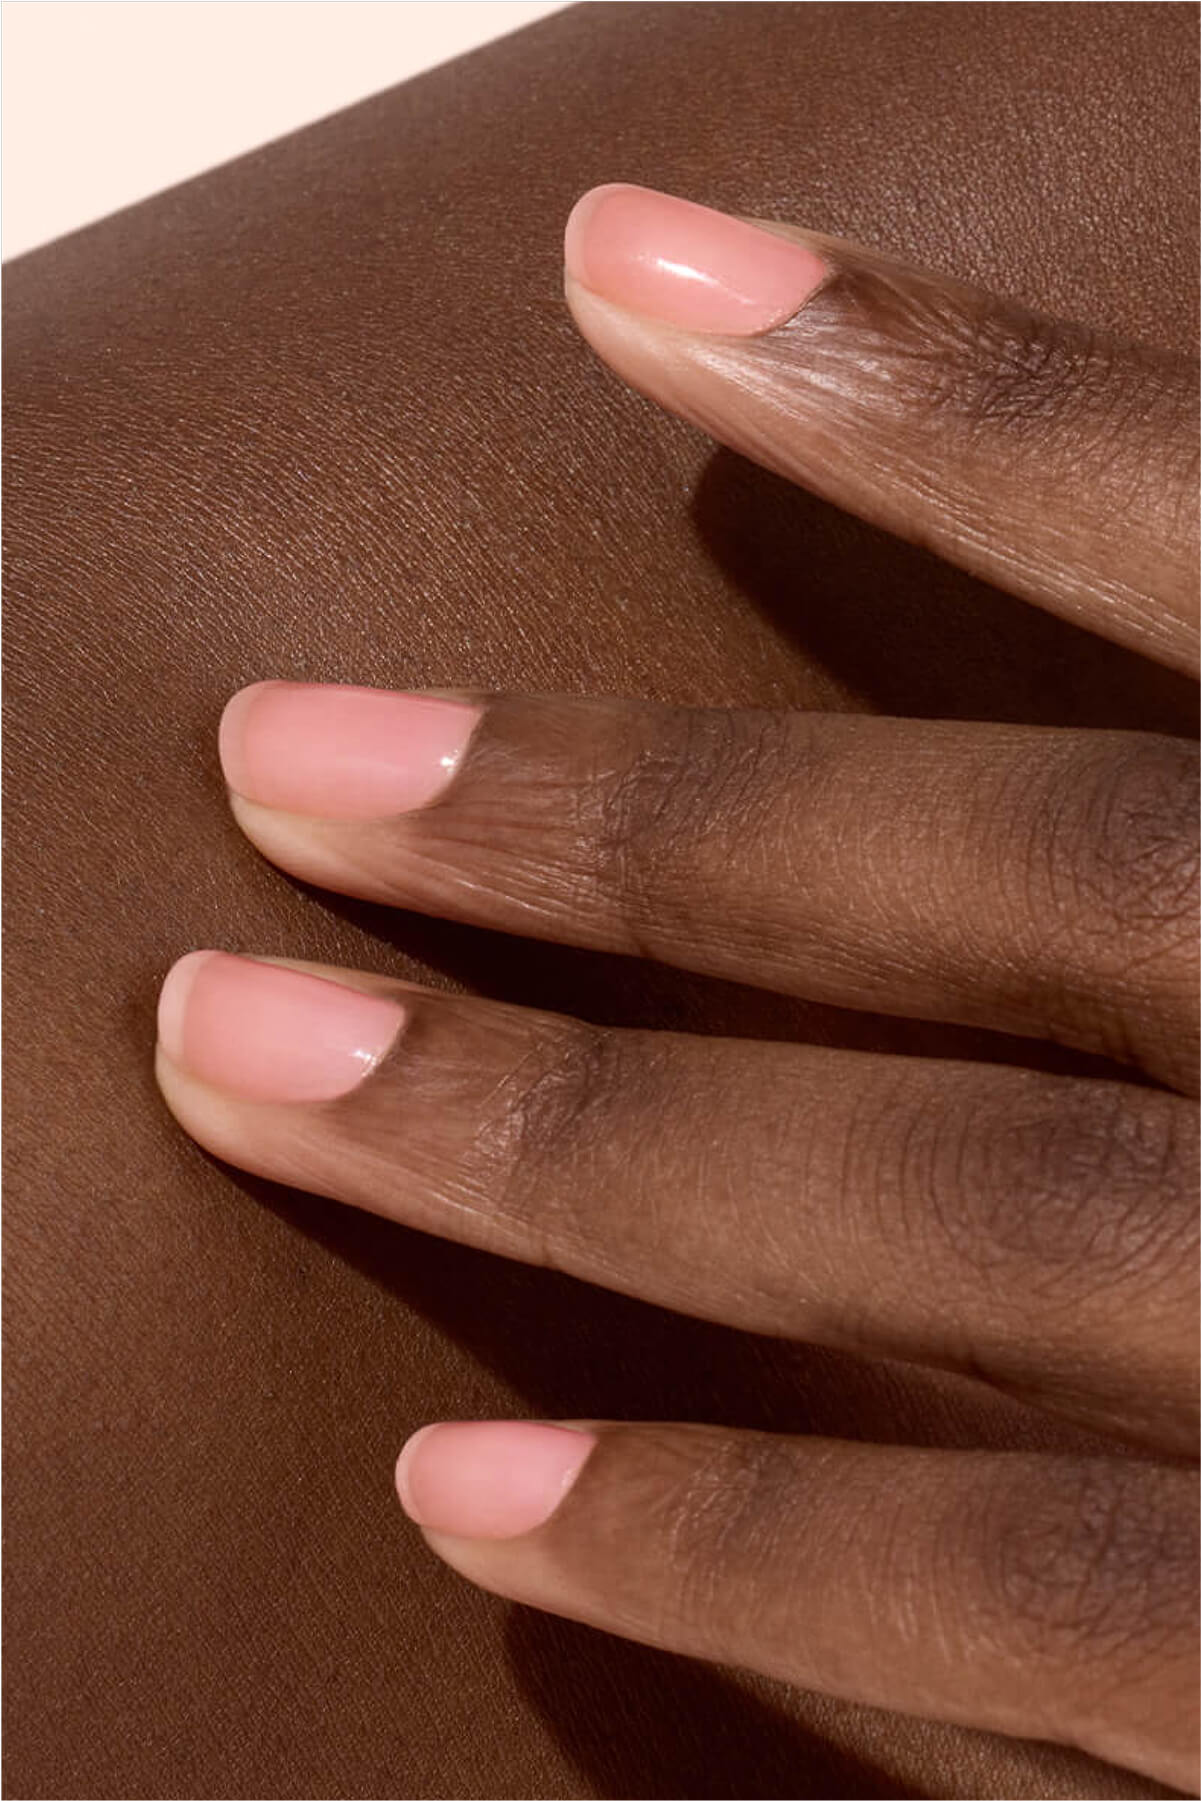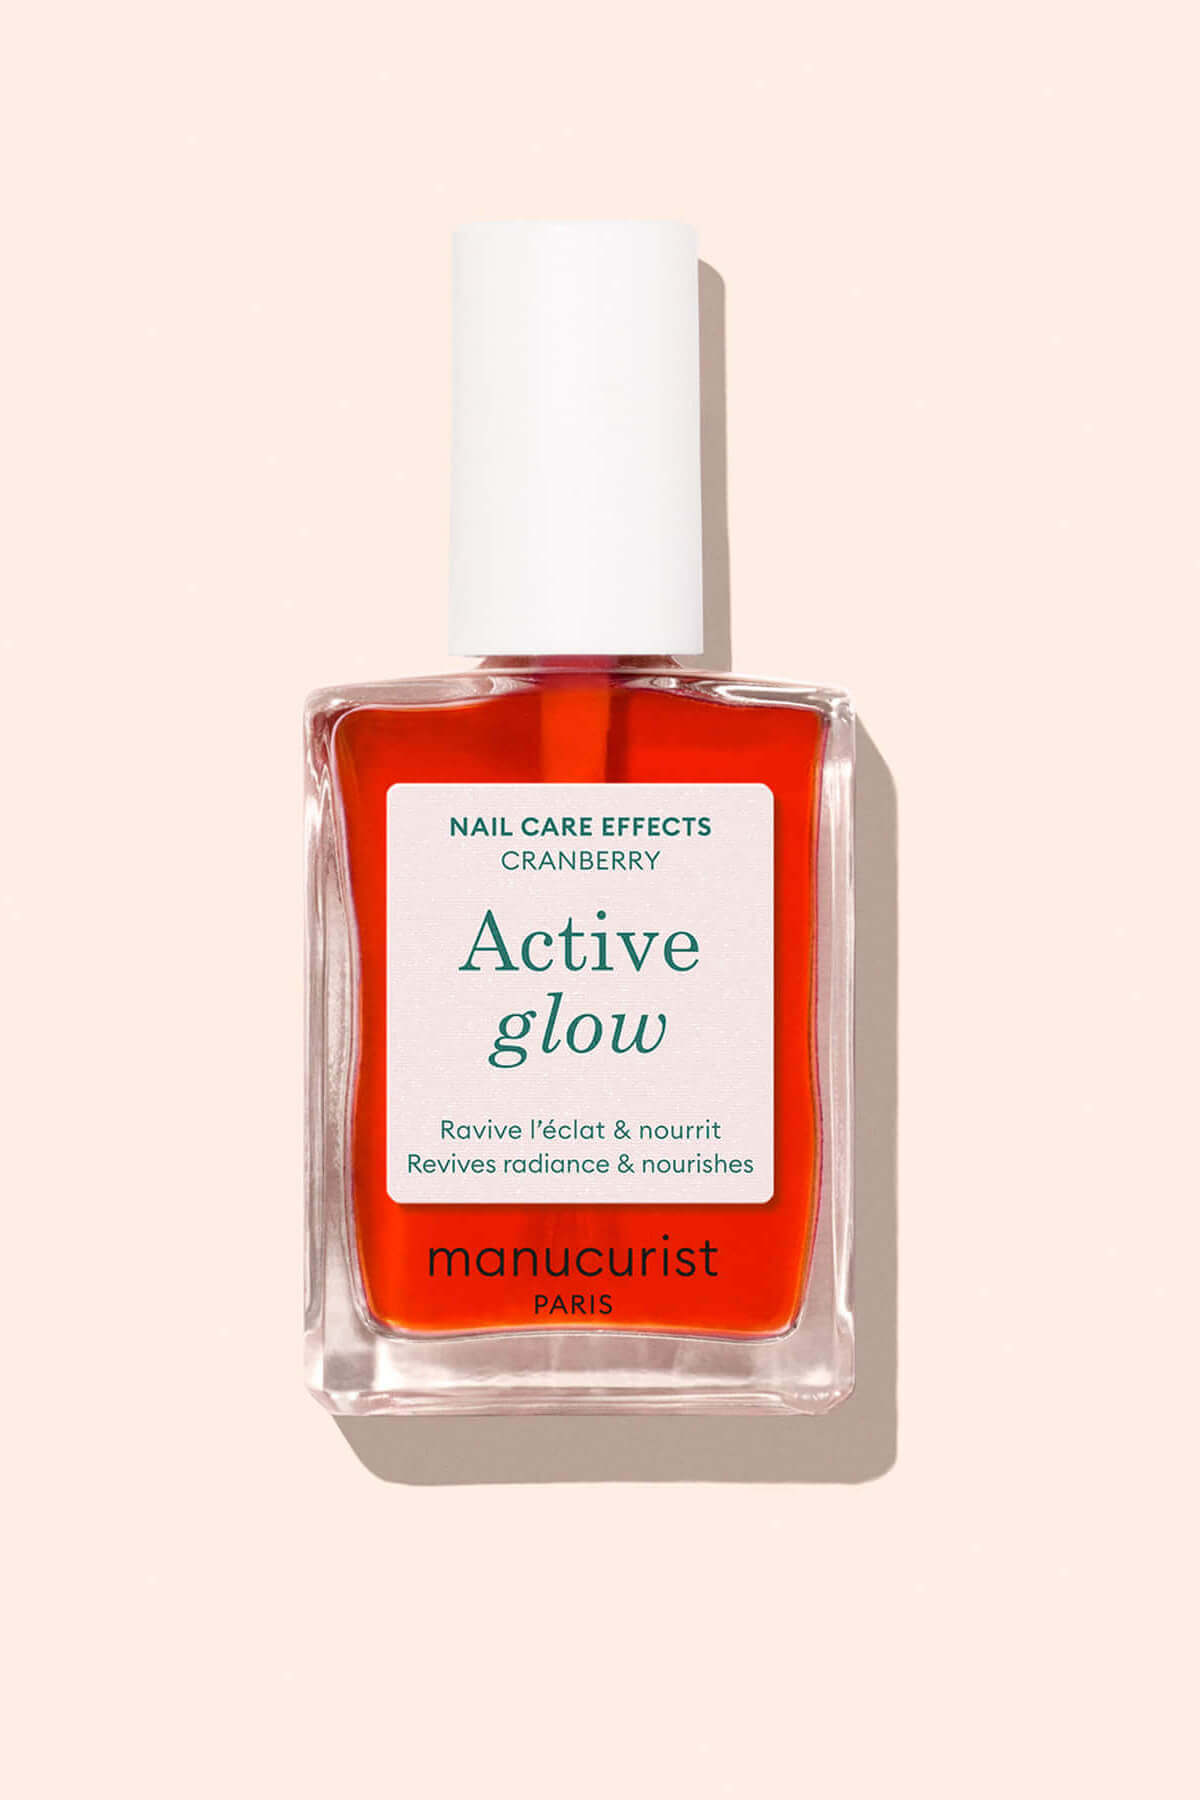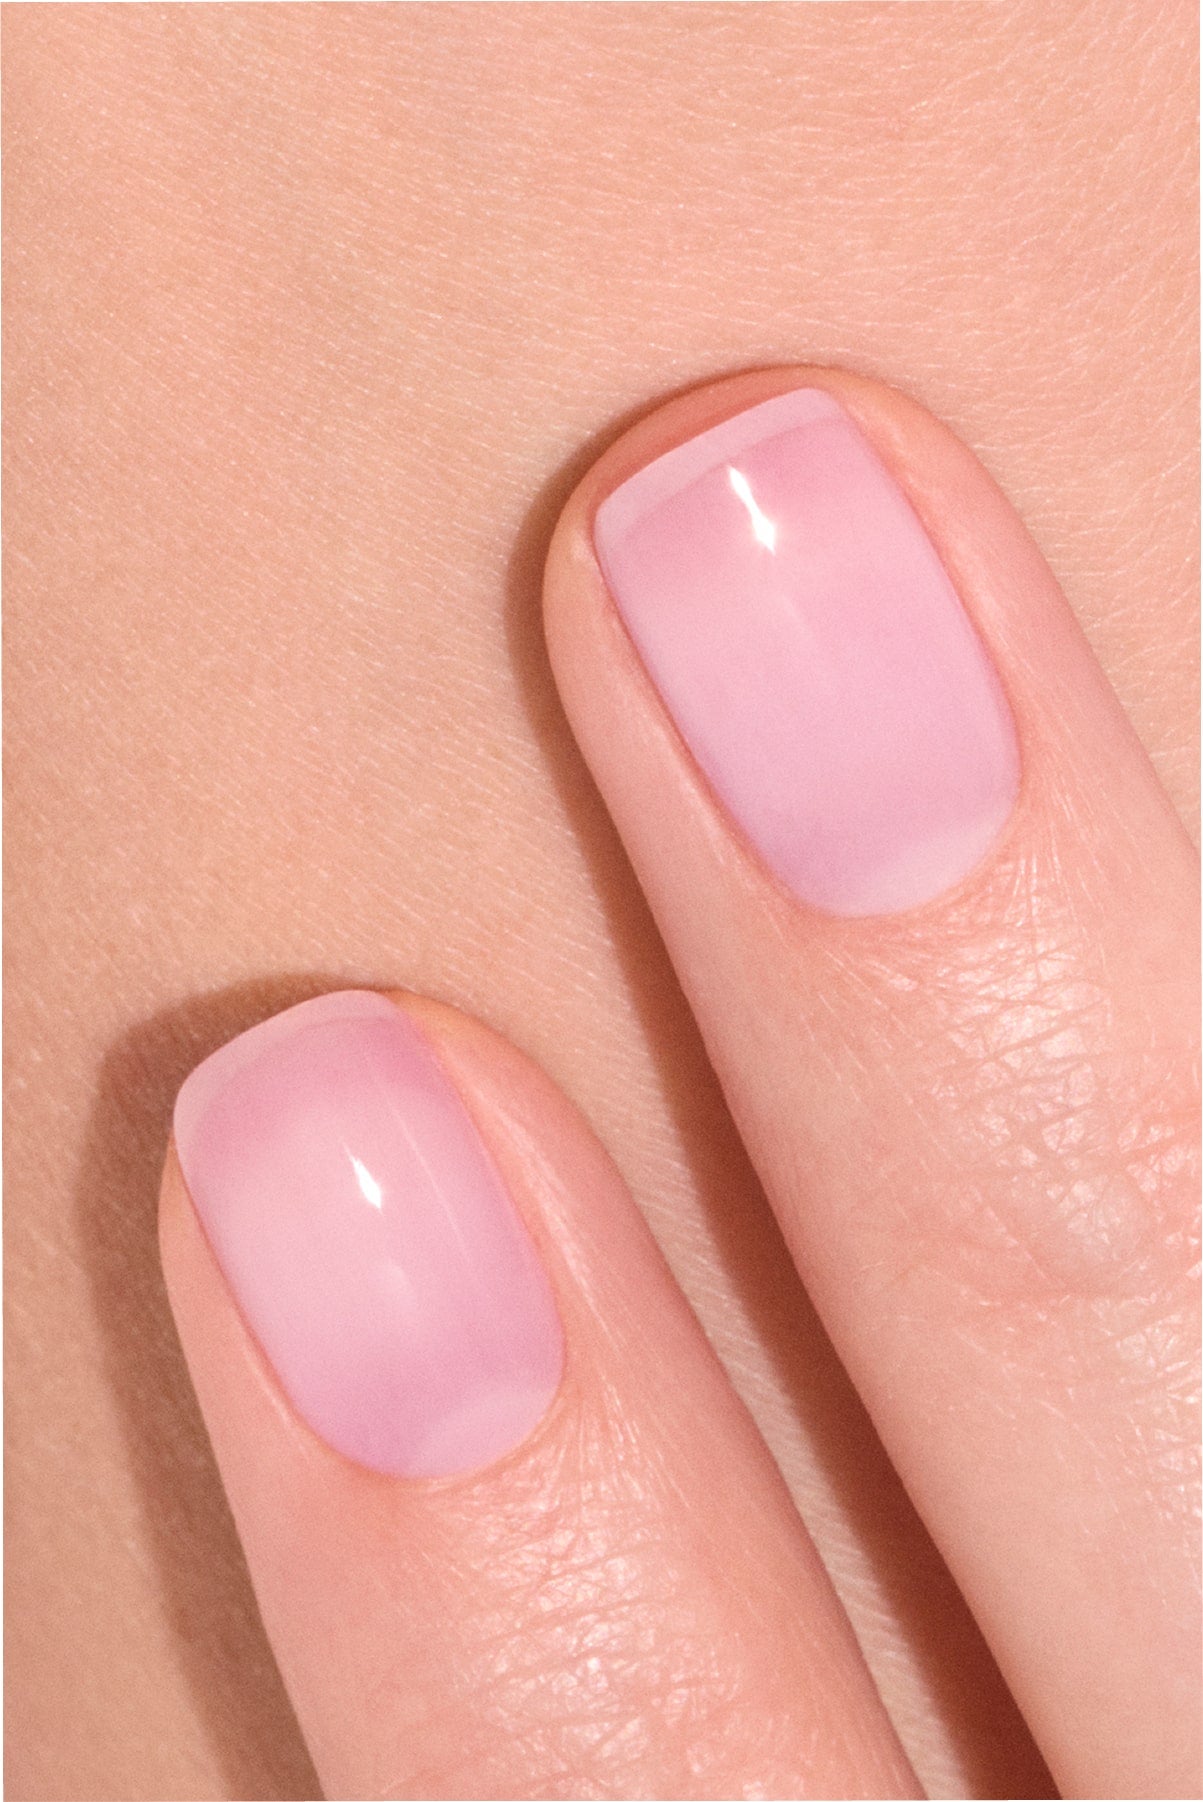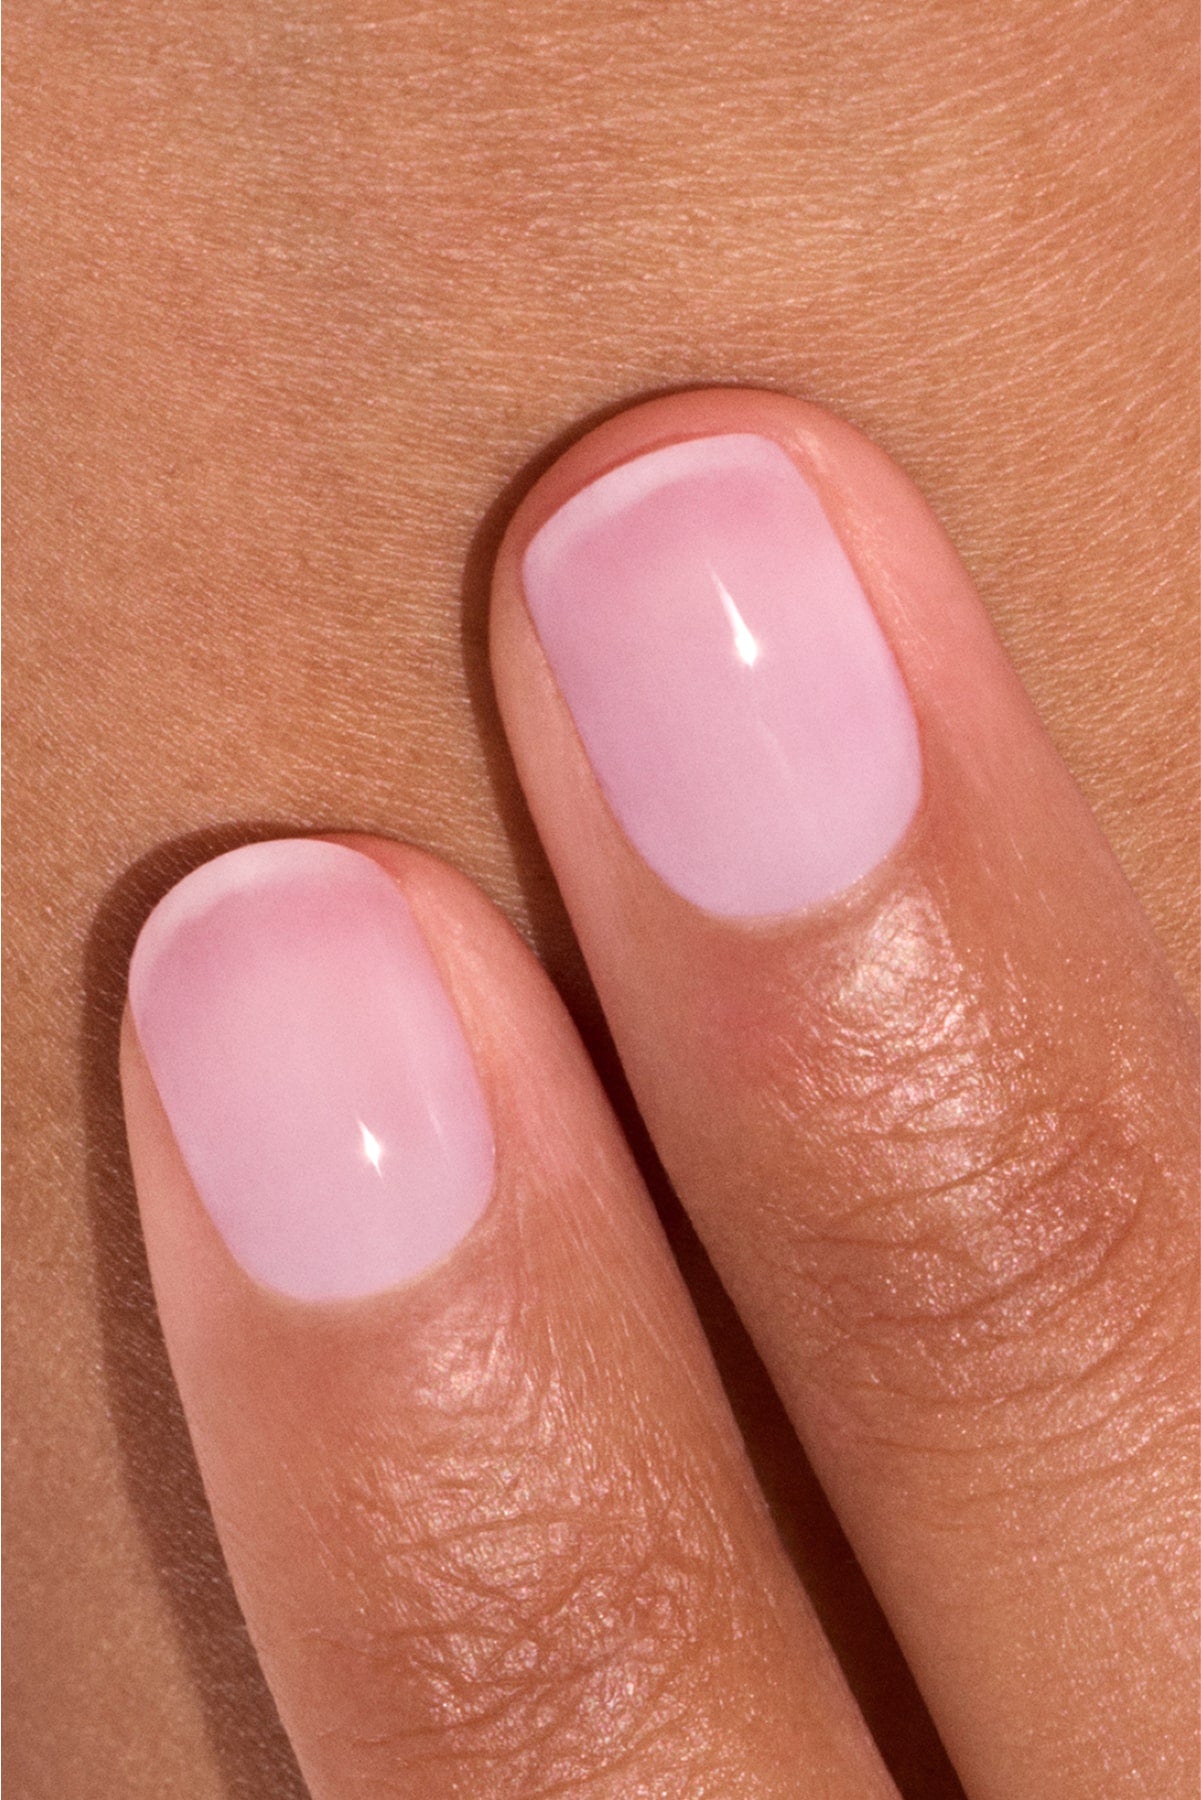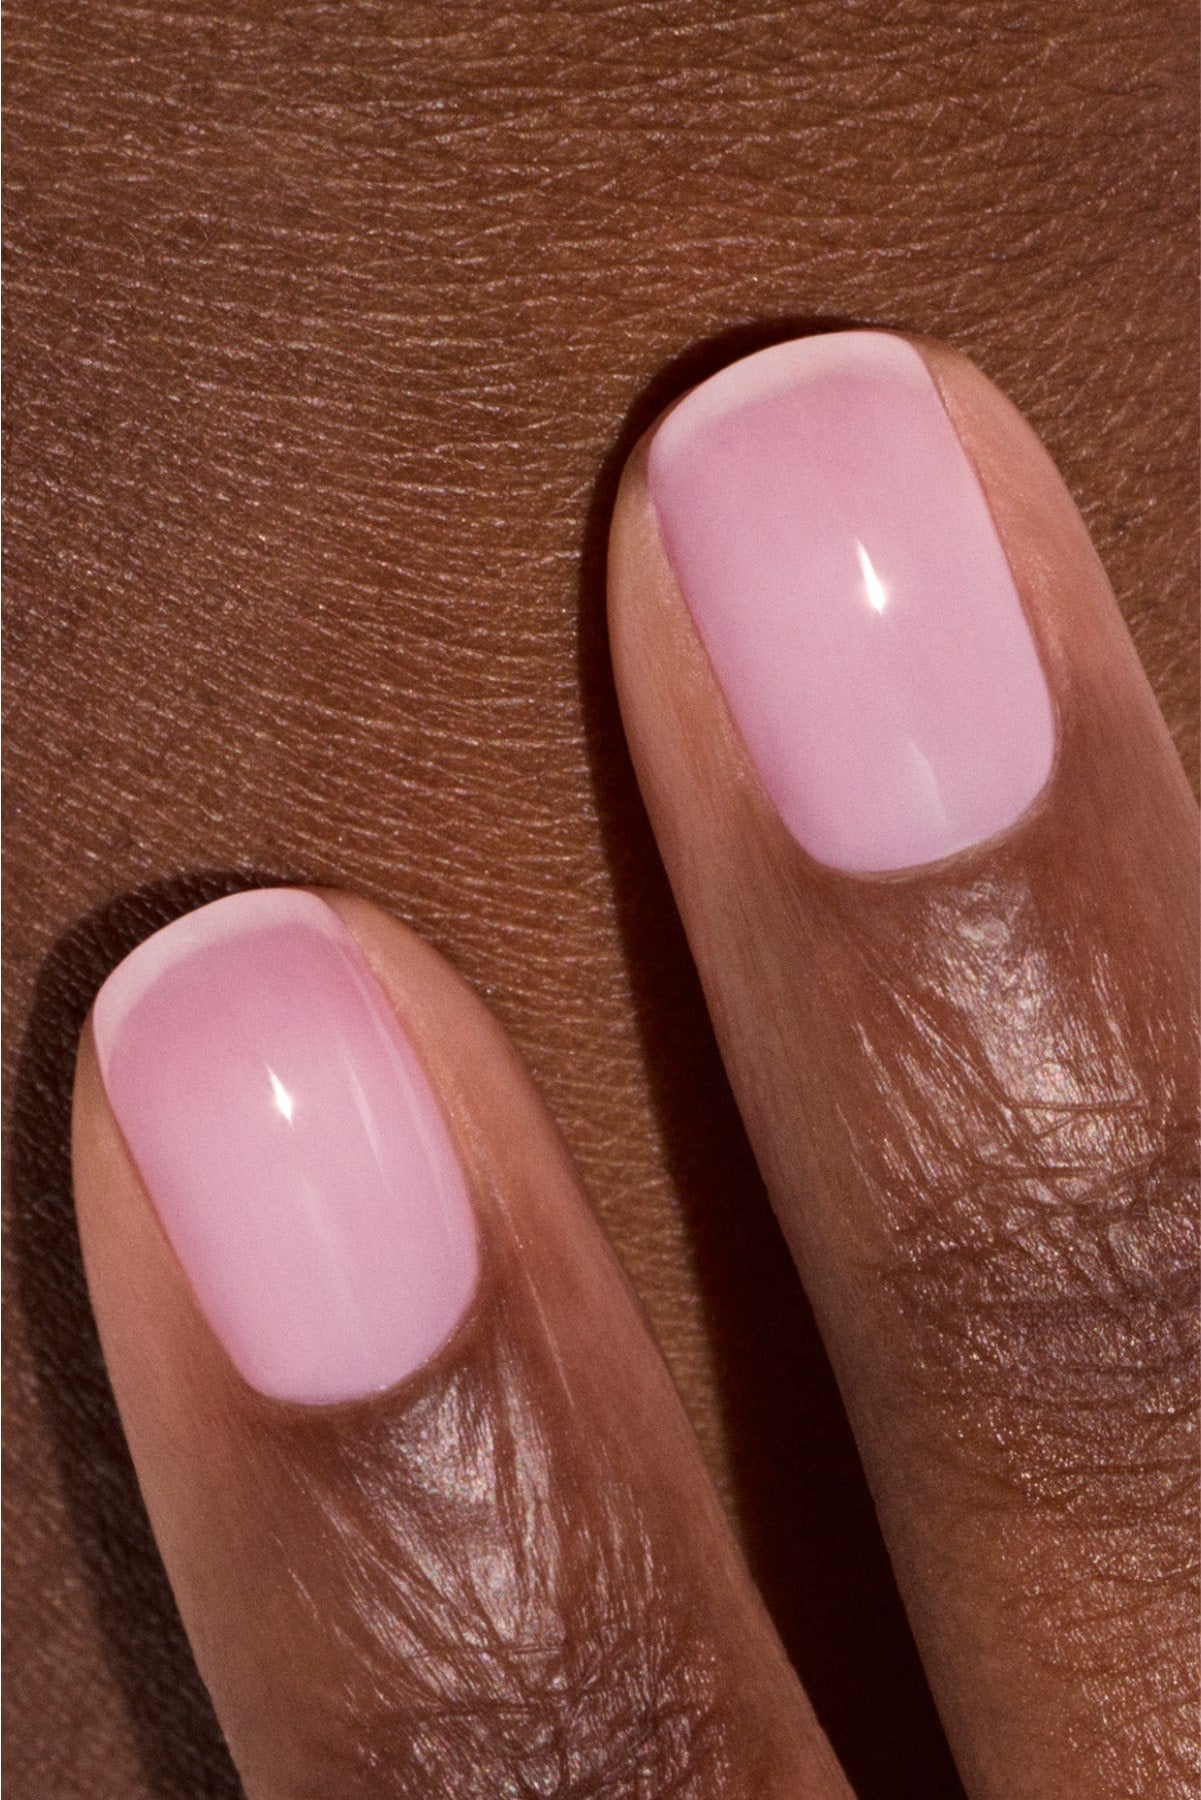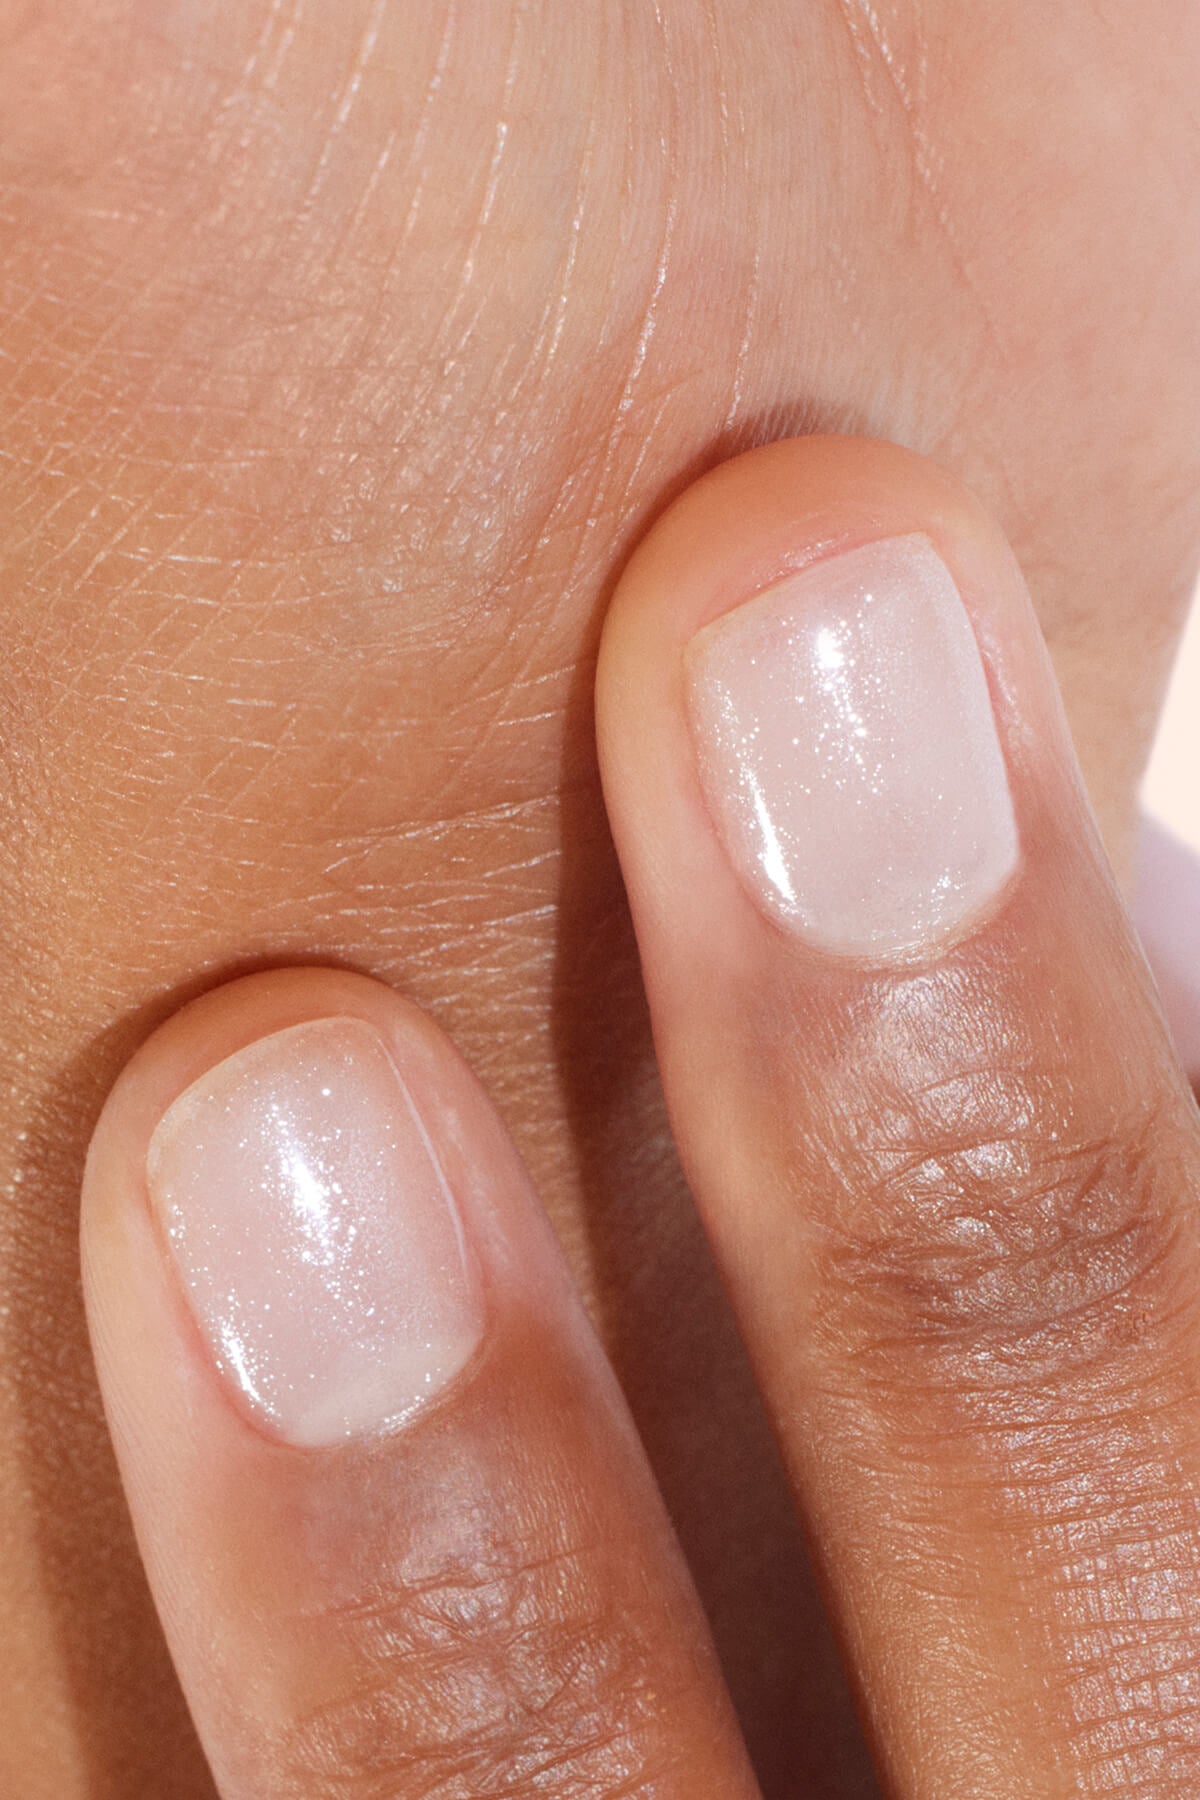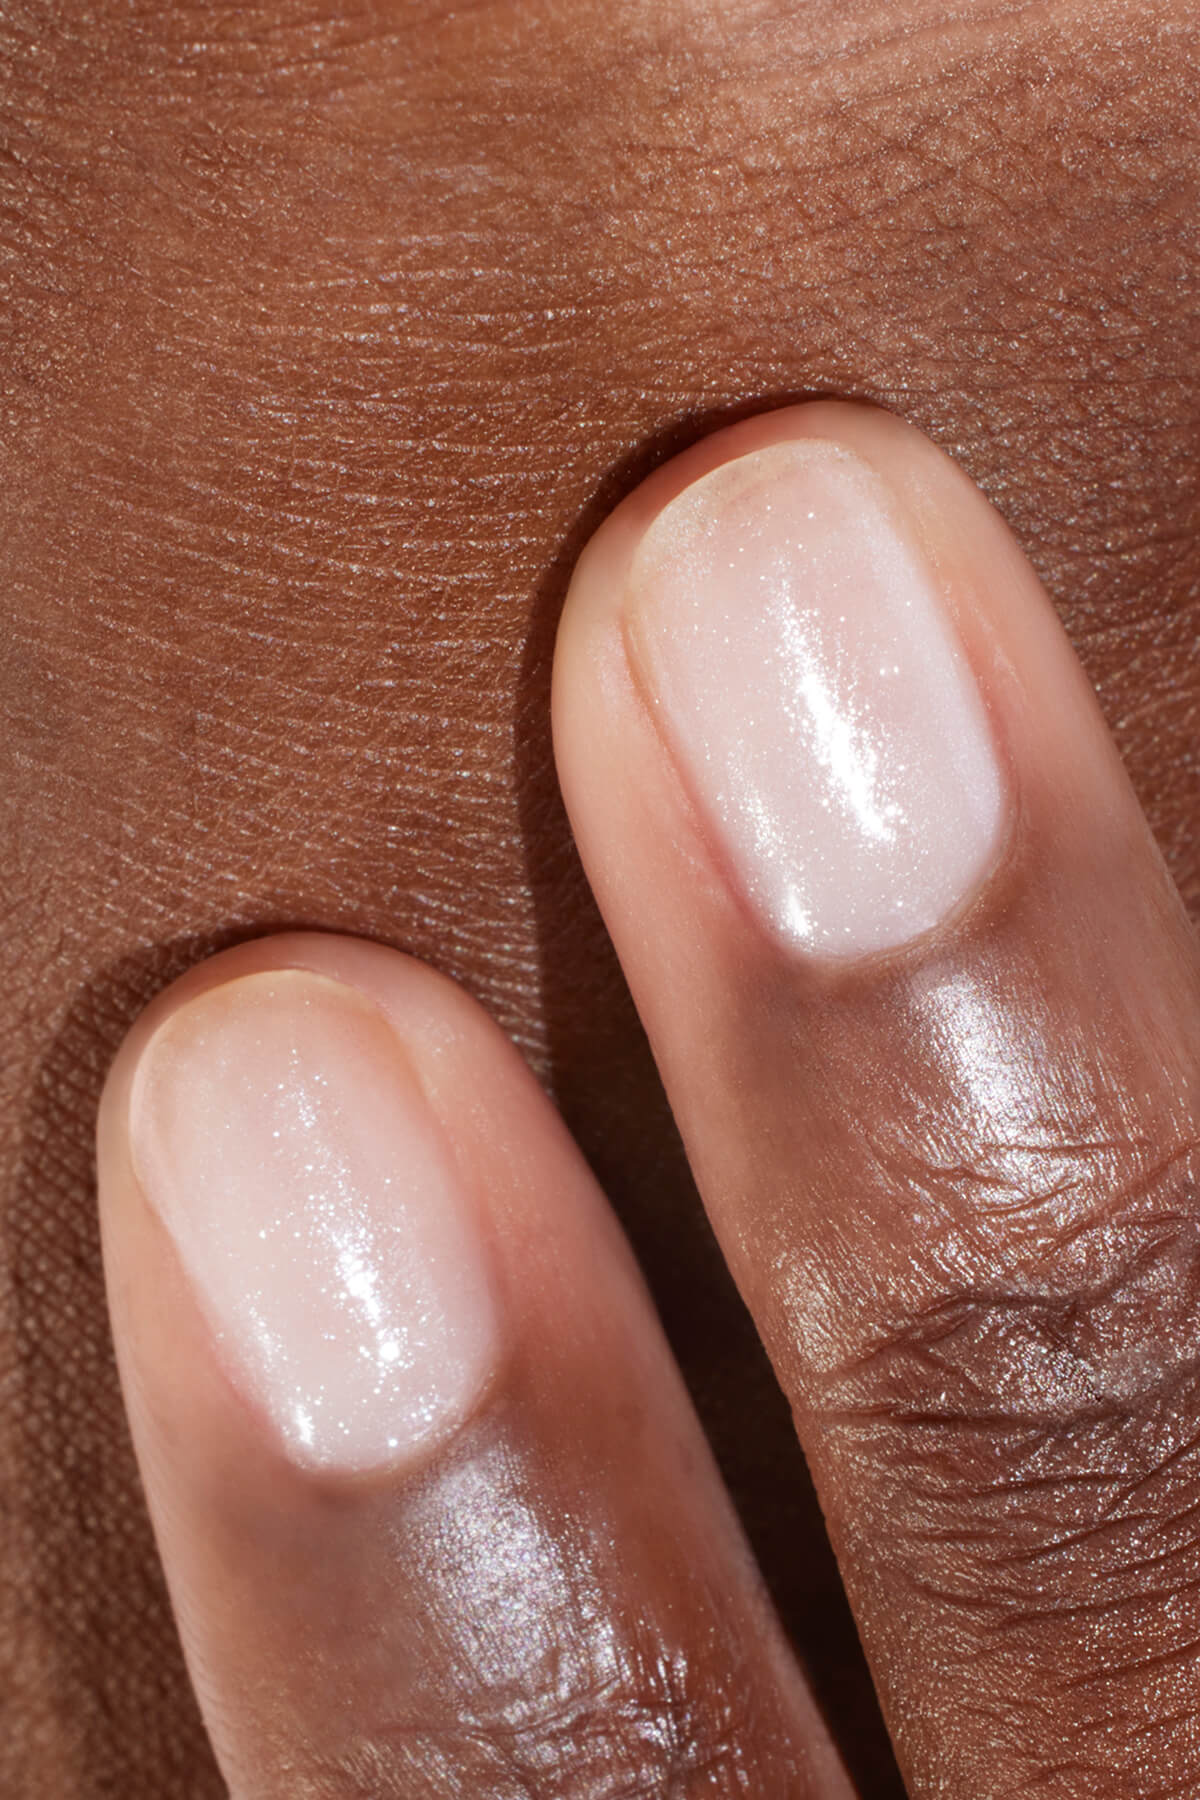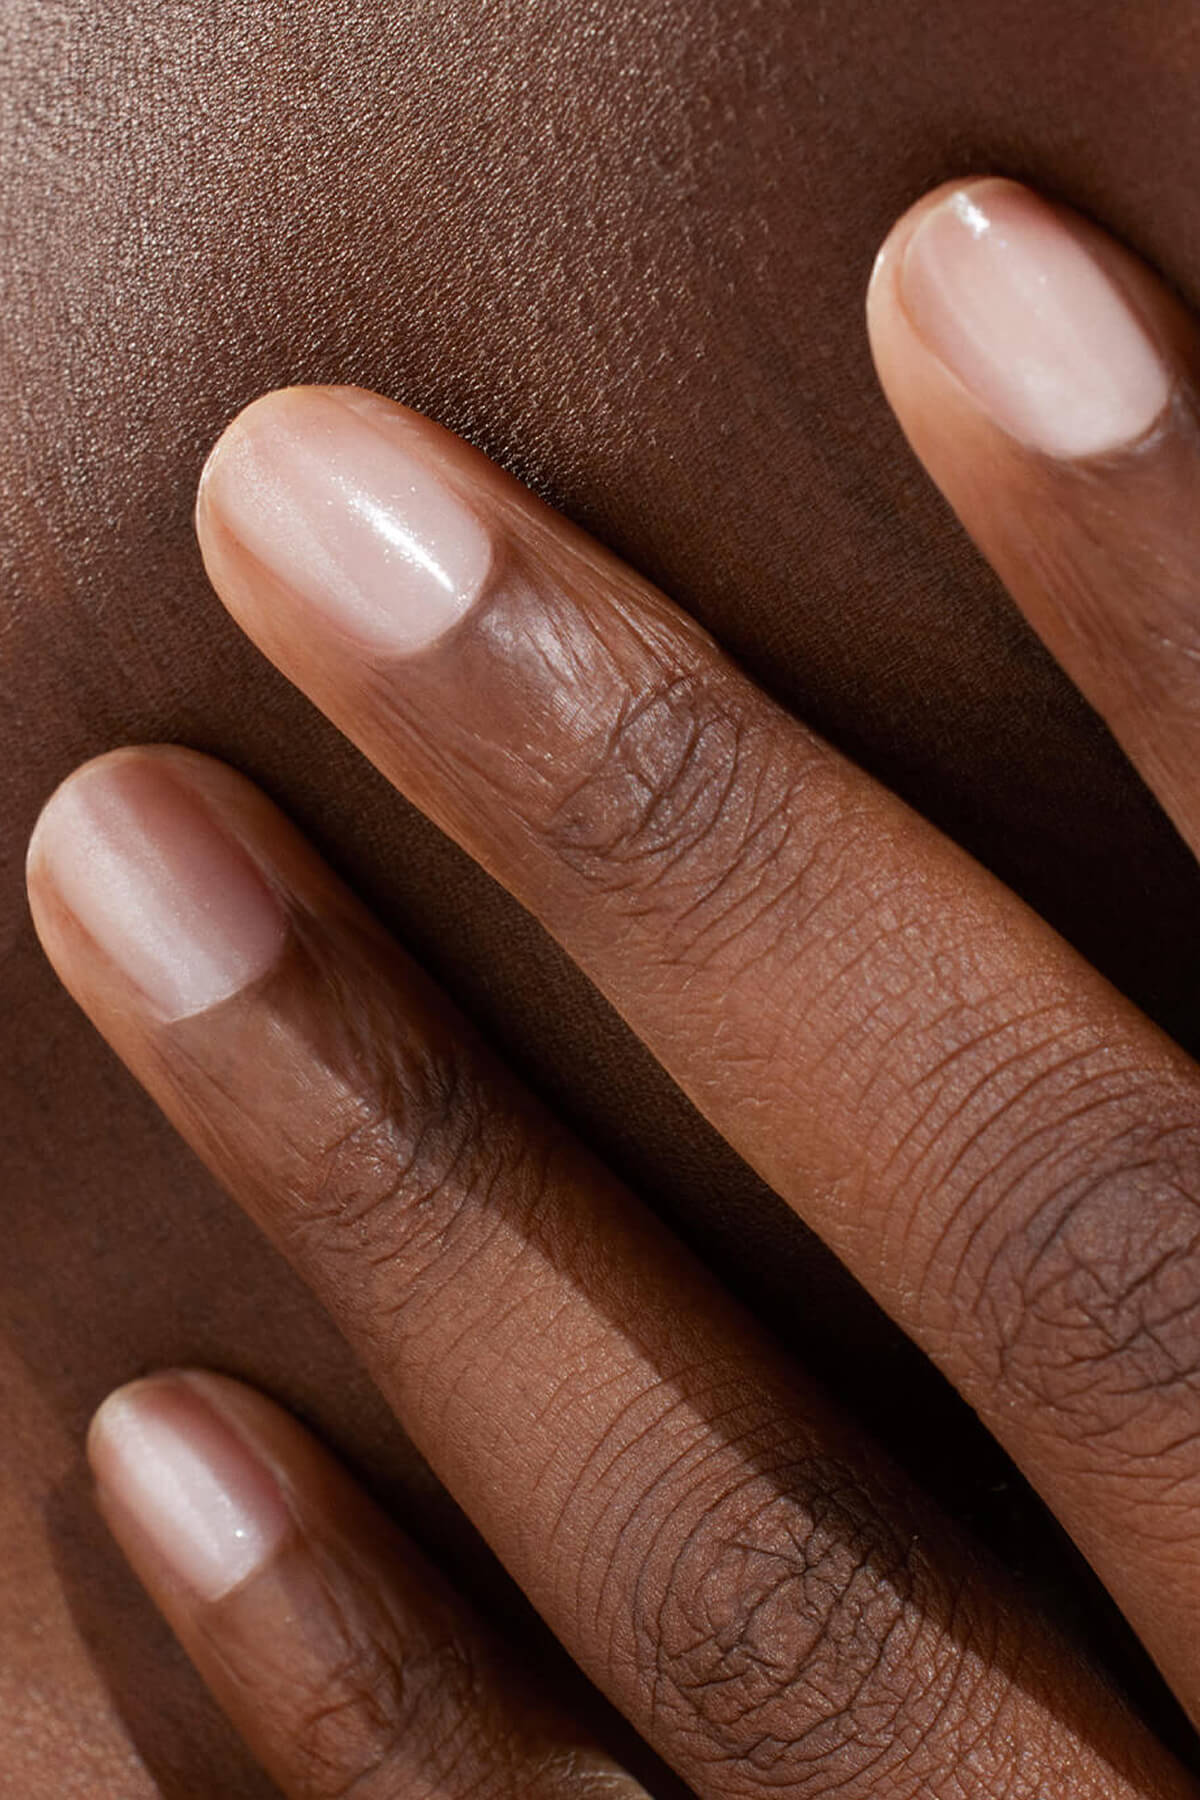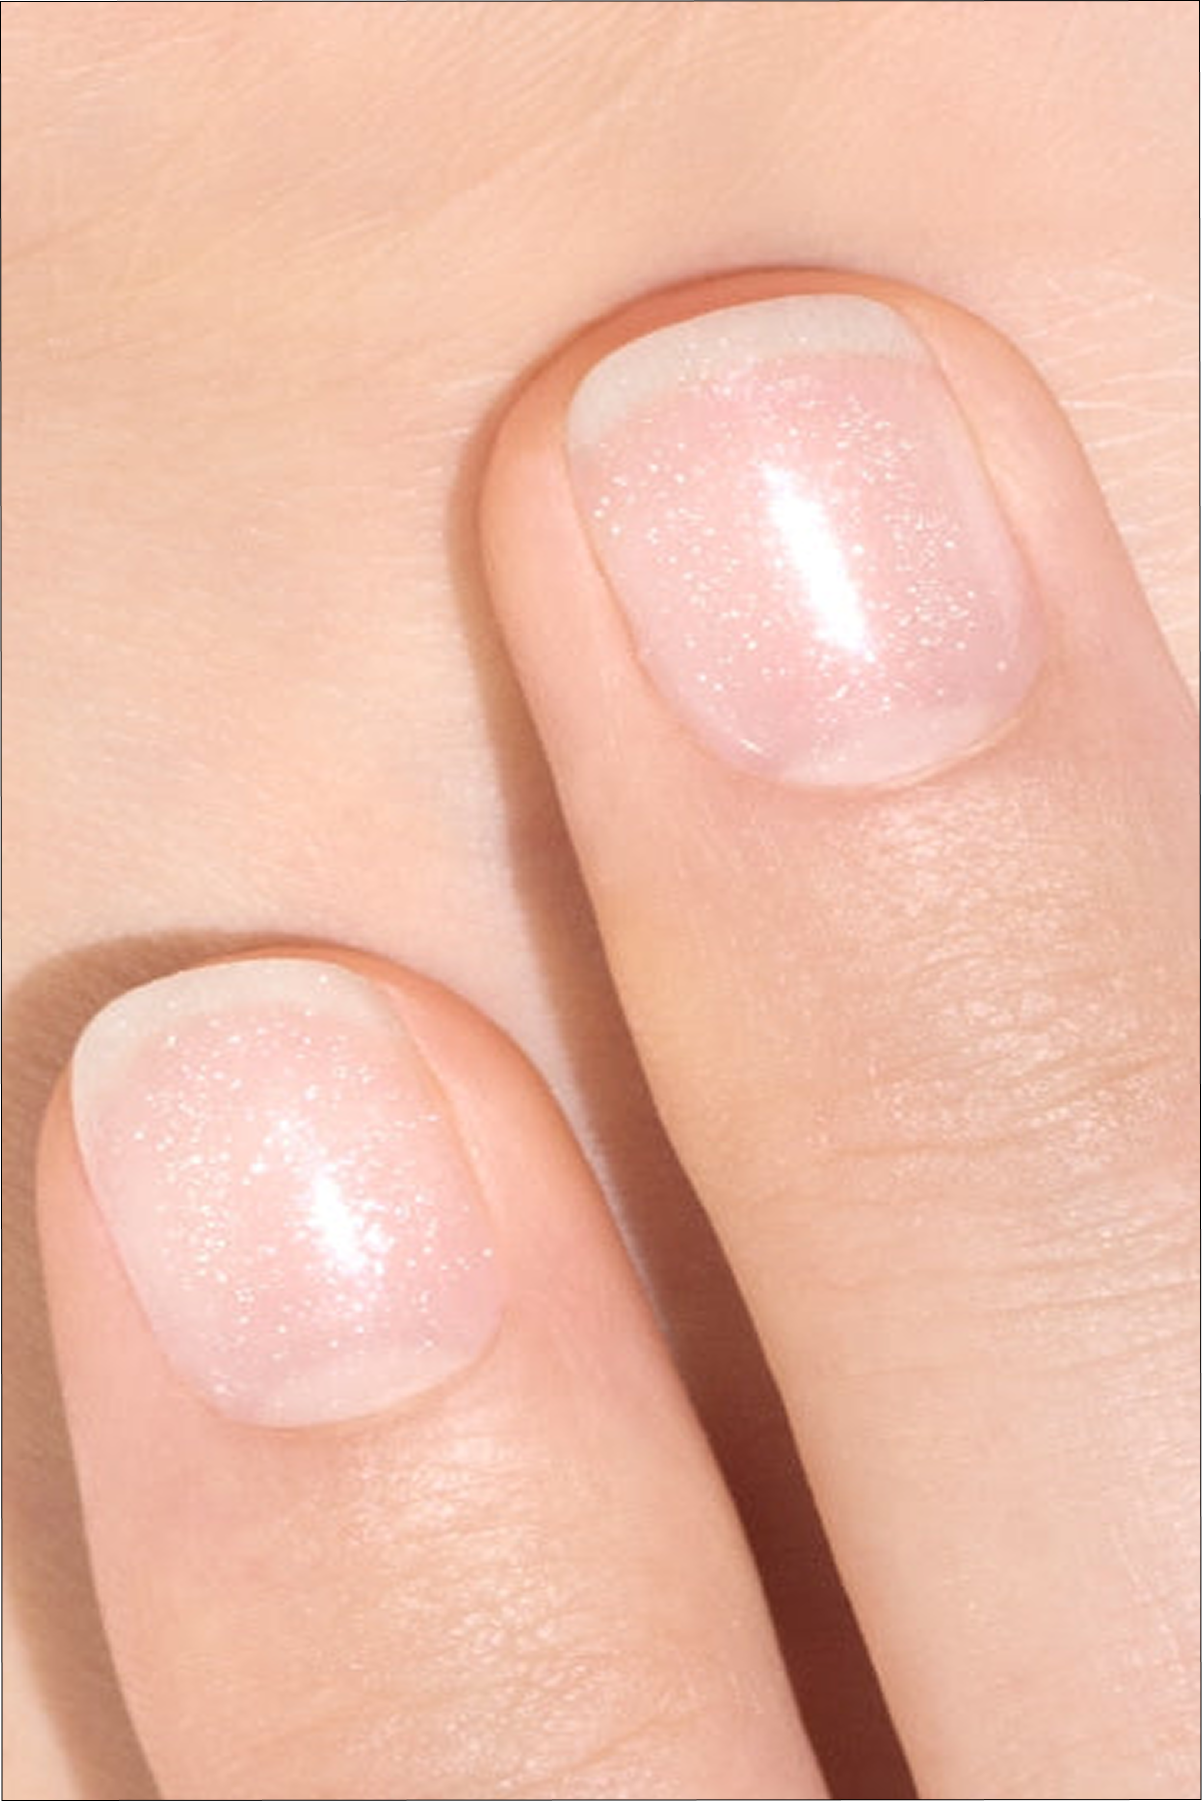


Nothing more frustrating than to see her manicure lost simply because we had no patience waiting for it to dry completely. Were the varnish layers too thick? Is the temperature or humidity not adequate? The poor quality varnish? Discover tips and best practices to promote fast and optimal drying, key to an impeccable manicure.
To be retained :
- Choose a suitable varnish: vegan and bio-based formula, fast drying (e.g. Green™ dry in 1 min).
- Avoid thick layers: they prolong drying time and risk causing the varnish to fried.
- Take into account the environment: ventilated room, temperature 20-22°C, low humidity.
Factors that play on nail polish drying time
Choose your own varnish
All varnishes do not dry in the same way, everything depends on their chemical formula. Between a classic varnish and a semi-permanent varnish, the drying times and methods are very different. A classic varnish will dry in the open airevaporation of the solvents that make up it, 3 to 10 minutes approximately. Where semi-permanent varnishes need to be catalyze under UV lamp with a drying time of about 15 to 20 minutes.
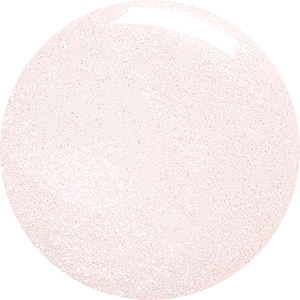
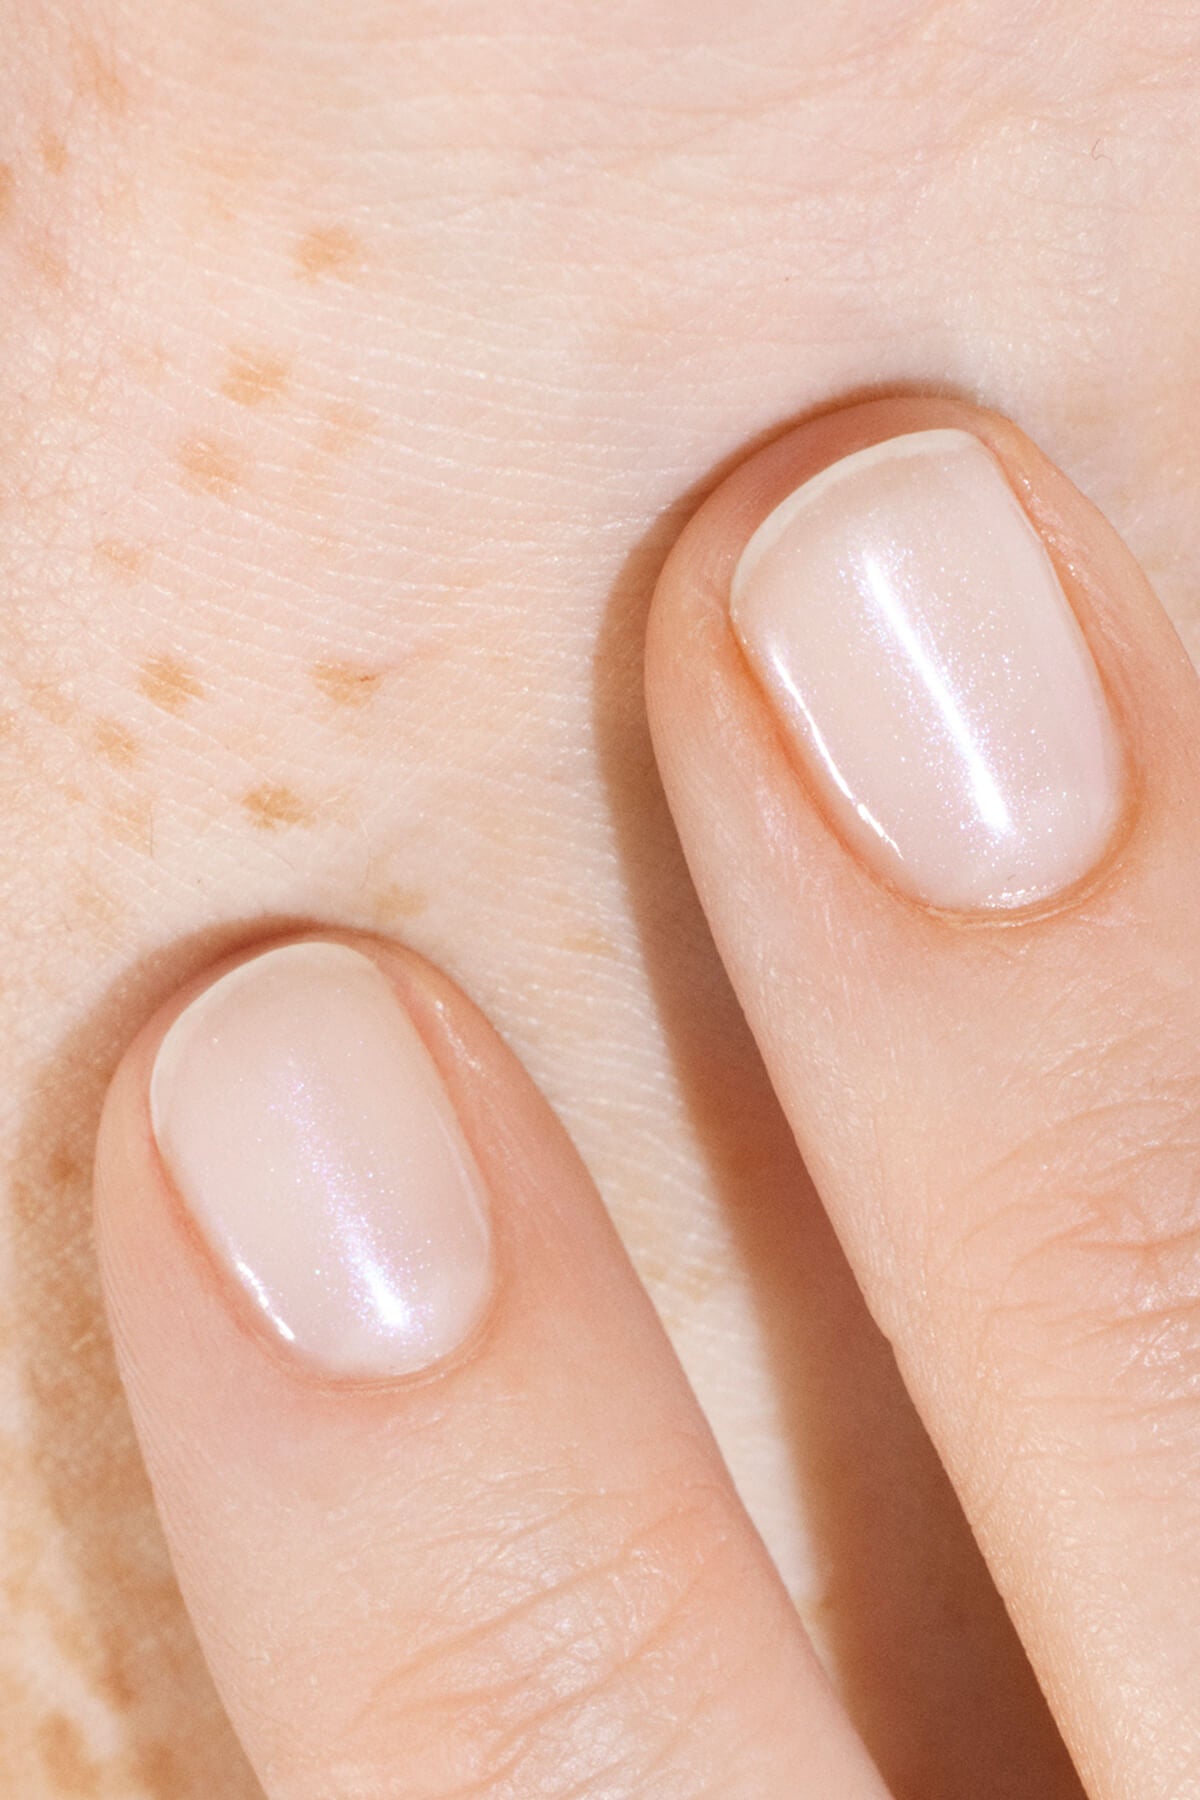
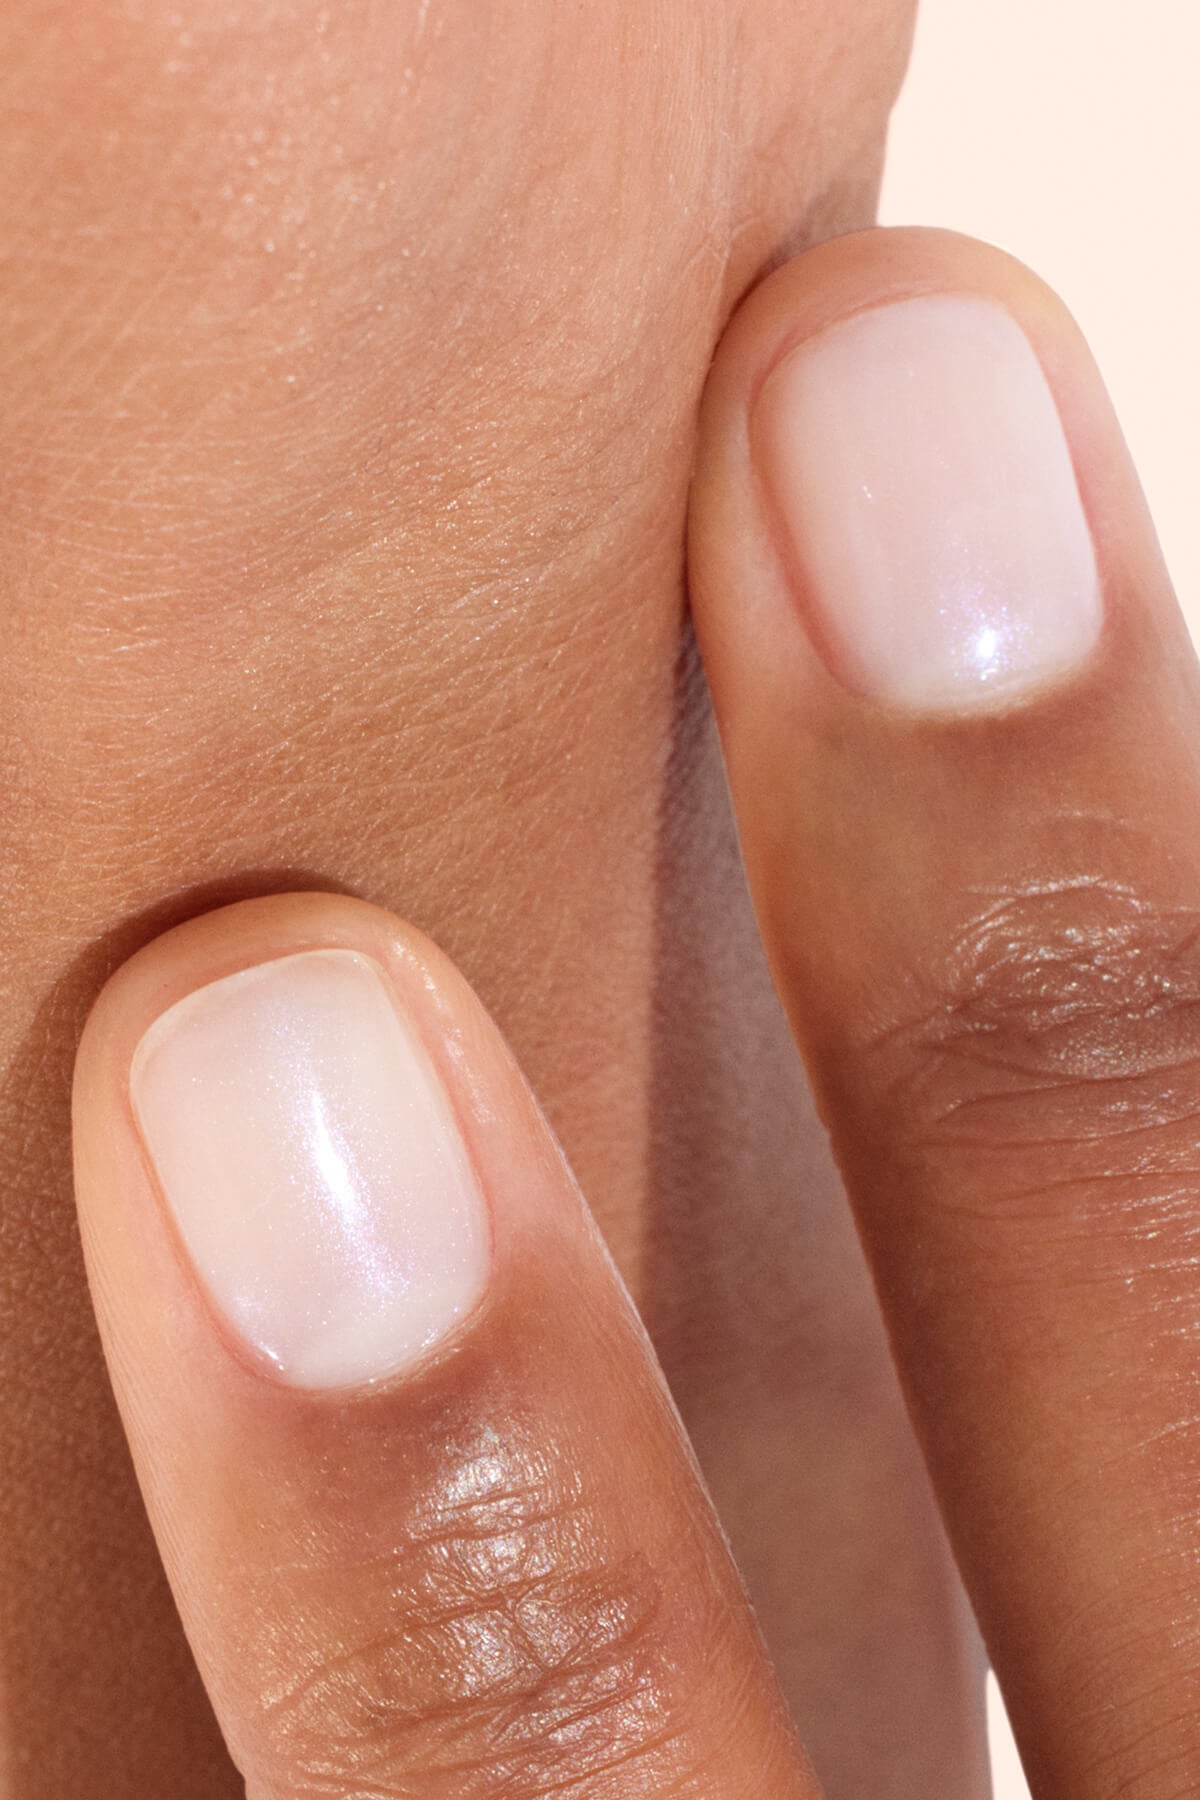
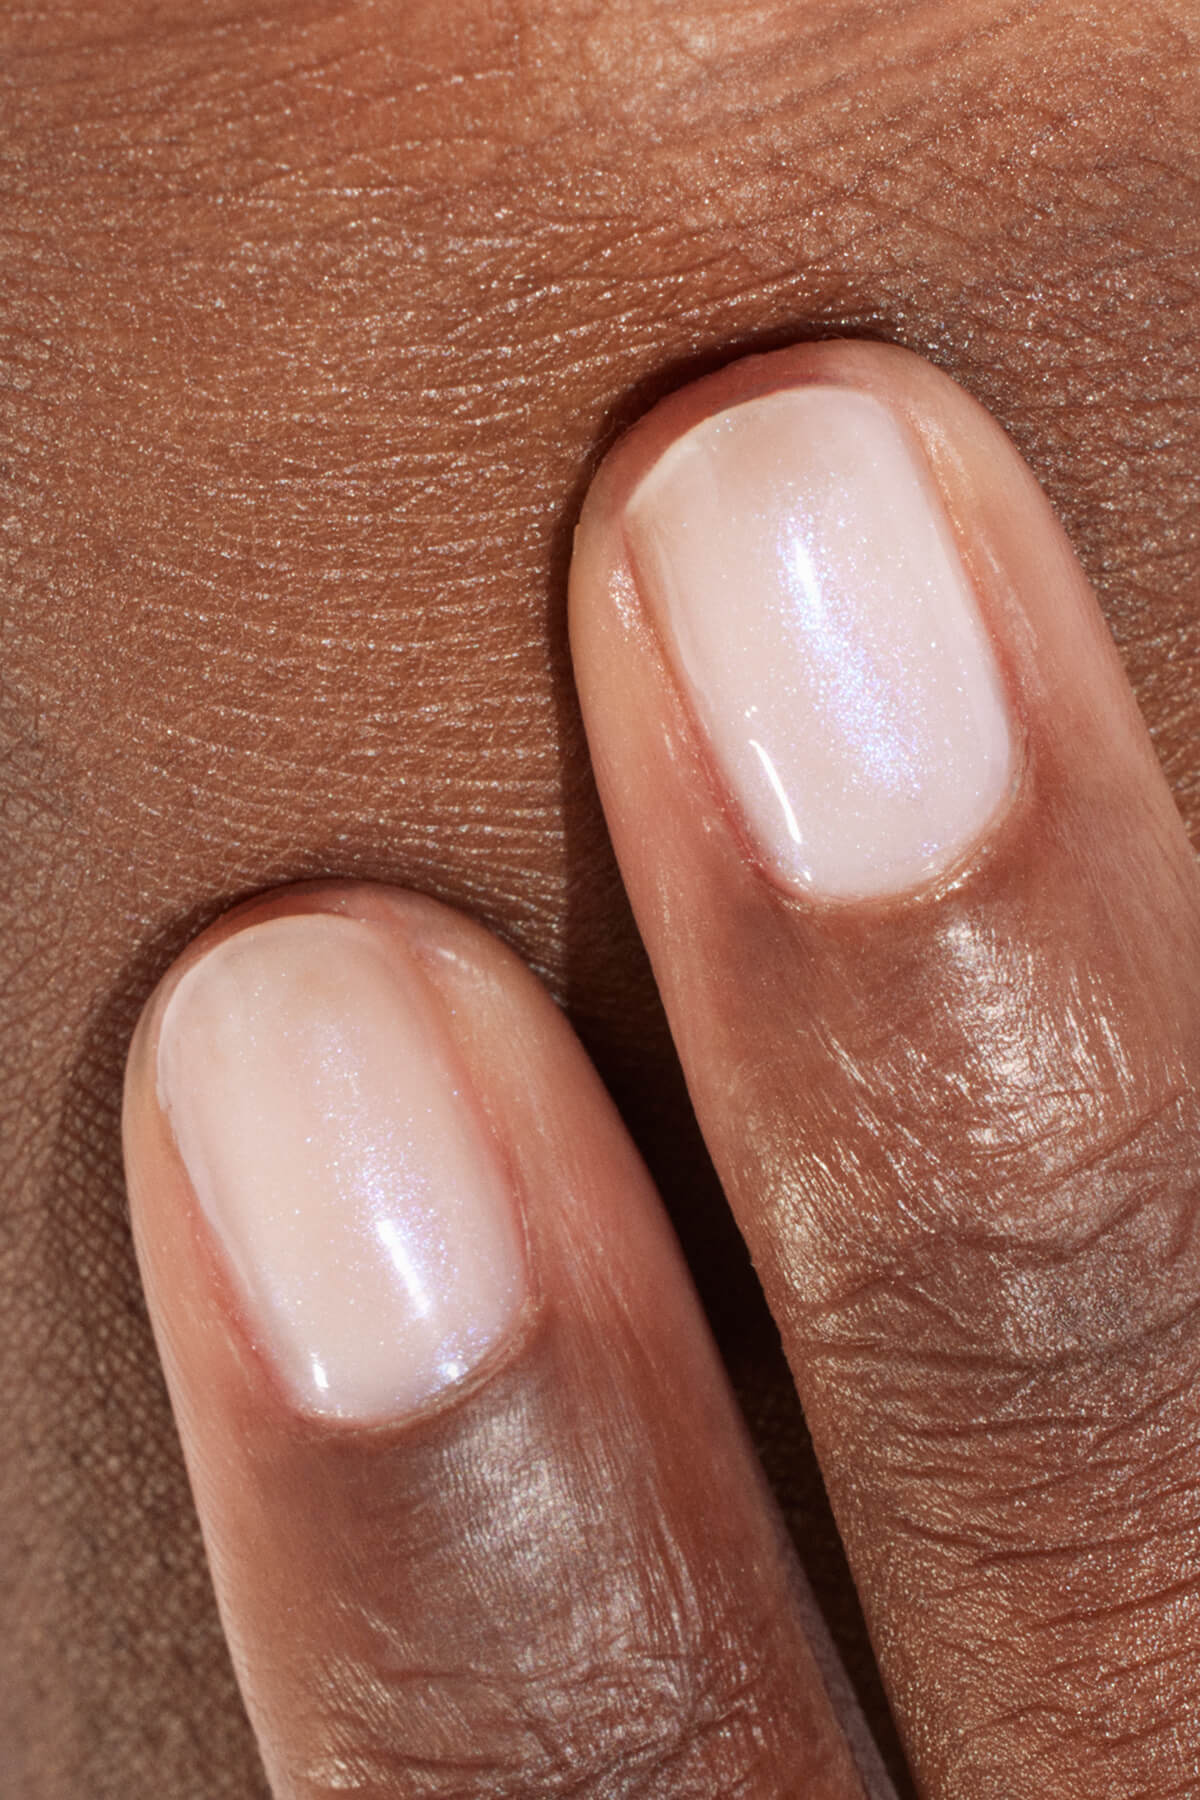
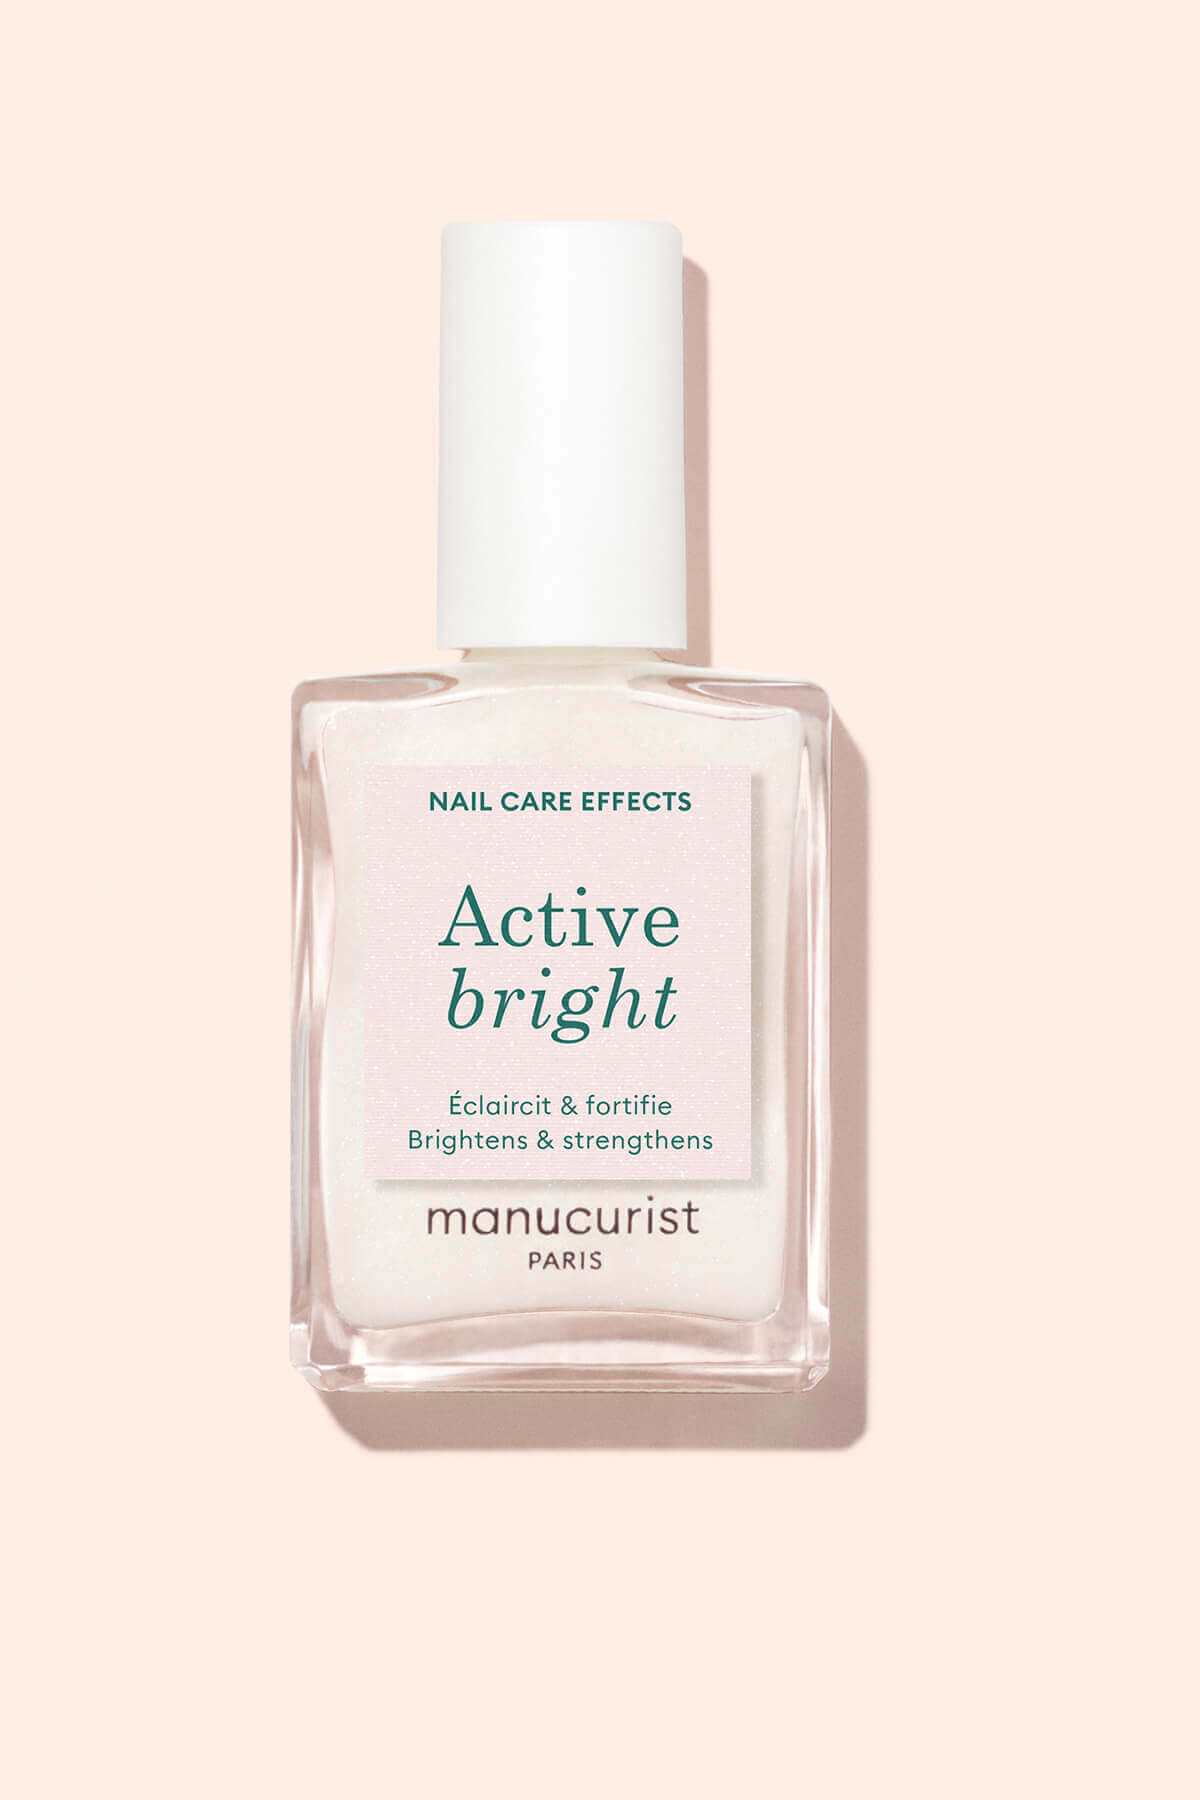
For a manicure express, nail-friendly and without compromise on quality, prefer a bio-based varnish formula. With the varnish Green™ of the Manucurist , you check all the boxes :
-
a formula vegan and bio-ourced up to 83%,
-
one Express drying in 1 minute,
-
a ultra pigmented color (more than 100 shades of choice!),
-
a glossy gel effect without UV lamp,
-
a impeccable hold up to 7 days.

Green™ , the bio-based varnish (up to 83%), long hold and which drys without a lamp in 1 minute.
The thickness of the layers: the detail that changes everything
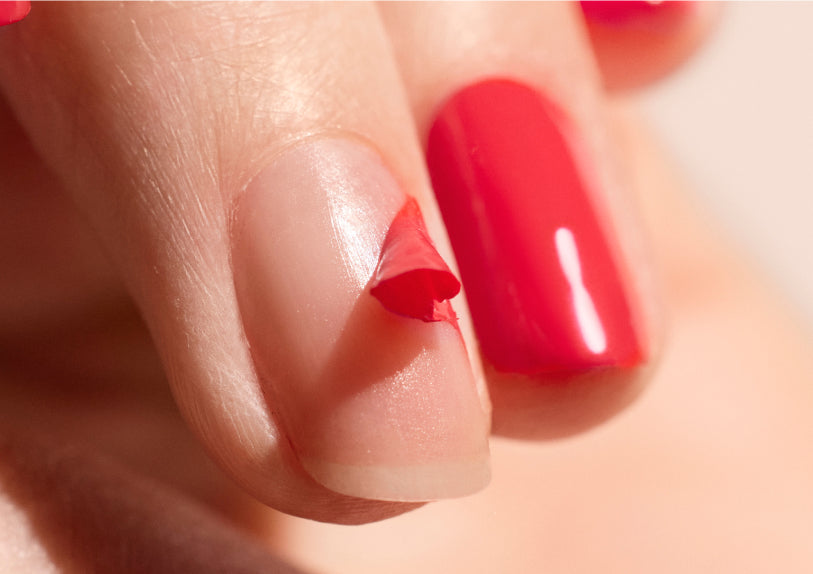
When you start in manicure or when you put on a clear or translucent varnish, you quickly tend to force on the quantity. The result is: thick layers That takes a crazy time to dry. Worse: if the surface appears dry to touch, the inside is still soft and you risk see your friper varnish Any contact. A mistake to avoid absolutely!
Temperature and humidity, enemies of fast drying
Even with a quality varnish and an exemplary application, your varnish can be long to dry if the environment is not suitable. Temperature and humidity are essential variables to achieve optimal drying and the success of your manicure.
Your varnish will, for example, have a lot of difficulty drying in a very wet room, like a bathroom full of steam. Same thing if you put your varnish in a where it's cold and where solvent evaporation cannot normally be done. And when he does too hot, drying may be uneven.
The ideal is to settle in a properly ventilated and dry piece, with an ambient temperature of 20-22°C.

For optimal drying and successful installation, keep in mind the temperature and humidity of your environment.
Our tips for a manicure that dries fast AND lasts long
Because a quick-drying varnish is good... But a varnish that lasts in time is even better! Two easy-to-achieve goals with a few simple and effective actions to do at home, according to a four-step routine.
1. Prepare your nails well
The reduction of drying time begins with a good nail preparation before the application of the colour. If the nail plate is not well defatted and smooth, the varnish does not adhere uniformly and drying time may increase.
Start with Line your nails with a lime for natural nails to give them the same length and shape : square, oval or almond, it is up to you to choose (more info in our dedicated article).
Go to cuticle care applying a littleEfficacy to soften them. Then push them away with a cuticle shoot or a box stick.
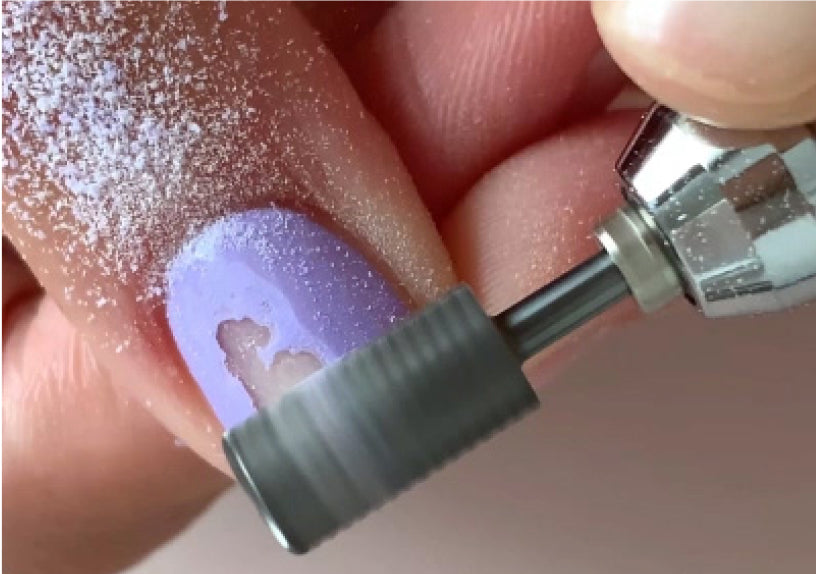
Lightly polish the surface of your nails with a preparation file for erase imperfections and open keratin scales, which will promote the adhesion of the varnish.
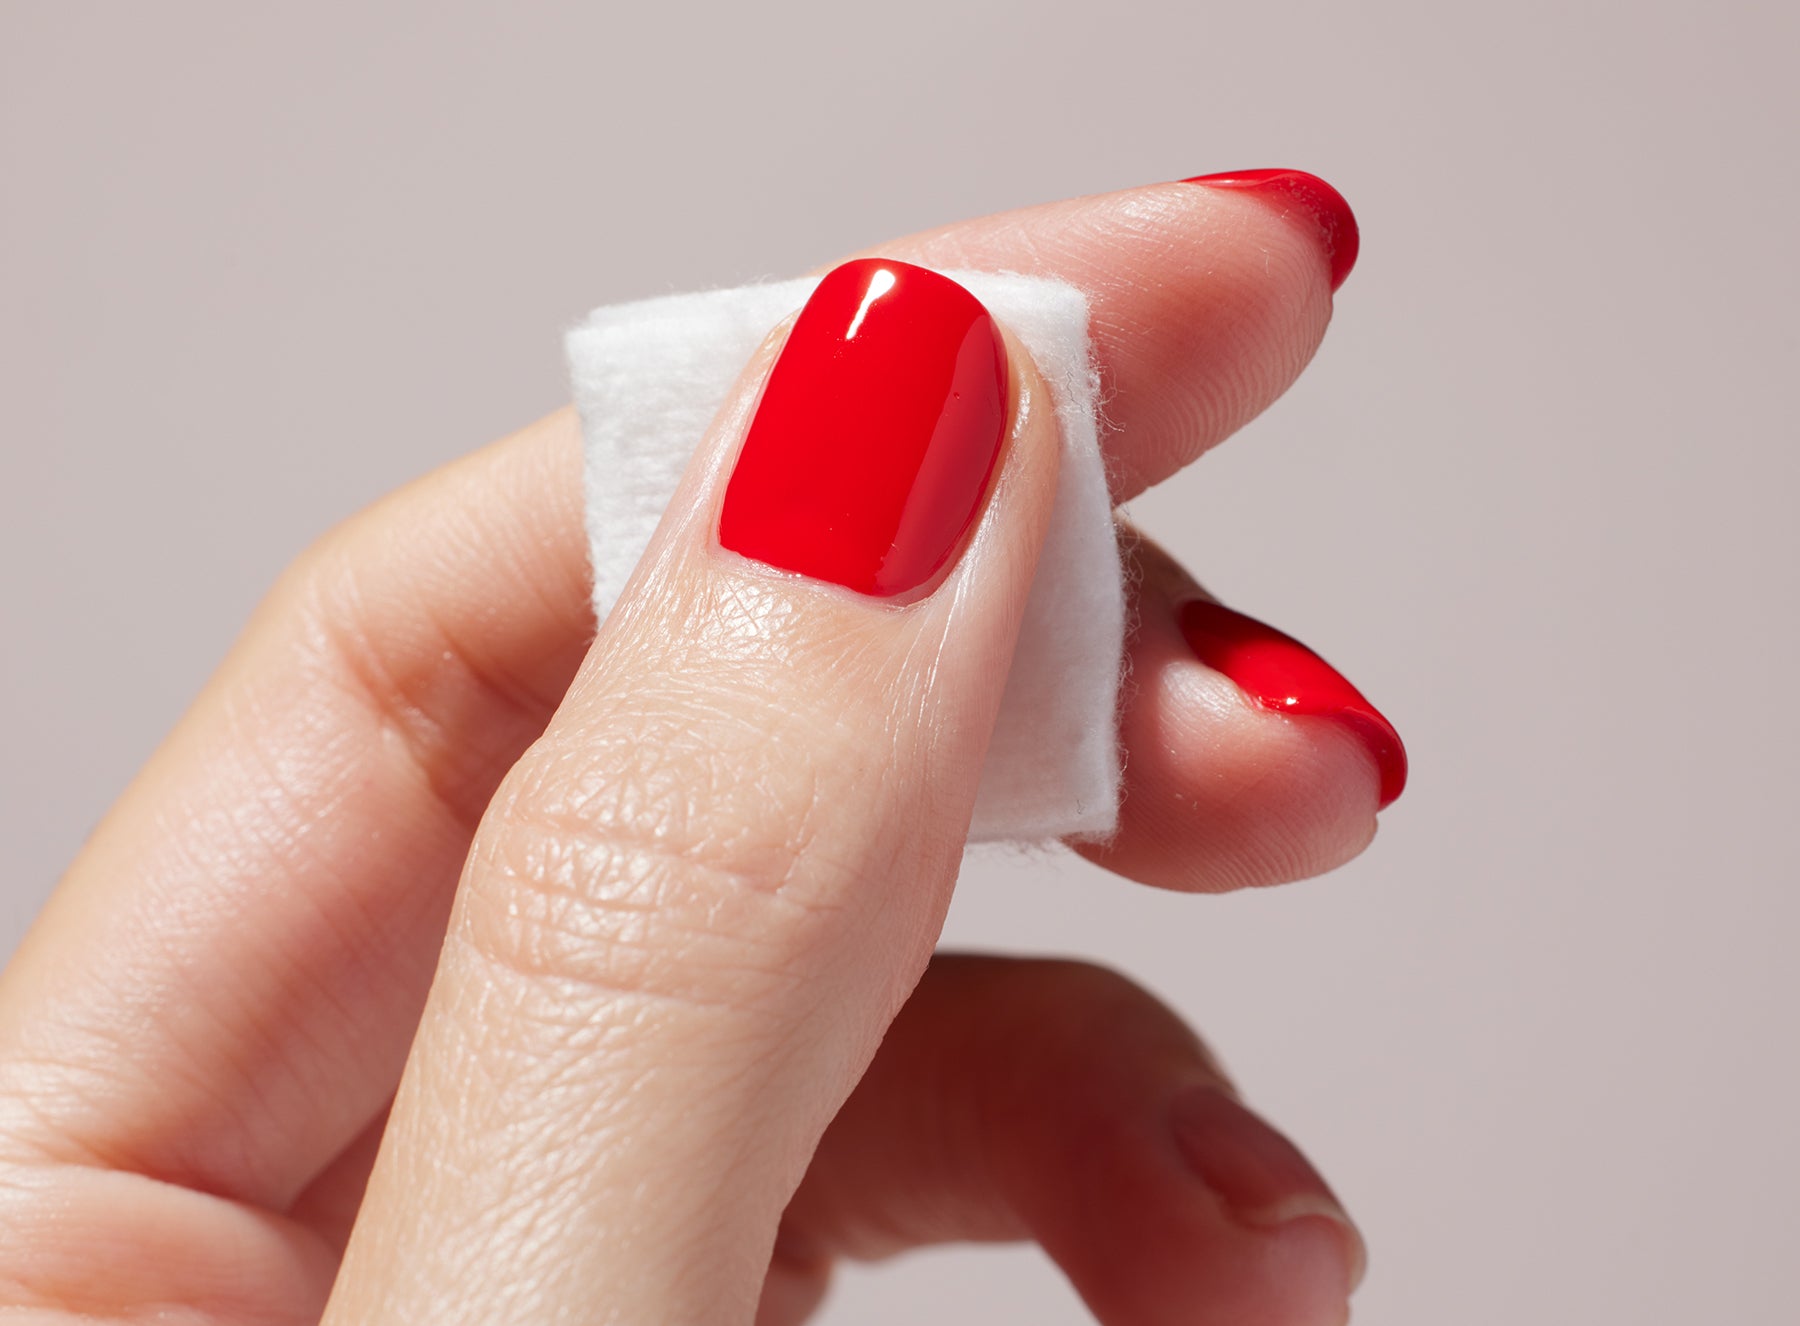
Finally, remove any traces of fat and/or impurities by making a nail cleaning aid for a cotton soaked in Degreaser, bio-sourced at 94.5%.

Nail preparation is an essential step to reduce the drying time of the varnish.
2. Apply a suitable base coat
The application of a base coat is indispensable before each color pose: it is thanks to it that the color adheres and holds in time. Without a base coat, the glazed varnish on the nail plate makes drying difficult and increases the risk of hanging.
Enriched with Hexanal, a patented active substance that promotes the formation of bonds between keratin proteins, the Base Coat Green™ strengthens and protects the nail. Result: reinforced nails that are more resistant to breakage, in addition to a holding of the prolonged varnish. Apply it in thin layer on each nail from the birth of the nail to the ridge.
💡To be sure : if your nails are soft, brittle, stried or very damaged, you can replace the base coat with a basis adapted to the problem of your nails. Discover your nail type and the corresponding treatments in seconds thanks to our online diagnostic.

Protect your nails and promote the good hold of the varnish with the Base Coat Green™ or a processing base.
3. Set the color in thin layers
It's the crucial moment which determines the drying time of the classic varnish. The application of colour must be done in thin layers varnish. Sometimes you can lose patience and re-enter an area already varnished, but this will result in thickening the previous layer and increasing drying time.
Instead, do your job of nail polish according to the 3 traits : a brush stroke in the center from the birth of the nail to the edge, then the same on the left and right sides of the nail.
To obtain an intense and ultra pigmented color, apply 2 coats of varnish Green™ . Make sure the first layer of color is dry before applying the second. Each varnish has a professional brush with rounded tip that fits perfectly to the shape of the nail for a easy at home nail polishing.

Applying the color in thin layers and 3 brush strokes is the secret for perfect drying.
4. Finish with top coat and drying drops
The final step in the routine Green™ : the layer of Top Coat Sunshine coming Seal the color and ensure its long hold. Its unique formula contains photo-initiators that react to natural light, allowing for a Express drying and bringing a glossy gel effect. The Top Coat Sunshine applies in thin layer, with the same technique of the 3 traits.
Small revolution made in Manucurist , the Drying drops accelerate the drying time Final of your varnish Green™ . In 1 minute, your manicure is dry. Enriched with ceramides, the Dry Drops leave the perfectly nourished nail contour. They apply easily and accurately thanks to their push button: one drop is enough per nail for an express drying.
Finish your manicure in beauty with the Top Coat Sunshine and the Drying Drops.
If the Drying Drops accelerate drying time, it is not instant as for semi-permanent varnish after drying under UV lamp: avoid touching your nails during a few minutes after application.
Find all products of the routine Green™ in the Starter kits Green™ : Degreasing, Base Coat, Top Sunshine Coat and Drying Drops are accompanied by 1, 3 or 5 colors to choose from for a fast, easy and durable manicure, inspired by pros.

Routine Green™ Full of the Discovery, Starter and Super Starter kits.
To summarize :
- Prepare nails : to lay, to repel cuticles, polish and degrease for optimal adhesion.
- Base Coat Green™ : thin layer to protect nails and promote wear.
- Fine layer color: apply in 3 strokes, 2 layers for more intensity and quick drying.
- Top Coat Sunshine + Drying drops: seal the color, bring shine gel effect and express drying.
- Respect a few minutes before contact to ensure that the varnish is perfectly dry.
Frequently Asked Questions
How long do you have to wait between two layers of varnish?
With a classic varnish, it is necessary to wait about 2 to 3 minutes between each layer, the time that the first one is well dry to the touch. This period is valid provided that the nail polish is applied in a fine layer, with good preparation and a pre-coat base layer. If the varnish layer is thick, it takes 4 to 5 minutes to make the varnish completely dry and avoid frying at any contact.
How do I know my varnish is dry?
To know if your varnish is dry, touch it gently with the back of nail Another finger: if it doesn't stick, that's a good sign. The varnish may look dry on the surface, but stay below it. Wait at least 3 minutes for a well-positioned classic manicure (in fine layers). Avoid testing with the finger pulp: you might leave a trace. And for a perfect, stress-free finish, opt for a final layer of top coat and drying drops. With the dry drop Manucurist , varnish Green™ Dry in only 1 minute.